

My first bite of these salted caramel squares was a wow moment. The sweetness wraps around a gentle spark of salt, and you feel warmth spread through every taste bud. My aunt offered me a plate of homemade candies, and I recall how I gripped a small napkin, hoping to catch each drip of sugar as it clung to my fingers.

That sweet recollection returned years later when I tested my own approach to creating salted caramel squares. I sensed there could be an extra touch hidden in the process. I held on to that suspicion and kept looking for a slight twist that would give an unmistakable punch of flavor. A small detail waited to be revealed, but I wanted to keep you guessing for a while longer.
Why Salted Caramel Squares
Salted caramel squares draw out a pleasing blend of sweet and savory. Sugar melts into a deep amber liquid, and a swirl of cream and butter adds richness. Salt steps in and softens the sweetness, so you taste a contrast that feels balanced. People enjoy them during holidays, birthdays, or random weekends that call for a home-cooked treat.

Each square fits into a small piece of parchment if you plan to share these candies as gifts. I believe they also serve as a remedy for a tired mind on busy days.
My cat, Whiskers, always circles around the kitchen during preparation, drawn by the lingering smell of caramel. He never tastes the candy, but he sniffs the air as though he understands why I take the time to make each batch.
Creating the Salted Caramel Squares
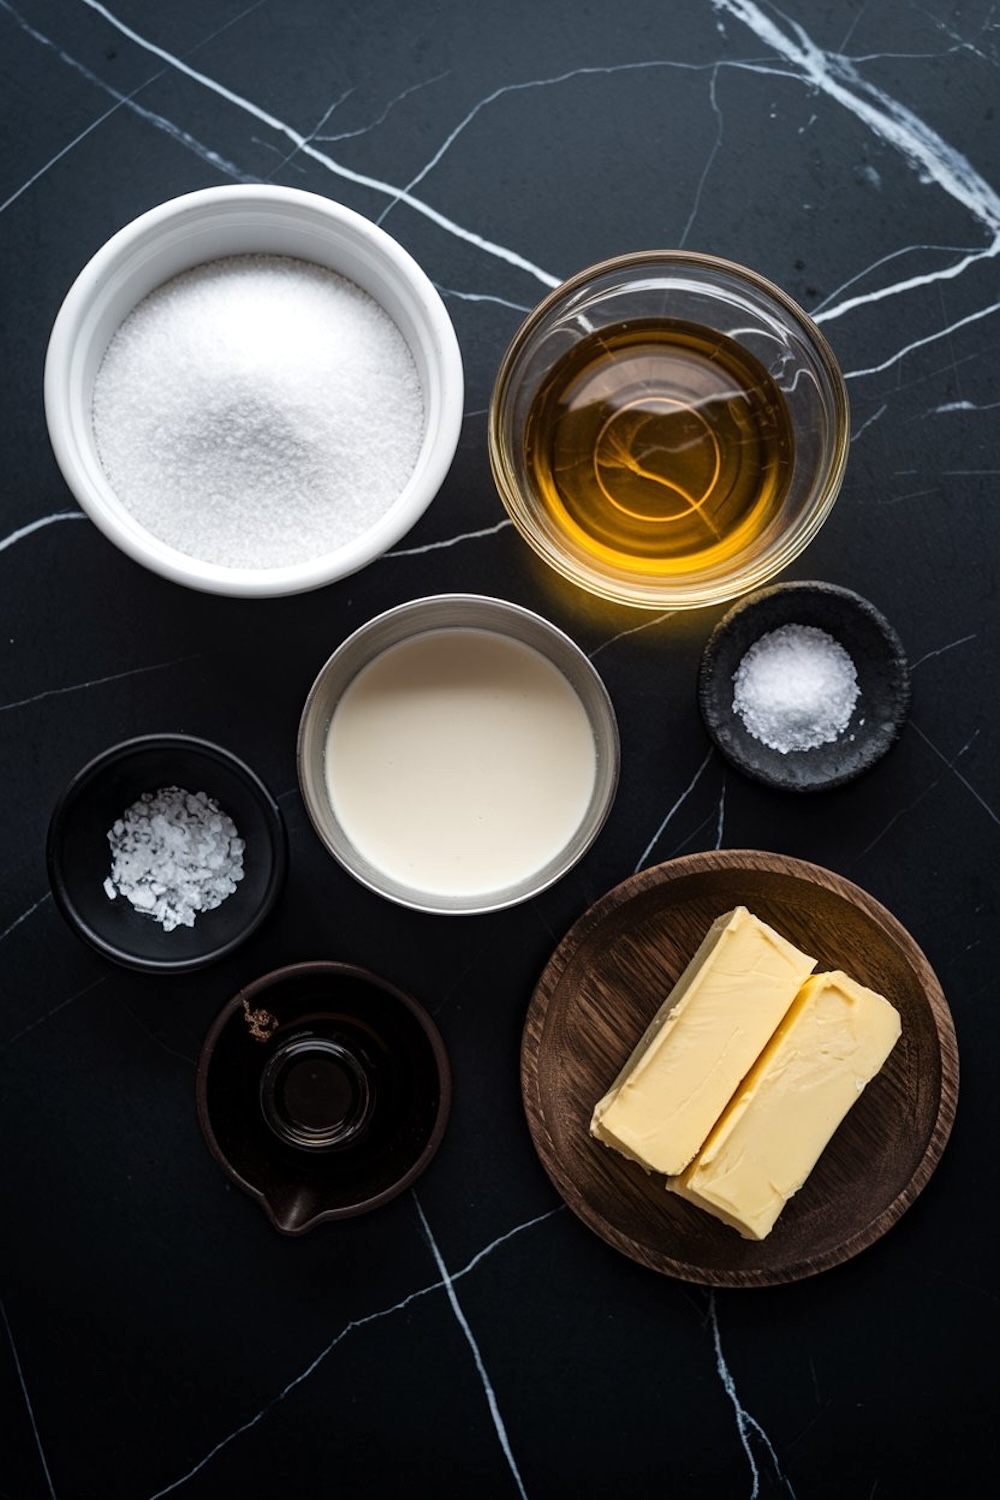
I follow a straightforward path for these candies. I gather granulated sugar, light corn syrup, heavy cream, butter, vanilla extract, and flaky sea salt. I set them out on the counter, allowing each ingredient to reach a comfortable temperature. I line an eight-inch square pan with parchment, ready for an easy lift once the caramel sets. Then I heat sugar and syrup in a sturdy saucepan.
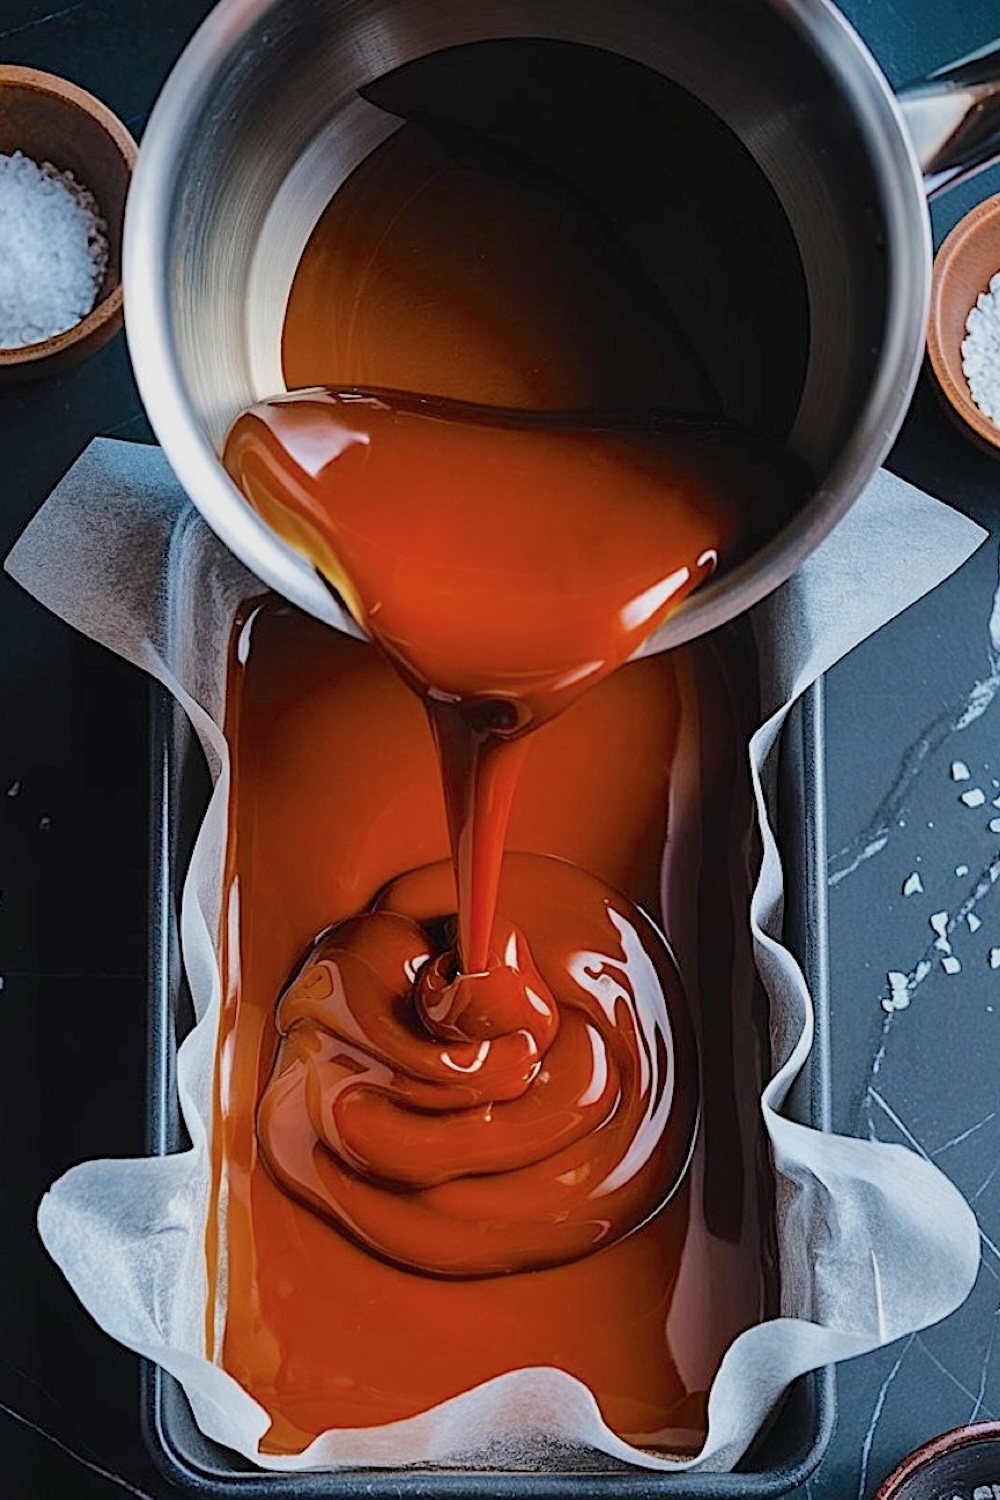
I stay alert so the mixture turns a deep amber color without scorching. Cream and butter come next, and the mixture bubbles into a hot froth. A candy thermometer guides me to the right temperature, 245°F, so the squares have a soft texture. I stir in vanilla extract and sea salt for that savory edge. I pour everything into the lined pan and wait for the candy to cool. The top benefits from an extra sprinkle of salt. After four hours, I cut neat squares with a warm, lightly oiled knife.
My Pan and a Few Handy Tips
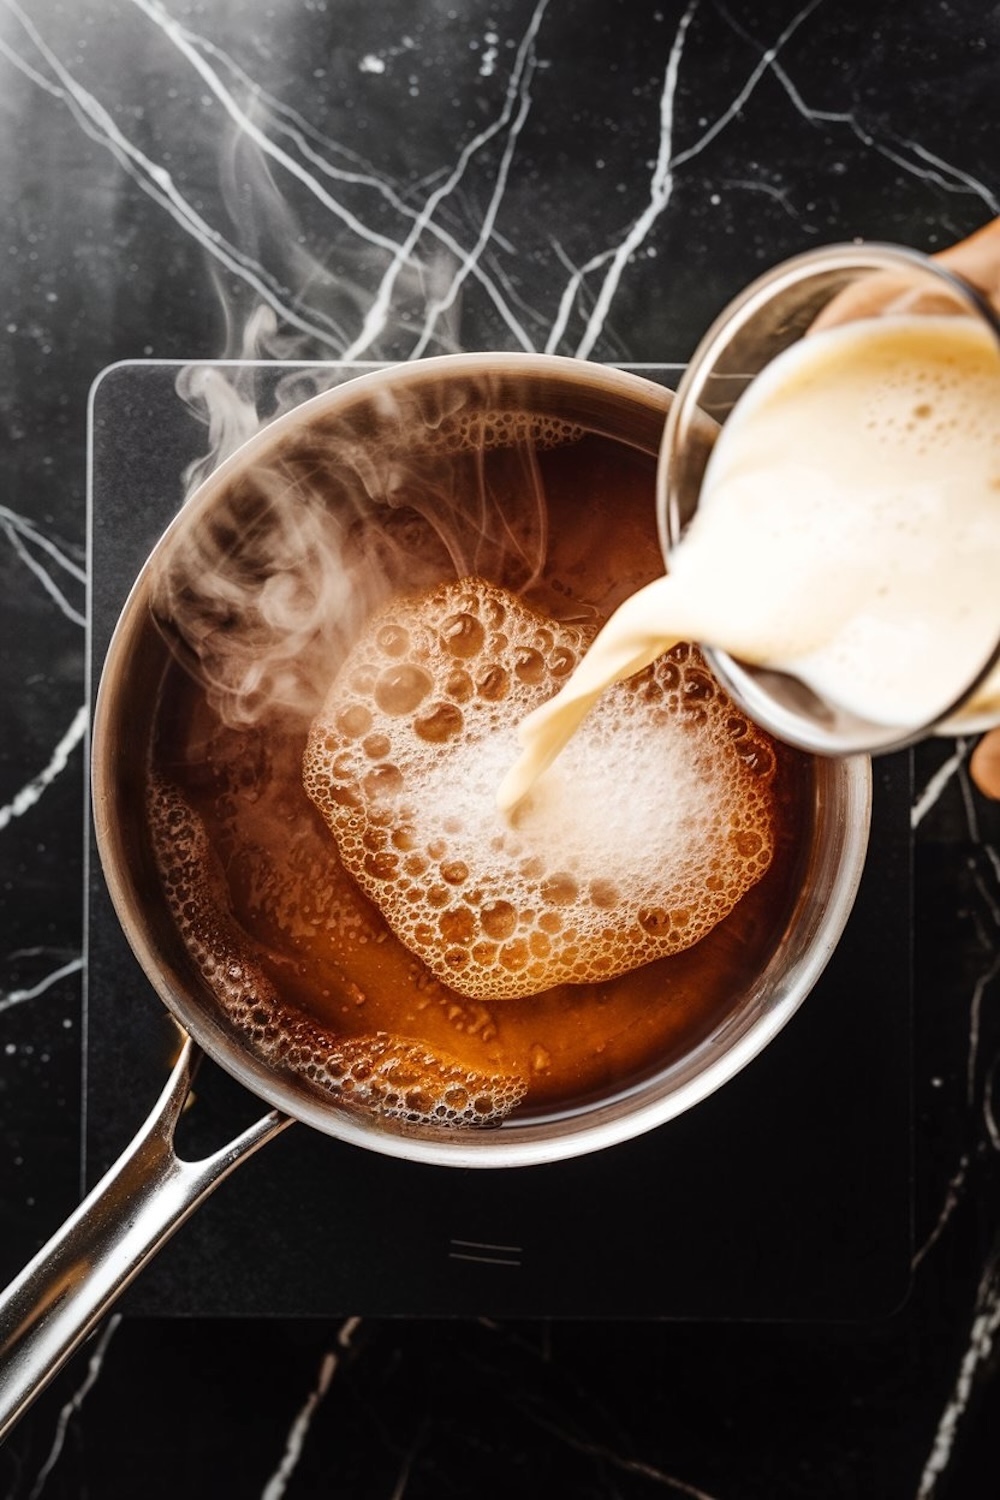
A heavy-bottomed pan controls the heat and prevents uneven cooking. Medium-low heat keeps the sugar from burning, and gentle swirling helps dissolve crystals. I use slow, steady motions. Sugar can go from clear to deep amber in seconds, so I watch carefully. My golden spoon, a treasure I inherited from my aunt, stirs the mixture with ease.

The handle stays cool, and I feel connected to family as I stand near the stove. My cat looks up, as though curious about the shine of that old utensil. Timing and temperature remain key. Once the catamel hits the perfect shade, I whisk in warm cream and butter for a smooth consistency. That entire process shapes the classic salted caramel flavor we all crave.
The Unexpected Dash of Magic
My Pin Notebook holds the record of each recipe test I try. I scribble notes next to new ideas, and I track my attempts with saucepans, mixers, or new flavors. A single phrase reads “cinnamon spark,” and that note changed everything. I add a tiny pinch of ground cinnamon right after I stir in vanilla and salt. This slight tweak brings a subtle layer of warmth. The squares feel brighter on the tongue, though the cinnamon remains understated. Some friends guess there is a secret ingredient but can’t pinpoint it. That hush of spice led me to declare it my dash of magic, turning the recipe into something memorable.
Extra Inspiration for Caramel Lovers
I plan to expand my caramel-focused collection soon. I recently made Chocoflan for a friend’s birthday, and everyone adored the mix of chocolate and caramel flan.
My sweet tooth also took me toward simpler no-bake options. Chocolate Caramel Rice Krispie Treats proved popular at a neighborhood party, where people formed a circle around the tray.
Last month, I made Peanut Butter Thumbprint Cookies with Caramel and discovered that roasted peanuts and creamy caramel belong together. Each recipe tested my skills in a different way, and I picked up a few helpful tips for piping fillings or pressing cookies. You might enjoy exploring those desserts if salted caramel squares captivate your imagination.
Benefits of Homemade Salted Caramel Squares
Homemade candy brings a sense of achievement. Each square represents care, patience, and a dash of playfulness in the kitchen. Sugar transforms into a candy shop treat in your own home. Freshness is guaranteed, and you can modify the salt level to match your preference. Clean ingredients matter. You decide how much butter or cream goes into the recipe, and you can adjust the sweetness with different sugar types if that appeals to you. I prefer standard granulated sugar because it melts smoothly, but experimentation leads to new results, especially with brown sugar or alternative sweeteners.
My curiosity led me to test different salts. Flaky sea salt suits me best because it melts slowly on the surface of the candy. That texture difference forms small pockets of savory delight. Coarse salt feels more aggressive, so I avoid it unless I want extra crunch on top. A smooth texture ranks high on my list, so the final squares become easy to chew. I press gently with my finger and feel that dense softness, which signals that the candy is ready.
Sharing and Storing
Salted caramel squares store well in an airtight container at room temperature. Friends appreciate them as small gifts. I trim squares or rectangles, then place them in little wax papers. Some people toss them into a mason jar with a small ribbon. I keep a few squares in my cupboard for a quick sweet fix after a stressful day. My cat never eats them, but he hears me opening the container and rushes over, probably hoping for a treat. His whiskers twitch each time I pop one into my mouth. I tease him by rattling the wax paper, but he remains unimpressed.
Salted caramel squares travel well, too. A friend once stuffed them into a lunchbox for a long train ride. He said they disappeared before the first stop. I understood the impulse because I have done the same. The texture stays consistent for about two weeks, so a large batch can last through several gatherings. I label them with sticky notes in my Pin Notebook, reminding myself how each attempt went. That record ensures I can recreate any minor alteration that succeeded or spot mistakes I need to avoid next time.
Pin for Later and Share Your Results

I encourage you to save this recipe on your Pinterest board, so you can revisit the steps with ease. Please share your feedback in the comments and let me know how your batch turned out. I invite you to experiment with spices or extra toppings, too. Feel free to ask questions or swap tips with other readers. Community helps us refine our skills in every kind of dessert making. I look forward to hearing your stories about this sweet, salty, and slightly spicy delight.
Salted Caramel Squares

Making salted caramels requires precise attention to detail, but the result is soft, chewy candies with a perfect balance of sweetness and saltiness. Follow these carefully outlined steps to create caramel treats that are as good as those from a candy shop.
Ingredients
- 1 cup (200g) granulated sugar
- ½ cup (120ml) light corn syrup
- ½ cup (120ml) heavy cream
- ¼ cup (60g) unsalted butter, cubed
- 1 teaspoon pure vanilla extract
- 1 teaspoon flaky sea salt (plus extra for topping)
- ¼ teaspoon fine sea salt
Instructions
Notes
For best results, use a candy thermometer to monitor the sugar and caramel temperatures accurately.
Flaky sea salt adds texture and flavor; adjust the amount to suit your taste preferences.
These caramels make a great gift when wrapped individually in wax paper.
