
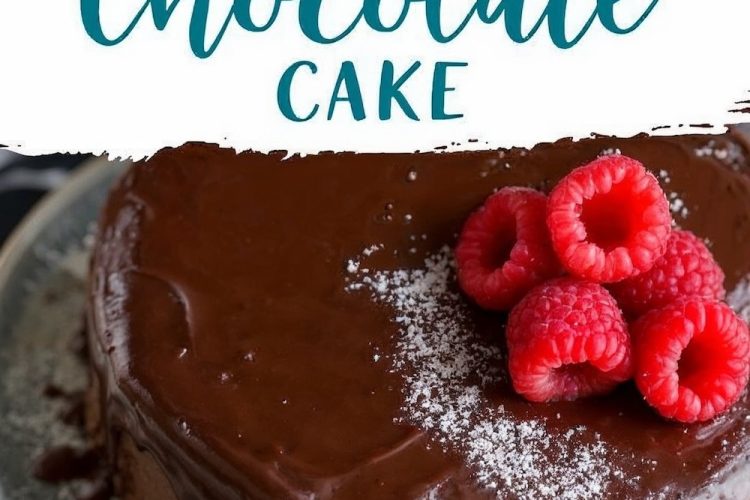
I once stumbled on an unexpected trick that brings extra depth to this flourless chocolate cake. People often ask how it tastes so silky, and I mention a little magic ingredient I keep guarded. That dash magic stays hidden for now. It waits to shine when the batter has taken form, so you can experience each bite in full glory. This recipe keeps its structure without any flour, leading to a fudgy consistency that comforts both newcomers and seasoned bakers.

Chocolate Bliss With Short Preparation
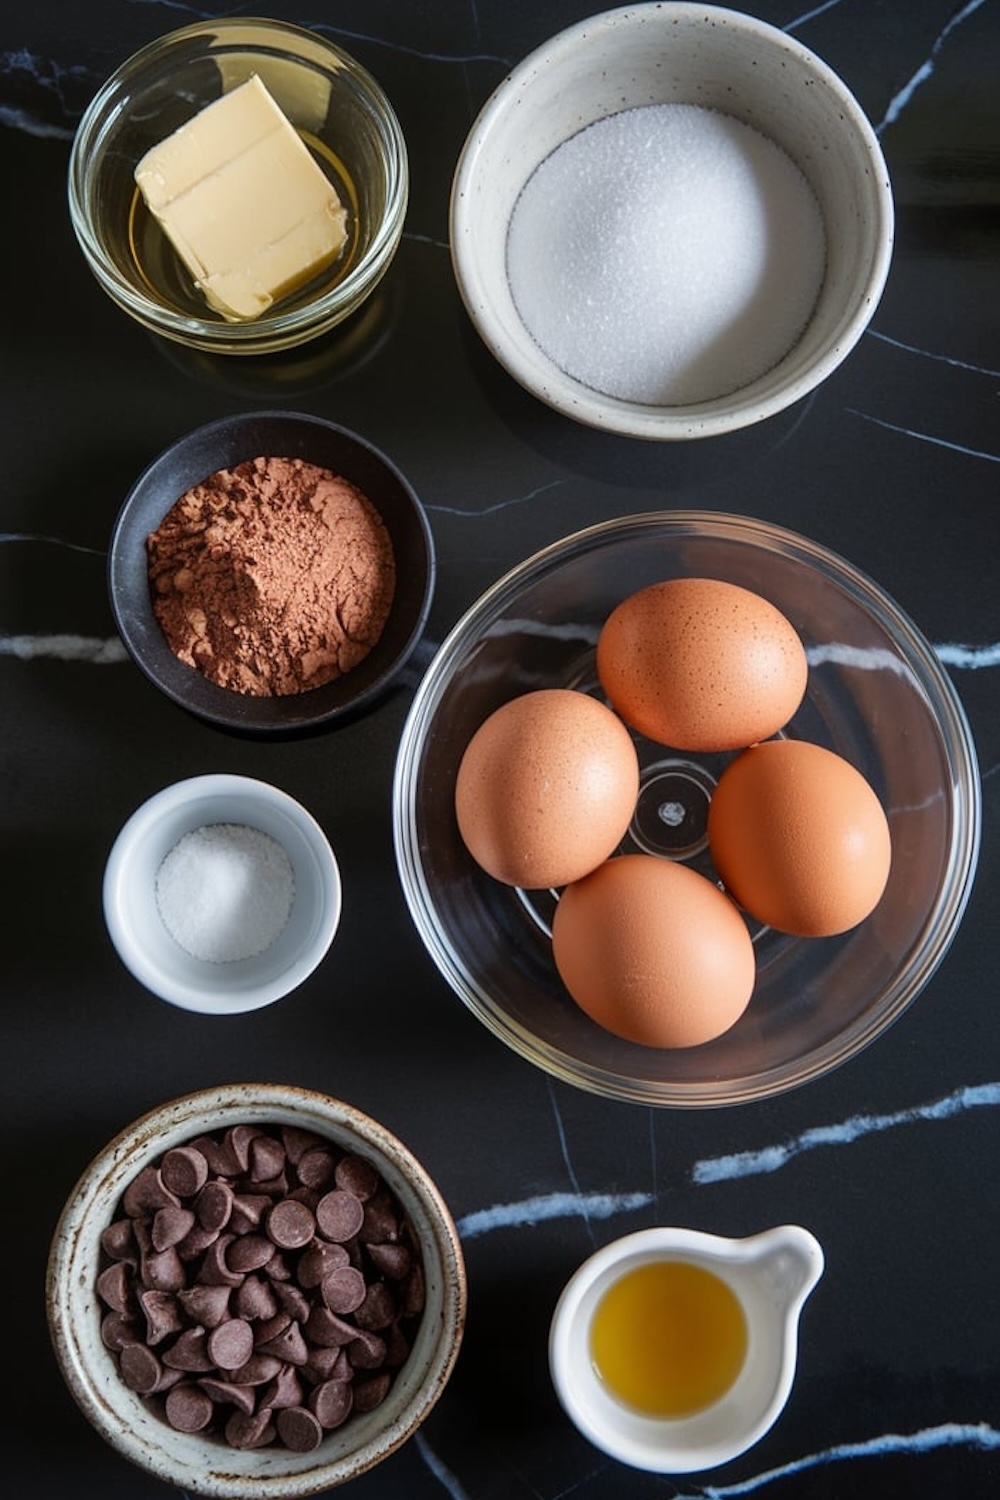
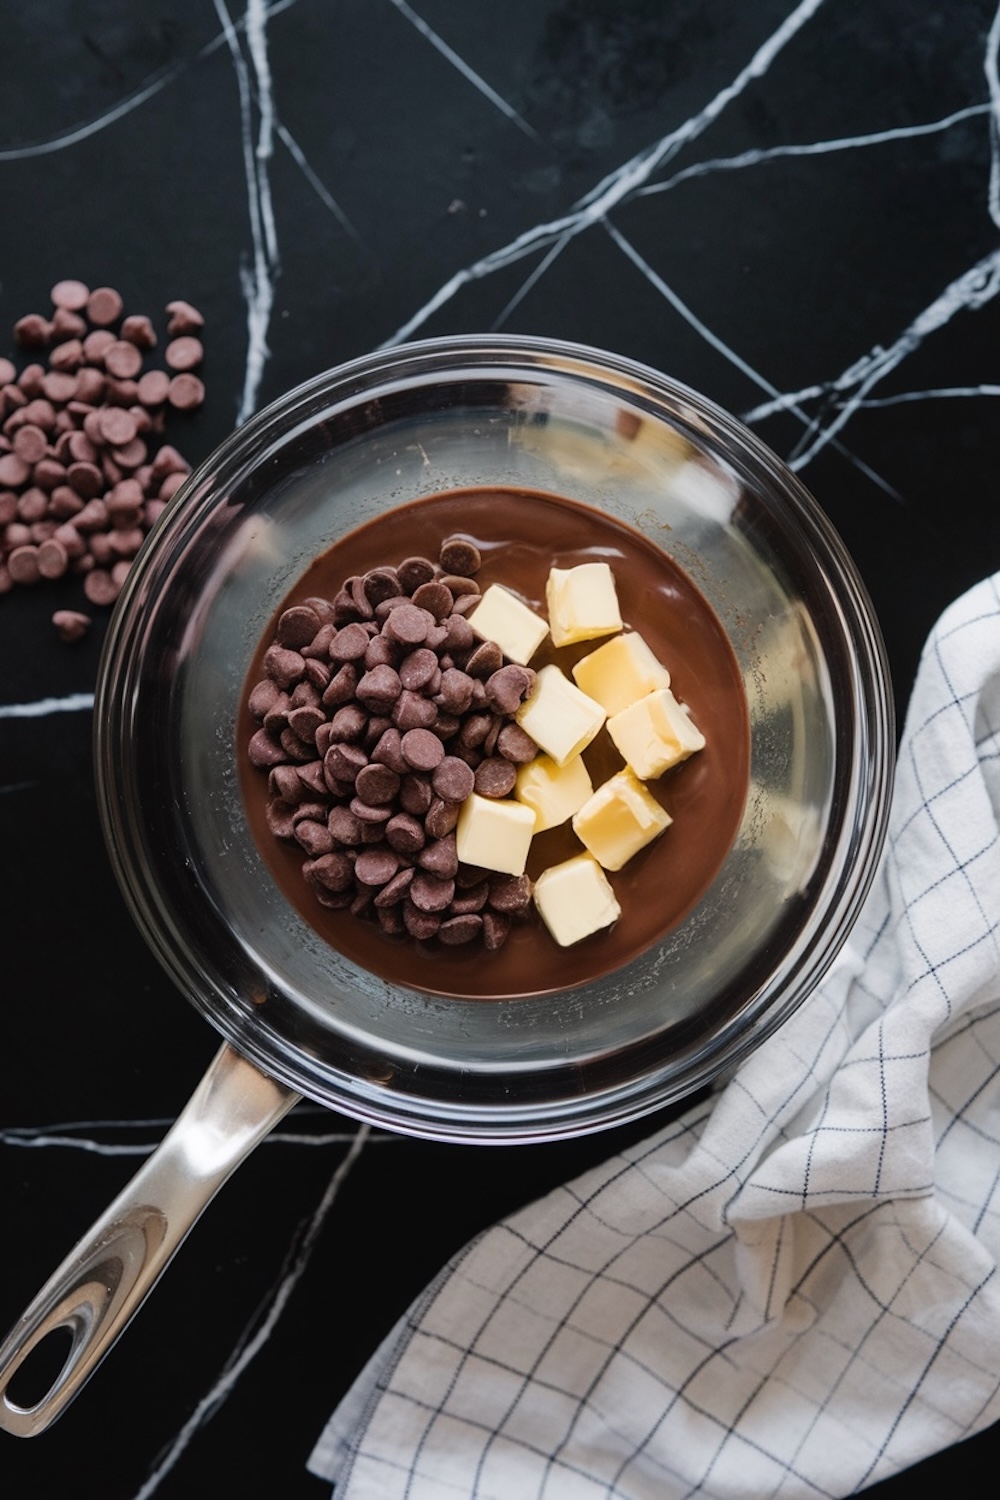
I prepare the cake by gathering semisweet chocolate chips, butter, sugar, salt, vanilla extract, eggs, and cocoa powder. I avoid complicated steps. I melt the chocolate and butter gently and combine them with the other items at a steady pace. A careful stir keeps everything blended. I rely on a simple mixing approach that helps form a cohesive batter.
I watch the chocolate swirl and smell the cocoa rising from the bowl. The aroma feels deep and inviting. My nephew sometimes peeks in the kitchen to get first dibs on a spoonful of batter. He claims it tastes better straight from the bowl, and I often agree. I mark down minor observations in my Pin Notebook, where every tweak or flavor enhancement gets recorded. That collection of notes grows with each dessert I test, and it helps me recall little adjustments next time I bake.
Fudgy Texture With Clear Steps
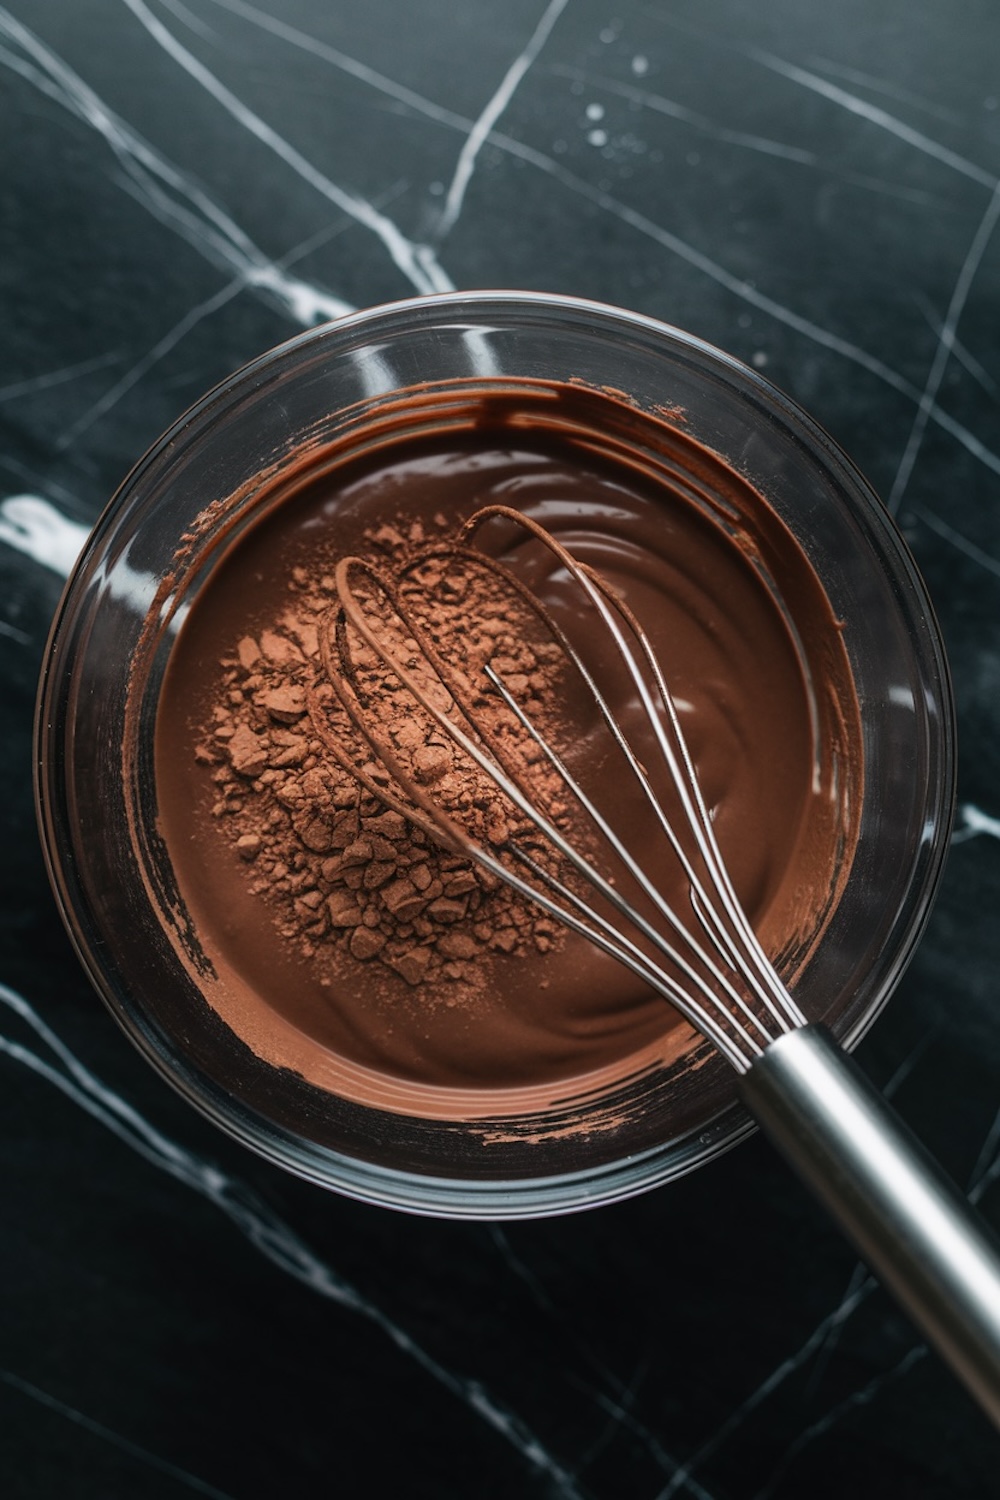
I follow a fixed sequence. I preheat and prepare the pan, then melt chocolate and butter over gentle heat. I add sugar, salt, and vanilla extract right after removing the bowl from the heat source. I incorporate eggs one at a time, whisking them smoothly to ensure a consistent blend. Cocoa powder goes in last, folding in with a patient hand to keep the batter fluffy yet thick. This cocoa must integrate fully, so no lumps remain.
I rarely skip tasting the batter. That tradition began when I baked my first chocolate cake years ago. I checked sweetness levels back then, but the practice stayed part of my routine. A quick taste tells me if the balance is correct, or if extra sugar might improve the flavor. I use my Golden Spoon for each sampling. That spoon has guided me through countless bakes, and it always brings comfort to my mixing process.
Oven Time And Patience
I pour the batter into an 8-inch round cake pan and bake it for about 25 to 30 minutes. The center remains slightly soft, which signals a fudge-like result after cooling. I rest the cake for a few minutes before flipping it onto a wire rack. This step helps it keep its shape. You can see the surface forming a smooth top that promises a gentle bite.
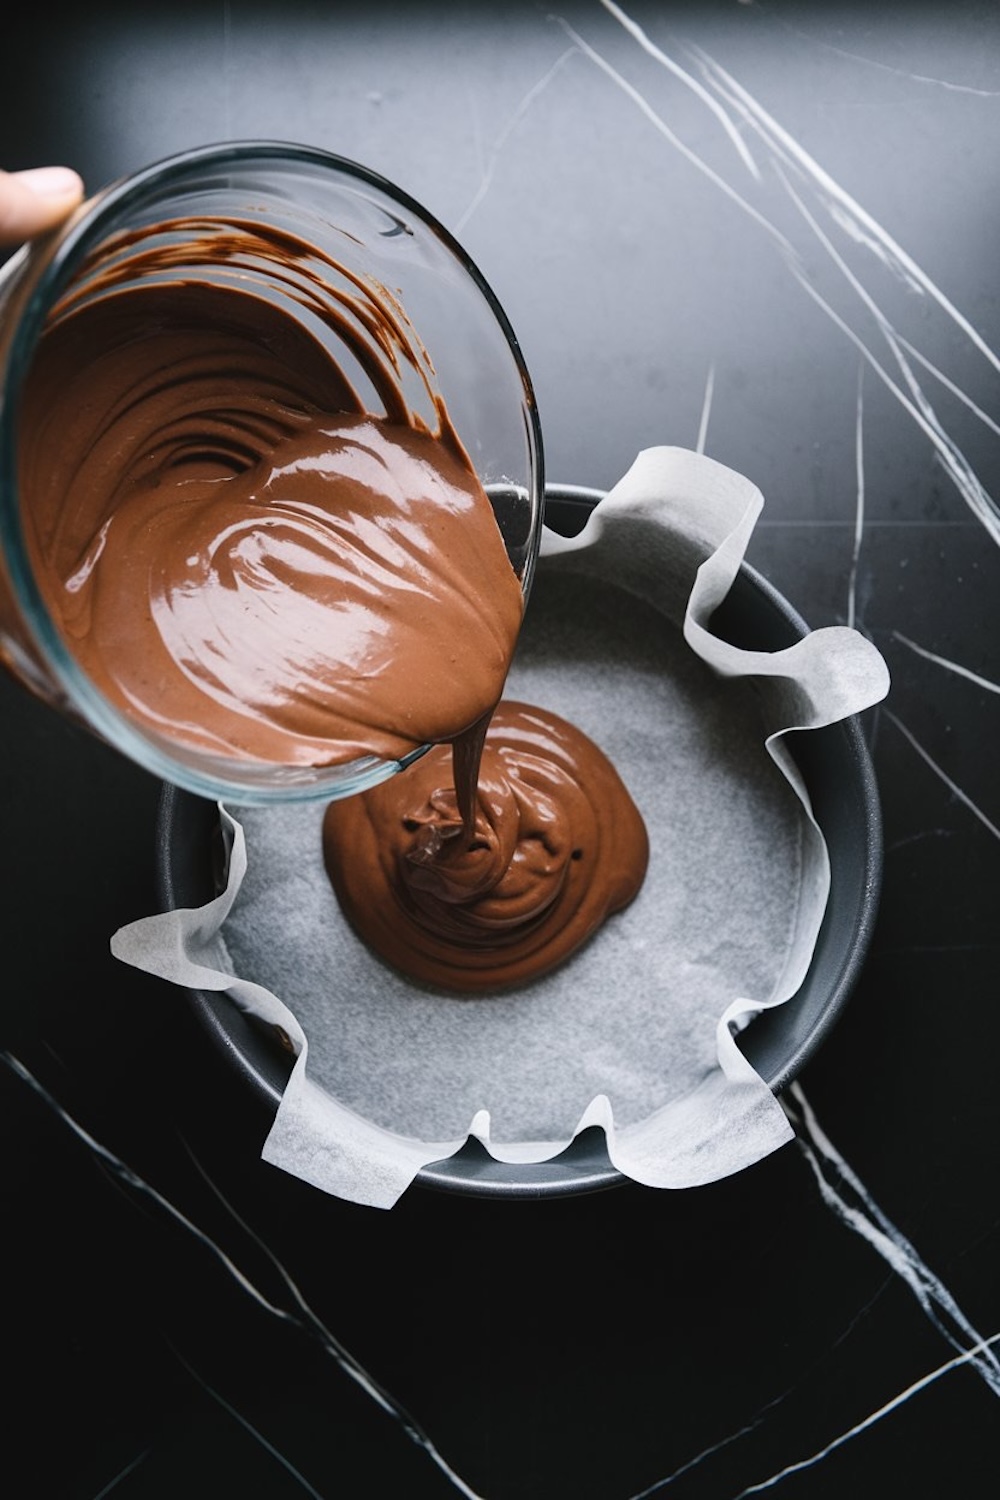
During the waiting period, I often glance at my Pin Jar, where I drop slips of paper with dessert inspiration. That jar has notes about next-level chocolate creations, holiday treats, and possible frosting ideas. Sometimes I find a clue for adding berries or a swirl of salted caramel. I never run out of ideas because each slip offers fresh motivation for future bakes.
Ganache And Decoration Tips
I top this flourless wonder with a layer of rich ganache. I heat cream to a light simmer and pour it over chocolate chips in a separate bowl. After a minute or two, I whisk everything together, then I add a small spoonful of butter. This final stir gives the ganache an indulgent sheen. Once the cake cools, I spread the ganache to achieve a glossy finish that invites your fork.
I encourage personalization. Berries or toasted nuts add texture, and whipped cream boosts sweetness. Powdered sugar dusted across the surface gives it a delicate look. Chocolate shavings also look attractive, especially when the ganache is still slightly warm. That first slice can make you marvel at how the cake maintains smoothness without flour.
My Hidden Dash Magic
I hinted earlier about a secret ingredient. I slip in a tiny pinch of espresso powder right after I fold in the cocoa. This extra step brings a subtle complexity to the chocolate. You won’t detect a strong coffee flavor, but you will sense a richer taste overall.
My nephew once asked me why our family’s flourless cake stands out more than his friend’s version. This pinch of espresso likely makes that difference. I keep a jar of it with my baking items and use it sparingly. It accentuates the cake’s depth without overshadowing the chocolate essence.
Similar Chocolate Recipes To Explore
I admire chocolate in countless forms. There are days when I crave a fluffy creation like my Chocolate Mousse Cake. That airy texture contrasts with this denser flourless dessert. Other times, I crave more quick bites, which lead me to my Glazed Chocolate Donuts. Those donuts shine with a glossy top that brightens a breakfast table. My Chocolate Fudge Brownies also satisfy chewy chocolate cravings in a straightforward way. Each recipe takes a unique approach, but they all aim for genuine chocolate delight.
Why The Cake Stands Out
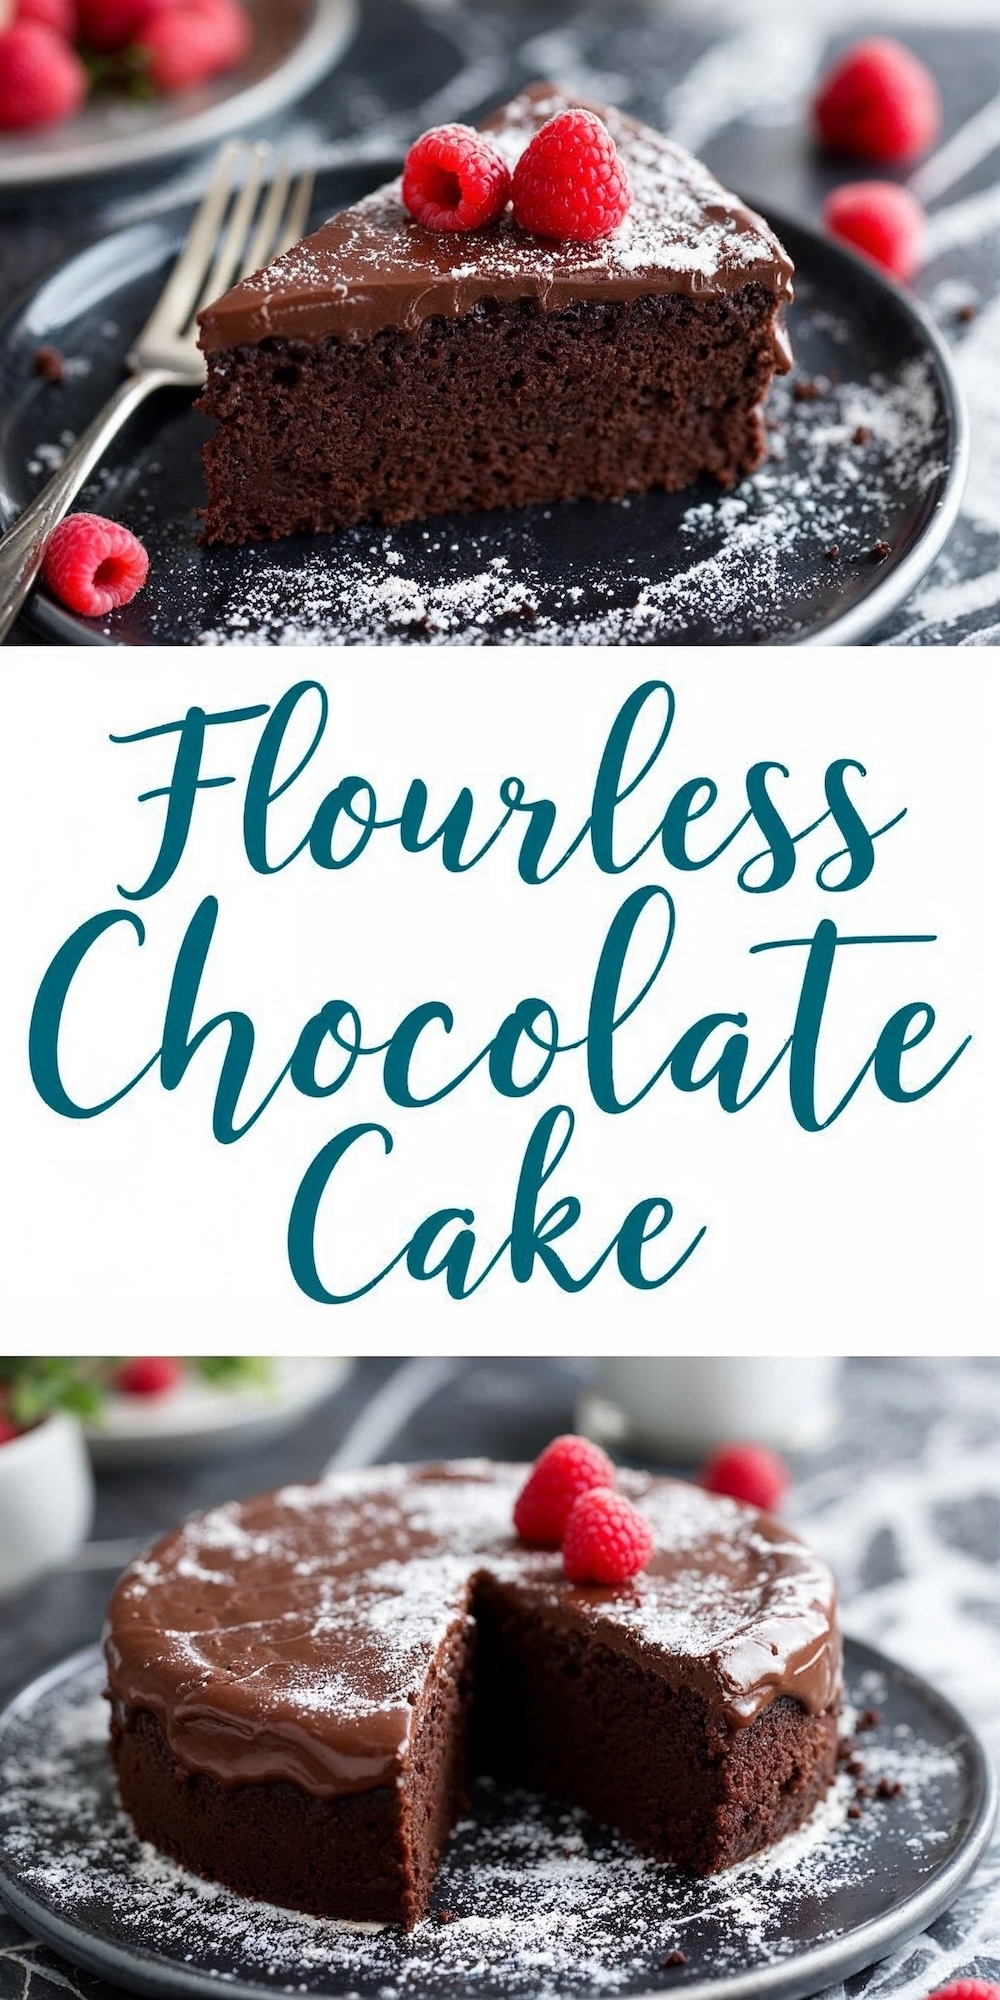
I believe the cake stands out because of its silky interior and the optional ganache that seals each slice with extra richness. The effort feels minimal, yet the result tastes sophisticated. Friends sometimes assume I spent hours working on it.
In reality, I spend about 15 minutes prepping, followed by 30 minutes of baking, plus a cooling period that requires no hands-on labor. Cocoa powder, butter, and chocolate remain straightforward to find and easy to work with. This no-flour design supports those who prefer gluten-free treats or appreciate a pure chocolate sensation without extra dryness.
I see the difference in texture whenever I lift a slice for a photo. The crumb remains tight, but it never feels heavy. Each forkful glides through the cake, and the chocolate coats your taste buds. My nephew and I often share a slice while we discuss potential ways to adapt the flavors. Sometimes we throw in a little sea salt on top, or we dust the surface with a bit of cayenne for mild heat. I jot these notes in my Pin Notebook so we can revisit them later.
Share, Save, And Enjoy
Feel free to pin this recipe for your personal board, and comment below if you try something different with it. You could add a fruit puree drizzle or sprinkle crushed peppermint candies around the edge. That feedback inspires me and helps others find new combinations. I love reading those creative twists on a simple base.
Consider making this flourless cake for a special dinner or a relaxed afternoon treat. You might spot fresh updates in my Pin Jar soon, inspired by your comments. This baking journey feels more fulfilling when everyone explores ideas together. An open conversation fosters new experiments and taste discoveries.
Save This Recipe For Later And Join The Conversation
Feel welcome to save this post and add it to your dessert board. Share your results with me, and ask questions if you need clarity. My approach to baking encourages creative freedom. You can refine sweetness levels, experiment with toppings, or add an extra swirl of ganache. I enjoy hearing how these changes affect the final taste.
Our community grows when we exchange insights, so jump in and let us know how your flourless cake turned out.
Flourless Chocolate Cake Recipe
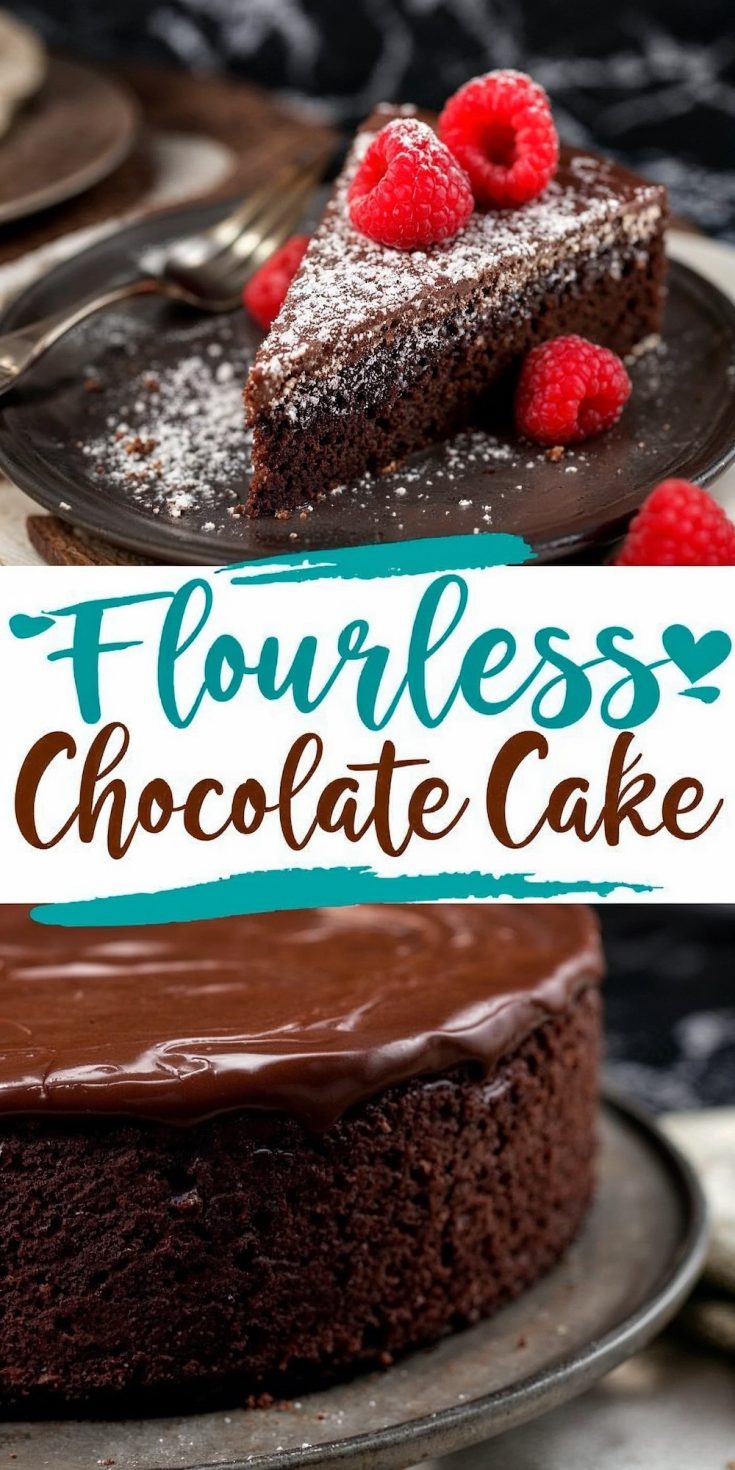
A rich and decadent chocolate cake made without flour, delivering a smooth, fudgy texture. Topped with an optional ganache and customizable decorations, it is an elegant treat for any occasion.
Ingredients
- FOR THE CAKE:
- 1 cup (175g) semi-sweet or dark chocolate chips (or chopped chocolate)
- 1/2 cup (115g) unsalted butter
- 3/4 cup (150g) granulated sugar
- 1/4 teaspoon salt
- 1 teaspoon pure vanilla extract
- 3 large eggs, room temperature
- 1/2 cup (50g) unsweetened cocoa powder
- FOR THE GANACHE (OPTIONAL BUT RECOMMENDED):
- 1/2 cup (120ml) heavy cream
- 1 cup (175g) semi-sweet chocolate chips
- 1 tablespoon unsalted butter
- FOR DECORATION OPTIONS:
- Powdered sugar (for dusting)
- Fresh raspberries, strawberries, or mixed berries
- Chopped toasted nuts (almonds, hazelnuts, or pistachios)
- Whipped cream
- Chocolate shavings (use a vegetable peeler on a chocolate bar)
- Edible flowers (like pansies or violets)
- White chocolate or caramel sauce for drizzling
Instructions
- PREHEAT AND PREPARE: Preheat your oven to 375°F (190°C). Grease an 8-inch round cake pan and line the bottom with parchment paper for easy release.
- MELT THE CHOCOLATE AND BUTTER: In a heatproof bowl set over a saucepan of simmering water, melt the chocolate and butter together, stirring until smooth. Remove from heat and let it cool slightly.
- MIX THE WET INGREDIENTS: Stir the sugar, salt, and vanilla extract into the chocolate mixture. Add the eggs, one at a time, whisking well after each addition.
- INCORPORATE THE COCOA POWDER: Sift the cocoa powder over the chocolate mixture and fold it in gently until no streaks remain.
- BAKE: Pour the batter into the prepared cake pan and smooth the top with a spatula. Bake for 25-30 minutes, or until the edges are set and the center is slightly wobbly. A toothpick inserted into the center should come out with a few moist crumbs.
- COOL: Let the cake cool in the pan for 10 minutes, then invert it onto a wire rack to cool completely.
- PREPARE THE GANACHE: Heat the heavy cream in a small saucepan over medium heat until it just begins to simmer. Pour the hot cream over the chocolate chips in a bowl. Let it sit for 2 minutes, then whisk until smooth. Stir in the butter for added shine and flavor.
- DECORATE: Once the cake is cool, pour the ganache over the top, letting it drip down the sides for a glossy finish. Smooth with a spatula if needed. Add powdered sugar, berries, nuts, whipped cream, chocolate shavings, or edible flowers for additional decoration as desired.
Notes
For a clean slice, run a knife under hot water, dry it, and then cut the cake. Reheat the knife as needed between slices.

Should this be served cold or room temperature?
This cake is best served at room temperature for the richest, fudgiest texture. If you’ve stored it in the fridge, let it sit out for about 20-30 minutes before serving. That way, the chocolate flavor really shines, and the texture stays smooth and melt-in-your-mouth!