
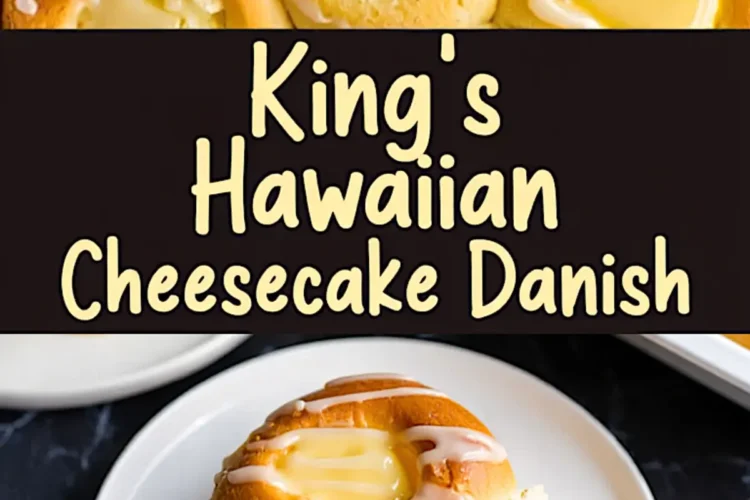
I remember my first bite of a King’s Hawaiian roll at a roadside bakery near Hilo. The sweet crumb tasted like sunshine itself, and the memory never faded. Today you will learn how that soft dough wraps around a lush cheesecake center and why the result feels like breakfast and dessert shaking hands.
Success follows structure, so I will guide you step by step while sharing small tricks that steady your hands and calm any kitchen nerves.
A tropical whisper hides in the batter, and the reveal comes soon stay curious.
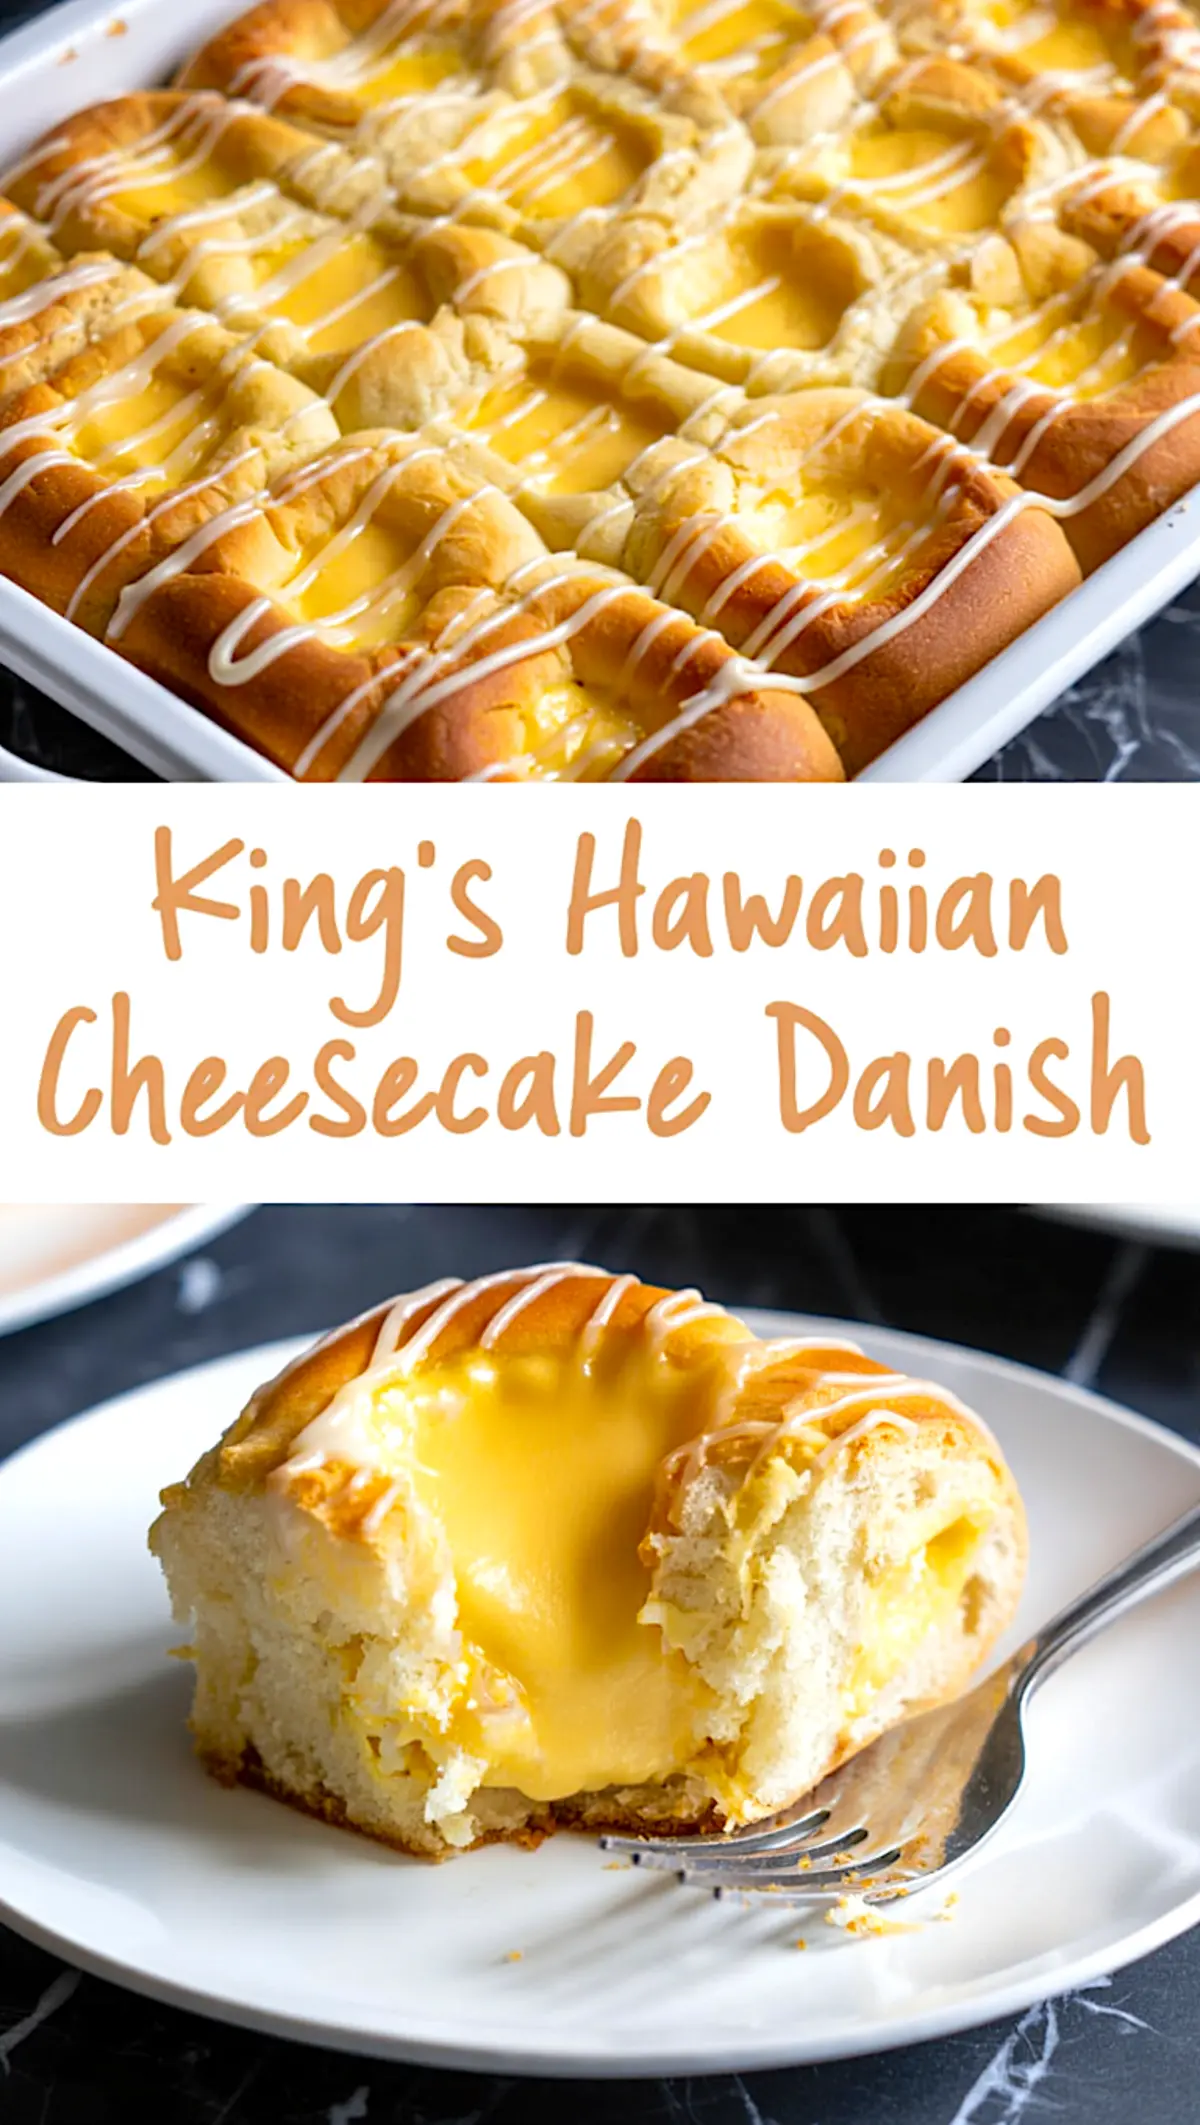
Why This Danish Dessert Wins Breakfast and Brunch Searches
King’s Hawaiian rolls already rank high among Hawaiian Roll Dessert Recipes, yet pairing them with cream cheese turns the idea into something fresh.
Readers who enjoy silky cheesecakes often ask me if a fluffy roll can cradle that filling without sagging, and experience says it can when the dough balances milk, butter, and a touch of pineapple juice.
My test batch beat the texture of Kings Hawaiian Sticky Buns by staying pillowy long after cooling.
Craving more caramelized edges? I sometimes bake a small pan of Basque Burnt Cheesecake alongside these rolls, letting the high heat brown both dishes in tandem.
That double-pan approach pleases guests who prefer contrasting textures—one bite airy, the next bite dense.
I chose to highlight the dish as a Danish Dessert rather than a simple roll because the cream cheese filling mimics a bakery case pastry.
Friends who love Cream Cheese Danish Puff Pastry now reach for this recipe on lazy Sundays because shaping balls feels easier than fussing with layers.
You may feel the same once you taste the glaze sliding over warm edges.
Gathering the Flavors: Dough and Filling Essentials
The dough begins with warm whole milk and active dry yeast, two partners that wake each other gently.
Granulated sugar feeds the yeast while melted butter lends richness, and pineapple juice brightens every crumb.
Full-fat cream cheese, vanilla, and a dusting of sugar build a filling that reminds me of afternoon snacks on Oahu.
I have tested fresh pineapple juice against canned juice in this mix.
Fresh juice wins for lively aromatics, yet canned juice still delivers if winter markets feel sparse.
That direct comparison matters more here than the classic butter versus oil debate, because butter remains non-negotiable for flavor depth.
Curious bakers often ask whether Cheese Danish With Crescent Rolls can substitute for scratch dough.
My notes suggest the canned dough bakes up thinner and browns faster, so adjust watch time if you experiment.
Still, the homemade path grants the signature chew that separates this King’s Hawaiian Cheesecake Danish Recipe from quick shortcuts.
A holiday brunch table feels brighter when an Eggnog Cheesecake sits nearby, sharing spice notes with the pineapple-kissed rolls.
I like to drizzle a spoonful of leftover eggnog glaze over a warm Danish for an instant festive twist.
From Mixing Bowl to Baking Dish: The Method Explained
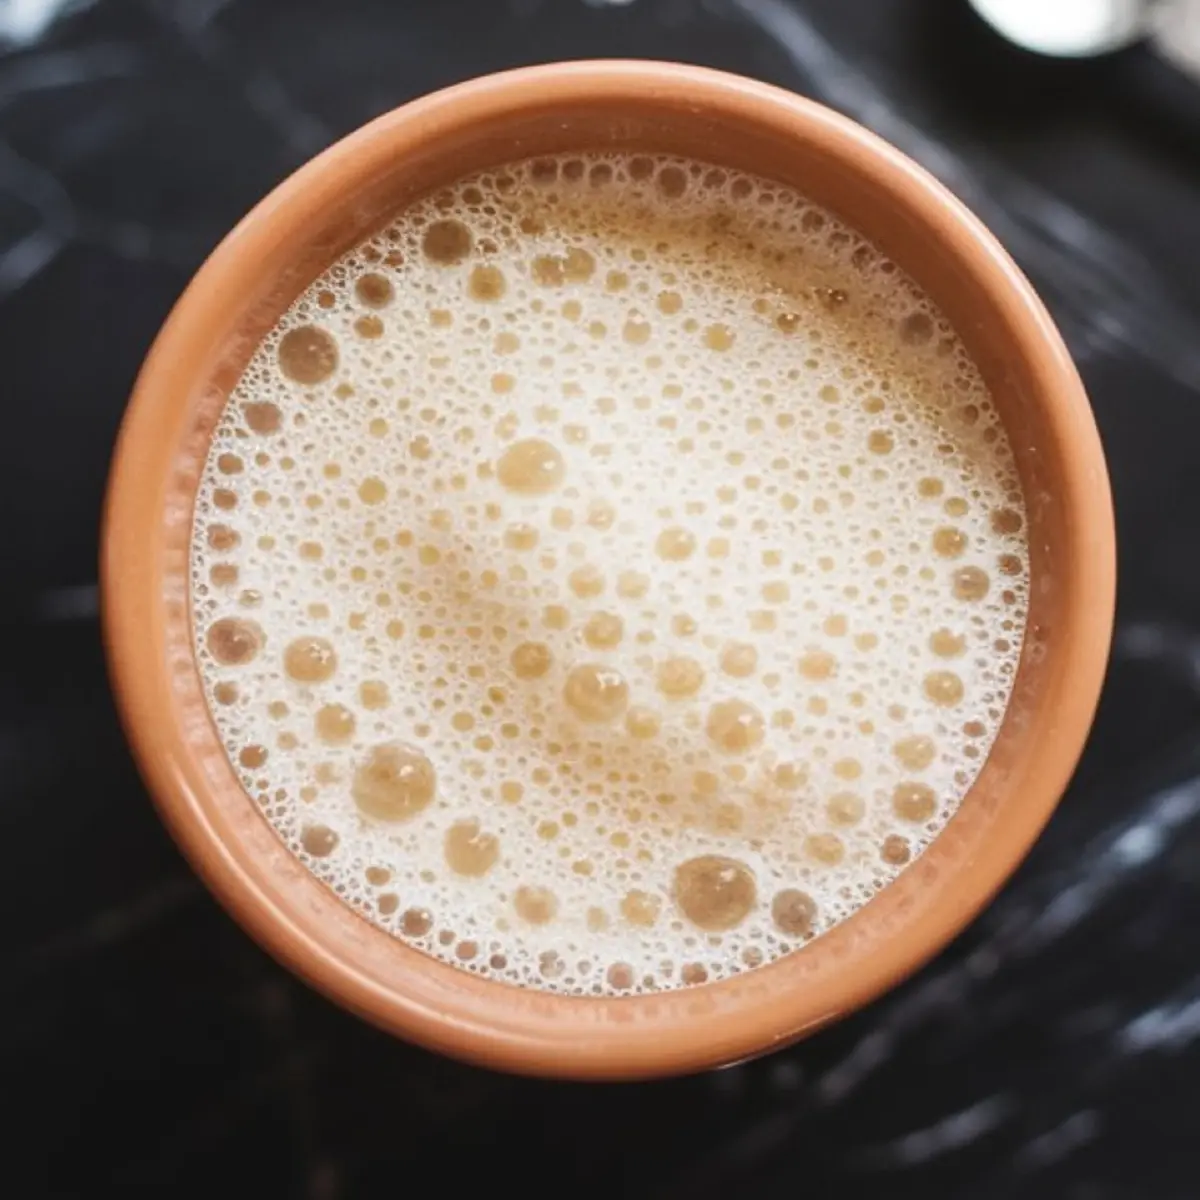
Warm milk meets yeast first, standing until foam covers the surface like latte crema.
Eggs, melted butter, juice, and vanilla then join, creating a fragrant pool that welcomes flour and salt.
A wooden spoon handles early mixing, yet a stand mixer with dough hook saves your wrists during the ten-minute knead.
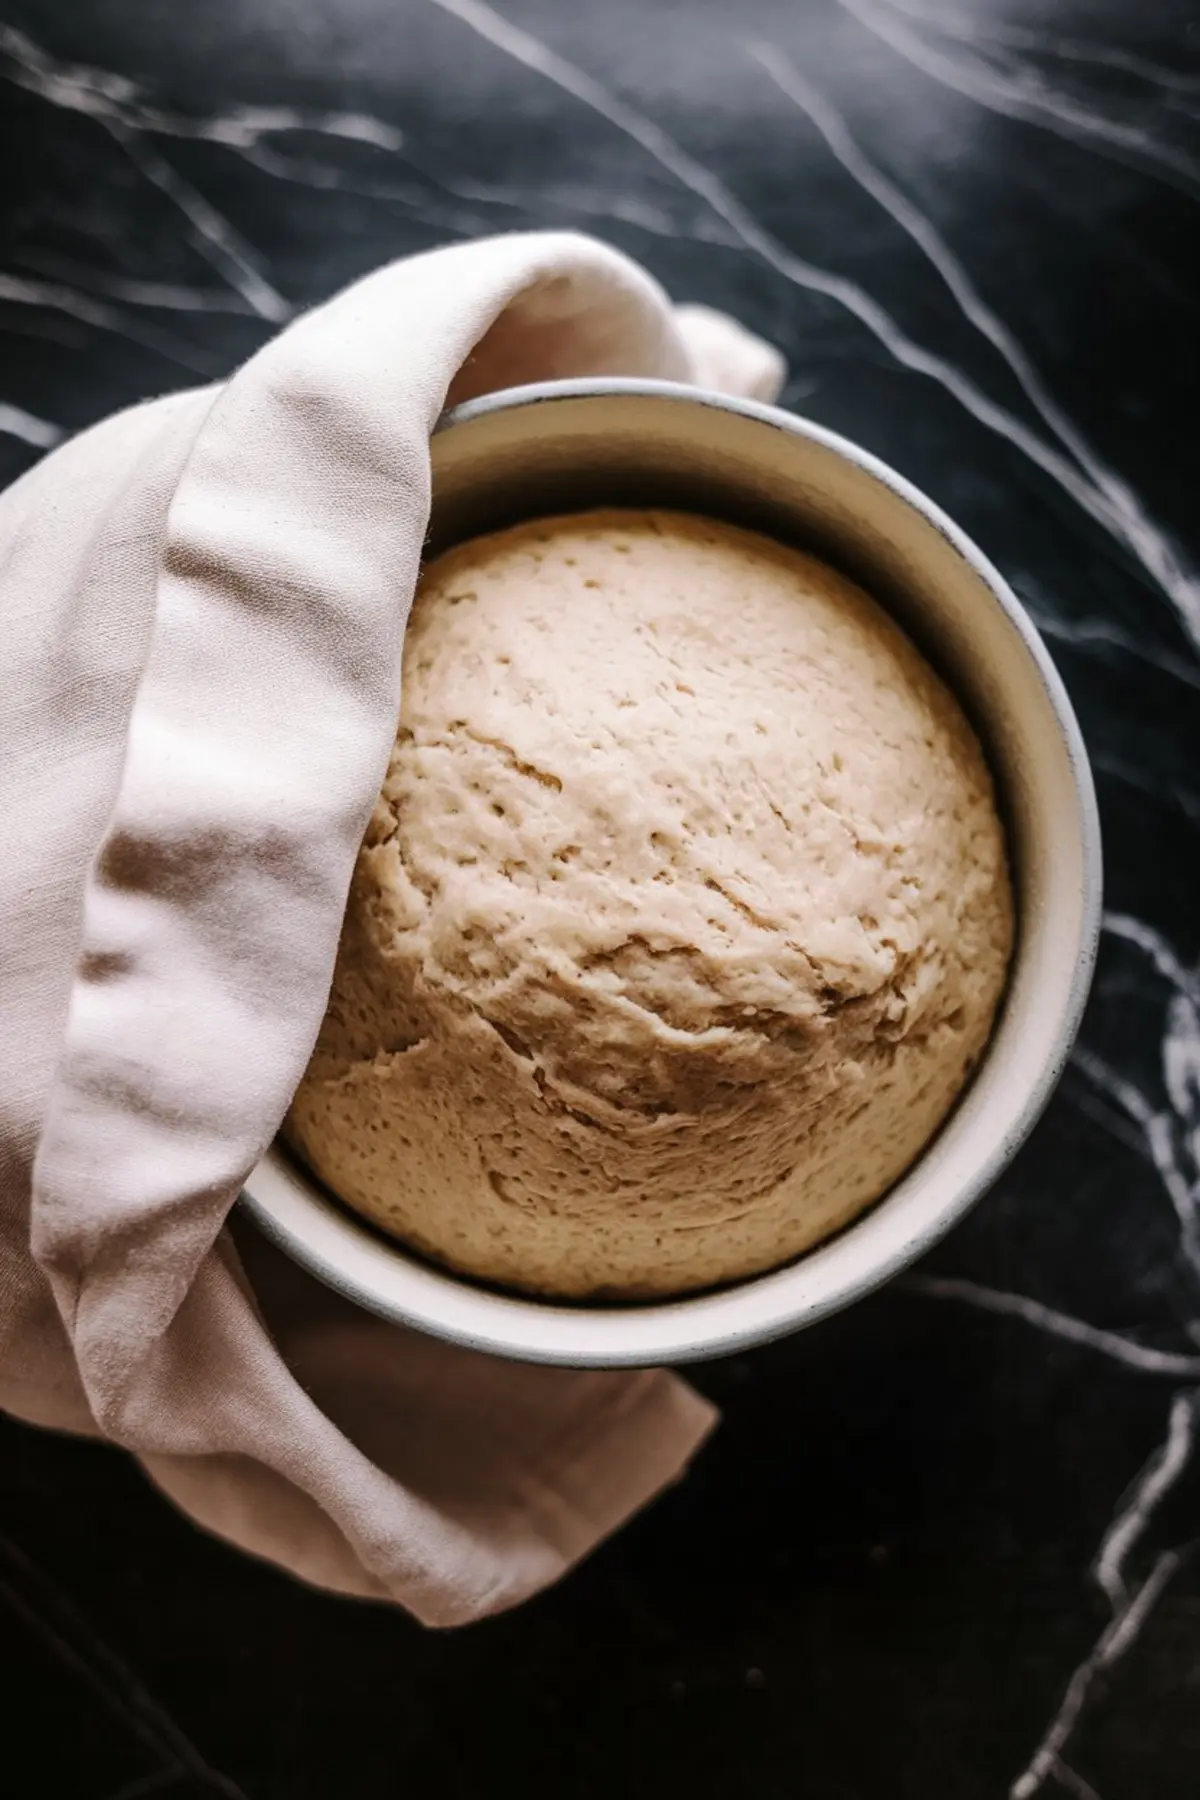
The dough rests in a greased bowl until doubled, ready to divide into twelve spheres about the size of ping-pong balls.
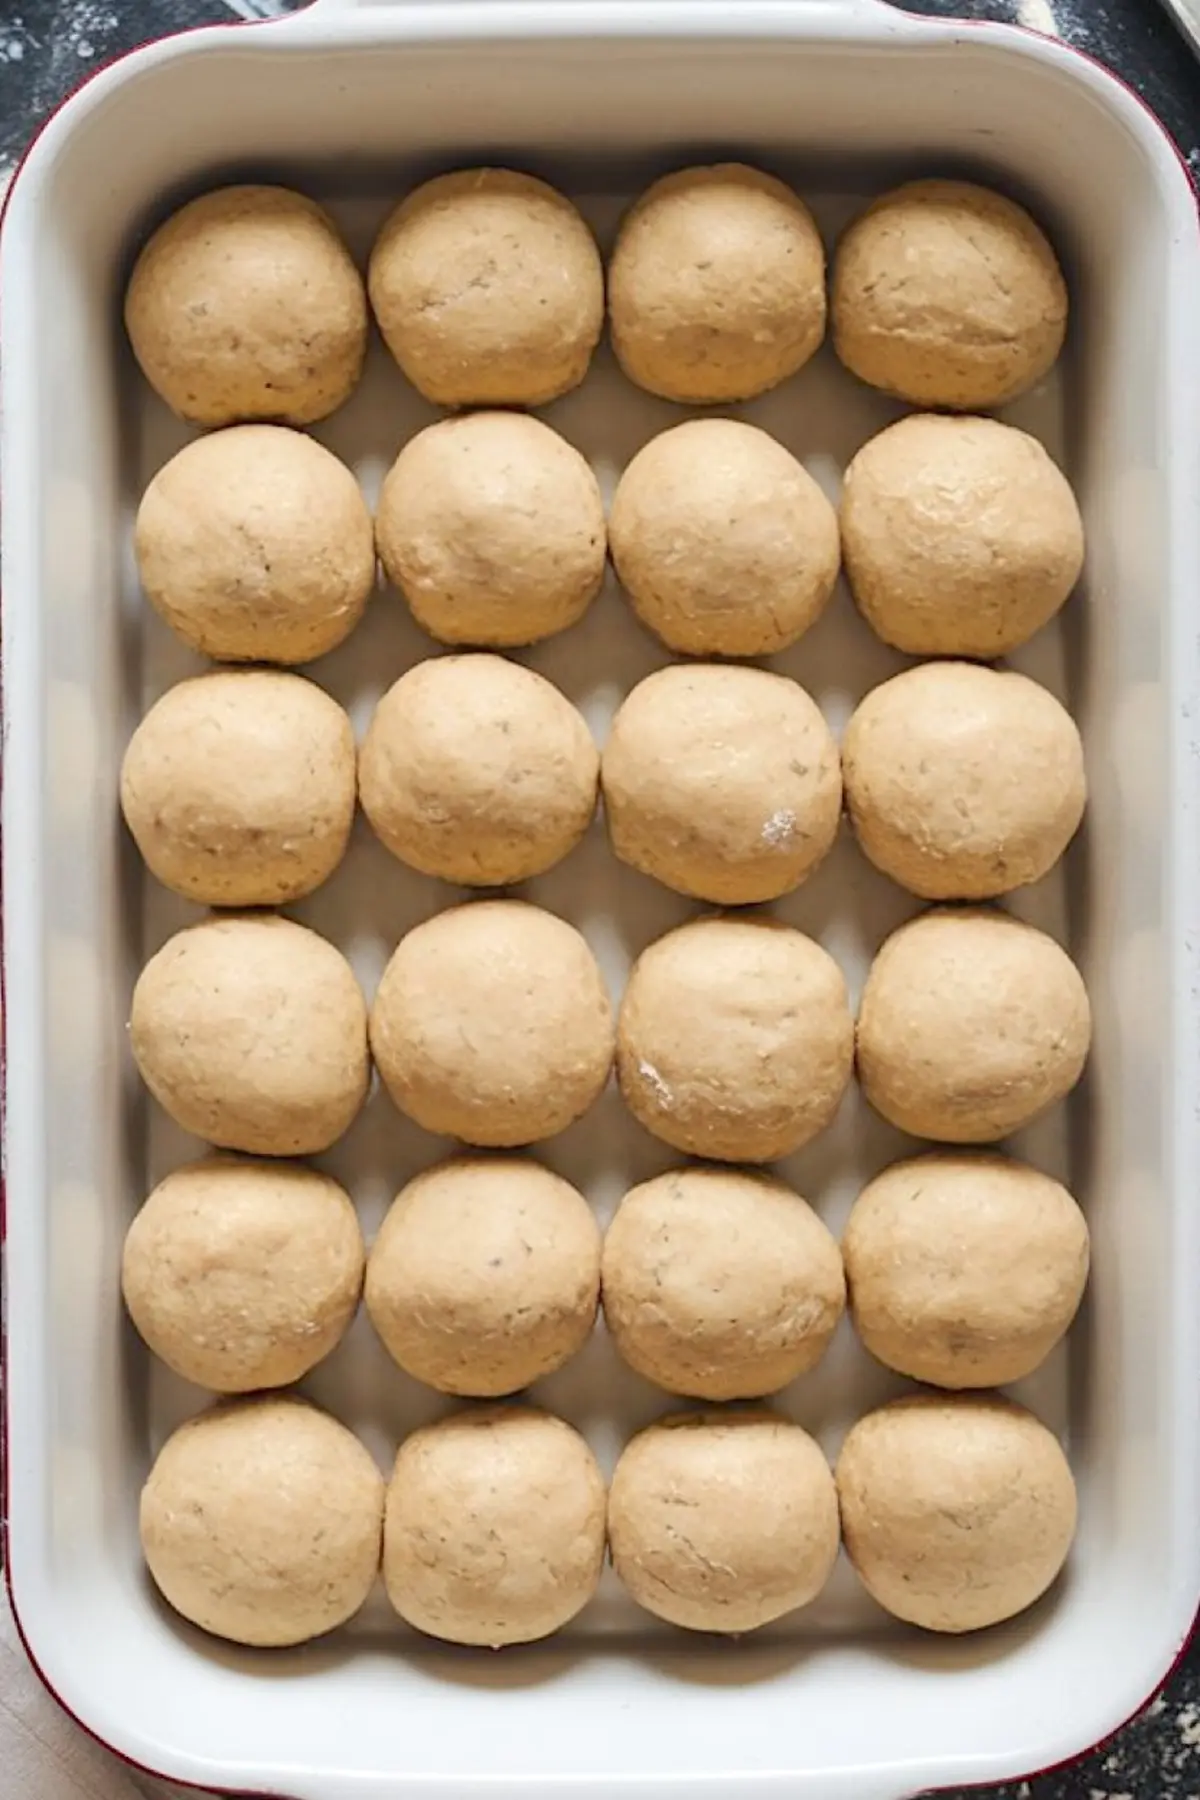
Arrange them in a greased baking dish with breathing room, then let them puff again; patience here rewards you with tender walls that hold the filling.
Before baking, press a deep well into each roll so the cheesecake mixture stays centered.
Light hands prevent tearing when spooning the creamy center, so move slowly.
Bake at 350 °F until golden brown and the filling no longer jiggles.
Cool ten minutes to set crumb structure before glazing.
Weekend bakers sometimes compare this process to making Kings Hawaiian Cinnamon Rolls, yet the cheesecake pocket changes the moisture balance.
I recommend sticking with the exact filling ratio first before tweaking flavors.
The Surprise Twist That Lifts the Crumb
Here comes the promised reveal: pineapple juice, though modest in amount, acts as flavor sunshine that brightens the dough without overwhelming sweetness.
That small dash turns ordinary sweet rolls into Cream Cheese Hawaiian Rolls with a subtle tropical lift.
Every bite hints at fruit without showing chunks, keeping texture smooth.
If you adore the springy chew of Hawaiian Butter Mochi, you will recognize the island spirit here.
The shared pineapple note links the two desserts, making them ideal partners on a brunch board.
Island flavors work together like old friends catching waves.
Bakers searching Kings Hawaiian Rolls Recipe Ideas sometimes swap mango juice for pineapple.
I tried that version last month, and while the dough still rose, the mango aroma faded during baking.
My verdict: stick to pineapple for a clear flavor line.
Serving, Storing, and Sharing Joy
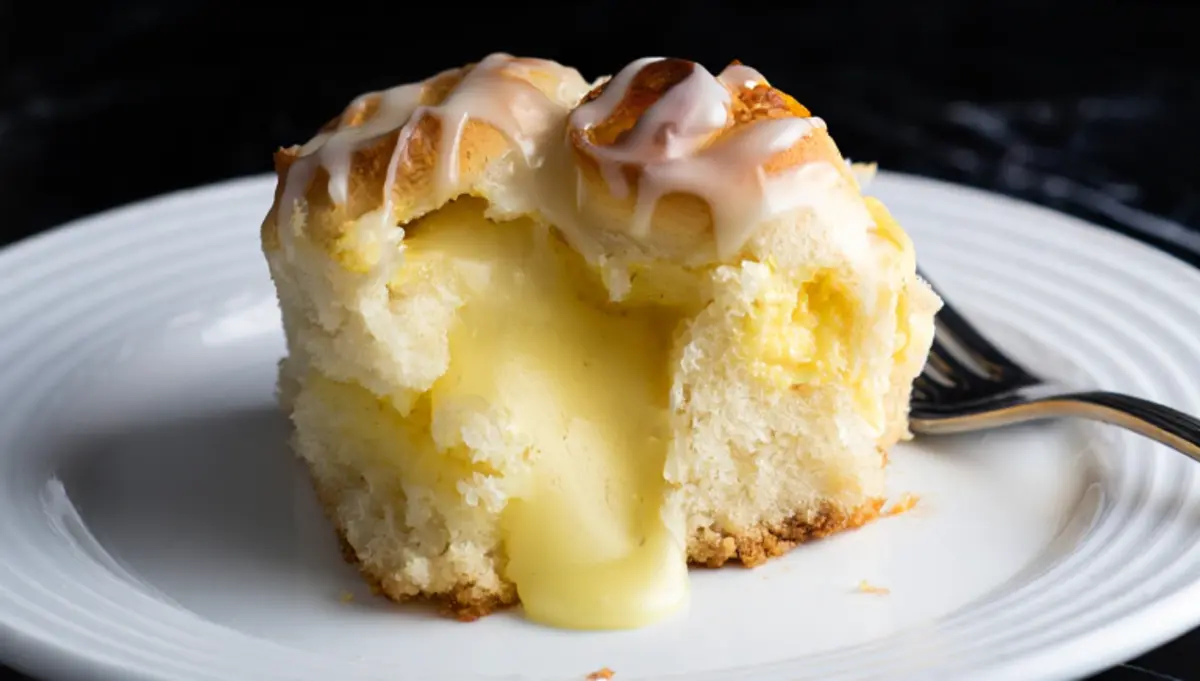
Serve the danishes warm, letting the glaze run into every crevice.
Leftovers keep in an airtight box in the fridge up to three days, though my household rarely sees day two.
A quick ten-second microwave wake-up returns the center to creaminess.
Holiday gatherings benefit from variety, so plating these beside Danish Recipes Traditional such as almond kringle provides contrast.
Guests appreciate a choice between nutty crisp and soft cheesecake.
The glaze sets within minutes, making travel easy for potlucks.
Kings Hawaiian Cheesecake Danish Recipe outshines many Hawaiian Roll Dessert Recipes because the texture stays moist even at room temperature.
Friends often message me photos of lunchtime slices, proof that this breakfast treat turns into an afternoon snack without losing appeal.
Will your coworkers fight over the last square? I suspect yes.
Pin It, Bake It, Tell Me Everything
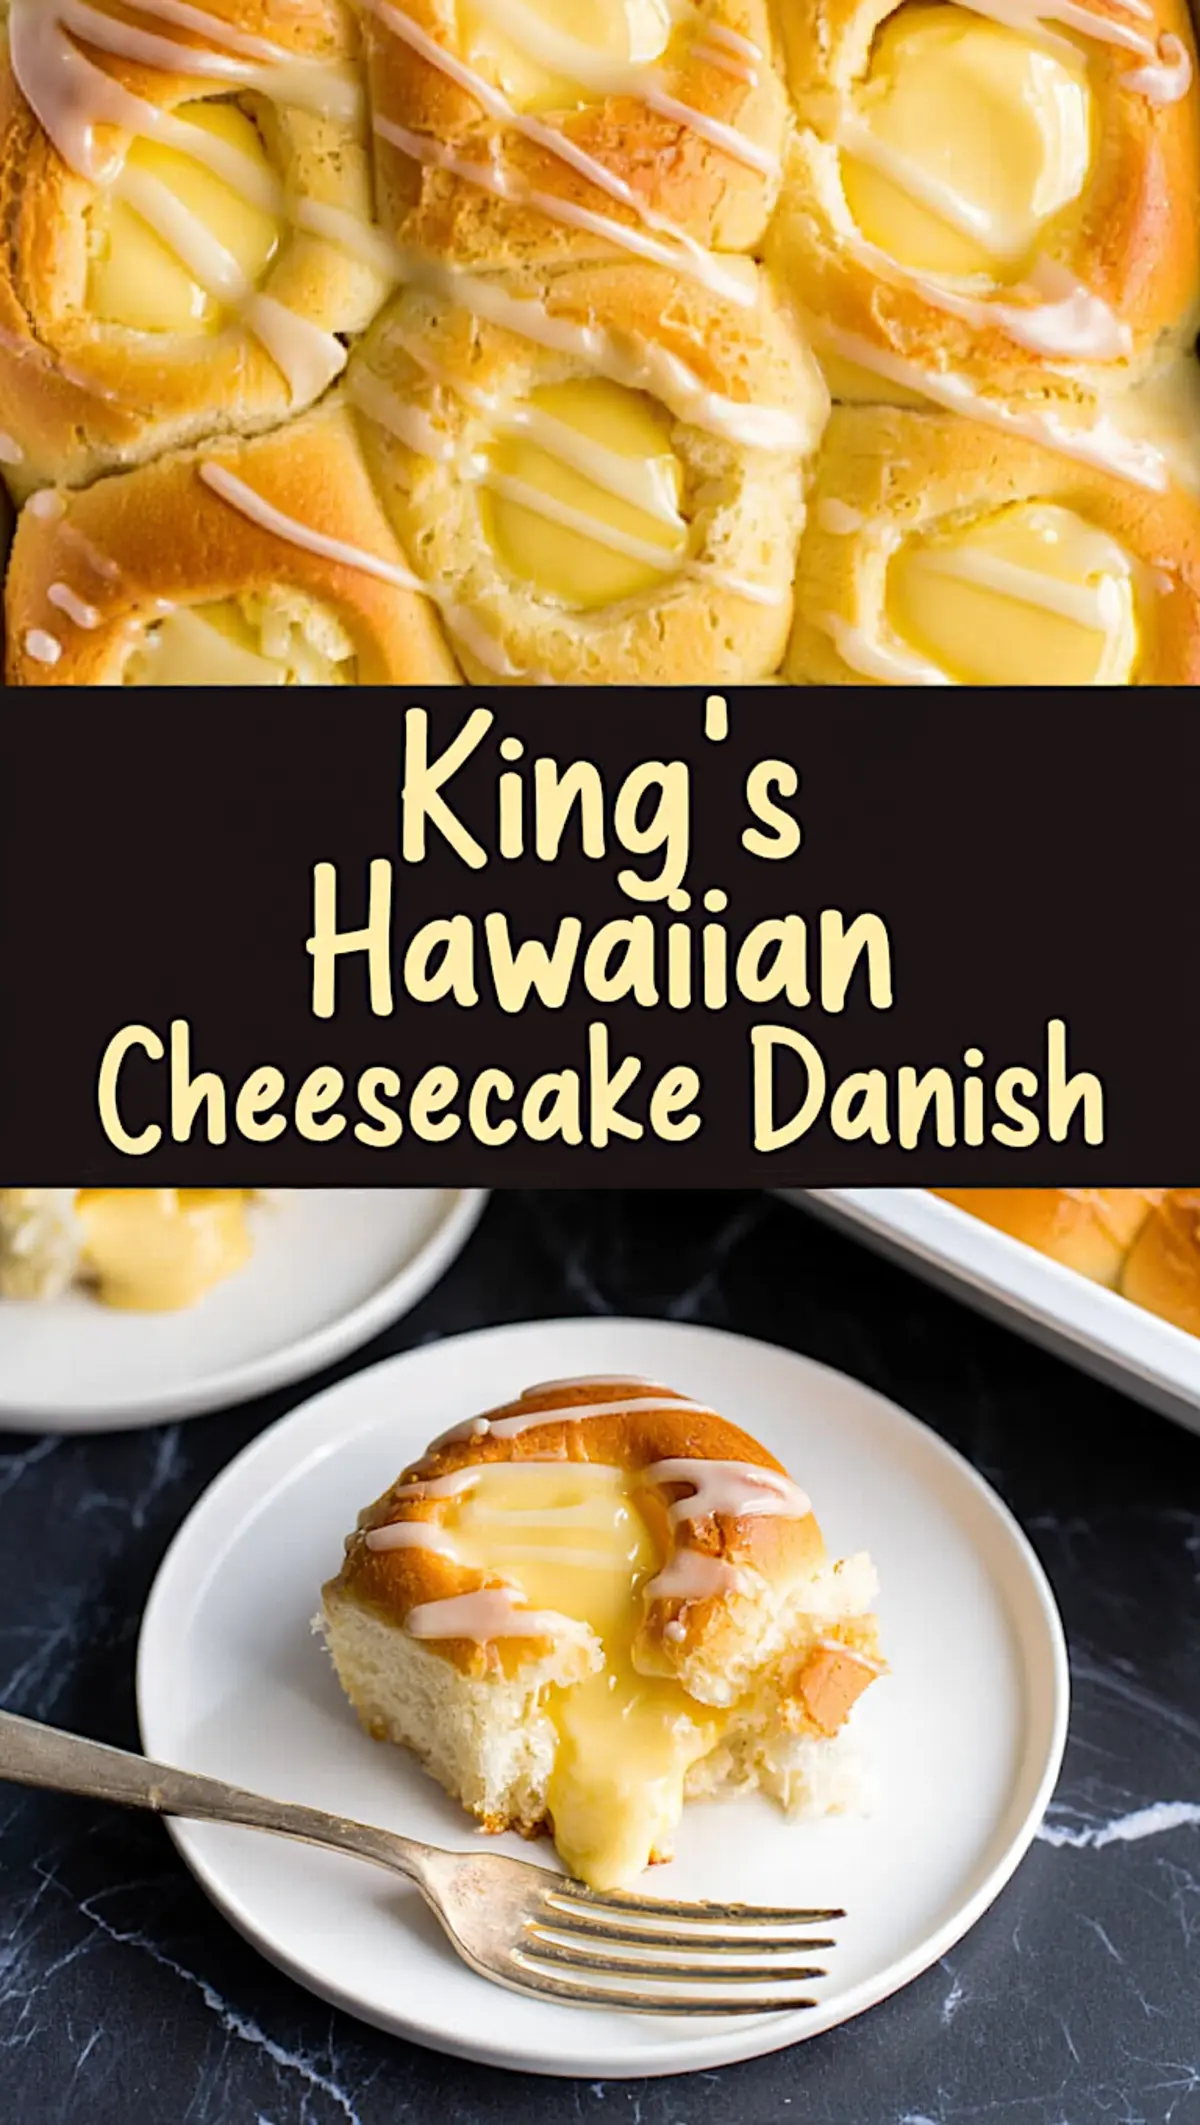
Save this recipe to your favorite board so it waits for the next brunch craving.
Come back and share how your batch turned out or ask any question that pops up while flour dusts your counter.
Community stories make each bake better, and your voice belongs here.
King’s Hawaiian Cheesecake Danish Recipe
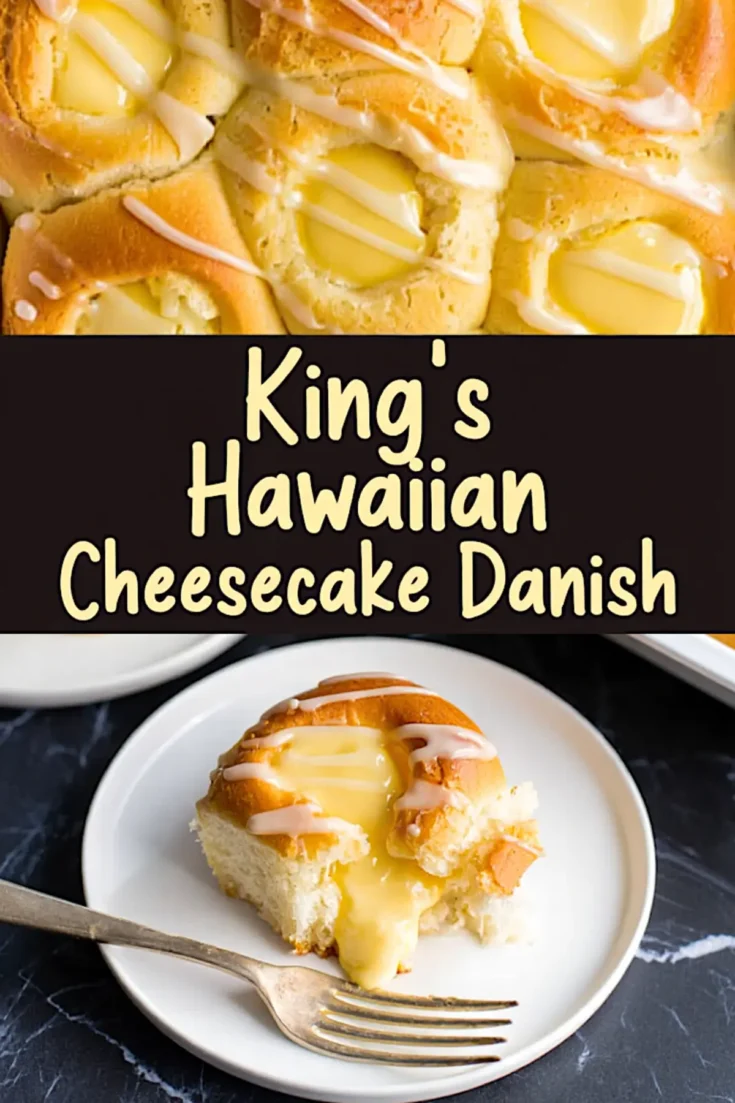
These homemade King’s Hawaiian Cheesecake Danishes combine soft, buttery sweet rolls with a hint of pineapple and vanilla, filled with a smooth, tangy cream cheese center. A simple glaze on top adds just the right amount of sweetness. This recipe takes you through each step of making the dough, filling, and glaze from scratch.
Ingredients
- FOR THE DOUGH
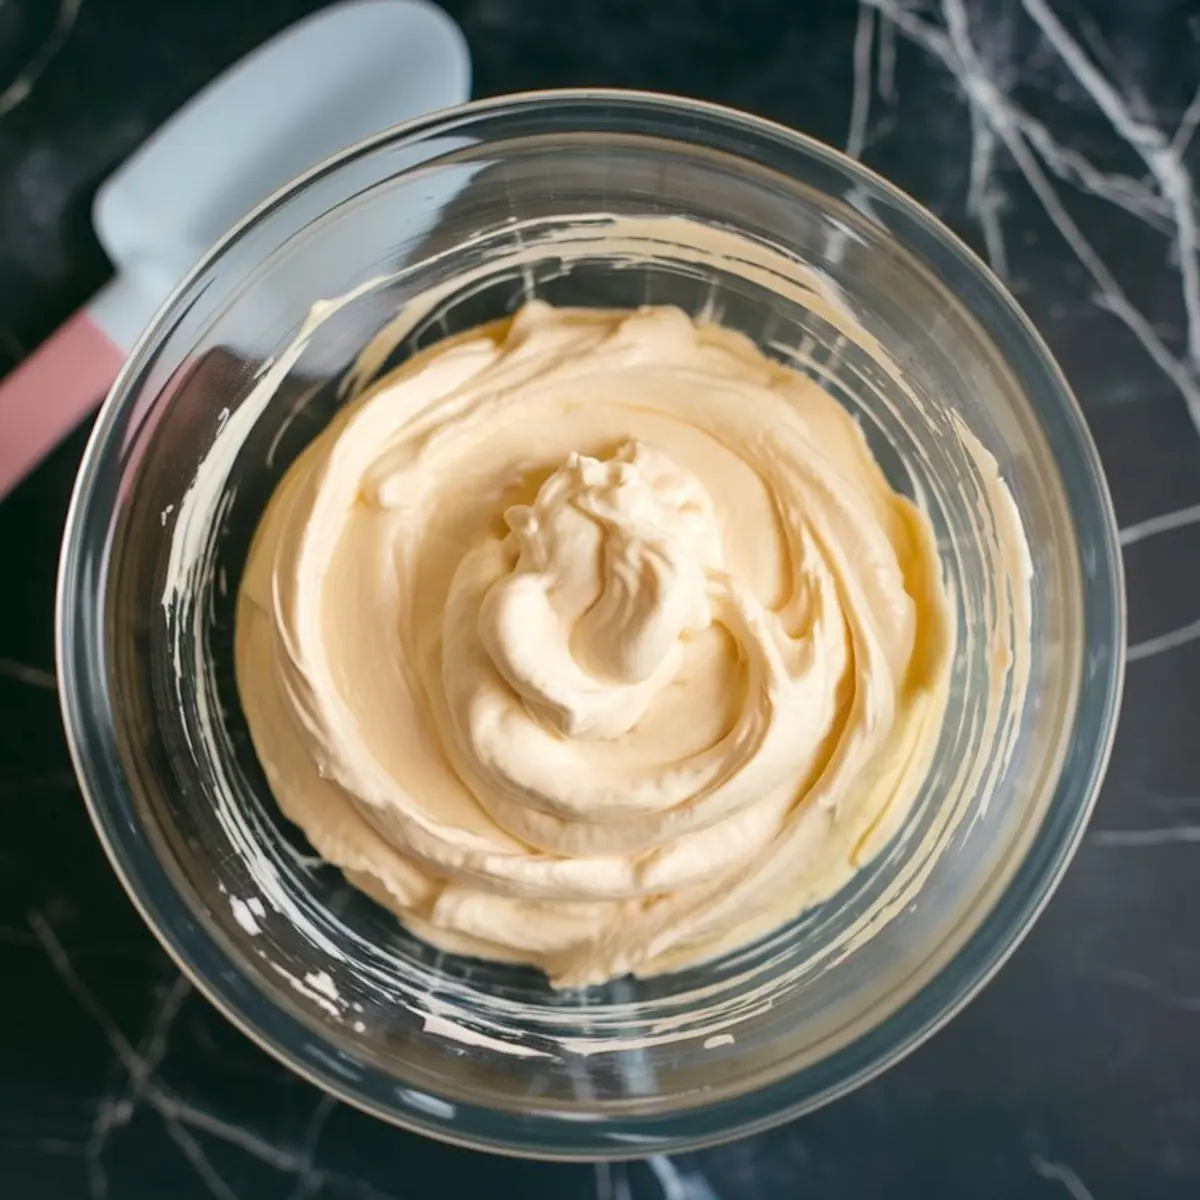
- 1 cup warm whole milk (about 110°F)
- 2 ¼ teaspoons (1 packet) active dry yeast
- ⅓ cup granulated sugar
- 2 large eggs, room temperature
- 6 tablespoons unsalted butter, melted
- ¼ cup pineapple juice
- 1 teaspoon vanilla extract
- 4 to 4 ½ cups all-purpose flour
- 1 teaspoon salt
- Nonstick spray or neutral oil for greasing
- FOR THE CHEESECAKE FILLING
- 8 ounces full-fat cream cheese, softened
- ¼ cup granulated sugar
- ½ teaspoon vanilla extract
- FOR THE GLAZE
- ¾ cup powdered sugar
- 1 to 2 tablespoons milk
- ¼ teaspoon vanilla extract
Instructions
- PROOF THE YEAST: Warm the milk to about 110°F and pour it into a large bowl. Stir in the sugar and sprinkle the yeast over the top. Let it sit for 10 minutes, or until foamy and activated.
- MIX THE WET INGREDIENTS: In a separate bowl, whisk together the eggs, melted butter, pineapple juice, and vanilla extract. Pour the egg mixture into the foamy yeast mixture and stir to combine.
- FORM THE DOUGH: Add 4 cups of flour and the salt to the wet ingredients. Stir with a wooden spoon or dough hook until a sticky dough forms. If the dough is very sticky, add more flour a tablespoon at a time until it pulls away from the sides of the bowl but remains soft.
- KNEAD THE DOUGH: Transfer the dough to a lightly floured surface and knead for 8 to 10 minutes, or until the dough is smooth and elastic. You can also use a stand mixer with a dough hook for this step.
- LET THE DOUGH RISE: Place the dough in a greased bowl, turning it once to coat the surface. Cover with plastic wrap or a clean towel and let it rise in a warm place until doubled in size, about 1 to 1½ hours.
- SHAPE THE ROLLS: Once the dough has risen, punch it down to release the air. Divide the dough into 12 equal pieces and roll each into a ball. Arrange them in a greased 9x13-inch baking dish with space between each ball. Cover and let rise again for 30 to 45 minutes, or until puffy.
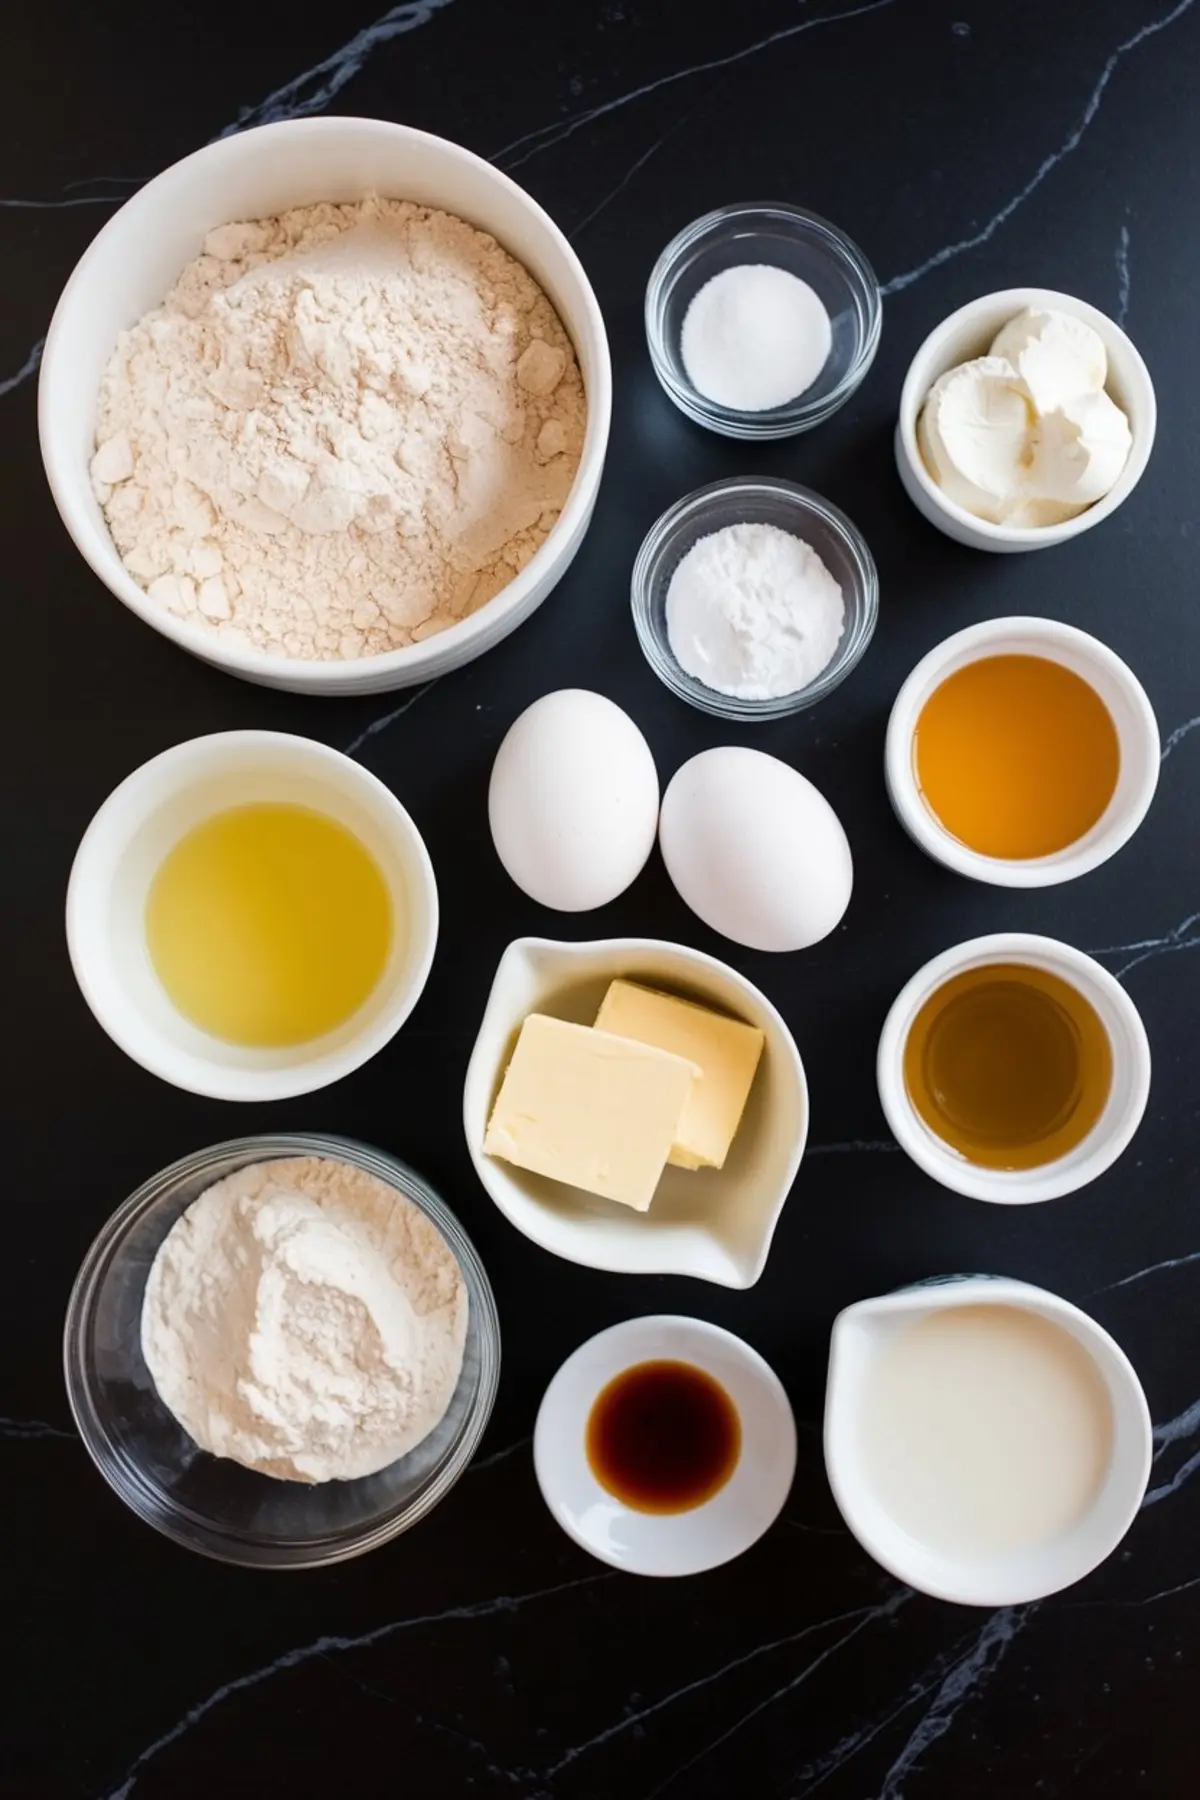
- MAKE THE FILLING: While the rolls are rising, beat the softened cream cheese with the sugar and vanilla extract until smooth and fluffy. Set aside at room temperature.
- PREPARE FOR BAKING: Preheat the oven to 350°F. Once the rolls are puffy, use the back of a spoon or your fingers to make a deep well in the center of each roll.
- FILL THE DANISHES: Spoon a generous amount of the cheesecake filling into each indentation, making sure it stays centered in each roll.
- BAKE THE ROLLS: Bake the danishes for 20 to 25 minutes, or until the rolls are golden brown and the cheesecake filling is set. Let them cool in the pan for 10 to 15 minutes.
- MAKE THE GLAZE: In a small bowl, whisk together the powdered sugar, milk, and vanilla extract until smooth. Adjust the consistency by adding more milk if needed.
- FINISH AND SERVE: Drizzle the glaze over the warm danishes before serving. Serve warm or at room temperature.
Notes
To make ahead, refrigerate the shaped rolls before the second rise and filling. Let them come to room temperature before proceeding. Rolls are best eaten the day they’re made but can be stored in an airtight container in the refrigerator for up to 3 days. Reheat slightly before serving.
Nutrition Information:
Yield:
20Serving Size:
1Amount Per Serving: Calories: 621Total Fat: 14gSaturated Fat: 7gTrans Fat: 0gUnsaturated Fat: 6gCholesterol: 44mgSodium: 232mgCarbohydrates: 107gFiber: 3gSugar: 14gProtein: 14g
