
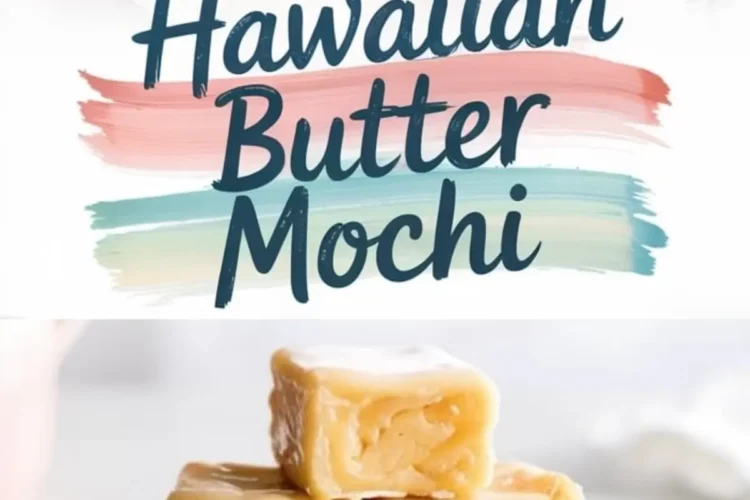
A chewy custard-like dessert made for sharing and remembering
Soft, golden, and gently chewy Hawaiian butter mochi sits somewhere between a cake and a custard. It’s made from mochiko flour and coconut milk, baked until the edges crack and the top turns golden. The result is a pan of sticky, tender slices that cool into something you can lift with your fingers, though I still use a little fork out of habit.
Butter mochi comes from Hawaii, and though I didn’t grow up with it, I’ve made it enough times to call it familiar. It keeps well, it travels well, and it has a quiet way of being the first thing gone at the table.
If you’ve never baked with mochiko before, don’t worry. It’s not fussy. You won’t need a mixer or any special timing. Once the batter is smooth, the oven does the rest.

What Is Hawaiian Butter Mochi Made From?
The key is mochiko flour, also known as sweet rice flour. It gives the mochi its signature chew — not bouncy, but stretchy in a soft and comforting way. Regular rice flour will not work here. I’ve tried it once when I ran out, and the pan turned out dense and crumbly. I still ate it with coffee, but it wasn’t right.
You’ll also need:
- Full-fat coconut milk
- Granulated sugar
- Eggs and butter
- A bit of whole milk to loosen the batter
- Vanilla and baking powder for balance
The batter will look glossy and feel heavy. That’s how it should be.
Butter vs. Oil: What Makes the Texture Just Right?
In my notes, I’ve compared butter mochi made with melted butter to one made with neutral oil. The oil version bakes a bit smoother, but the flavor sits flat. The butter brings a deeper warmth and gives the top that crisped edge I look for — the kind that snaps just slightly when you press your finger to it.
If you’re using unsalted butter, as I do, don’t forget the pinch of salt in the dry mix. It anchors the sweetness.
How to Make Hawaiian Butter Mochi Step-by-Step
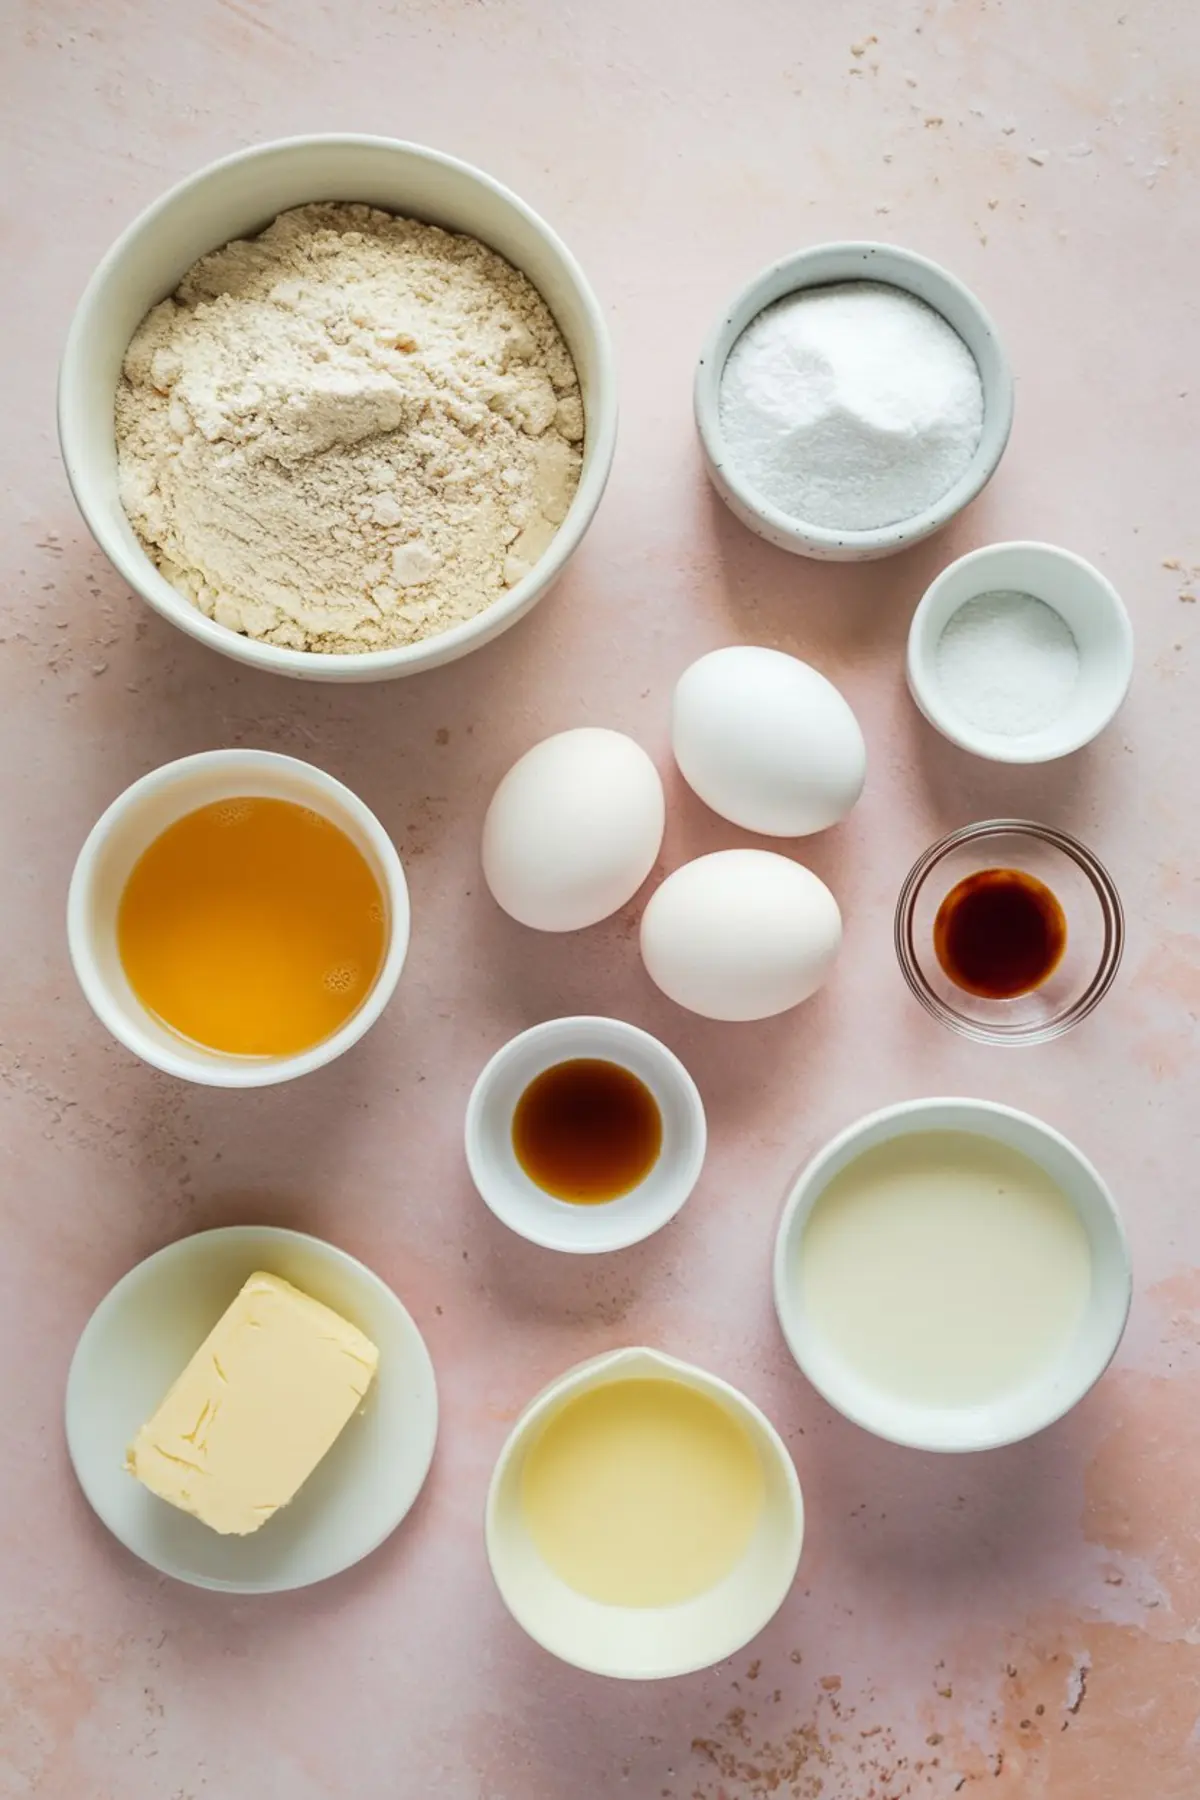
Start by greasing your 9×13 pan well. The batter clings, and a clean release makes a difference later.
Mix the dry ingredients in a large bowl: mochiko, sugar, baking powder, and salt.
In a separate bowl, whisk the eggs. Stir in the vanilla, coconut milk, whole milk, and melted butter. The mixture will look creamy and slightly thick.
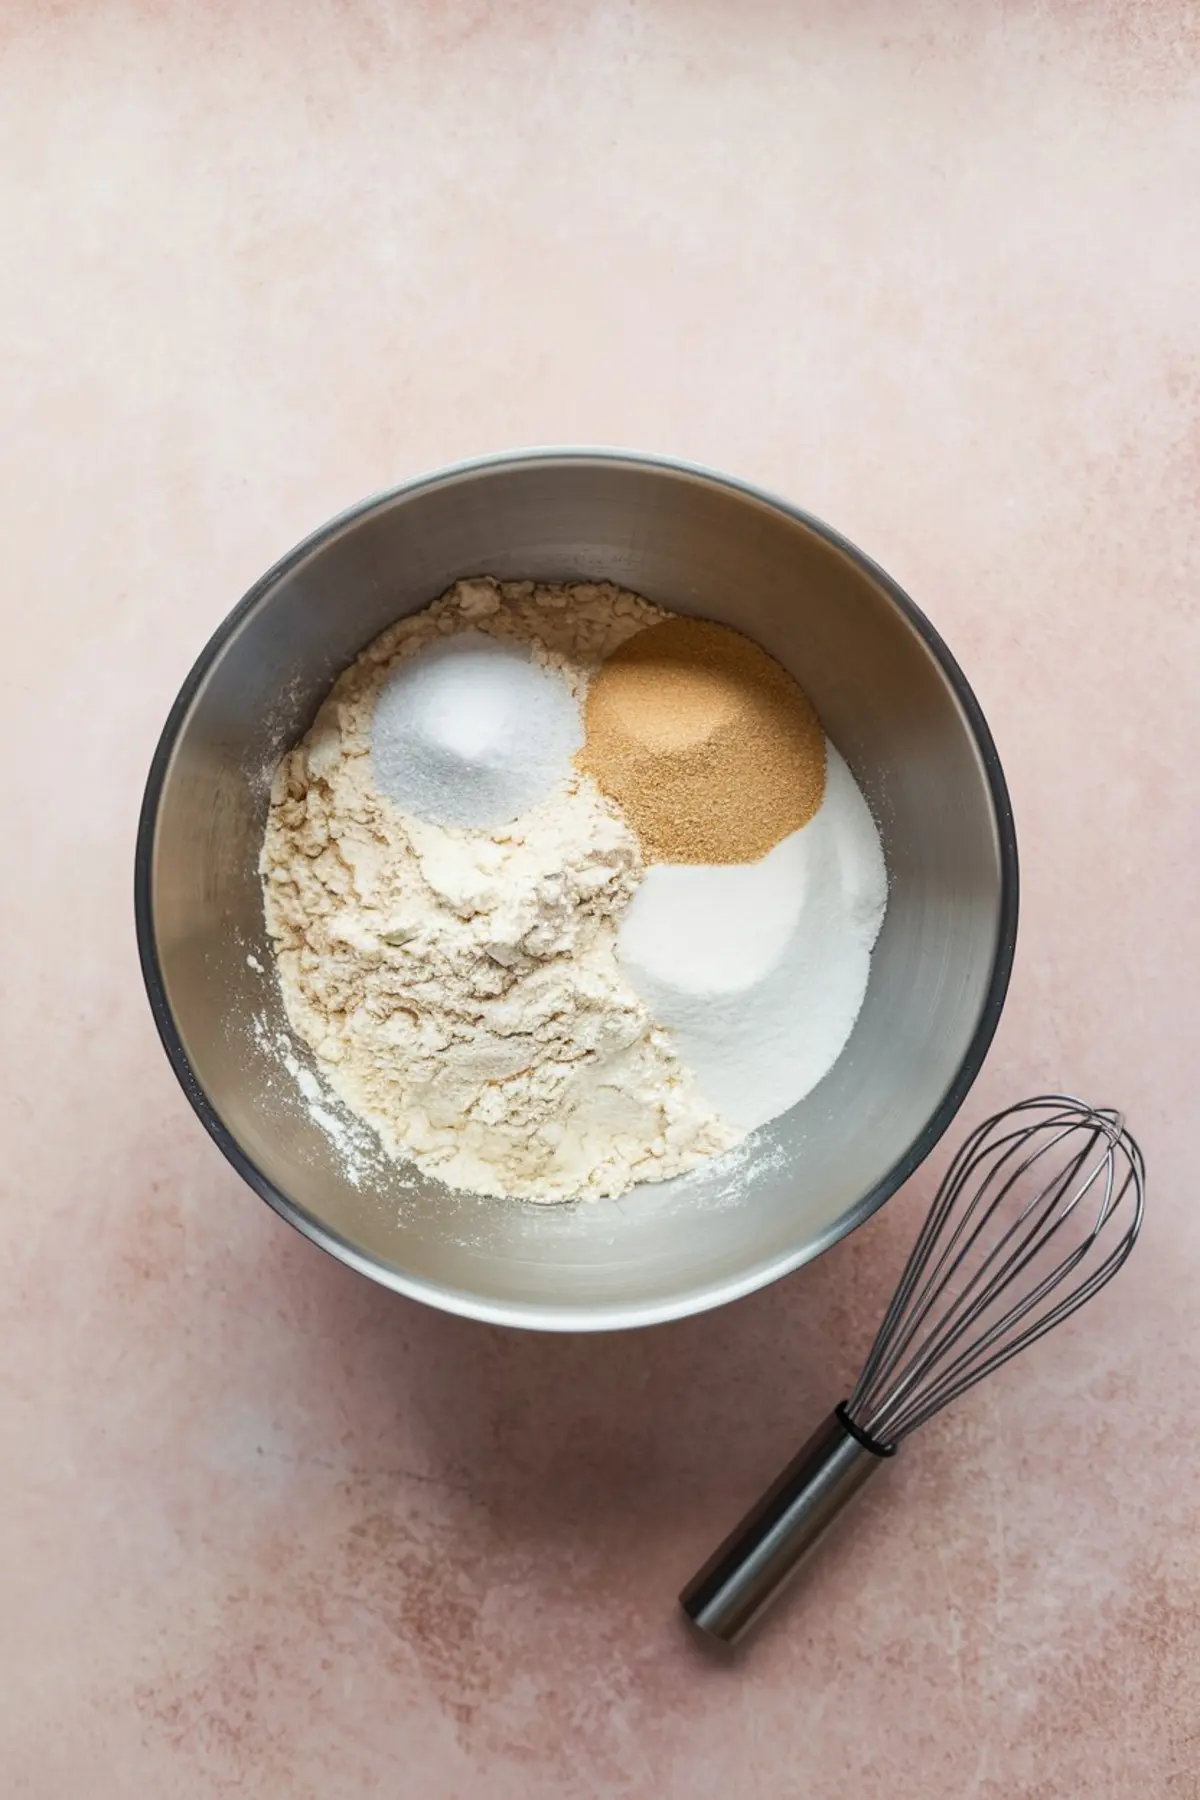
Combine wet and dry, whisking until smooth. You don’t need to beat it — just be sure there are no lumps. The batter should feel heavy but pourable.

Pour it into your pan, then lift and gently tap the pan against the counter. That settles any air pockets.
Bake at 350°F (175°C) for one hour. You’re looking for a golden surface and a few gentle cracks across the top.
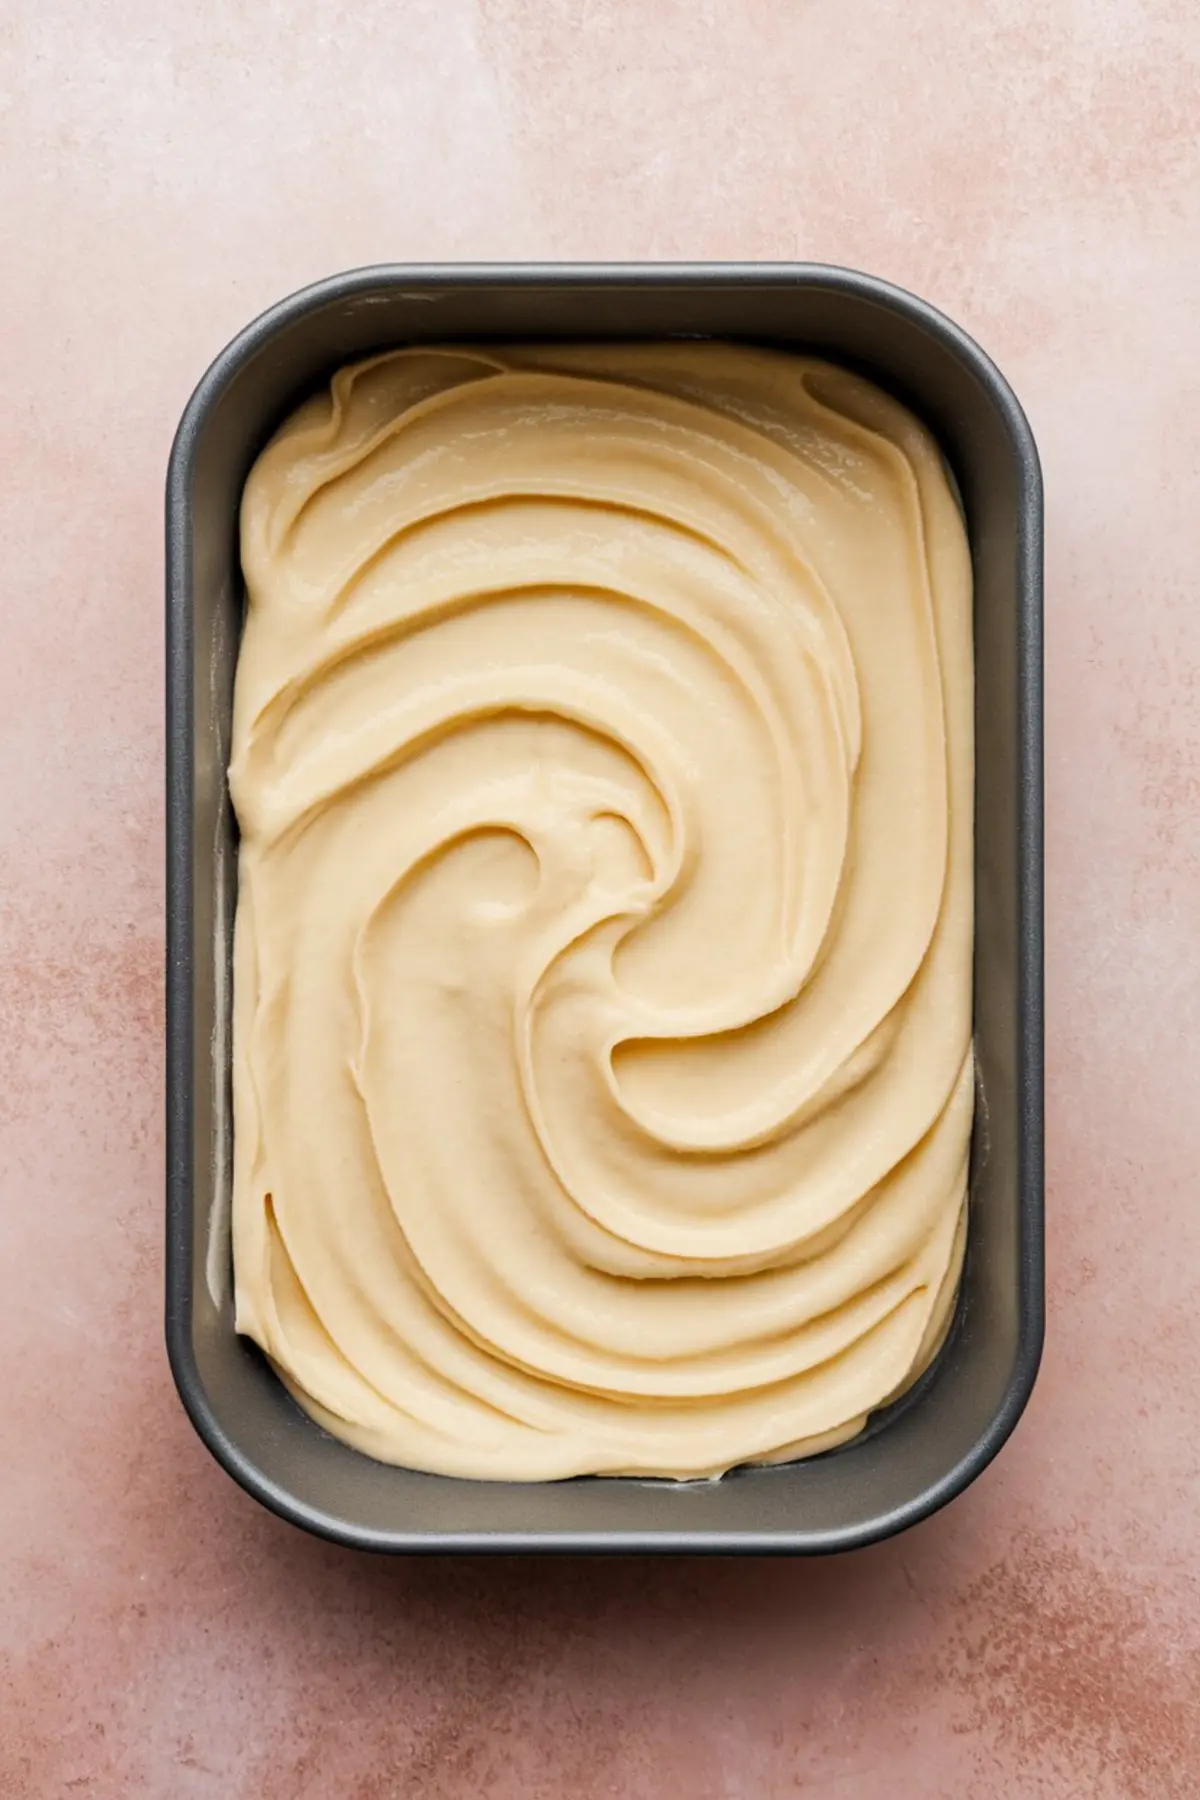
If it cracks more than expected, don’t worry. That’s just the butter speaking. The texture underneath will be soft and smooth.
Let it cool completely before slicing. If you cut it warm, the pieces can turn gummy and misshapen. I leave mine in the pan on the counter for a full hour, then lift with a metal spatula and wipe the knife between cuts.
Serving and Storing Butter Mochi

Once cooled and cut, butter mochi holds its shape well. It doesn’t need frosting, dusting, or much of anything. Sometimes I add a little powdered sugar, but only if I’m packing it in tins.
You can leave it at room temperature for a day or two, covered with wax paper. After that, refrigerate any leftovers. The texture firms up when cold, but I find it pleasant — a little toothsome, like cold custard.
For snacks that also hold well on the counter, I’d also suggest these Easy Protein Balls or Easy Apple Fritters. They remind me of afternoons at Chloe’s, when we’d sip Easy Mocktails and talk about poetry.
A Few Gentle Notes from My Kitchen
I always keep my mochiko flour in a glass jar with a label written in ink. The box gets soft in humidity. And I keep my recipe handwritten, taped onto a brown index card with a small grease stain in the corner. I think that stain is from 2008. Or earlier.
The coconut milk matters. Use full-fat, from the can. I’ve tried using light coconut milk once, and the result baked pale and loose. It didn’t firm the same way.
And if your mochi browns a bit unevenly, or the corner pieces look darker — those are my favorite ones. They have the chew.
Save the Recipe, Ask a Question, or Leave a Note

If you’ve made this or plan to, I’d love to hear how it turns out. Leave a comment or save the pin so you can find it again when the mood strikes.
And if a piece sticks to the pan, don’t fret. That’s what the edge of a spoon is for.
Say hello below — Chloe always reads your notes, and I do too.
Hawaiian Butter Mochi

Hawaiian Butter Mochi is a soft, chewy dessert with the rich, smooth texture of a baked custard. It combines sweet rice flour and coconut milk to create a sweet, golden slice that is simple to prepare and made for sharing. The mochi has a lightly crisp top and a sticky, tender center, offering a satisfying and memorable treat.
Ingredients
- 1 box (16 oz) mochiko flour (sweet rice flour)
- 2 cups granulated sugar
- 1 teaspoon baking powder
- 1/2 teaspoon salt
- 4 large eggs
- 2 teaspoons vanilla extract
- 1 can (13.5 oz) full-fat coconut milk
- 1 1/2 cups whole milk
- 1 stick (1/2 cup) unsalted butter, melted and slightly cooled
Instructions
- PREHEAT THE OVEN: Set the oven to 350°F (175°C). Grease a 9x13-inch baking pan thoroughly to prevent sticking.
- MIX THE DRY INGREDIENTS: In a large mixing bowl, whisk together the mochiko flour, granulated sugar, baking powder, and salt until well combined.
- COMBINE THE WET INGREDIENTS: In a separate medium bowl, beat the eggs. Add the vanilla extract, coconut milk, whole milk, and melted butter, and mix until the mixture is smooth and fully combined.
- CREATE THE BATTER: Pour the wet ingredients into the bowl of dry ingredients. Whisk them together until a thick, glossy batter forms without any lumps.
- POUR INTO THE PAN: Transfer the batter into the prepared baking pan. Shake the pan gently to spread the batter evenly and eliminate air bubbles.
- BAKE THE MOCHI: Place the pan in the preheated oven and bake for 1 hour, or until the top is golden brown and the surface begins to crack slightly. The center should feel firm when gently pressed.
- COOL COMPLETELY: Remove the pan from the oven and let the butter mochi cool completely in the pan to allow it to set properly. Cutting while warm can cause the pieces to lose their shape.
- SLICE AND SERVE: Once fully cooled, use a sharp knife to cut the mochi into squares. Dust with powdered sugar if desired, though the buttery top is flavorful enough on its own.
Notes
Use only mochiko flour for the proper chewy texture. Full-fat coconut milk is recommended for richness. Let the butter mochi cool completely before slicing to maintain clean edges.
Nutrition Information:
Yield:
24Serving Size:
1Amount Per Serving: Calories: 129Total Fat: 4gSaturated Fat: 3gTrans Fat: 0gUnsaturated Fat: 1gCholesterol: 34mgSodium: 88mgCarbohydrates: 22gFiber: 0gSugar: 17gProtein: 2g
