

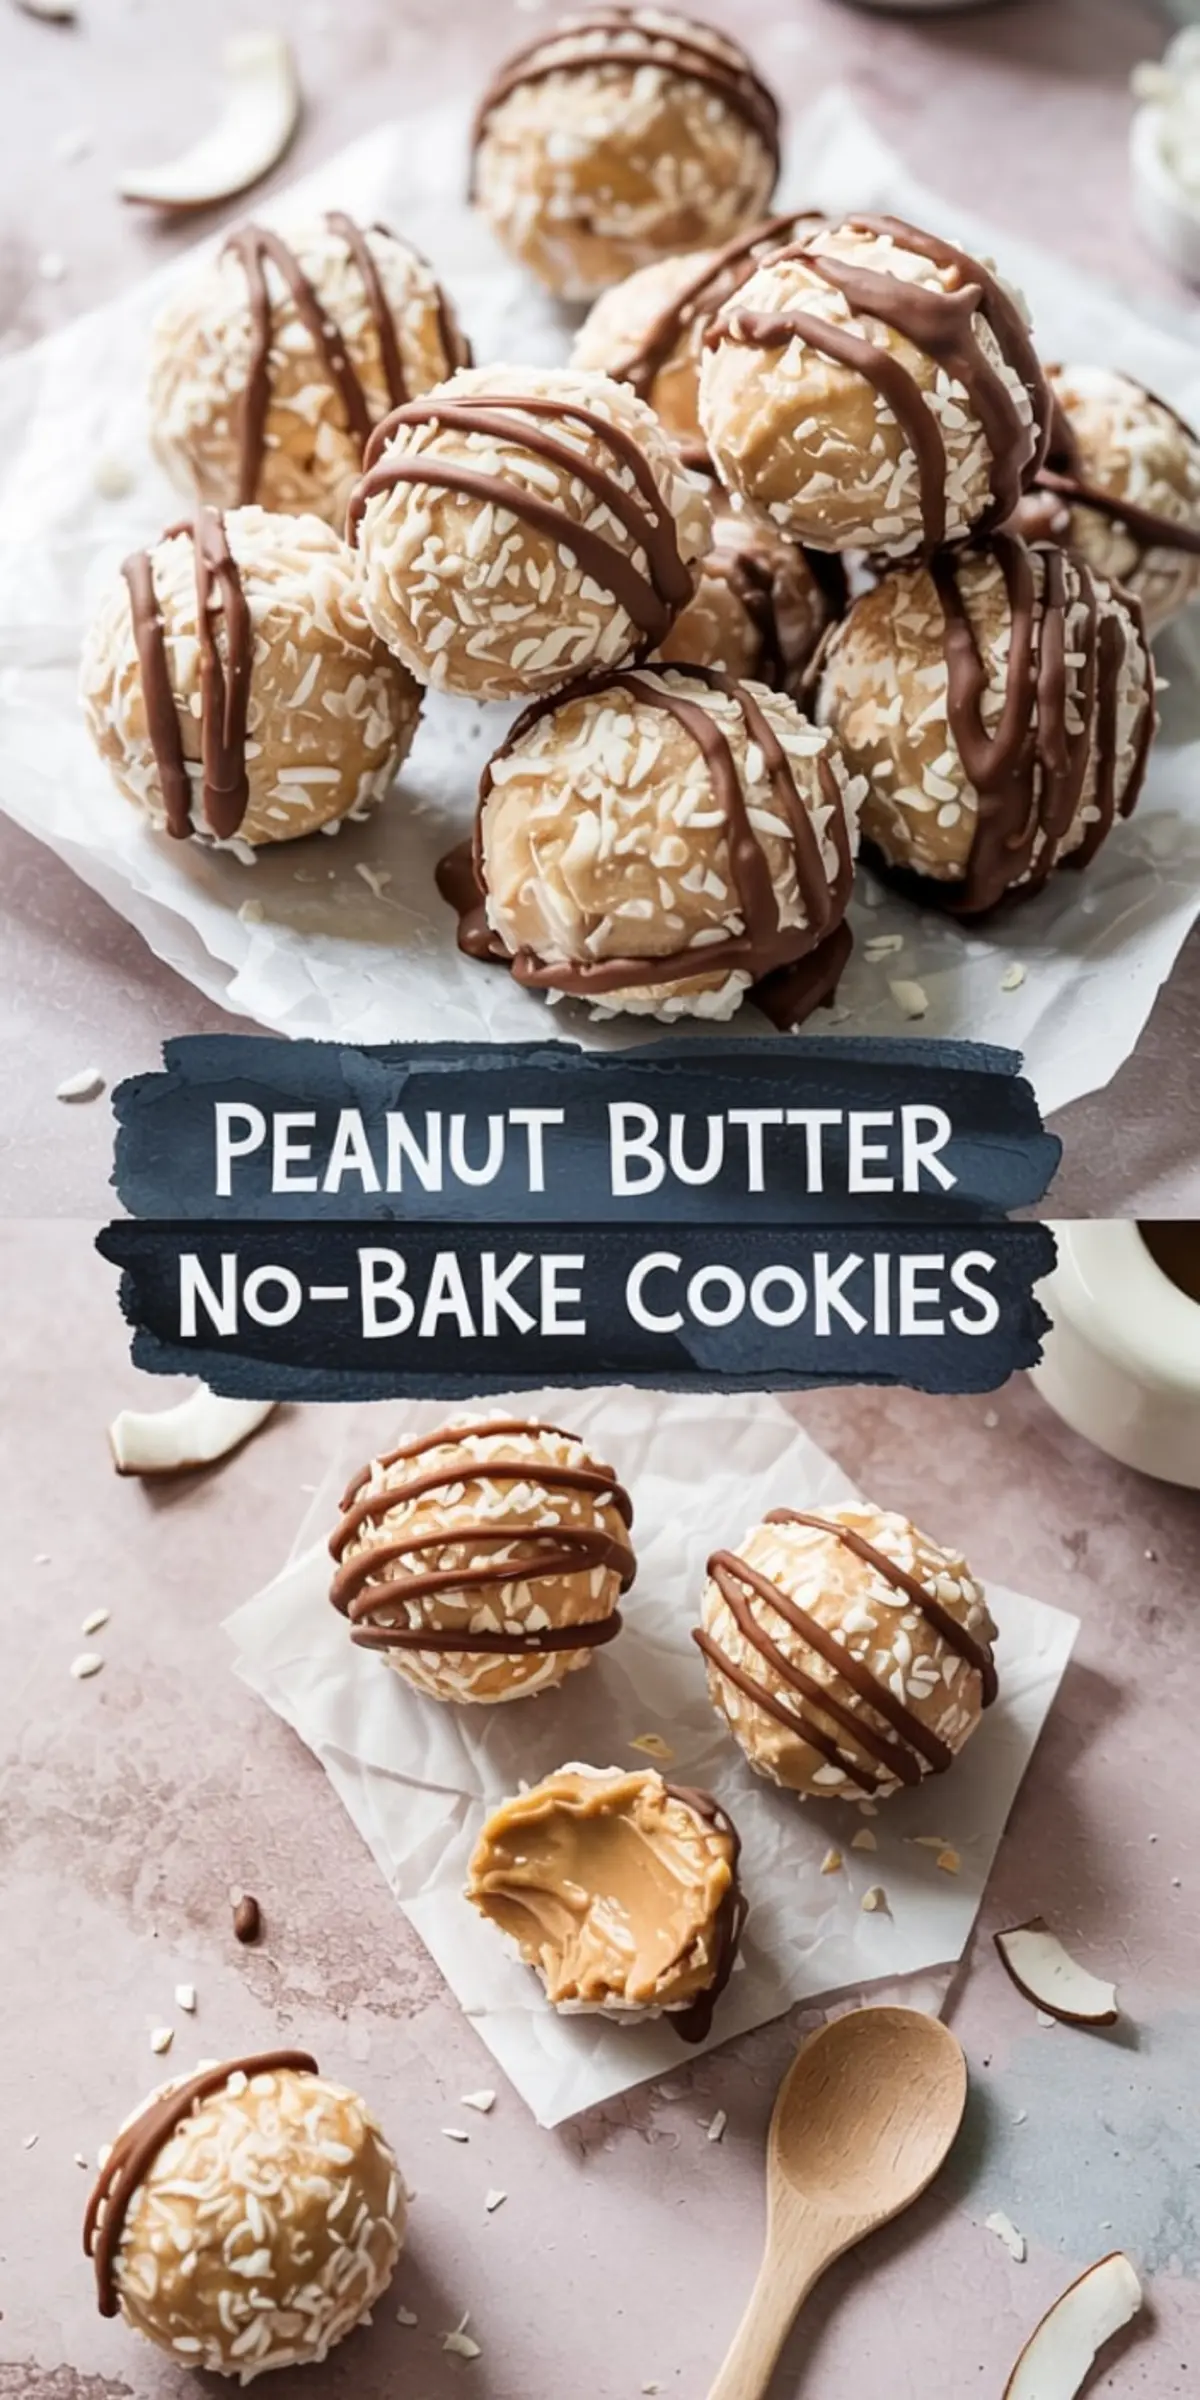
No-bake cookies like these saved many summer days in my kitchen. The oven stayed off, and the house stayed cool. You only need one bowl and a bit of patience while the fridge does the rest. These peanut butter no bake cookies are simple, familiar, and quietly indulgent.
Crushed vanilla wafers give them structure. Peanut butter brings the richness. Coconut adds a gentle chew. You don’t need eggs or flour. You don’t need to fuss. These aren’t delicate cookies—they’re dependable. Soft in the middle, firm along the edges, and sturdy enough to stack in a tin for later.
You might already have everything you need in your pantry. That’s the kind of recipe I always keep in my butter-smudged notebook—recipes that ask for little, give a lot, and don’t mind if you’re moving slowly.

No Bake Cookies with Peanut Butter and Chocolate
There’s a quiet surprise in this recipe. The outside might look like any no bake cookie. But inside, it’s smooth, soft, almost like fudge. The first bite is cool and creamy, followed by a little crunch from the crushed wafers. Then comes the coconut. Just enough texture to hold everything together.
I’ve made versions of these cookies since the early 1970s. Back then, I stirred everything by hand with a wooden spoon and melted chocolate over a gas flame. Today, I use the microwave and a mixing bowl. Both work fine.
The chocolate drizzle is small, but it makes a difference. Don’t skip it. It sets with a chill and snaps lightly when you bite. You can also swirl the chocolate in if you’d rather not drizzle. It’s forgiving.
If the dough feels too sticky when you’re shaping the cookies, wait a minute. Wash your hands, dry them well, then keep going. And if they come out lopsided? That’s fine too. If they’re crumbly or soft or don’t look like the photo—don’t worry. They’ll still taste just right.
Ingredients that Hold Their Shape
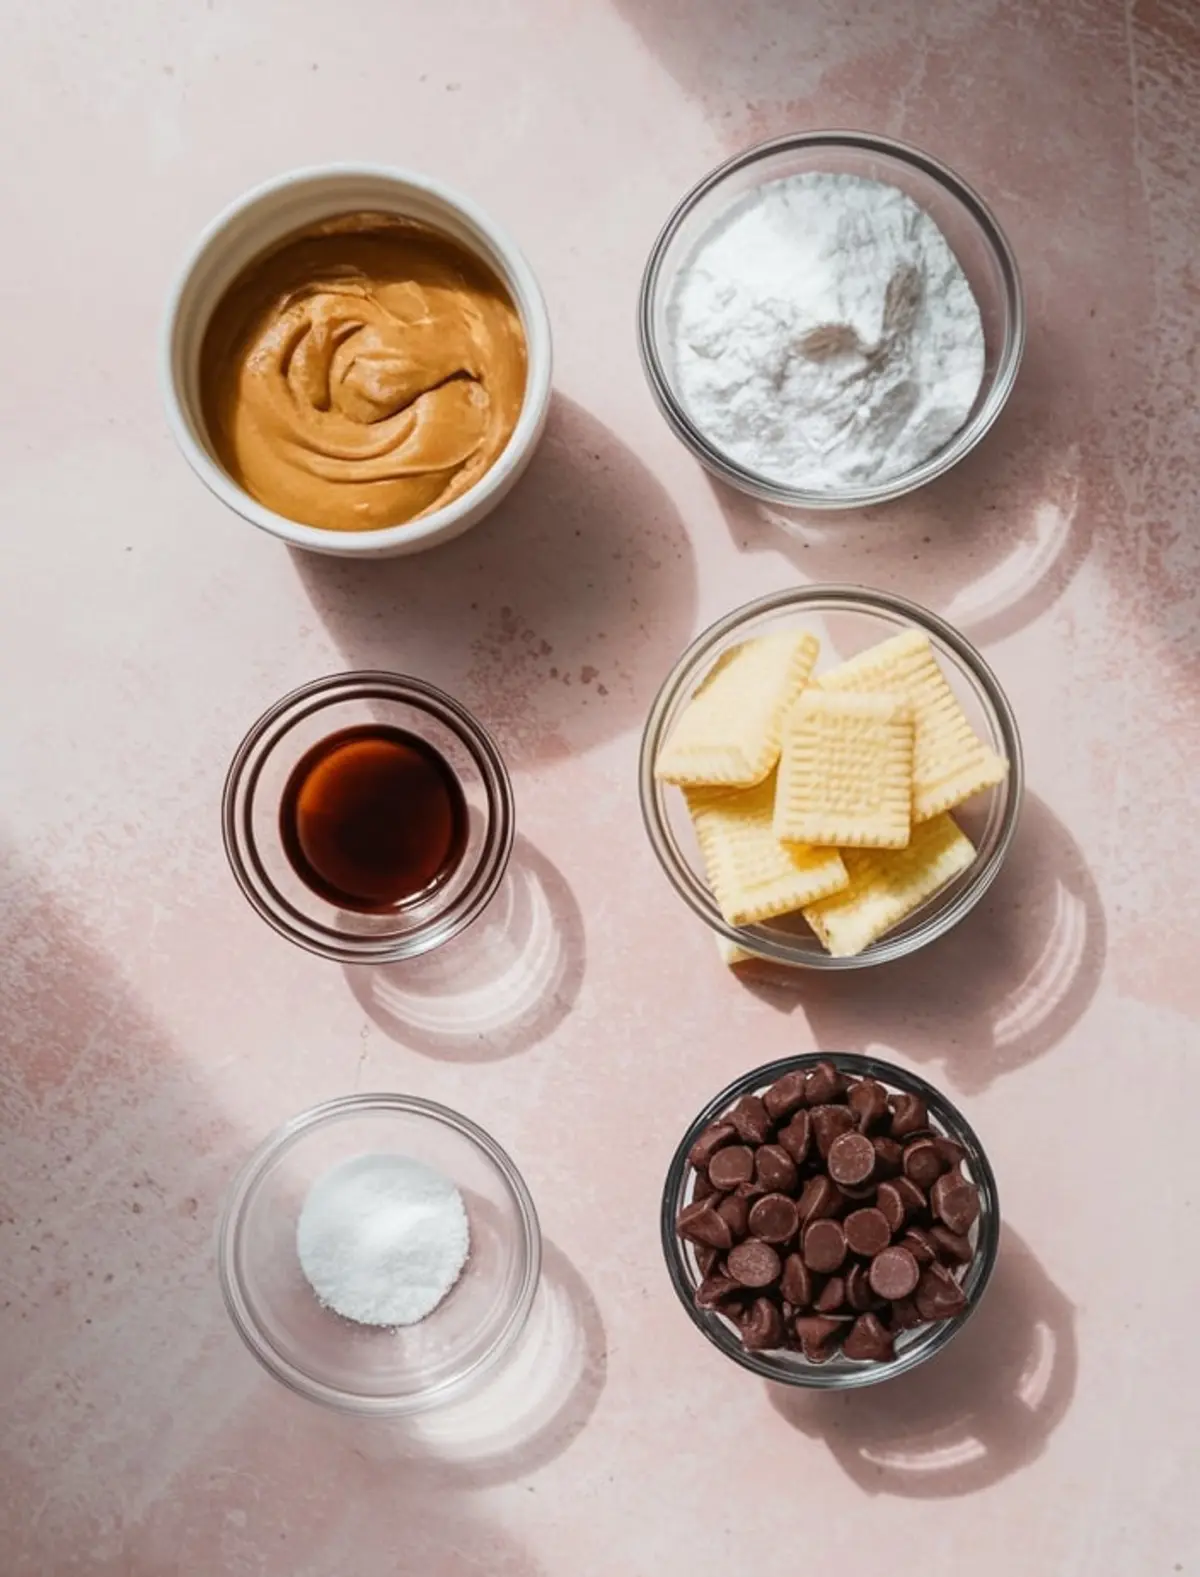
This recipe uses smooth peanut butter, crushed vanilla wafers, sweetened shredded coconut, powdered sugar, and a little vanilla. It’s best to use a peanut butter that holds its shape—something thick, not oily.
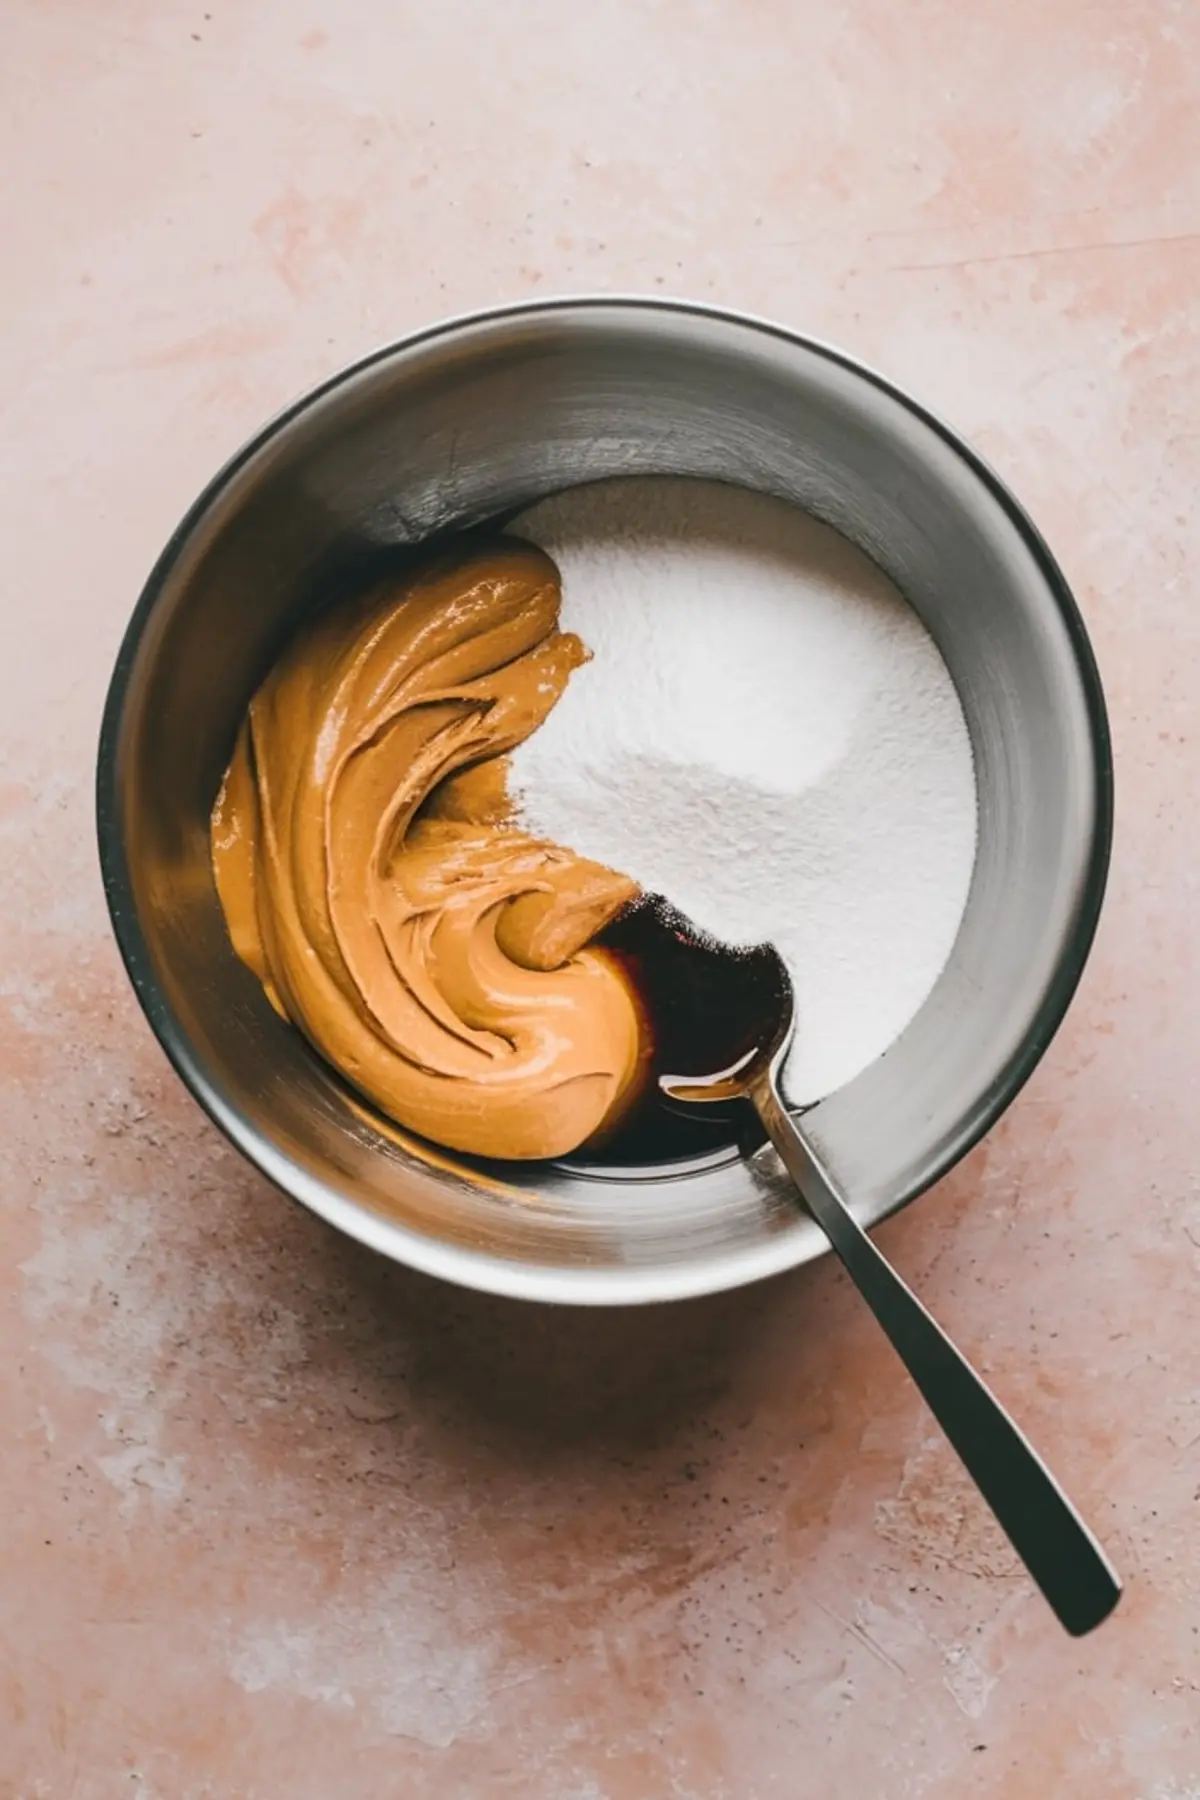
In my notes, I’ve tried both natural peanut butter and regular shelf-stable peanut butter. The natural kind gives a stronger flavor, but it can be finicky. You’ll need to stir it well, right to the bottom of the jar. If it’s too oily, the cookies won’t set cleanly. Regular peanut butter, the kind I used for school lunches, sets more consistently.
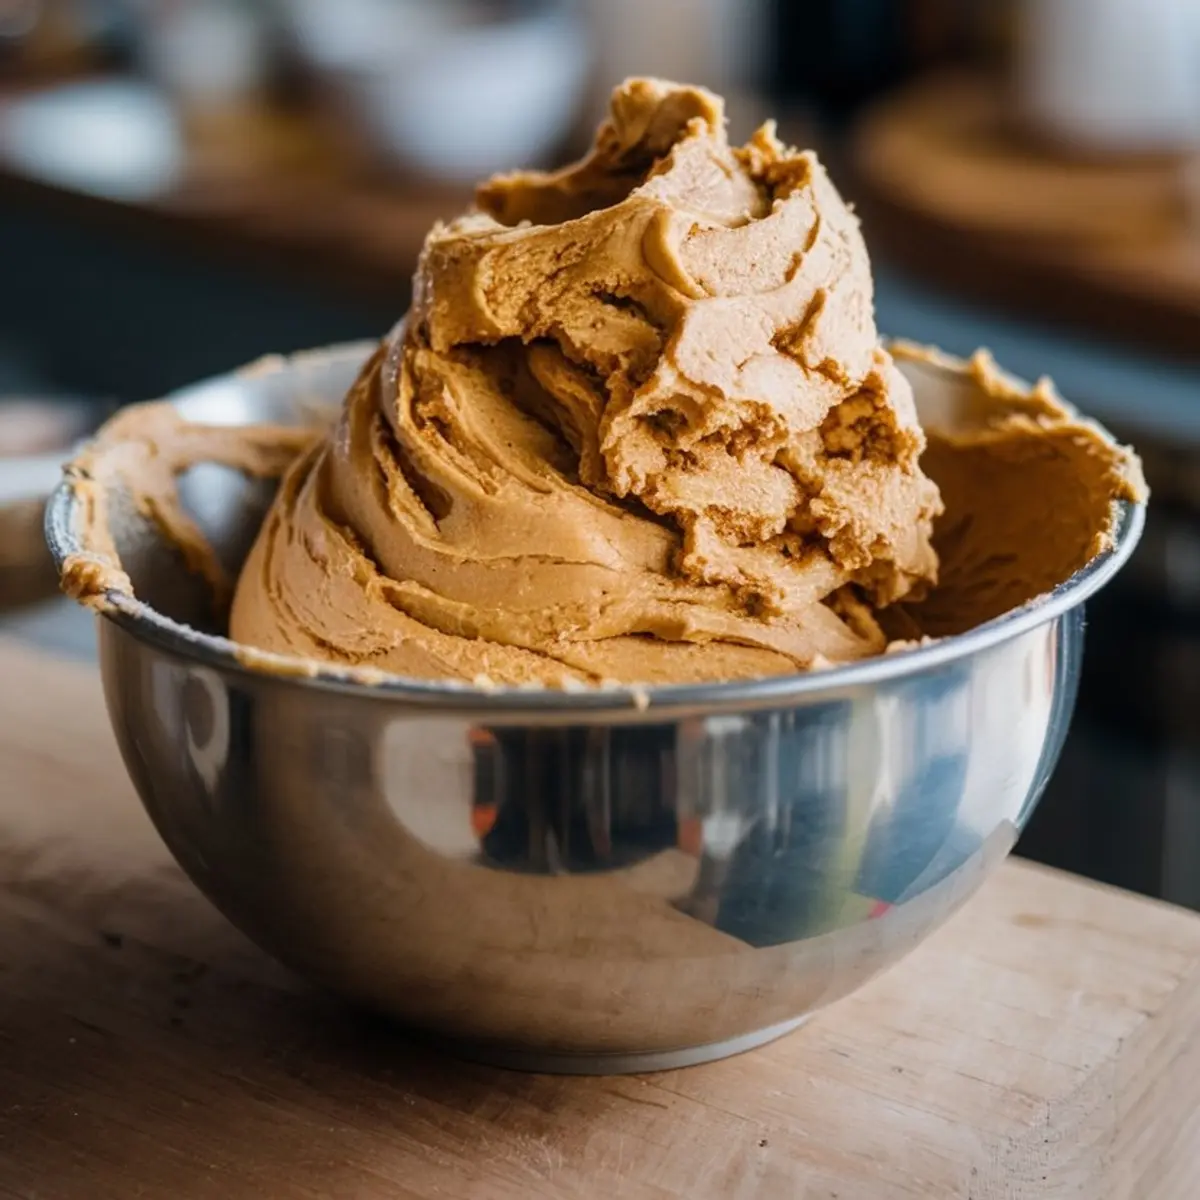
The crushed wafers are important. They give the dough its body. I’ve used a food processor when I’m short on time, but I still like to slide the cookies into a zip-top bag and tap them gently with a rolling pin. It feels more like baking when I do it by hand.
Chill and Serve with Confidence
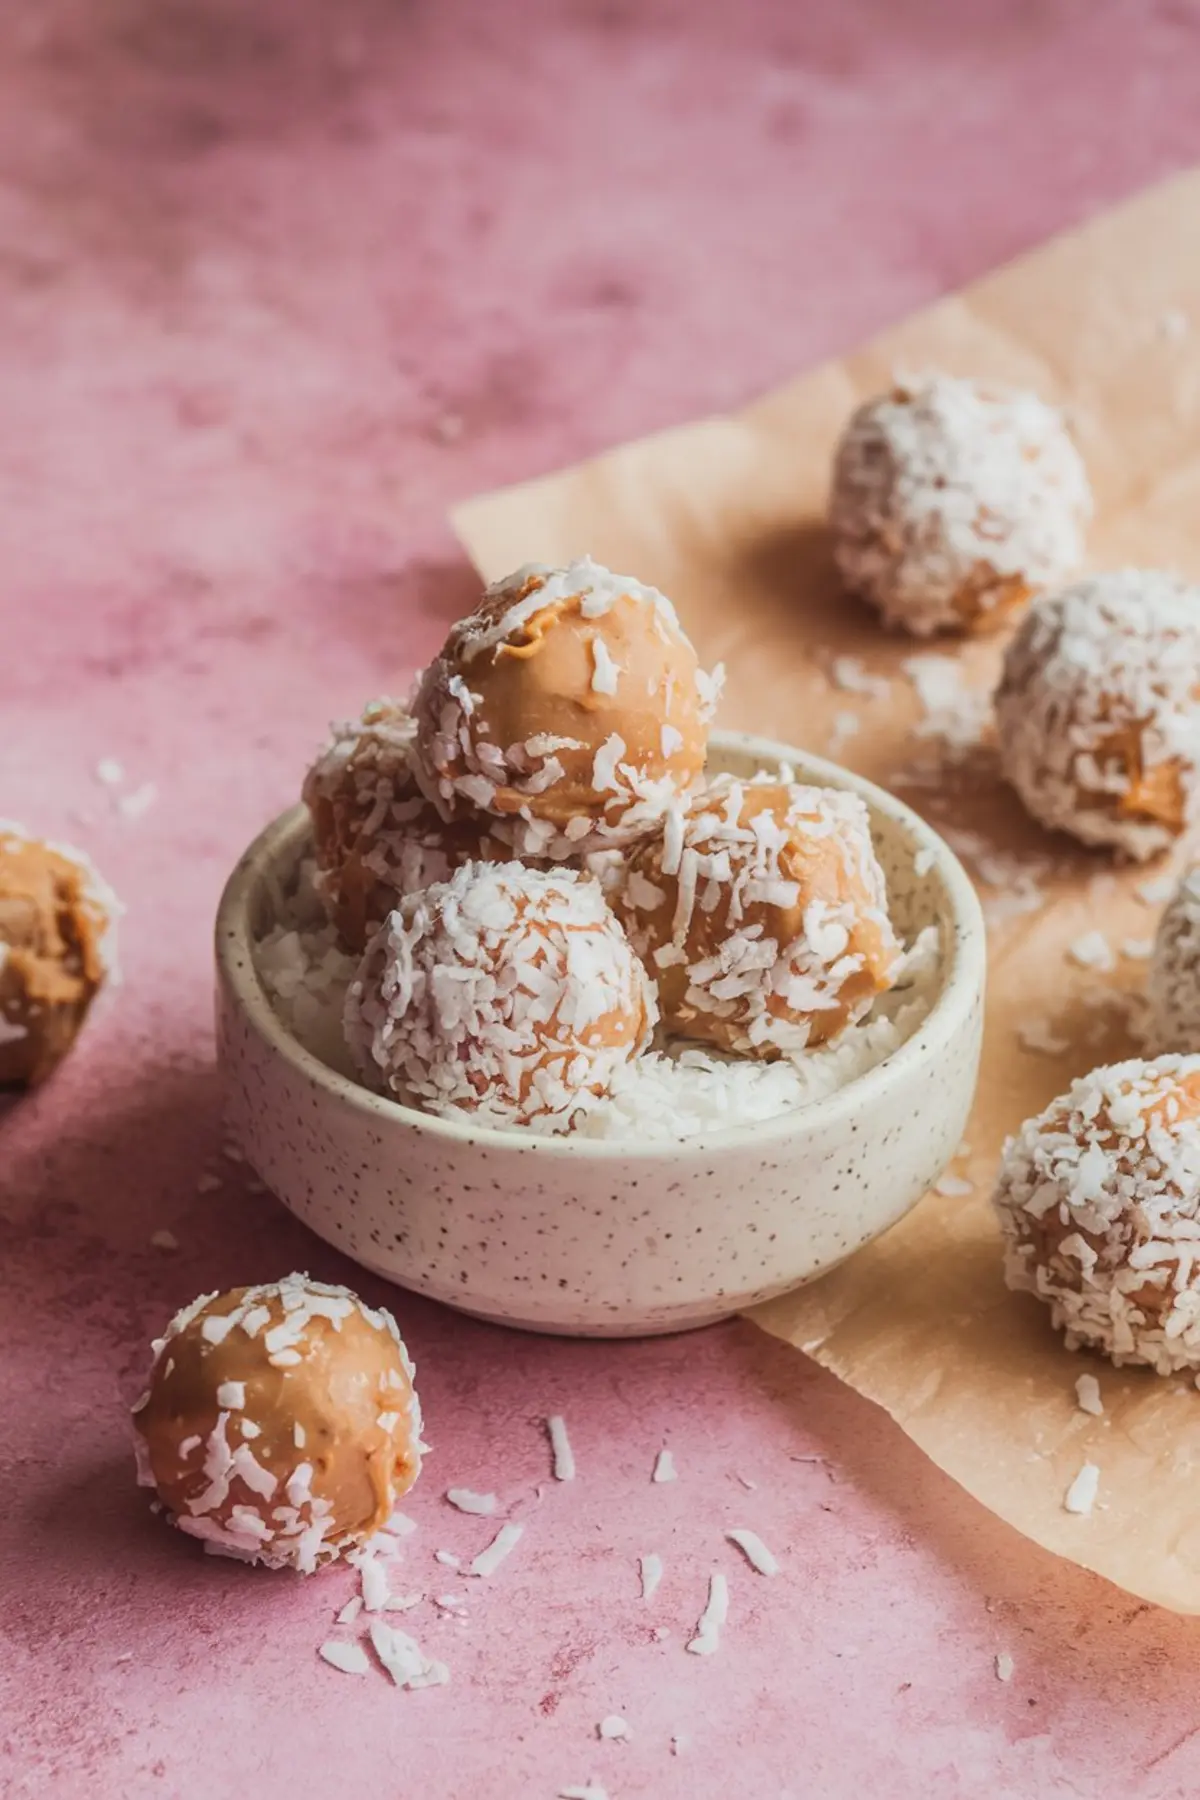
After you shape the cookies and roll them in coconut, let them chill. This part can’t be rushed. I give them at least 30 minutes in the fridge. If the air is humid, a little longer.
Once they’re firm, they’ll hold up well on the plate. They won’t melt in your fingers the way butter-heavy cookies might. You can take them outside, pack them in a lunchbox, or store them in the fridge for a few days. They’re tidy, which makes them easy to share.
And if the chocolate drizzle smudges while stacking? That’s alright. I always say: a smudge shows someone touched it. That’s a kind of love.
Related Treats from My Notebook

If you’re looking for other peanut butter recipes with a little structure and a lot of flavor, Chloe’s Easy Peanut Butter Cookies have a crisscross top that bakes up golden and familiar.
Her Coconut Churro Cookies use coconut too, but they have a toasted finish and a cinnamon-sugar crust that reminds me of Sunday fairs.
On warm days, I also make Summer Crinkle Cookies—they’re bright, colorful, and stay soft even after chilling.
And if you’re leaning savory, these Cottage Cheese Drop Biscuits go straight from bowl to pan. You can spread them with a little jam, or tuck one next to a summer salad.
A Final Note from My Kitchen
Chloe told me once that these cookies reminded her of the ones I brought to school during final exams. That made me smile. She always paid attention to details others missed—still does. I’m proud of the way she bakes with care and shares it.
If your cookies crack as you roll them, or if the coconut doesn’t stick just right, don’t worry. These hold together with time and a little chill. Much like good memories.
You can save this recipe to your baking board or share it with someone who needs a no-fuss treat. If you have questions—or if your cookies turned out a little different than mine—leave a comment below. I always read them.
Peanut Butter No Bake Cookies Recipe

Creamy peanut butter, crushed vanilla wafers, and shredded coconut form the base of these easy no-bake cookies. A quick chocolate drizzle adds just enough sweetness, and everything comes together without turning on the oven. These cookies are soft in the center, slightly crunchy on the edges, and make a satisfying warm-weather treat.
Ingredients
- 1 cup smooth peanut butter
- 1/2 cup powdered sugar
- 1 teaspoon vanilla extract
- 1 1/2 cups crushed vanilla wafers (about 35 wafers)
- 1 cup sweetened shredded coconut
- 1/2 cup semi-sweet chocolate chips
Instructions
- LINE YOUR BAKING SHEET: Prepare a baking sheet by lining it with parchment or wax paper to keep the cookies from sticking and make cleanup easier.
- MIX THE BASE: In a medium mixing bowl, stir together the peanut butter, powdered sugar, and vanilla extract until smooth and well combined.
- ADD THE WAFERS: Fold in the crushed vanilla wafers, mixing until a soft, moldable dough forms. Adjust texture as needed—add more crushed wafers if too sticky, or a spoonful of peanut butter if too dry.
- SHAPE AND COAT: Scoop out dough by the tablespoon and roll into balls. Roll each ball in the shredded coconut, pressing lightly so the coconut sticks. Place the coated balls on the prepared baking sheet.
- DRIZZLE WITH CHOCOLATE: Melt the chocolate chips in a microwave-safe bowl in 20-second intervals, stirring between each, until smooth. Drizzle the melted chocolate over the top of each cookie using a spoon.
- CHILL TO SET: Refrigerate the tray for 30 to 45 minutes, or until the cookies are firm to the touch and the chocolate is set.
- SERVE: Once chilled, remove from the fridge and serve immediately, or store in an airtight container in the refrigerator for up to 5 days.
Notes
Use natural peanut butter for a stronger peanut flavor, but be sure it's well-stirred to avoid separation. A food processor will crush the wafers quickly, but a rolling pin and zip-top bag work well too.
Nutrition Information:
Yield:
12Serving Size:
1Amount Per Serving: Calories: 341Total Fat: 19gSaturated Fat: 6gTrans Fat: 0gUnsaturated Fat: 11gCholesterol: 3mgSodium: 216mgCarbohydrates: 39gFiber: 3gSugar: 22gProtein: 7g
