
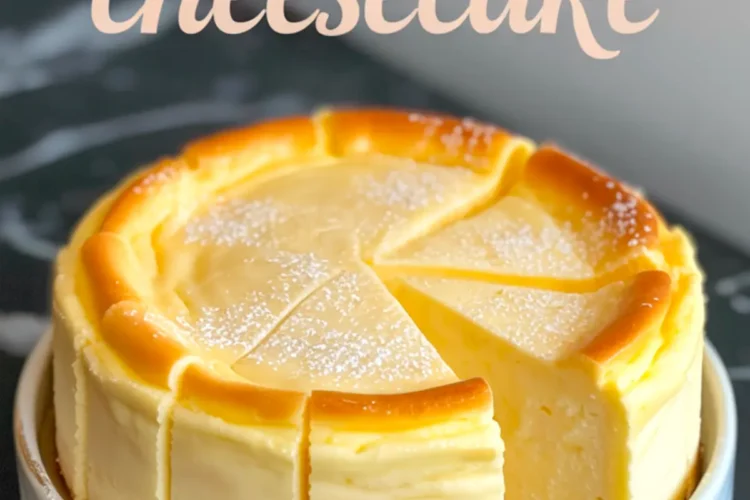
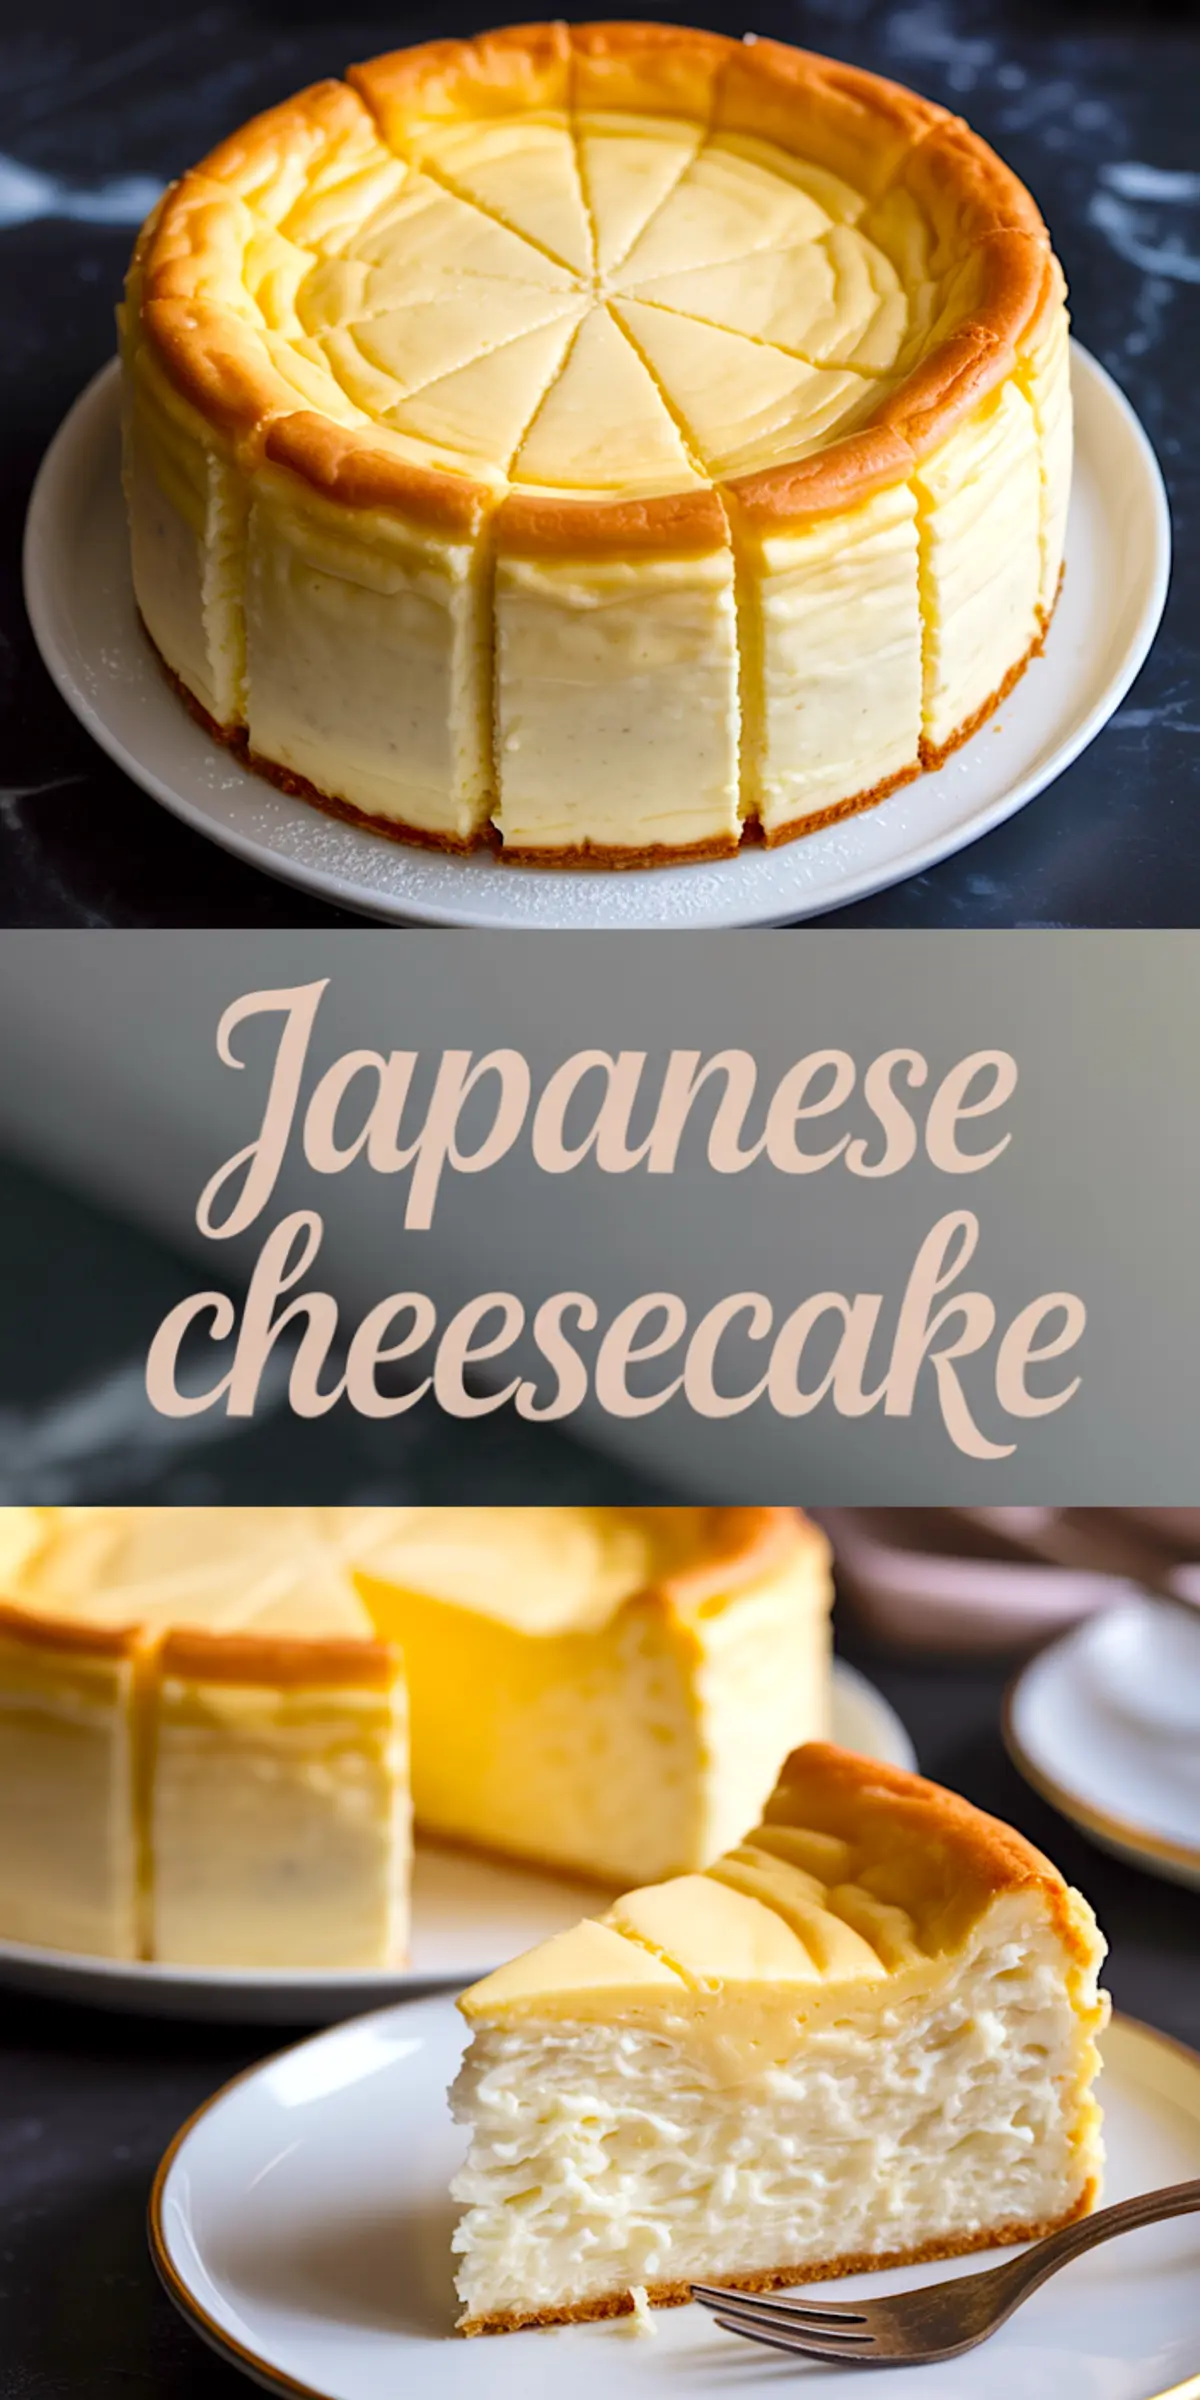
Japanese cotton cheesecake lands somewhere between a cloud and a custard. You cut into it and expect resistance, but the knife sinks right through. This recipe gives you a soft, jiggly, delicately sweet dessert with the fluff of chiffon and the creaminess of a whisper-light custard.
If you’re searching for a Japanese cheesecake recipe that actually gives you that airy jiggle, this one delivers. The cake rises gently in the oven, cools without collapsing, and chills into a light yet satisfying bite. You’ll find every slice dissolves slowly on your tongue, with just the tiniest tang to keep it interesting.
The instructions are precise. The texture is the reward. And that dash of unexpected flavor? We’ll get there. First, let’s look at why each ingredient matters.
Why Each Ingredient Shapes the Texture
Cream cheese gives the cake its creamy structure. I use full-fat, block-style cream cheese and always soften it before melting. Lower fat versions tend to separate or stay lumpy. If your batter isn’t smooth from the start, it won’t set properly.
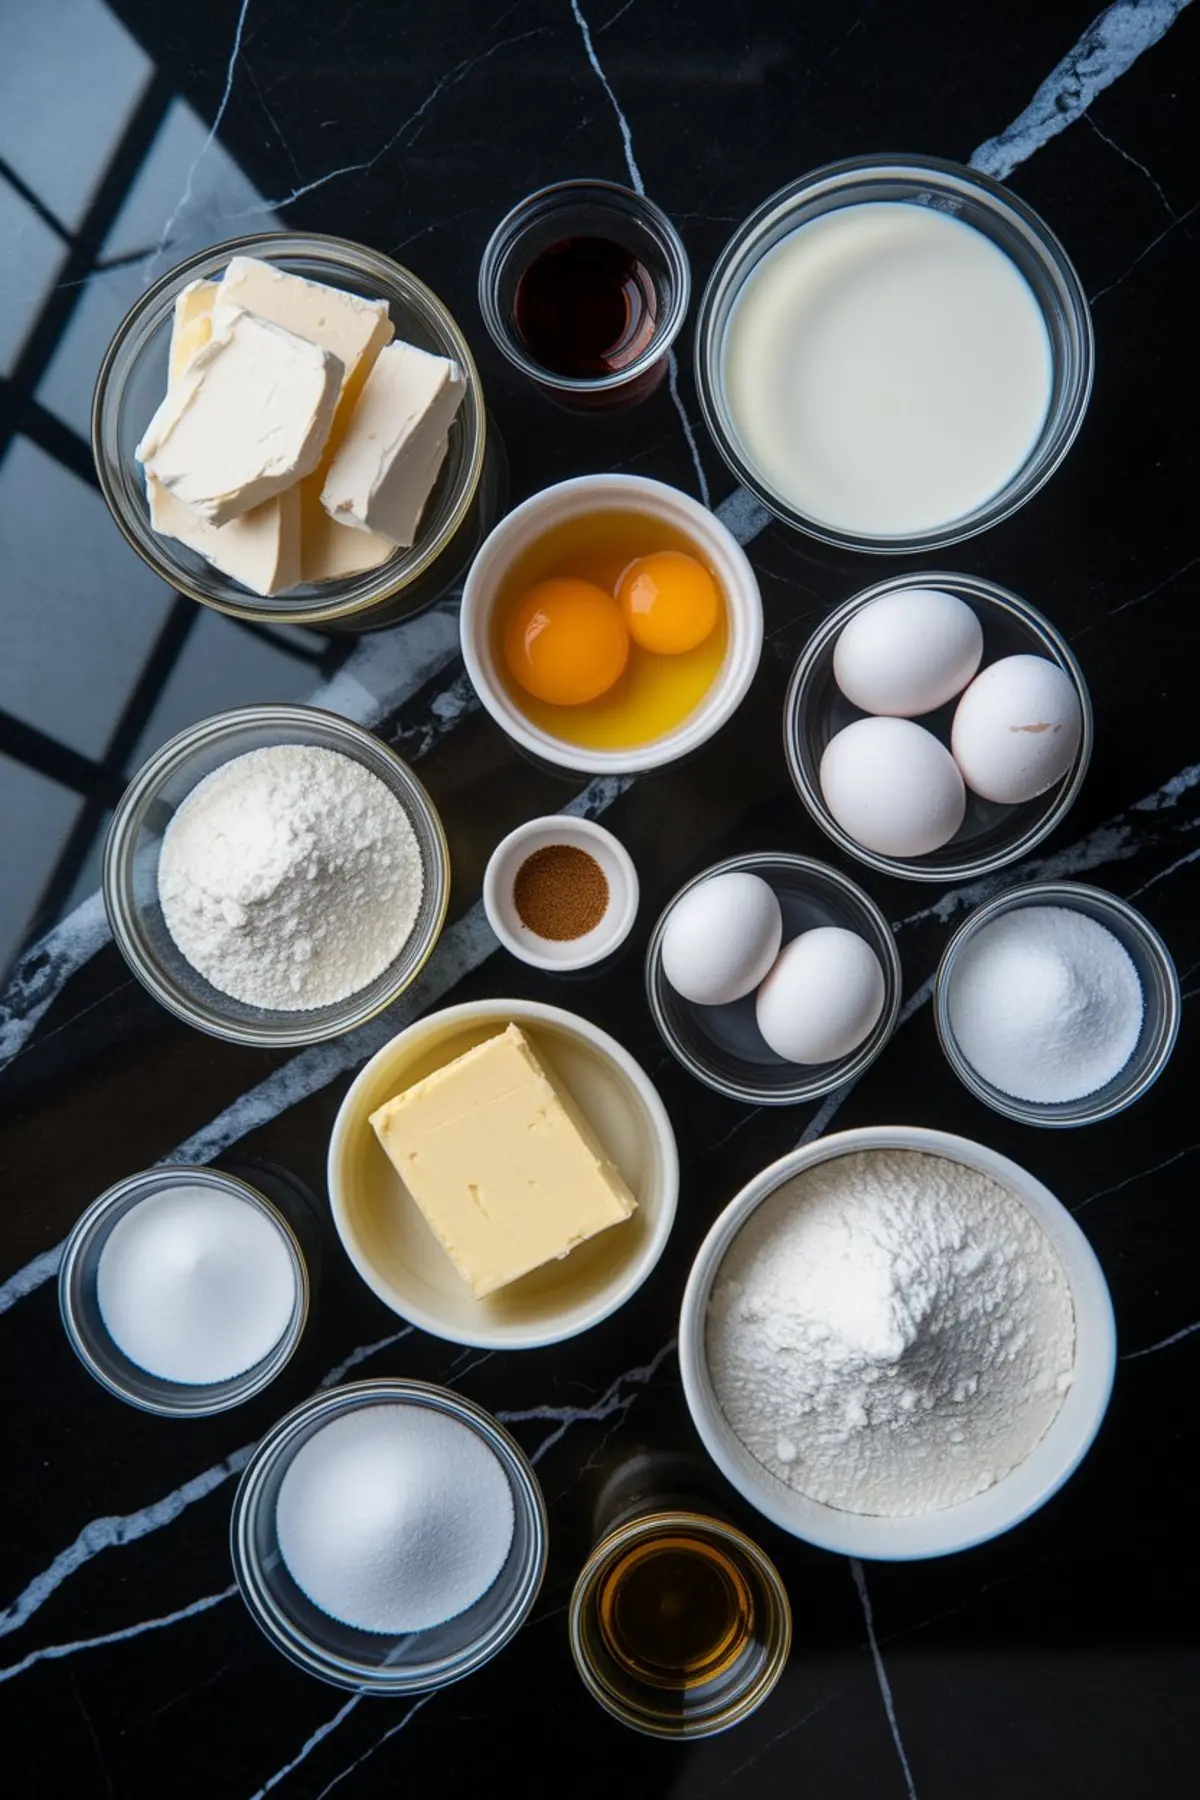
Butter adds smoothness, not richness. This cake isn’t dense like a New York cheesecake. It’s light. Just 50 grams of butter helps the cream cheese melt smoothly and bind to the milk without weighing it down.
Milk makes the batter pourable. I prefer whole milk because the fat content helps emulsify the cream cheese. Skim milk can split or create a rubbery texture. I’ve noted a smoother rise with whole milk every time.
Eggs play two parts. Yolks give color and richness. Whites create structure. I always separate them while cold, then let them sit at room temperature before beating. It’s the only way I get consistent peaks.
Vanilla extract softens the edges. It doesn’t stand out, but without it, the flavor feels flat. It pulls the cream, lemon, and eggs into harmony.
Lemon juice brightens everything. Just a touch cuts through the creaminess. I use fresh juice, never bottled. Even half a teaspoon too much, though, and it will overpower.
Cake flour and cornstarch provide the lift. Cake flour keeps the texture tender. Cornstarch stops the cake from becoming chewy. I’ve tested this with all-purpose flour, and it always came out denser. If you do swap, reduce by a tablespoon and sift twice.
Sugar in the meringue isn’t just for sweetness. It controls how the egg whites whip. I add it in three stages to avoid graininess. Skip this and your peaks will break or deflate.
Making the Batter Smooth and Light
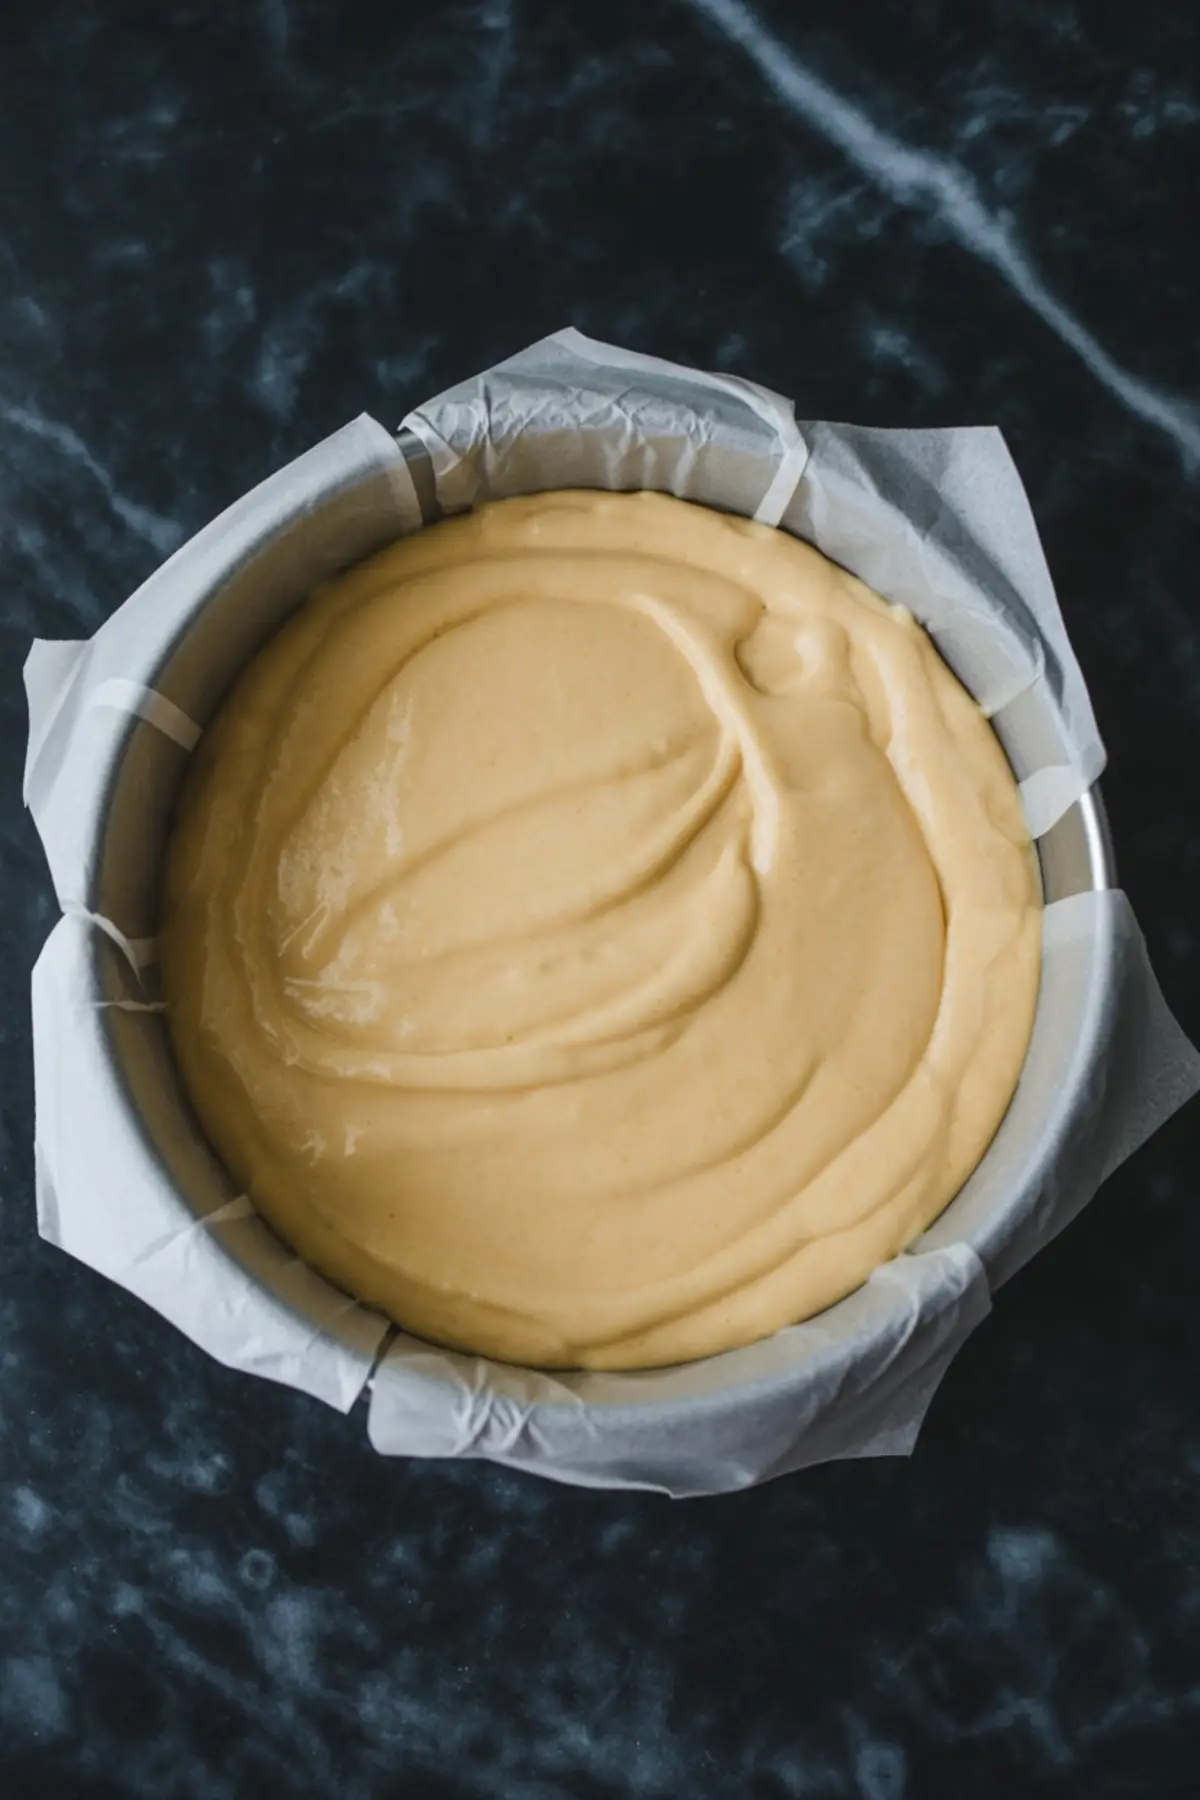
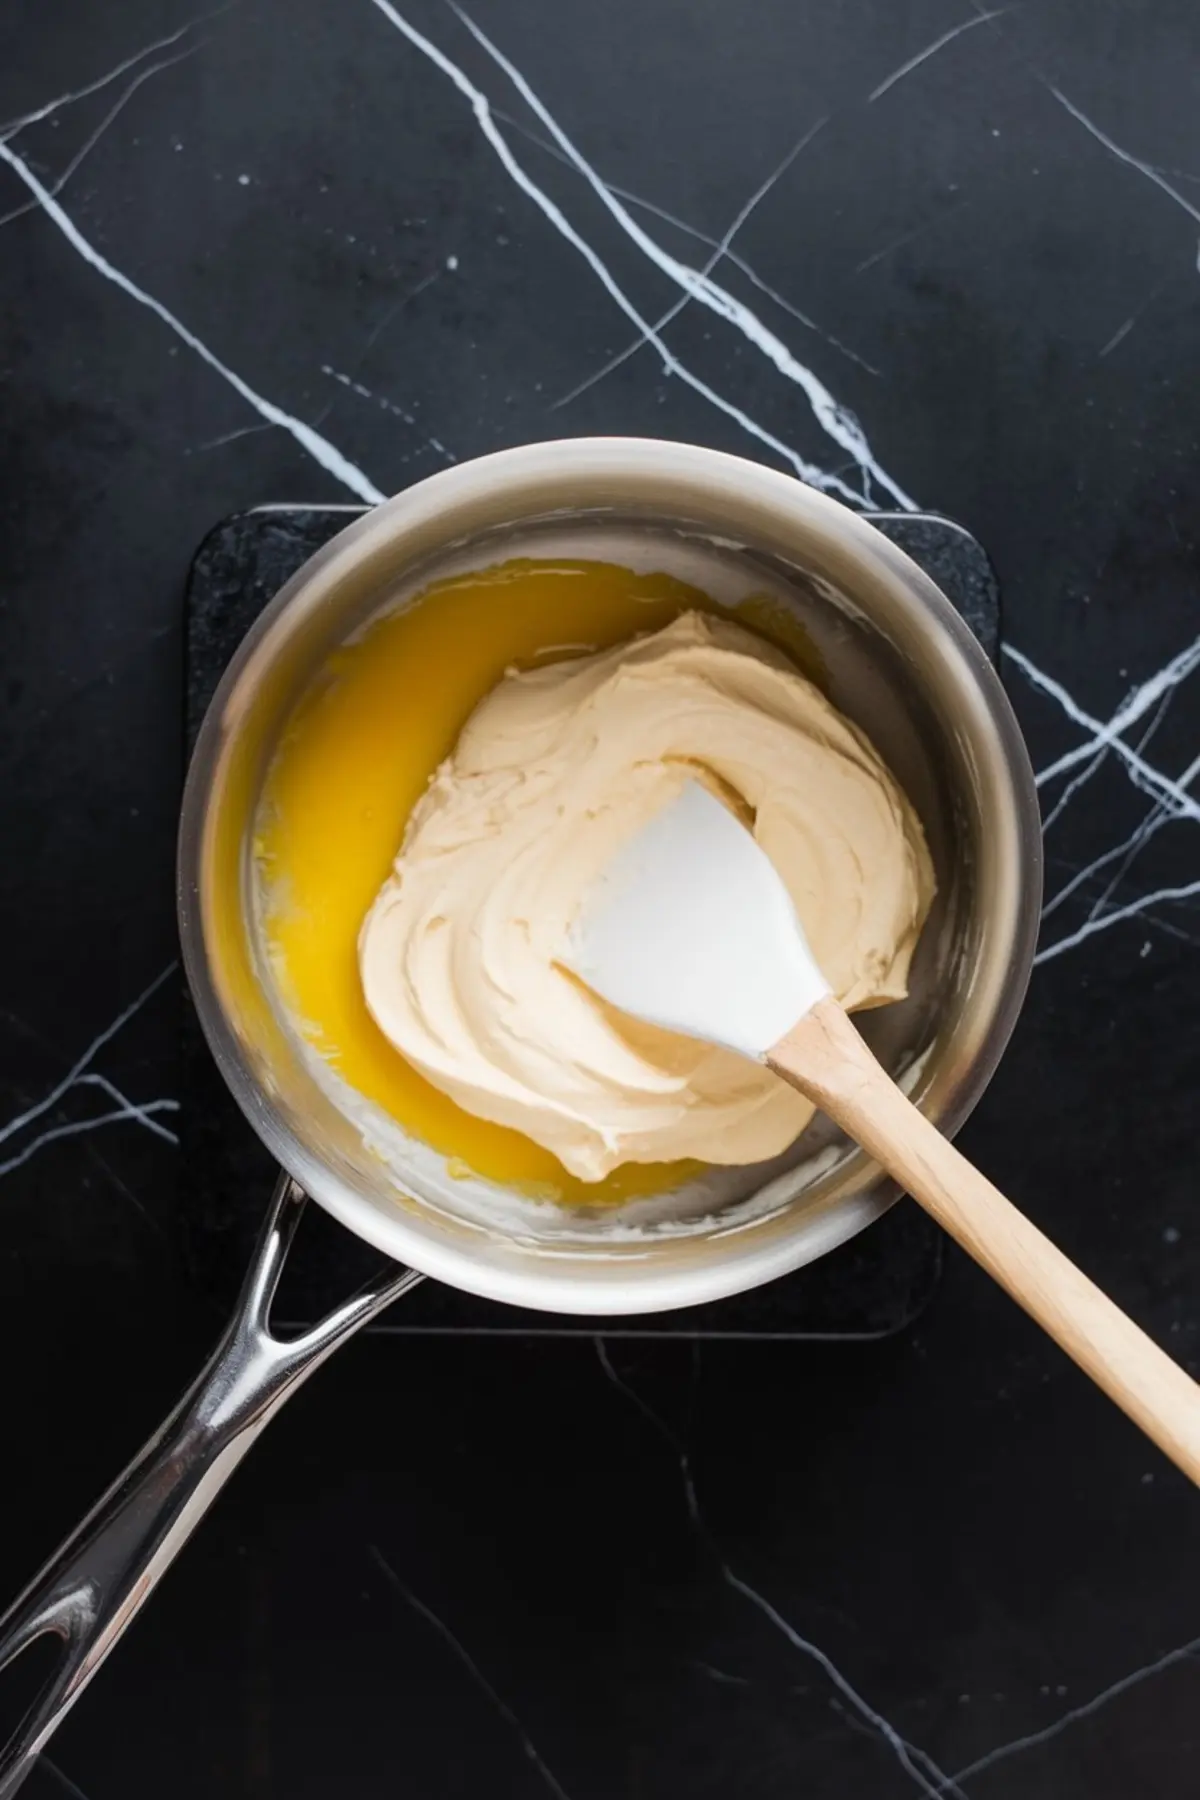
The melted mixture should never boil. I stir the cream cheese, butter, and milk over low heat until smooth, then let it cool for a few minutes. Adding egg yolks too soon can scramble them. That’s not something you can fix once it happens.
Whisking the yolks in slowly avoids curdling and ensures the batter stays even. I whisk them separately before adding, and that helps with even color too. Once the dry ingredients go in, I fold with care. No whisking. No overmixing. I use a spatula and stop the moment it’s lump-free.
The Meringue is the Backbone
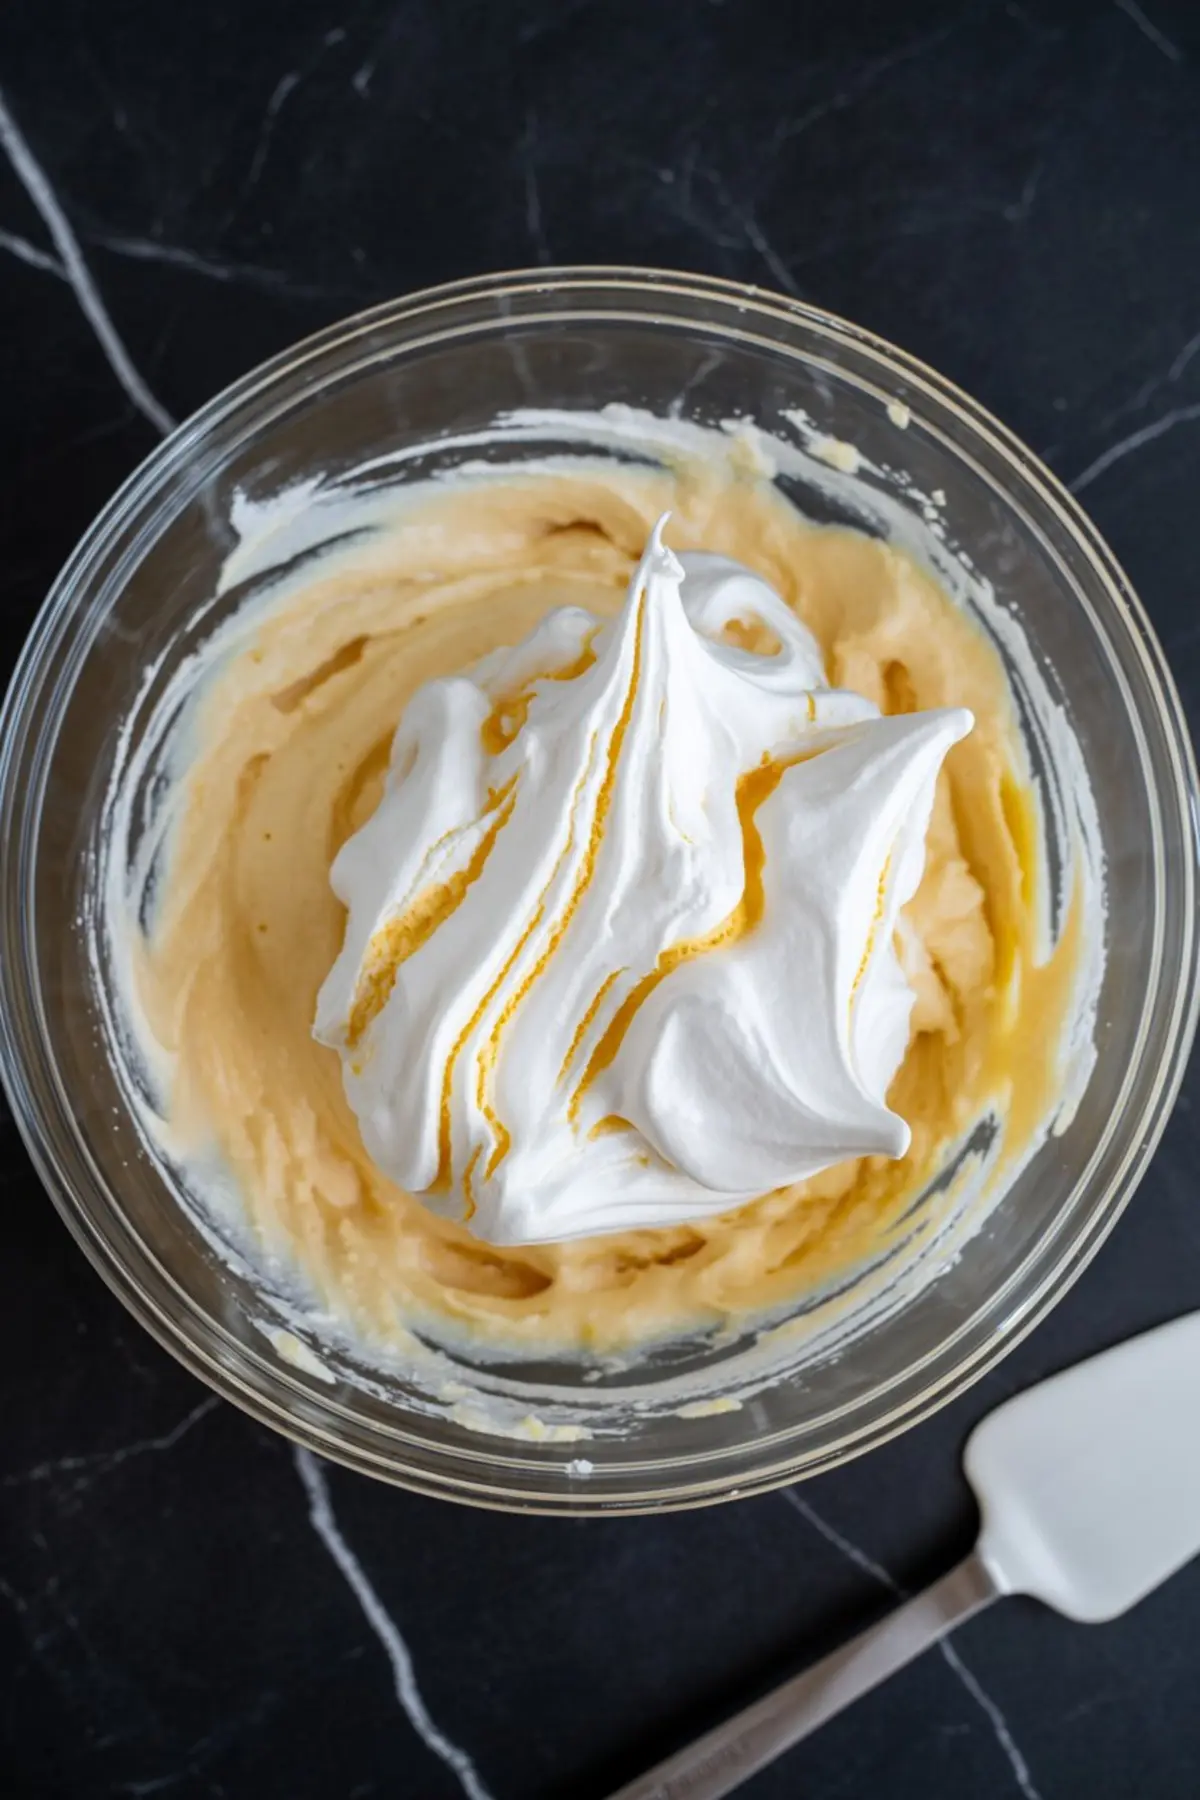
Egg whites take patience. I beat mine until glossy and soft-peaked, never stiff. Stiff peaks are too dry and crack the cake. Soft, flexible tips give the rise I want without stress lines on top.
The folding takes three rounds. I start with a third of the meringue to lighten the base. Then I add the next two parts gently, cutting through the middle and folding around. I never stir. Just turn and sweep until the batter holds together. A few faint streaks are fine. Overmixing ruins the lift.
The Water Bath Makes or Breaks It
The water bath keeps the heat even. It prevents cracks and helps the cheesecake bake low and slow. I tap the pan gently on the counter before placing it in the bath to release air bubbles. That tap avoids tunnels later.
I bake at 320°F for 25 minutes, then lower to 285°F for the rest. That drop helps set the inside while keeping the top golden. I never open the oven door. Not even once. Sudden drafts ruin the rise. Patience wins here.
Once it’s done, I prop the oven door open and let the cake sit inside. This part matters more than most people think. Gradual cooling keeps the top from sinking.
Cooling and Slicing with Care
Room temperature is your friend. I let the cheesecake cool in the pan, then refrigerate it for at least 4 hours. Overnight gives the best texture. It firms up without hardening, and the flavor settles into balance.
Slicing it cold gives the cleanest pieces. I use a sharp knife and wipe between each cut. That way, you see the layers—the bounce, the crumb, the shine.
If you’re curious how it compares to other styles, try this New York Style Cheesecake and you’ll taste the difference in weight and texture.
A Practical Comparison: Cake Flour vs All-Purpose
I’ve made this Japanese fluffy cheesecake with both cake flour and all-purpose flour. In my notes, the version with cake flour had a more tender structure and a finer crumb. It rose higher and stayed lighter after cooling.
All-purpose flour, even sifted twice, produced a slightly denser cake with a more noticeable chew. It’s still good, but you’ll lose that signature melt-in-your-mouth bite. If you’re aiming for the cotton cheesecake experience, cake flour gives you that delicate lift.
The same applies to this Basque Burnt Cheesecake where flour choice changes the finish entirely.
The Hidden Detail That Makes It Shine
Remember that hint I dropped earlier? The dash of magic that makes this cake stand apart? It’s the lemon. Not the amount. The timing.
I add the lemon juice after the egg yolks and just before folding in the flour. This keeps the batter smooth and prevents the acid from reacting too soon with the proteins. A small detail, but it softens the flavor and gives the cake a cleaner finish. You’ll notice it most the next day, once chilled.
There’s a reason this cake shares its elegance with Matcha Cheesecake. Both carry that quiet restraint, with texture that leaves a trace.
Save This Japanese Cheesecake Recipe to Try Again

This Japanese cake stays with you. Not just the texture, but the way it teaches patience, care, and quiet joy in the process. Every step matters. Every ingredient has a role.
If you love Asian cheesecake or have been looking for a Japanese inspired dessert that feels light but complete, this is one to pin.
Save this cotton cheesecake recipe to your favorite boards so you don’t lose it. And when you try it, leave a comment and tell me how it turned out. Or if you have questions, ask away. I’ll be here, whisk in hand.
Japanese Cheesecake Recipe

Japanese cheesecake bakes low and slow into a soft, jiggly cake with a light and fluffy texture. I make this Japanese cheesecake recipe when I want something less rich than classic cheesecake but still creamy and satisfying. It’s also known as Japanese cotton cheesecake for good reason—it slices like a cloud and melts quickly on your tongue. The texture lands somewhere between sponge cake and custard, with just enough sweetness. If you’ve never tried an Asian cheesecake before, this one is a great place to start. It fits beautifully in a list of Japanese inspired desserts or any recipe folder for airy cakes you’ll want to make again.
Ingredients
- FOR THE CHEESE BATTER
- 250 grams cream cheese, softened
- 50 grams unsalted butter
- 100 milliliters whole milk
- 6 large eggs, separated
- 1 teaspoon vanilla extract
- 1 tablespoon lemon juice
- 60 grams cake flour
- 20 grams cornstarch
- FOR THE MERINGUE
- 120 grams granulated sugar
Instructions
- PREPARE THE PAN AND OVEN: Preheat the oven to 320°F (160°C). Line the bottom and sides of an 8-inch round springform pan with parchment paper, ensuring the sides extend 2 inches above the rim. Set aside a larger baking dish or roasting pan for the water bath.
- MAKE THE CHEESE MIXTURE: In a small saucepan over low heat, melt the cream cheese, butter, and milk together. Stir continuously until smooth and no lumps remain. Do not let the mixture boil. Remove from heat and allow it to cool slightly.
- COMBINE WITH EGG YOLKS: In a medium bowl, whisk the egg yolks until smooth. Gradually add them to the slightly cooled cheese mixture, whisking until fully incorporated. Stir in the vanilla extract and lemon juice.
- ADD DRY INGREDIENTS: Sift the cake flour and cornstarch together directly into the cheese mixture. Gently fold until the batter is smooth and lump-free, taking care not to deflate it.
- MAKE THE MERINGUE: In a clean mixing bowl, beat the egg whites on medium speed until foamy. Gradually add the sugar in three additions, beating until soft, glossy peaks form. Do not overbeat—the meringue should hold its shape but still be flexible at the tip.
- FOLD IN MERINGUE: Add the meringue to the cheese batter in three parts. Use a spatula to gently fold each addition in by cutting through the center, sweeping around the sides, and rotating the bowl. Fold just until no streaks remain, being careful not to deflate the batter.
- TRANSFER TO PAN AND SET UP WATER BATH: Pour the batter into the prepared pan. Lightly tap the pan on the counter to release large air bubbles. Place the springform pan inside the larger baking dish and fill the outer dish with hot water halfway up the sides of the springform pan.
- BAKE THE CHEESECAKE: Bake at 320°F (160°C) for 25 minutes. Then reduce the temperature to 285°F (140°C) without opening the oven door and continue baking for 55 minutes. The top should be lightly golden and the center set but slightly jiggly.
- COOL IN OVEN: Turn off the oven and prop the door open slightly. Let the cheesecake sit in the oven for 15 minutes to gradually cool. This prevents sudden temperature changes that can cause cracks.
- CHILL BEFORE SERVING: Remove the cheesecake from the oven and water bath. Let it cool completely at room temperature in the pan. Then refrigerate for at least 4 hours or overnight before slicing for best texture.
Notes
If using all-purpose flour instead of cake flour, sift it twice and reduce the total amount by 1 to 2 tablespoons to prevent a dense texture. Use eggs at room temperature for best meringue stability. Avoid overmixing during folding to maintain volume. Store refrigerated in an airtight container for up to 3 days.
Nutrition Information:
Yield:
10Serving Size:
1Amount Per Serving: Calories: 267Total Fat: 17gSaturated Fat: 9gTrans Fat: 0gUnsaturated Fat: 6gCholesterol: 151mgSodium: 146mgCarbohydrates: 22gFiber: 0gSugar: 15gProtein: 7g
