
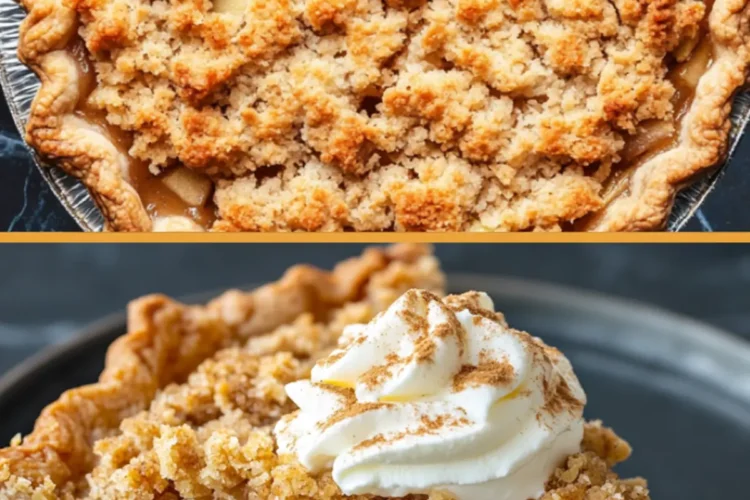
There’s a quiet thrill in making Dutch Apple Pie. You don’t just throw it together. You build it layer by layer—starting with the apples, then the spiced sugar, then that thick, buttery crumble that does all the talking.
In this post, you’ll learn how to make a Dutch Apple Pie with a firm crust, jammy filling, and golden streusel topping that doesn’t sink or turn soggy. I’ll walk you through every step, show you a comparison that actually affects the outcome, and reveal a secret I’ve tested enough times to swear by.
You’ll leave with a method that’s predictable in the best way—clean slices, deep apple flavor, and a pie that doesn’t need whipped cream to feel finished.
And there’s one ingredient hiding in the crumble that changes everything. It’s common, but most people leave it out. More on that soon.
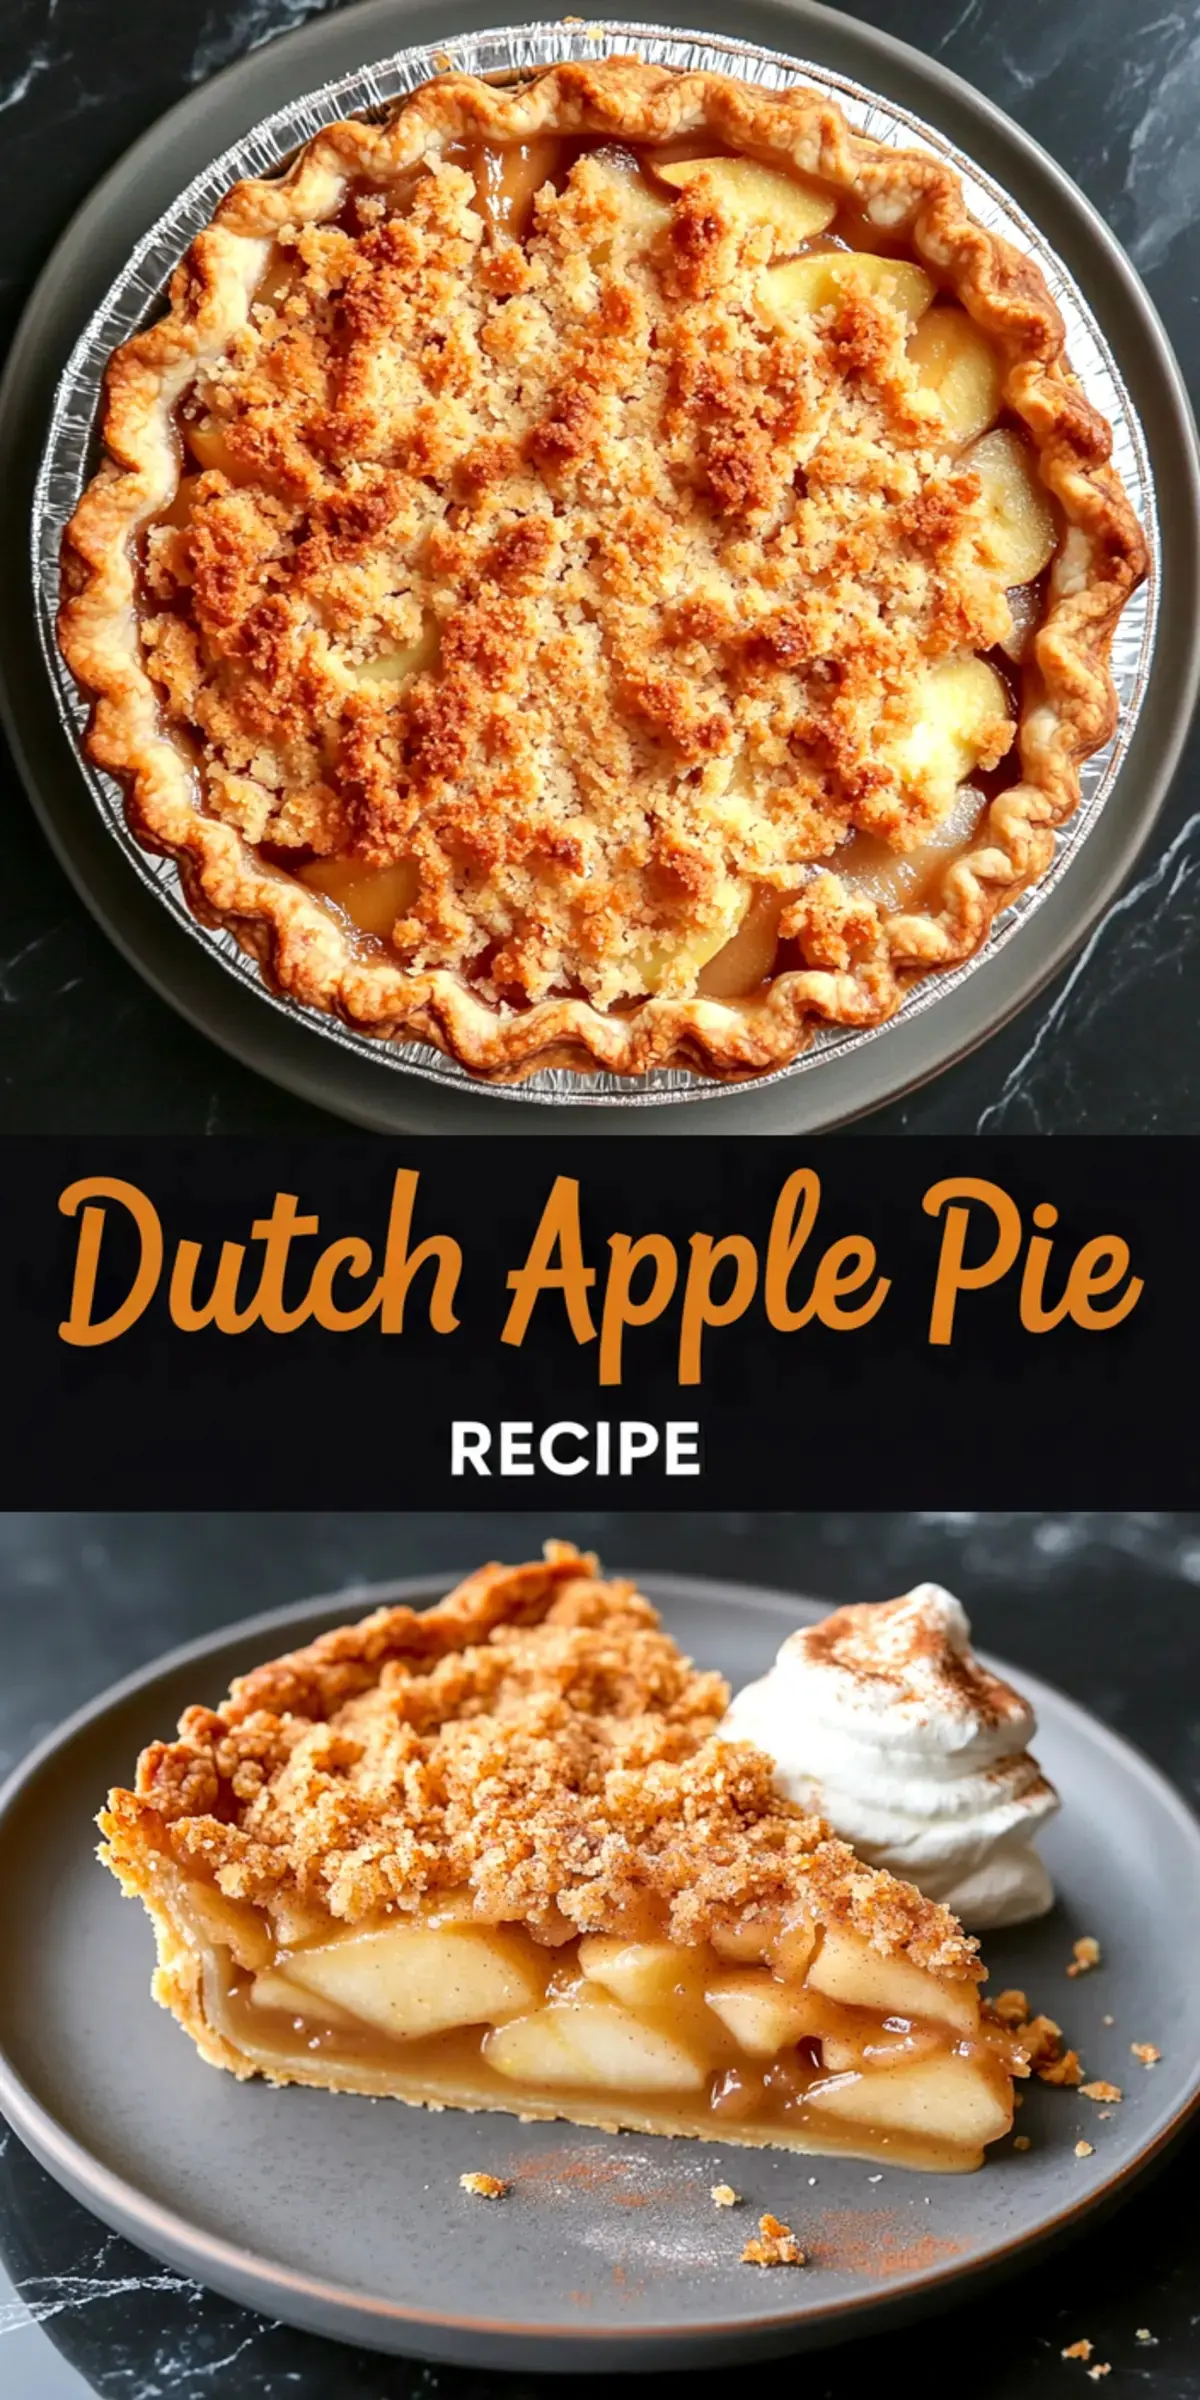
Choosing the Apples for the Best Dutch Apple Pie Filling
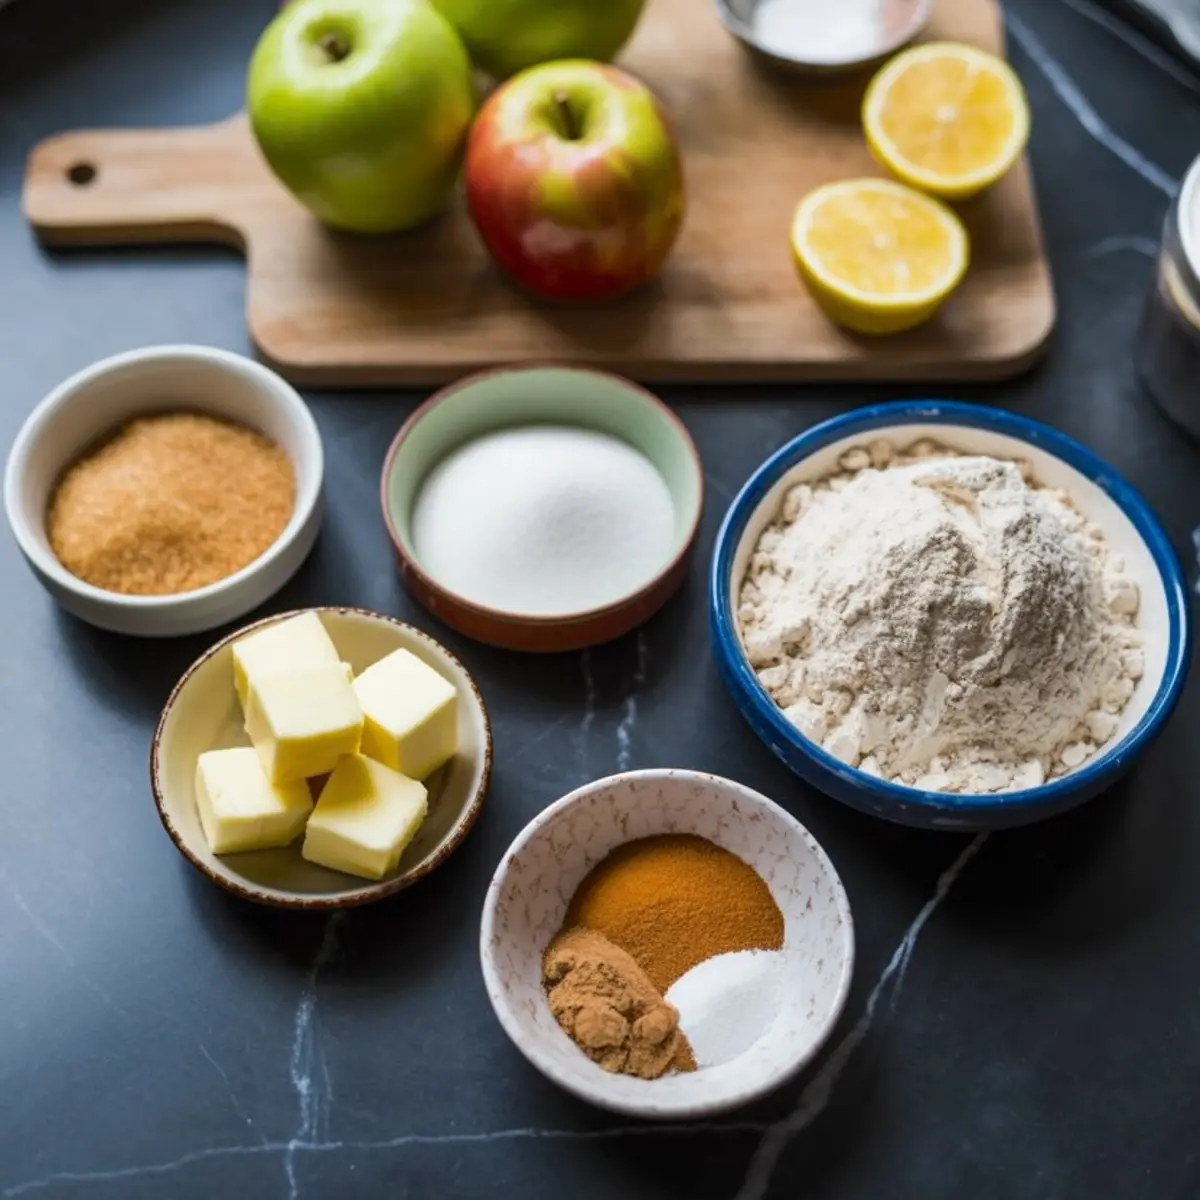
Firm apples matter. The filling should hold its shape when sliced, not slump into syrup. Granny Smith is a classic choice because it stays firm and tart. But I always mix in a sweeter apple—usually Honeycrisp—to soften the bite and add more aroma.
Tossing them with lemon juice first keeps the slices bright and adds a faint tang that balances the sugar. Then comes a mix of brown sugar, white sugar, and warm spice. Nothing heavy-handed. Just enough cinnamon and nutmeg to support the fruit.

If you’ve ever tried Salted Caramel Apple Pie Bars, you know what I mean. The filling should carry its own weight without overpowering the crust or topping.
The Crust: Homemade or Store-Bought, But Make It Cold
Use a 9-inch pie crust that’s been chilled before filling. You can make one from scratch, or use a high-quality store-bought one, but temperature is what matters. A warm crust will melt the butter in the crumble too fast.
Press it gently into your dish and flute the edges if you like. I tend to leave mine plain, especially when using a streusel topping. The rough, rustic finish contrasts nicely with the crisped crumble.
This isn’t the time for a double crust. That’s better saved for a traditional apple pie recipe with sealed edges and a vented top. Dutch apple pie wants that open crown.
Mixing and Building the Apple Filling
Let the apples rest in their sugar and flour mix for about 10 minutes before filling the crust. This draws out moisture and helps the flour absorb it evenly.
Then pile them into the crust. Don’t just dump them. Stack the slices lightly so there aren’t large air pockets. Press just enough to round the top without smashing the layers.
You’re not aiming for height you’re aiming for structure.
Making the Crumble Topping for Dutch Apple Pie
Here’s where things change. Most recipes use flour, butter, and sugar. Some add oats. I skip the oats and reach for cinnamon instead. But not just cinnamon.
A small pinch of salt. That’s the secret. It’s subtle, but it sharpens the sweetness and deepens the flavor of the butter. Without it, the topping can taste flat.
The butter must stay cold. I cut it in with my fingers until the crumble holds together in loose, damp clumps. If it starts to melt, stick it in the fridge for five minutes. That saves the texture.
And in my notebook, I’ve noted this: European-style butter makes a slightly crisper topping. American-style gives it more chew. I’ve used both, but prefer European if I’m serving the pie the same day. For leftovers, I go with American—it softens beautifully overnight.
Baking and Cooling for Clean Slices and Caramelized Edges
Bake at 375°F for about 55 minutes. I always put mine on a sheet pan, just in case the juices bubble over. About halfway through, check the crust edges. If they’re browning too quickly, cover them with foil.
You’ll know it’s ready when the top turns golden and the juices are actively bubbling around the edge.
Now pause. This part matters.
Let the pie cool for at least two hours. If you cut it too soon, the filling will slide apart. Patience makes the difference between a pie that looks messy and one that slices clean.
That’s why I sometimes make it in the morning and leave it to cool all afternoon. Or even better—make it the day before and serve it the next day.
How This Dutch Apple Pie Compares to Apple Slab Pie
There’s a good reason to bake this pie instead of a sheet-style apple slab pie, and I’ve tried both many times.
Slab pie works for a crowd. It’s easier to transport, cuts into tidy squares, and has a higher crust-to-filling ratio. But Dutch Apple Pie holds the warmth of home baking better. It has a thicker filling, deeper spice, and a topping that stays crisp instead of turning soft under plastic wrap.
If I’m bringing dessert to a potluck, I go slab. If I’m baking for a dinner with friends or a slow Sunday afternoon, it’s Dutch apple every time.
The Final Touch: My Quiet Trick
That pinch of salt in the topping? It’s the quiet magic. It doesn’t shout. It just rounds everything.
I used to skip it. Thought it wouldn’t matter. But once I added it—just one pinch—it became the thing that made people stop mid-bite and ask, “What did you put in this?”
It’s not much. But it’s everything.
So don’t leave it out.
And if you’re looking for another apple dessert that surprises with texture, try my Apple Brownies Recipe. It uses apples in a completely different way.
Save This for Later and Join the Conversation

This Dutch Apple Pie recipe is one I come back to again and again. I hope it finds a place in your kitchen too.
Pin it to your board so you have it for apple season or that one afternoon when the mood calls for something warm and crumbly.
And if you try it—tell me how it turned out. Leave a note in the comments, share what apples you used, or let me know your favorite topping twist. This space is better when we bake together.
Dutch Apple Pie Recipe
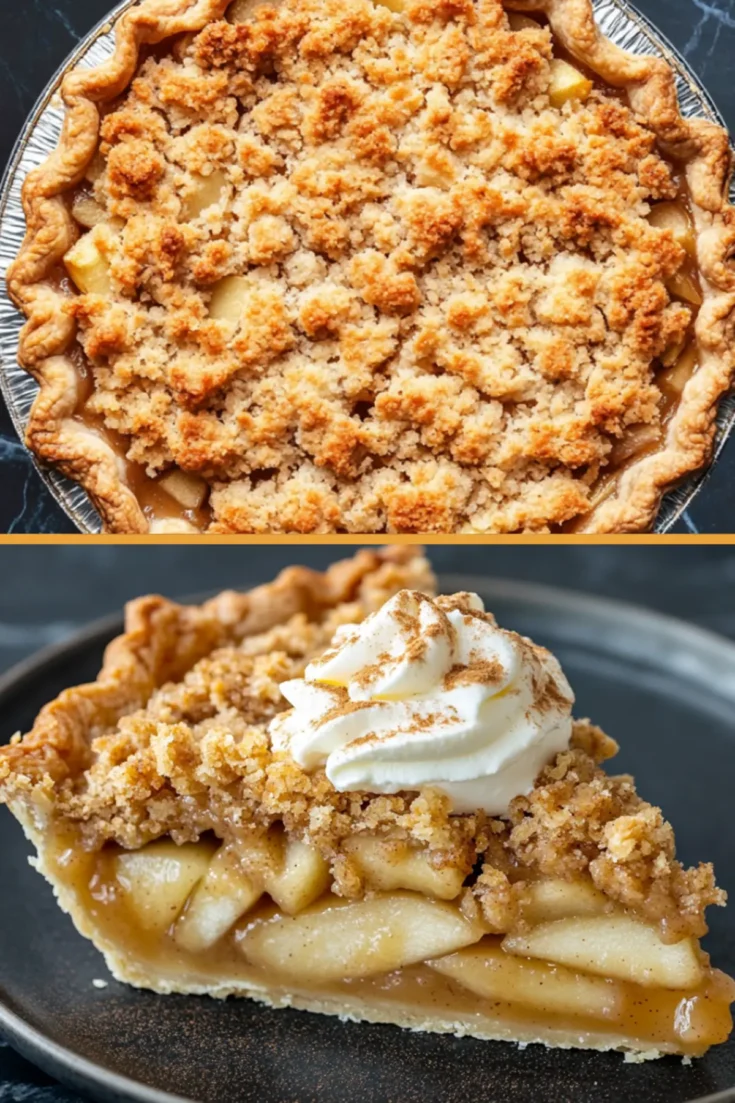
Dutch Apple Pie features a flaky bottom crust, spiced apple filling, and a buttery crumble topping. This version uses tart apples and a light touch of spice to let the fruit shine. The streusel topping adds texture and rich flavor without the need for a top crust.
Ingredients
- FOR THE FILLING
- 6 cups peeled and sliced firm apples (such as Granny Smith or a mix of Granny Smith and Honeycrisp)
- 1 tablespoon lemon juice
- ¼ cup granulated sugar
- ¼ cup light brown sugar, packed
- 1½ tablespoons all-purpose flour
- 1 teaspoon ground cinnamon
- ⅛ teaspoon ground nutmeg
- ⅛ teaspoon salt
- FOR THE CRUMBLE TOPPING
- ¾ cup all-purpose flour
- ⅓ cup light brown sugar, packed
- ½ teaspoon ground cinnamon
- 6 tablespoons unsalted butter, cold and cut into cubes
- FOR THE CRUST
- 1 9-inch unbaked pie crust (store-bought or homemade)
Instructions
- PREHEAT THE OVEN: Set the oven to 375°F (190°C) and position the rack in the middle of the oven to ensure even baking.
- PREPARE THE APPLES: Peel, core, and slice the apples into ¼-inch thick slices. Place them in a large mixing bowl and toss with lemon juice, granulated sugar, brown sugar, flour, cinnamon, nutmeg, and salt. Set the mixture aside to rest while preparing the crust.
- LINE THE PIE DISH: Roll out the pie crust and press it into a 9-inch pie dish. Trim or flute the edges as desired. Pour the apple filling into the crust, arranging and gently pressing it to eliminate air pockets and create a slightly domed shape.
- MAKE THE CRUMBLE TOPPING: In a medium bowl, stir together the flour, brown sugar, and cinnamon. Add the cold butter cubes and cut them into the mixture using your fingers or a pastry cutter until the mixture resembles damp, coarse sand with some small clumps remaining.
- ADD THE TOPPING: Evenly distribute the crumble mixture over the apple filling, covering it completely without pressing it down. Let it sit naturally to preserve the crumbly texture.
- BAKE THE PIE: Place the pie on a baking sheet and bake for 50 to 60 minutes, or until the top is golden brown and the juices are bubbling around the edges. If the crust edges brown too quickly, cover them with foil or use a pie shield midway through baking.
- COOL THE PIE: Remove the pie from the oven and allow it to cool at room temperature for at least 2 hours. This rest time helps the filling set and makes for clean slices.
Notes
Use a mix of tart and sweet apples for balanced flavor and texture. Cold butter is essential for a proper crumbly topping—keep it chilled until ready to use. The pie can be made a day ahead and stored at room temperature or lightly covered in the refrigerator.
Nutrition Information:
Yield:
8Serving Size:
1Amount Per Serving: Calories: 374Total Fat: 16gSaturated Fat: 8gTrans Fat: 0gUnsaturated Fat: 7gCholesterol: 23mgSodium: 155mgCarbohydrates: 57gFiber: 3gSugar: 28gProtein: 3g
