
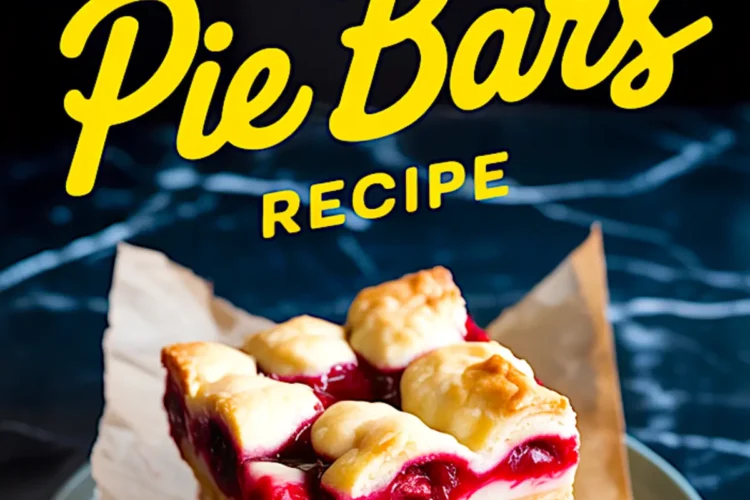
An easy dessert with big flavor, pantry staples, and a comfort-first attitude
You don’t need a rolling pin or fancy ingredients to make something that tastes like home.
These cherry pie bars hit the sweet spot between classic comfort and weekday ease. You’ll use everyday ingredients and just one mixing bowl to bring them together. No pie crust to fuss with. No dough chilling. Just a soft, golden cookie base, a tart cherry filling, and a rustic, cobbled top that finishes with a satisfying bite.
You’ll walk away knowing how to make a cherry bars recipe that holds its shape, keeps for days, and doesn’t ask much of you. That’s the kind of dessert I turn to when I want something real.
There’s a quiet trick in this recipe that gives it depth. A single note that changes the whole cherry filling into something more rounded, more grown-up. We’ll get to that shortly.
Let’s get your hands in the dough.

Ingredients You Already Have Work Best for These Cherry Pie Bars
This is the kind of recipe that works with what’s in your cupboard. Soft butter, a few eggs, white sugar, and flour do most of the work. You don’t need cake flour or anything fancy. Just regular all-purpose will give you a cookie-like texture that bakes up tender but holds firm when sliced.
Vanilla gives the bars familiarity. It blends in quietly with the cherries and soft dough. But here’s where things shift—almond extract. You don’t need much. Just half a teaspoon. Leave it out if you’re unsure, but if you’ve got it, use it. It’s that subtle something that makes these taste like they came from a bakery.
I’ve made this recipe with both softened salted and unsalted butter. Unsalted gives you more control, especially since the cherry pie filling already carries a bit of tang. If you’re using salted, just skip any extra salt the recipe might call for.
The filling itself? Canned cherry pie filling works best here. It spreads easily and gives consistent results. You can use homemade cherry filling like the one I shared in my classic cherry pie recipe if you’ve got some left in the fridge, but canned makes this quick and weeknight-friendly.
Why This Recipe Works So Well With Cherry Pie Filling
Canned cherry pie filling gets a bad reputation, but it really shines in recipes using cherry pie filling where texture and hold matter. It thickens as it bakes and gives you that deep red color that feels festive even in July.
I’ve tested cherry bars for a crowd using both canned and homemade fillings. Homemade has a looser consistency unless you simmer it longer, but canned holds up with every slice. Especially helpful when you’re serving these for something like a potluck or setting out a tray for a weekend brunch.
If you’re looking for something spoonable instead, my cherry cheesecake dip brings that same tangy fruit flavor but with a creamy twist.
Step-By-Step: Making the Dough, Filling, and Topping
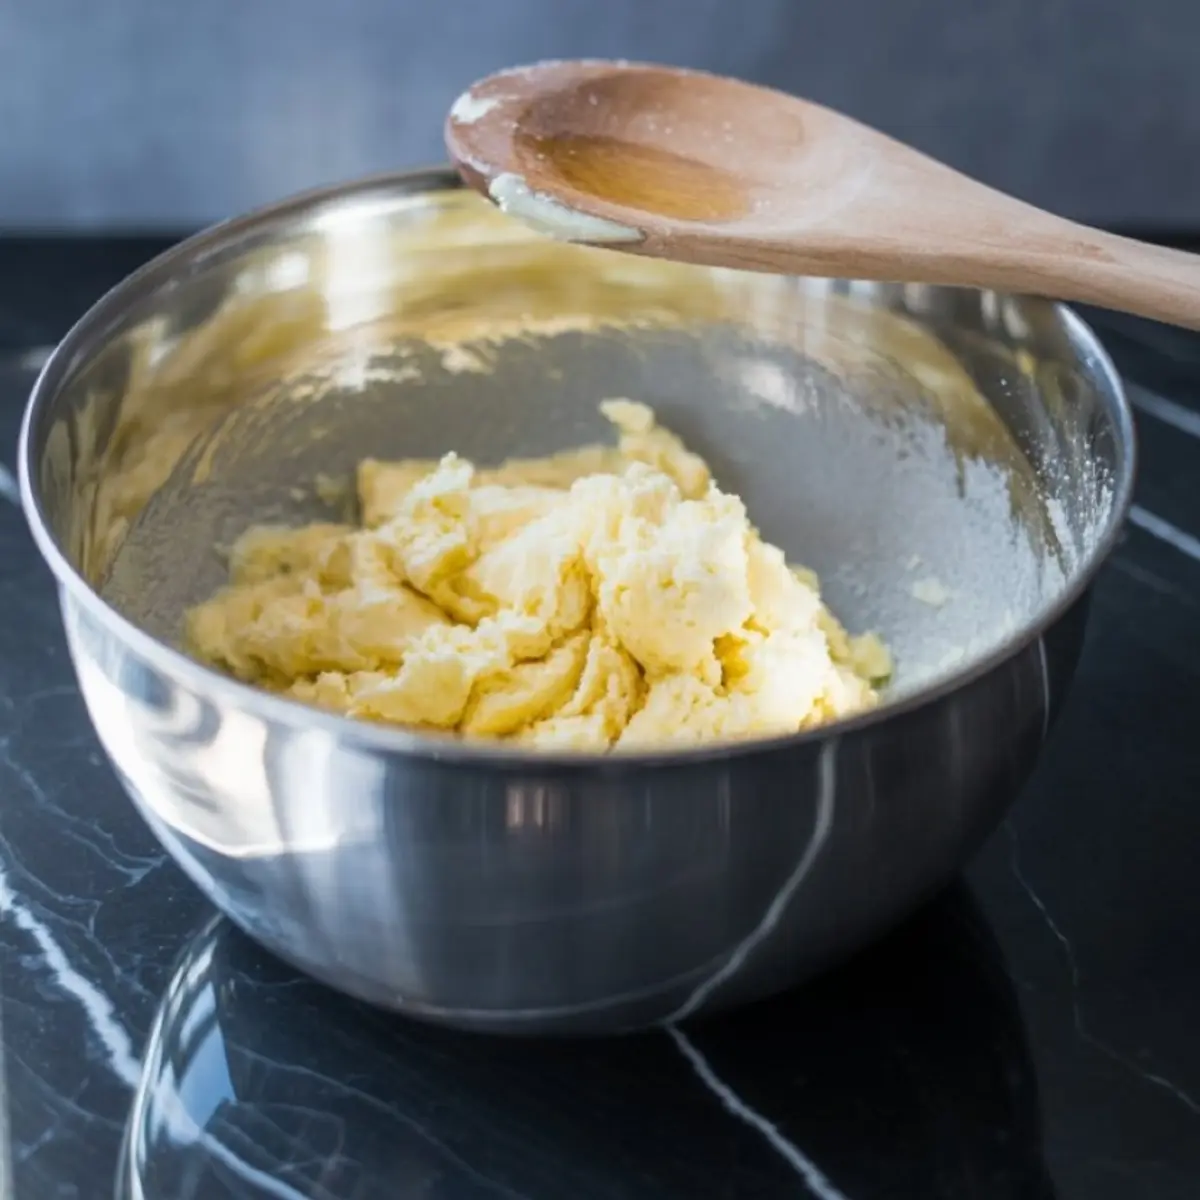
Creaming the butter and sugar sets the base. It’s worth using a hand mixer here if you’ve got one, but a sturdy whisk and arm strength will do. Don’t skimp on mixing at this stage. That fluffy texture helps the crust hold its shape.
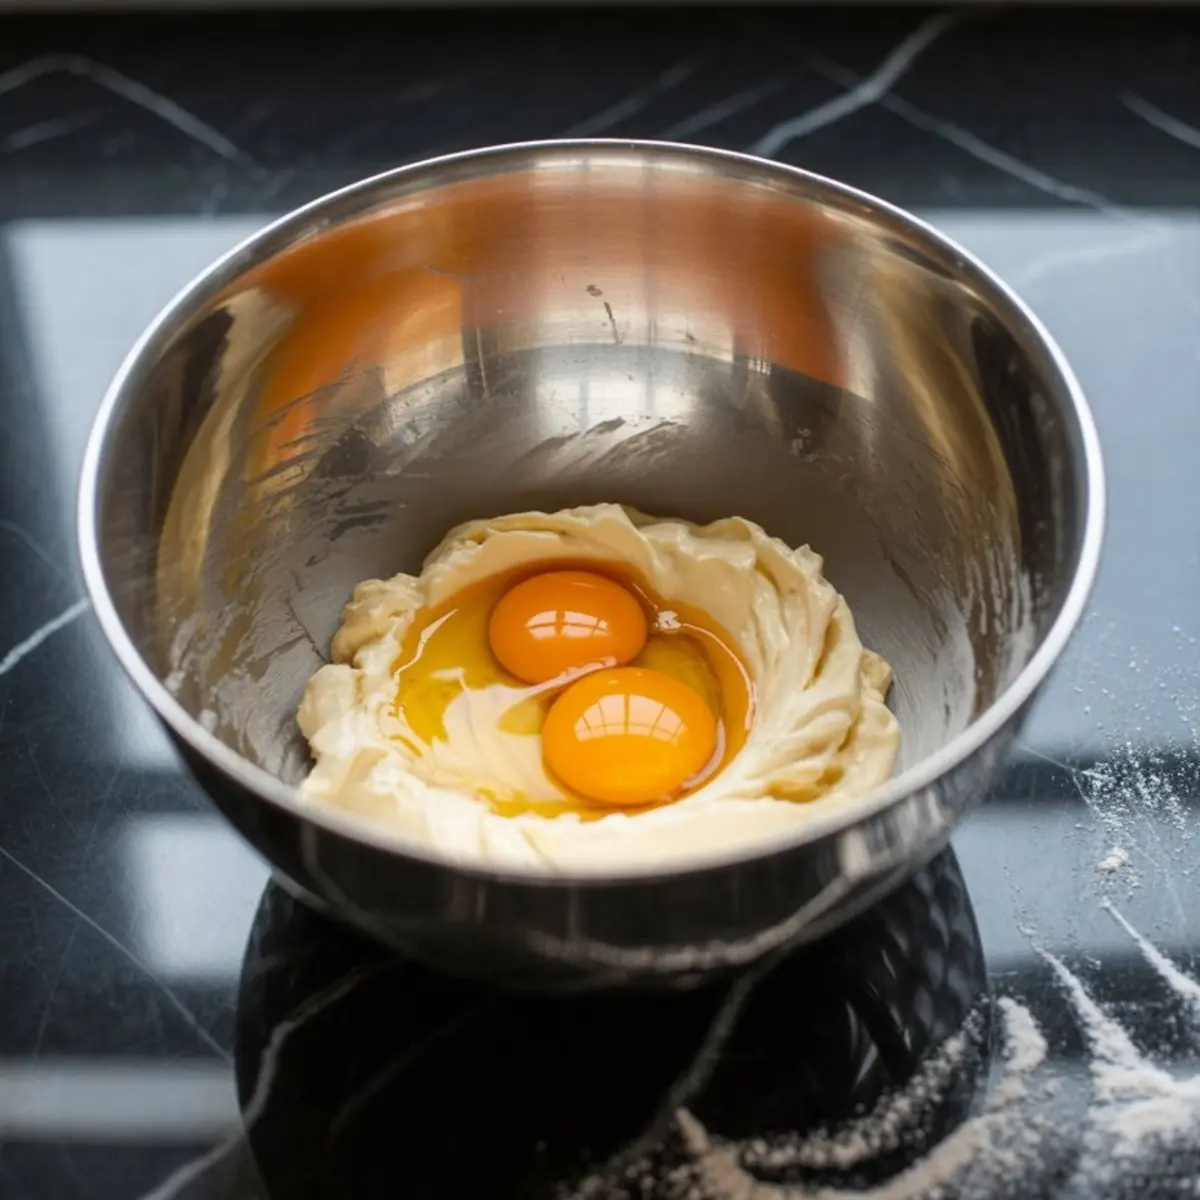
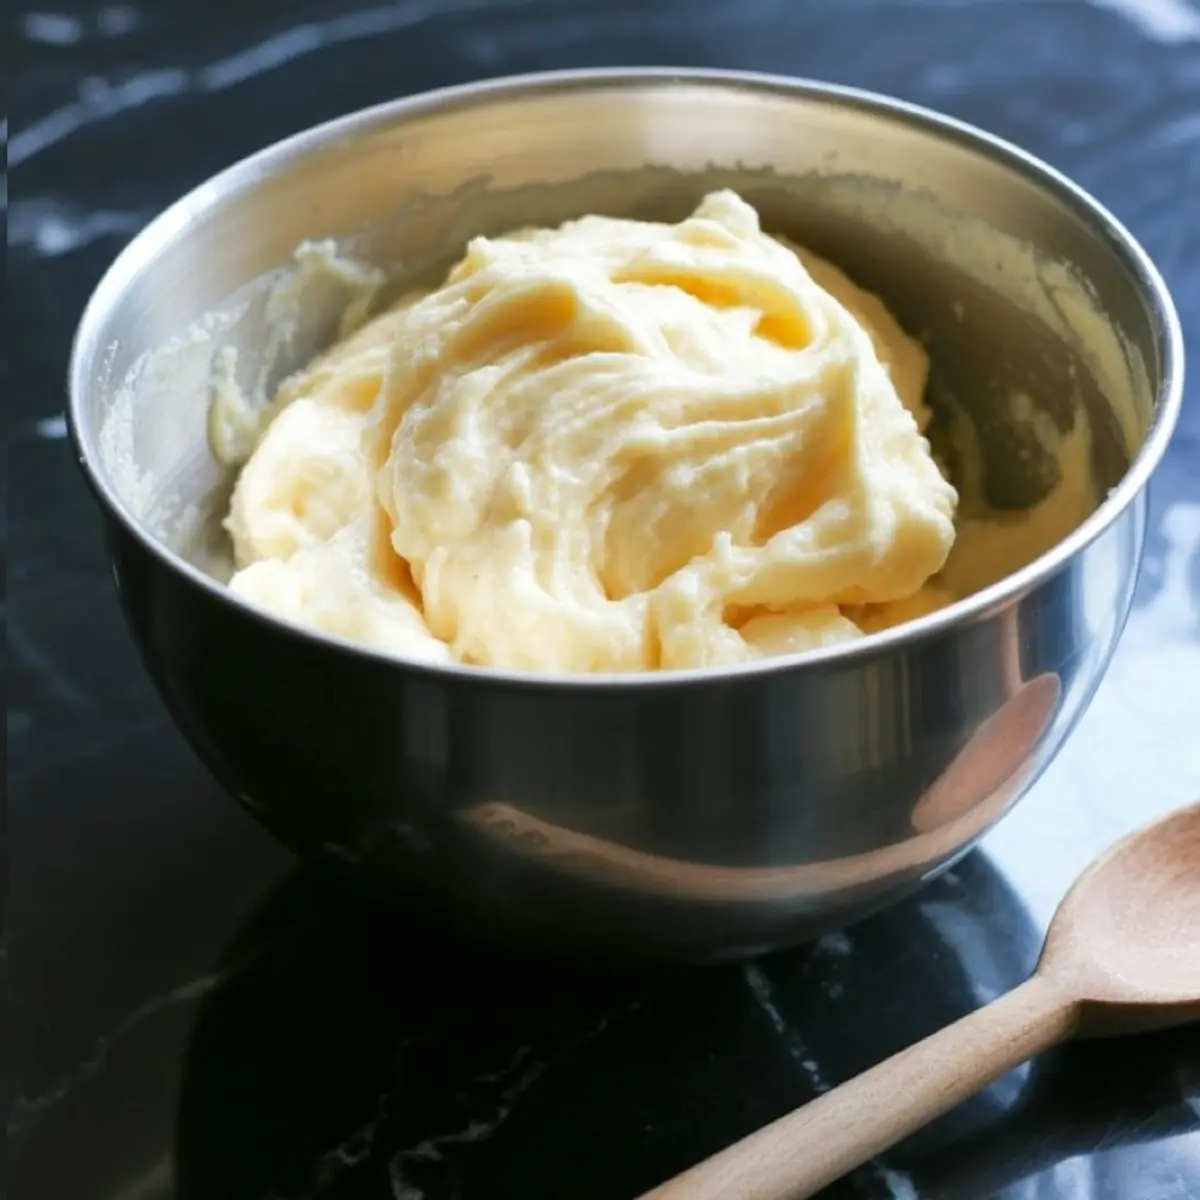
Once the eggs go in, you’ll see the mixture loosen slightly before tightening up again with the flour. The dough should be soft and thick—something between cookie dough and shortbread. You’ll press two-thirds of it into the base of the pan. Use your fingers or the back of a spoon. Just make sure the layer is even from corner to corner.
Then come the cherries. Spread gently. Don’t press down or you’ll lift the dough from the base. Let it sit naturally.
The remaining dough doesn’t need to be exact. Just tear off pieces with your fingers and scatter them over the top. Leave some of the cherry showing. That peek of red gives the bars a more homemade, inviting look.
Baking Tips and Cooling Advice from My Notes
You’ll want to bake until the top just starts to color. Mine usually take 38 minutes, but ovens vary. The top should be golden, not brown.
Let them cool in the pan completely. I used to rush this step. The filling needs time to set. Slice too soon and you’ll get cherry slide.
Use parchment if you’re planning to lift and transfer them. It makes slicing and cleanup easier, especially if you’re gifting these or setting them out on a dessert table.
If you love that golden, jammy fruit look, you might enjoy my cherry cobbler, which leans more into the warm-spoon-and-bowl type of comfort.
Comparison: Almond vs. No Almond in Cherry Bars
In my notes, I’ve tested this cherry bars recipe with and without almond extract side by side. The version without almond is soft, buttery, and familiar. It tastes like childhood.
Add almond extract, and the flavor sharpens. It cuts through the sweet and gives the cherry filling a floral edge that feels almost nostalgic. I lean almond every time, but if you’re baking for kids or picky eaters, vanilla-only is still strong.
My Cat Whiskers Always Shows Up for These
Every time I make these bars, Whiskers trots in when the butter hits the bowl. He sits like he owns the kitchen and stares at the mixing process like he’s memorizing the method. I think he knows this recipe means crumbs.
The first time I baked these on a quiet December evening, I dropped a bit of cherry filling on the floor. Whiskers sniffed it, paused, and made a face so offended I nearly cried laughing. He’s since forgiven me, but now he waits safely on the window ledge until the bars cool.
These have since joined our rotation for easy Christmas cherry bars, but I’ve made them in July just as happily.
The Secret Ingredient I Promised You
Now for the quiet twist: that almond extract. It doesn’t scream for attention. It hums under everything. In canned cherry pie filling recipes easy to assemble, a whisper of almond makes the dessert feel thoughtful.
That single drop shifts the profile without overpowering the cherry. I’ve added it to my no bake cherry cheesecake too, just in the base, and it made the whole thing sing.
Final Tips Before You Bake

Use room temperature butter for easier creaming. Don’t swap in margarine or oil. The texture won’t hold.
Cherry bars for a crowd slice best once cooled overnight. If you’re storing them, a tin lined with parchment keeps the crust from softening.
Feel free to freeze. Just wrap individually and they’ll keep for up to a month. Thaw at room temperature or warm gently in the oven for five minutes to revive the crust.
If you’re craving something with crunch on top instead, check out my cherry crumble bars or a classic cherry crumble piefor a change in texture.
Pin and Share Your Bake
Save this cherry bars recipe to your Pinterest board so you can find it again.
And if you try it, I’d love to hear how it went. Did you use almond? Did you switch up the filling? Leave a comment below and share how yours turned out. Let’s trade notes and keep the kitchen conversation going.
Cherry Pie Bars Recipe

Cherry pie bars combine the comfort of homemade pie with the simplicity of a bar dessert. A buttery cookie-like crust doubles as the topping, while sweet-tart cherry pie filling creates a vibrant center. These bars are easy to make with pantry staples and require no special equipment, making them a practical and satisfying treat year-round.
Ingredients
- FOR THE CRUST AND TOPPING
- 1 cup (226 grams) unsalted butter, softened
- 1¾ cups (350 grams) granulated sugar
- 4 large eggs
- 1 teaspoon vanilla extract
- ½ teaspoon almond extract (optional)
- 3 cups (360 grams) all-purpose flour
- FOR THE FILLING
- 2 cans (21 ounces each) cherry pie filling
Instructions
- PREHEAT THE OVEN: Preheat your oven to 350°F (175°C). Grease a 9x13-inch baking pan or line it with parchment paper for easier removal and cleanup.
- CREAM THE BUTTER AND SUGAR: In a large mixing bowl, cream together the softened butter and granulated sugar until the mixture is light and fluffy. This takes about 2–3 minutes with a hand mixer or slightly longer by hand.
- ADD THE EGGS AND EXTRACTS: Add the eggs one at a time, mixing well after each addition. Stir in the vanilla extract and almond extract if using.
- INCORPORATE THE FLOUR: Gradually add the flour to the wet ingredients, mixing until a thick, soft dough forms. The texture will resemble a soft cookie dough.
- SPREAD THE BASE: Press about two-thirds of the dough evenly into the bottom of the prepared pan. Use a spatula or your fingers to ensure full coverage.
- ADD THE CHERRY FILLING: Spoon the cherry pie filling evenly over the dough, being careful not to disturb the bottom layer. Use a spoon or offset spatula to gently spread the filling to the edges.
- TOP WITH REMAINING DOUGH: Drop small spoonfuls of the remaining dough over the cherry layer. Do not spread or try to cover the filling completely—let some cherry peek through.
- BAKE THE BARS: Bake for 35 to 40 minutes, or until the top is lightly golden and the edges are just beginning to brown.
- COOL AND CUT: Allow the bars to cool completely in the pan for at least 1 hour before slicing into squares. Cooling fully helps the filling set and makes for cleaner cuts.
Notes
Use parchment paper for easier removal from the pan and cleaner edges when slicing. Almond extract adds extra depth, but the bars are still delicious without it. Store leftovers in an airtight container at room temperature for up to 3 days.
Nutrition Information:
Yield:
16Serving Size:
1Amount Per Serving: Calories: 150Total Fat: 4gSaturated Fat: 1gTrans Fat: 0gUnsaturated Fat: 2gCholesterol: 48mgSodium: 55mgCarbohydrates: 24gFiber: 1gSugar: 3gProtein: 4g
