
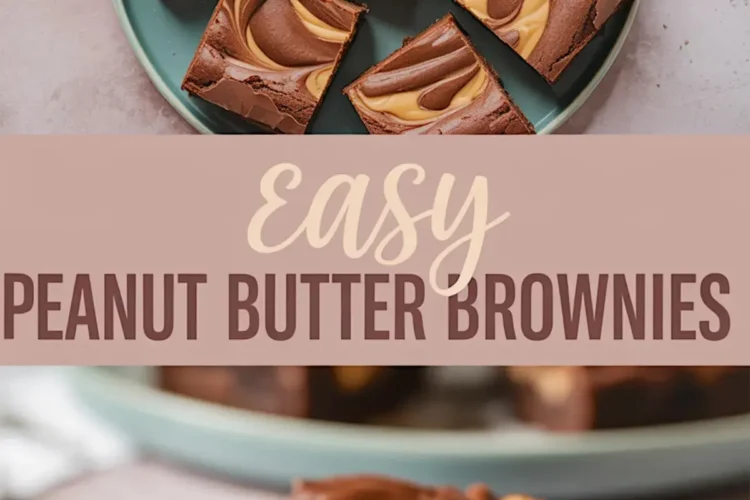
There’s something steady about a brownie baked in a square pan. I’ve made many kinds, but these peanut butter brownies remain in my handwritten notebook, marked with a small grease stain and the word “fudgy” underlined twice. You don’t need a mixer. You don’t need to rush. A small saucepan, a wooden spoon, and some quiet time will do.
This recipe uses melted chocolate instead of cocoa alone. That gives it weight and density. A fudgy kind of chew. The peanut butter, warmed slightly, glides across the top before the pan goes into the oven. It bakes into the chocolate like ribbons in a quilt.
Chloe once brought a batch of these to my back porch, years after she had moved out of the city. She had followed my instructions exactly, right down to not using natural peanut butter. That still makes me smile.
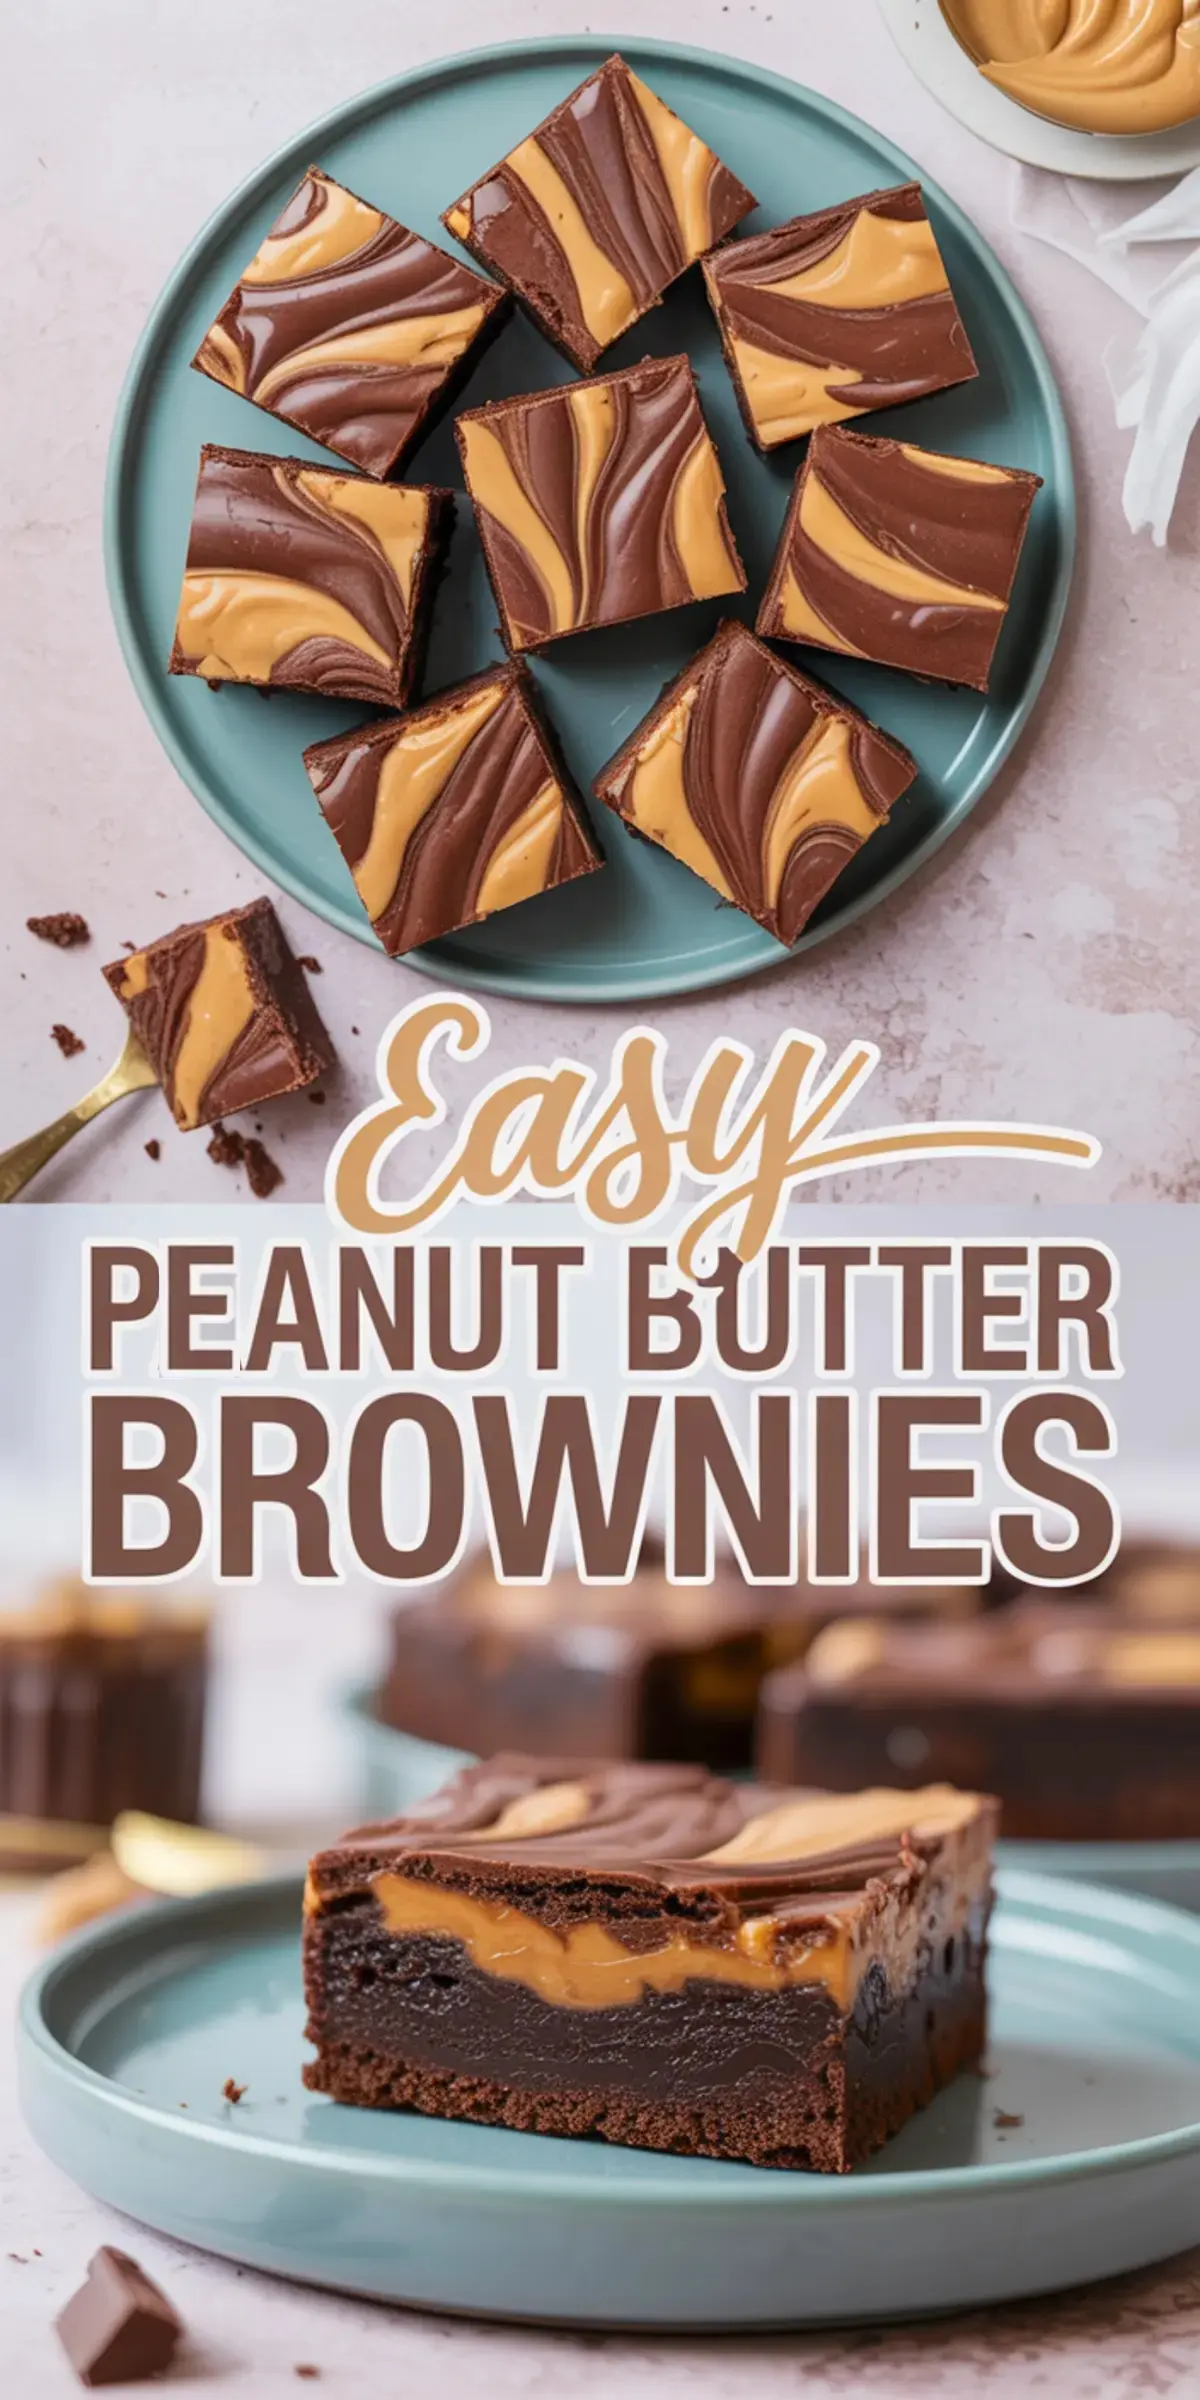
The right kind of chocolate matters
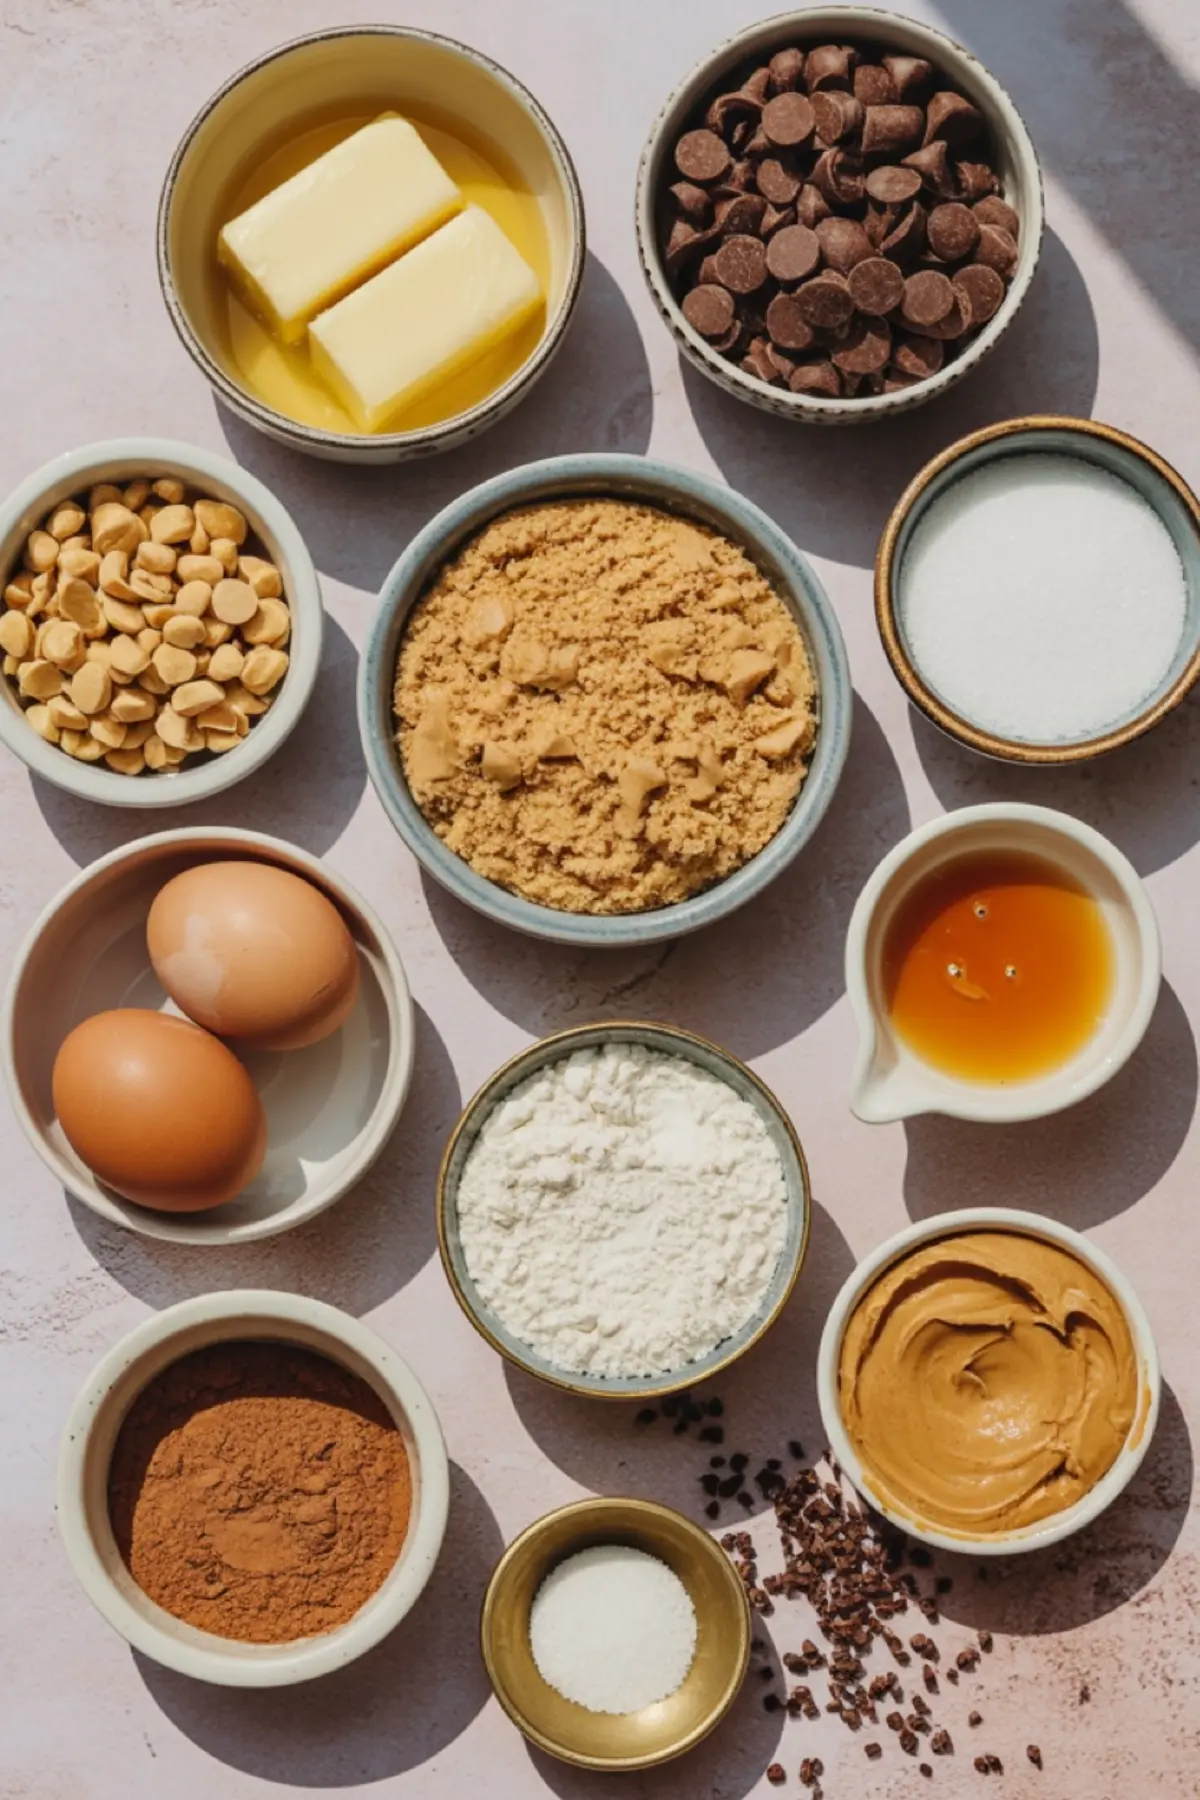
I prefer semi-sweet chocolate for the base. I’ve tried bittersweet, but it creates a firmer texture with less contrast against the sugar. Semi-sweet gives enough depth without becoming stiff. You can use chocolate chips or chopped baking chocolate. I’ve used both, and I lean toward chopped bars when I have the time. They melt more evenly.
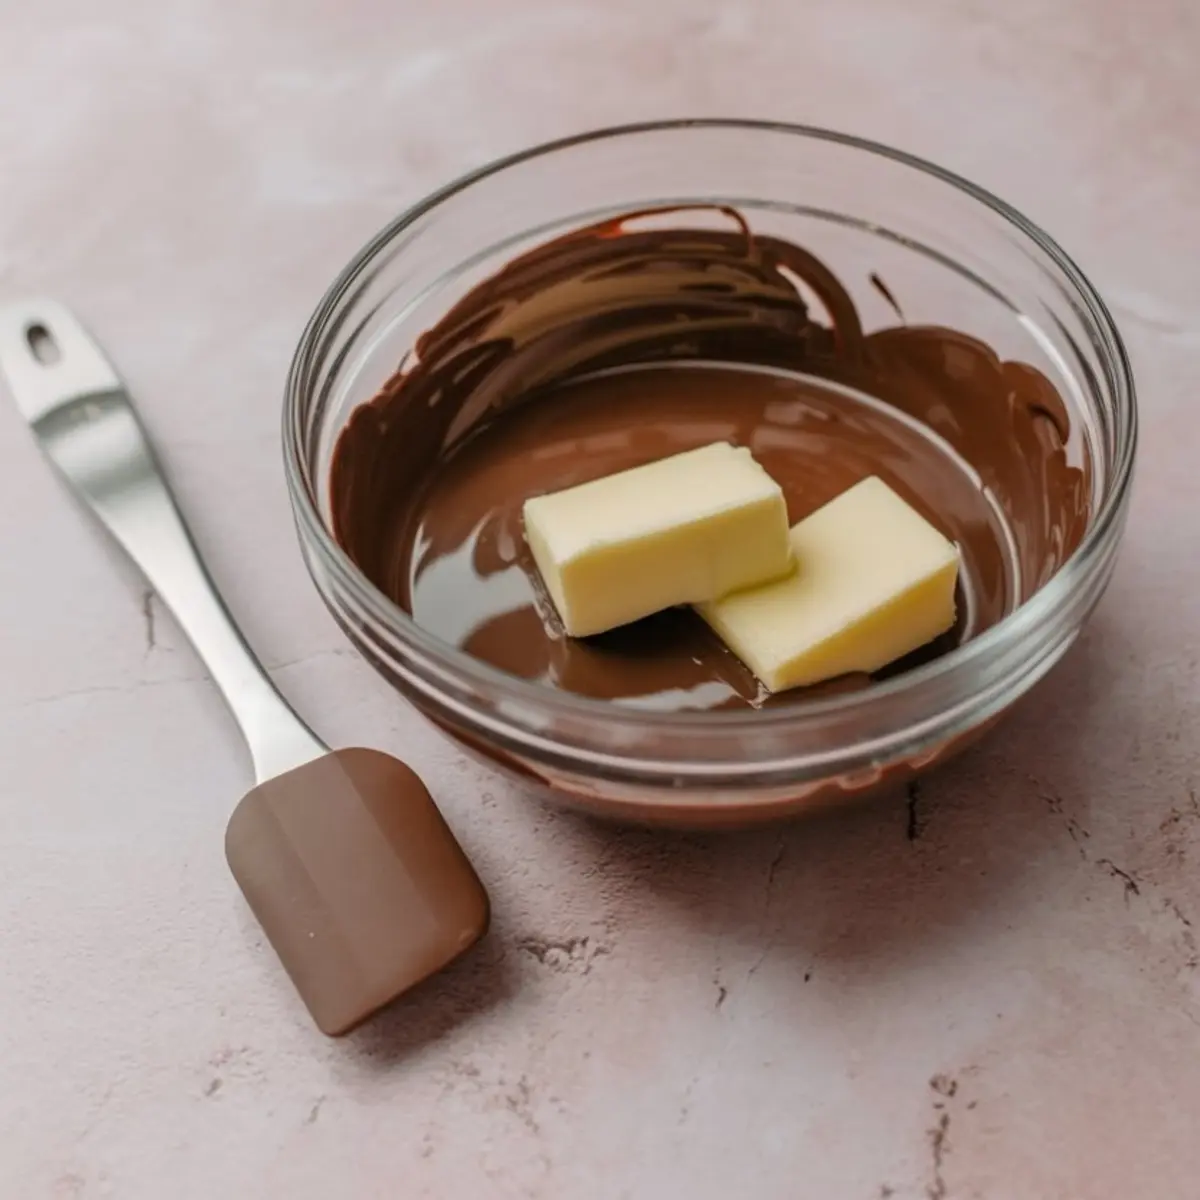
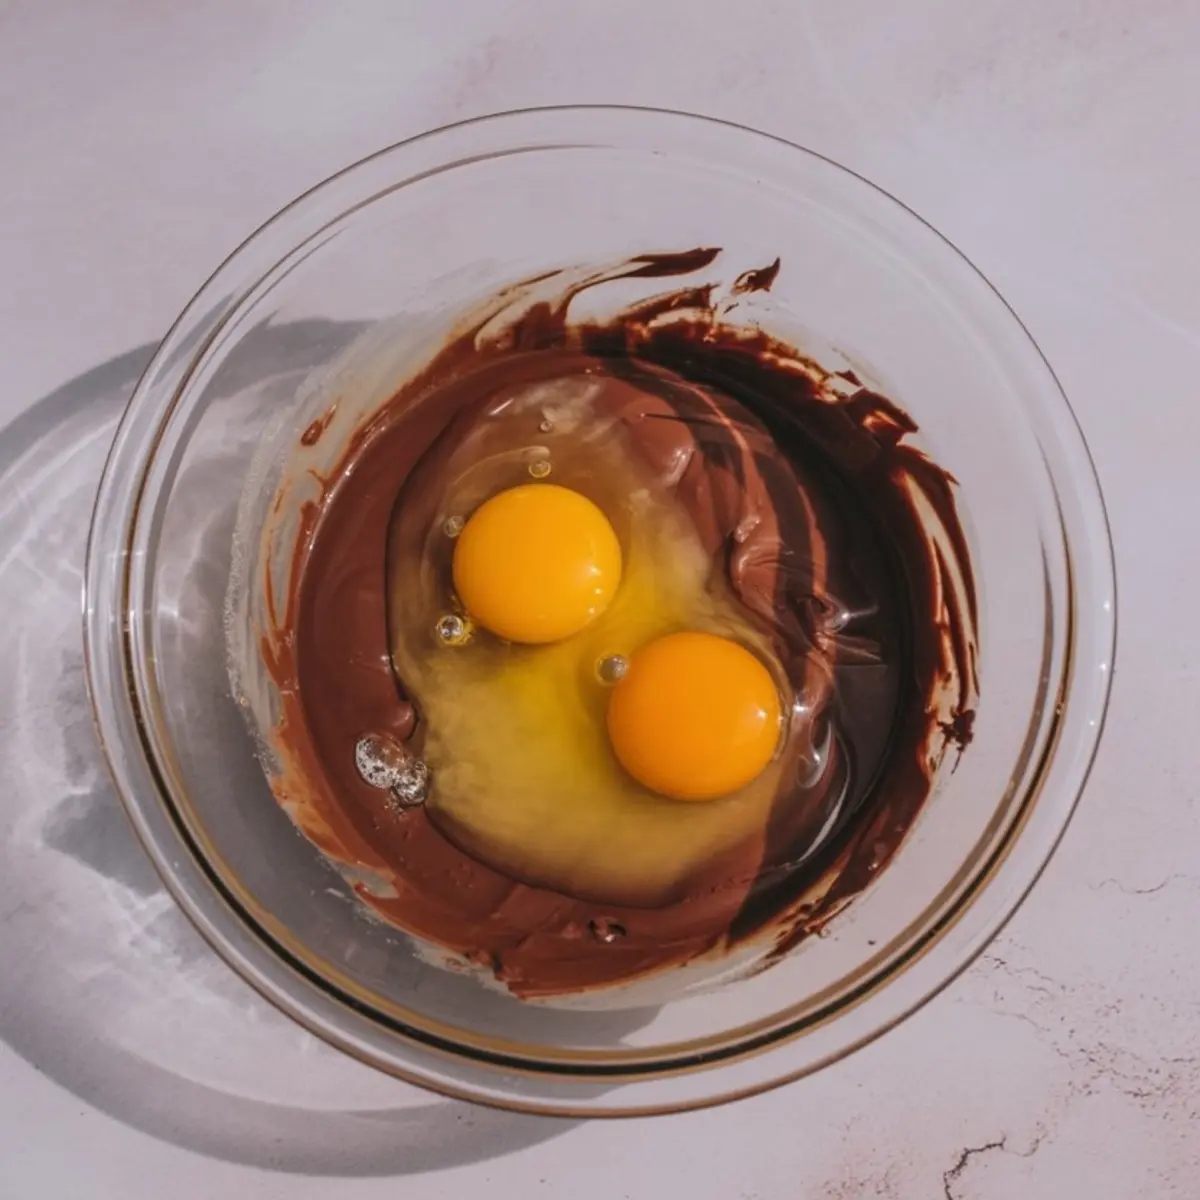
Once the chocolate and butter melt together, they need five quiet minutes to cool. Don’t skip this. If the mixture is too warm when you add the eggs, you’ll lose the gloss and get a grainy batter.
Why you should avoid natural peanut butter
This is the one note I’ve scribbled more than once: “Use standard peanut butter.” The kind that spreads without stirring. Natural varieties, with oil on top, tend to resist swirling. They also bake differently. The ribbons won’t hold their shape, and the top can become patchy.
For a rich finish, I microwave the peanut butter for 15 seconds. That helps it move across the batter without sinking.
If you’re curious about making your own, I still suggest using a version with added stabilizers. Homemade peanut butter works well in many recipes, but here, structure counts.
Mixing the batter by hand keeps the texture dense
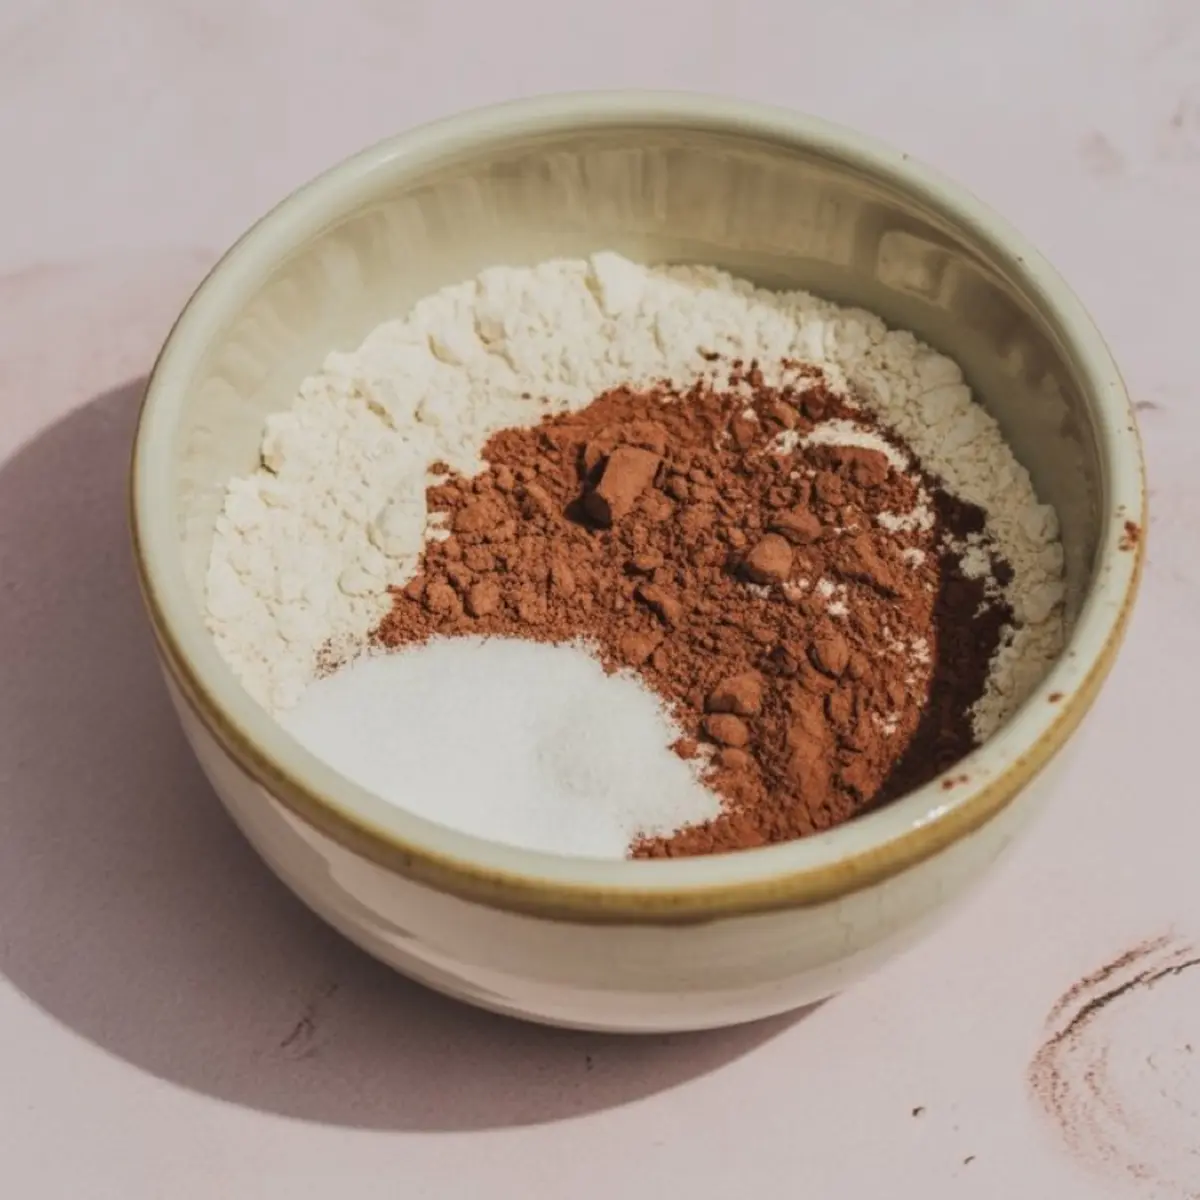
This batter comes together in a single bowl once you combine the wet and dry ingredients. Stir gently. You’ll feel it shift from loose to thick. Stop mixing when the flour disappears. Overmixing creates cake-like brownies. For this recipe, fudgy is the goal.
The dry blend includes cocoa powder and salt, just enough to deepen the base without overshadowing the chocolate. I’ve tested versions without cocoa, and they lose their richness. The two tablespoons make a difference.
This method reminds me of other chocolate and peanut butter desserts we’ve shared over the years—brownies, bars, even peanut butter lasagna. There’s comfort in the simplicity.
Bake until the center is set with a few crumbs
Brownies give very little warning when they’re ready. The edges pull slightly, and the center no longer jiggles. I use a toothpick, but I don’t look for a clean one. A few moist crumbs mean the texture will hold.
If you overbake them, they’ll become dry along the edges. You can always trim that part and keep the middle.
And if your peanut butter swirl cracks or shifts during baking, don’t worry. It happens. These brownies are about flavor, not symmetry.
Cool before slicing — but don’t forget to taste warm edges
Let them rest in the pan first, then transfer using the parchment overhang. I always cut a corner piece for myself once they’re cool enough to handle. The peanut butter sets with a slightly firmer edge, while the center stays soft.
I’ve served these next to chocolate peanut butter cupcakes for birthdays and potlucks. But more often than not, I keep them in a tin on the counter. They go well with afternoon tea or a quiet morning.
They also store well in the fridge. That deepens the chocolate flavor even more, like many no bake brownies I’ve made over the years.
My notes on brown sugar and cocoa
In my old cards, I once substituted all white sugar. The result was flatter. The brown sugar gives these brownies their chew. Granulated sugar alone won’t deliver the same depth.
As for cocoa powder, natural works just fine. There’s no need for Dutch-processed here. I’ve tested both. The difference is small, but I prefer the simplicity of what I keep in my cupboard.
Peanut butter swirl vs. peanut butter layer
If you’d rather have a separate peanut butter topping, I’ve done that too. But I find swirling it in gives a better bite every time. It’s less sweet, more balanced. This version reminds me of buckeye brownies but easier to manage in a single pan.
Sometimes I leave the swirl plain. Other times I sprinkle a few chopped peanuts across the top before baking. That’s up to you. I’ve written both options in my notes.
A quiet dessert that doesn’t need decoration
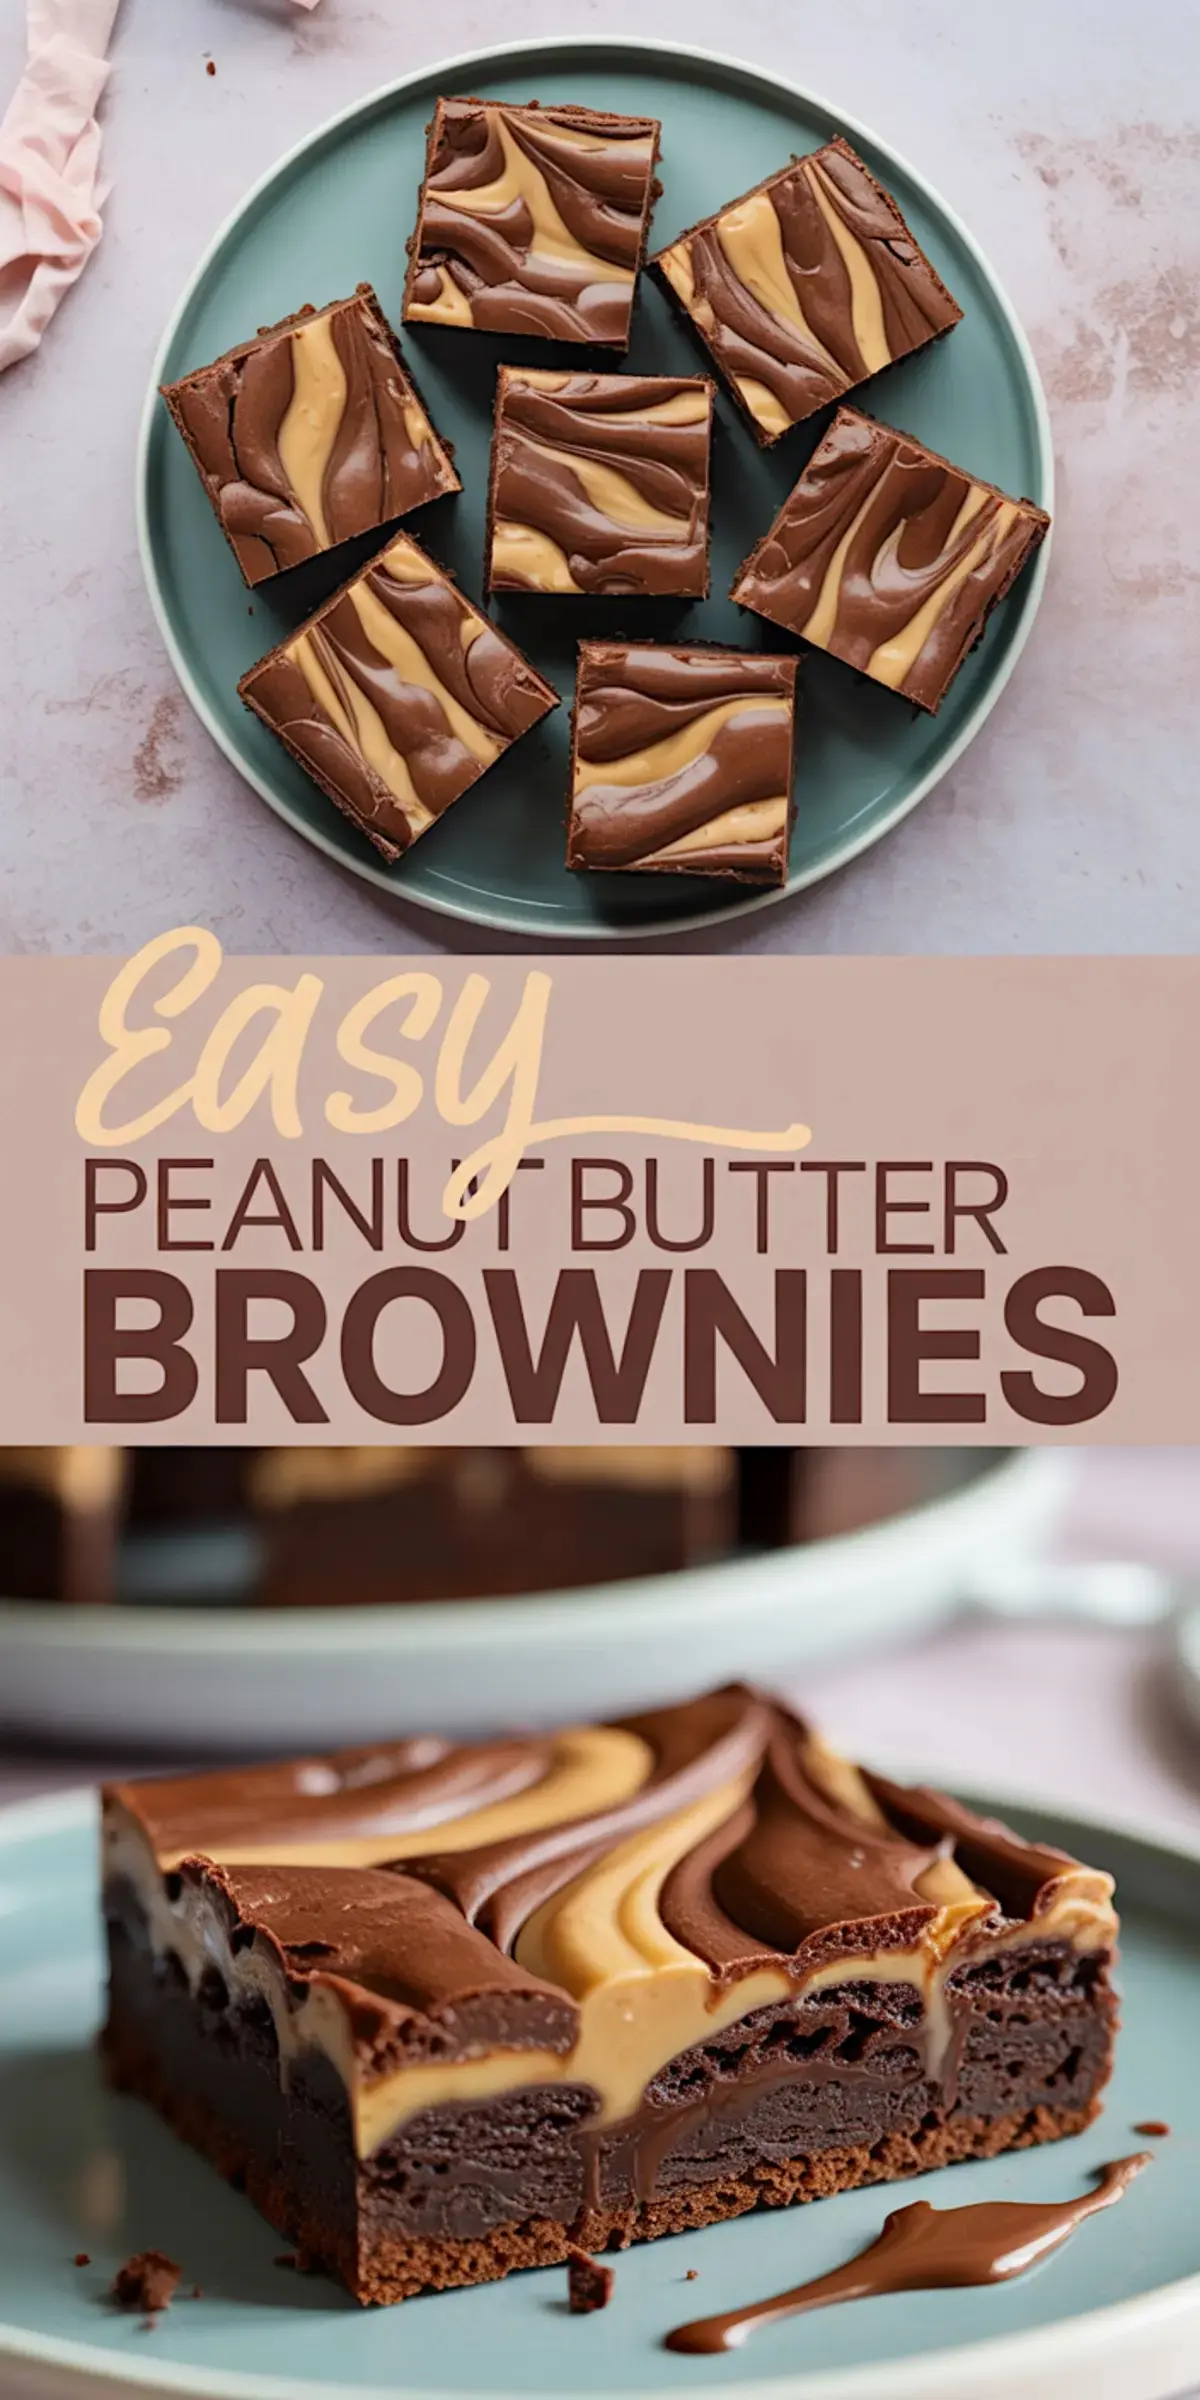
You won’t find frosting here. You don’t need it. These brownies rely on contrast—the deep fudge base, the creamy peanut butter top. They come out marbled and soft.
I hope you’ll make them your own. Add them to your binder, next to the peanut butter pie or the peanut butter bars recipe you might already love.
And if you share them, tell the story. I still keep Chloe’s version in a separate note, labeled: “Chloe’s batch—brought with tulips.”
Save this recipe to your board or print it for later. Let me know in the comments if you’ve made a swirl like this, or if you added something new. I always read what you write back.
Easy Peanut Butter Brownies
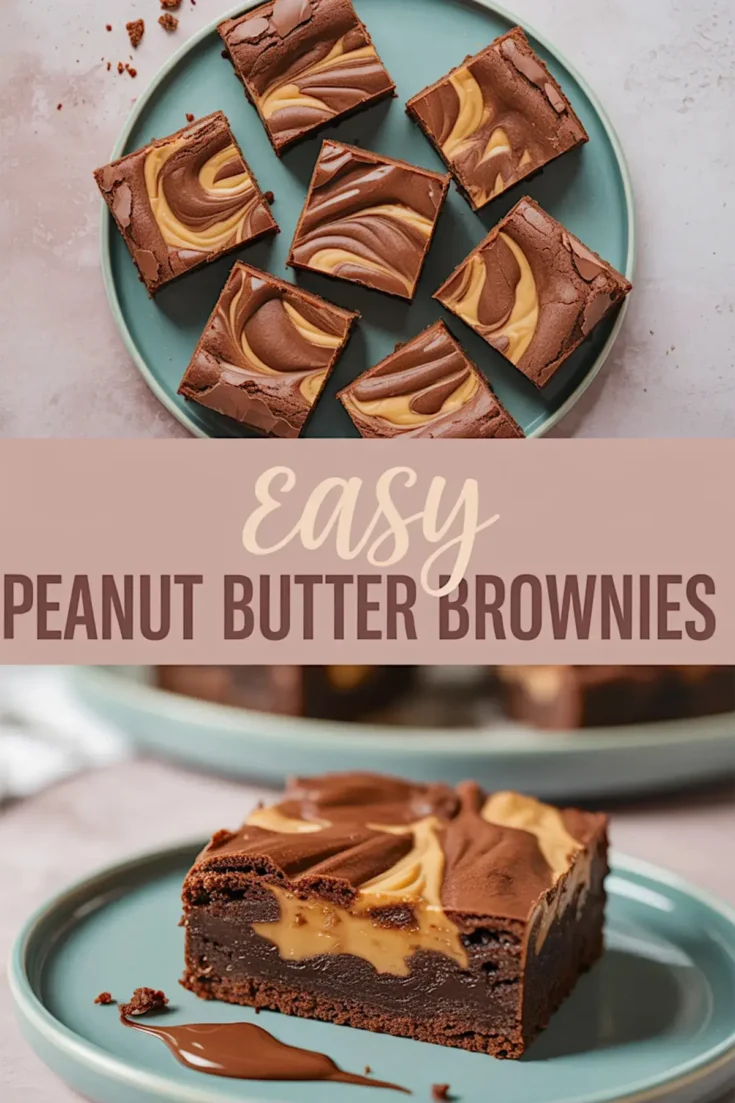
These peanut butter brownies come together in one bowl with no electric mixer. A melted chocolate and butter base creates a dense, fudgy texture, while creamy peanut butter swirled on top melts into every bite. They're easy, satisfying, and perfect for a simple homemade dessert.
Ingredients
- 1/2 cup unsalted butter
- 1 cup semi-sweet chocolate chips or chopped semi-sweet chocolate
- 1/2 cup packed brown sugar
- 1/4 cup granulated sugar
- 2 large eggs
- 1 teaspoon vanilla extract
- 1/2 cup all-purpose flour
- 2 tablespoons unsweetened cocoa powder
- 1/4 teaspoon salt
- 1/3 cup creamy peanut butter (not natural)
Notes
Use standard creamy peanut butter—not natural or oily varieties—to ensure proper texture and swirl. Brownies store well in an airtight container at room temperature for up to 3 days or can be refrigerated for longer freshness.
Nutrition Information:
Yield:
9Serving Size:
1Amount Per Serving: Calories: 369Total Fat: 23gSaturated Fat: 12gTrans Fat: 0gUnsaturated Fat: 10gCholesterol: 68mgSodium: 127mgCarbohydrates: 39gFiber: 2gSugar: 29gProtein: 6g
