

Easter brings its own kind of sweetness, and Homemade Marshmallow Chicks have been part of my spring table for as long as I can remember. These soft, bouncy treats, with their gentle vanilla flavor and pastel colors, feel like holding a piece of a cloud — a playful cloud that happens to smile back at you.
I first made these marshmallow chicks one rainy April, trying to recreate the store-bought versions but softer, fresher, and less sugary. What I love most about them is that they bridge generations — kids love them, but I’ve caught plenty of grown-ups sneaking one when they think no one’s watching.
But let me tell you, there’s a small dash of magic hidden inside this recipe — something you wouldn’t guess but that makes all the difference in how they turn out. I’ll share that secret in a moment, but first, let’s talk about how to bring these marshmallow chicks to life in your own kitchen.

Making Fluffy Marshmallow Chicks at Home for Easter and Spring Parties
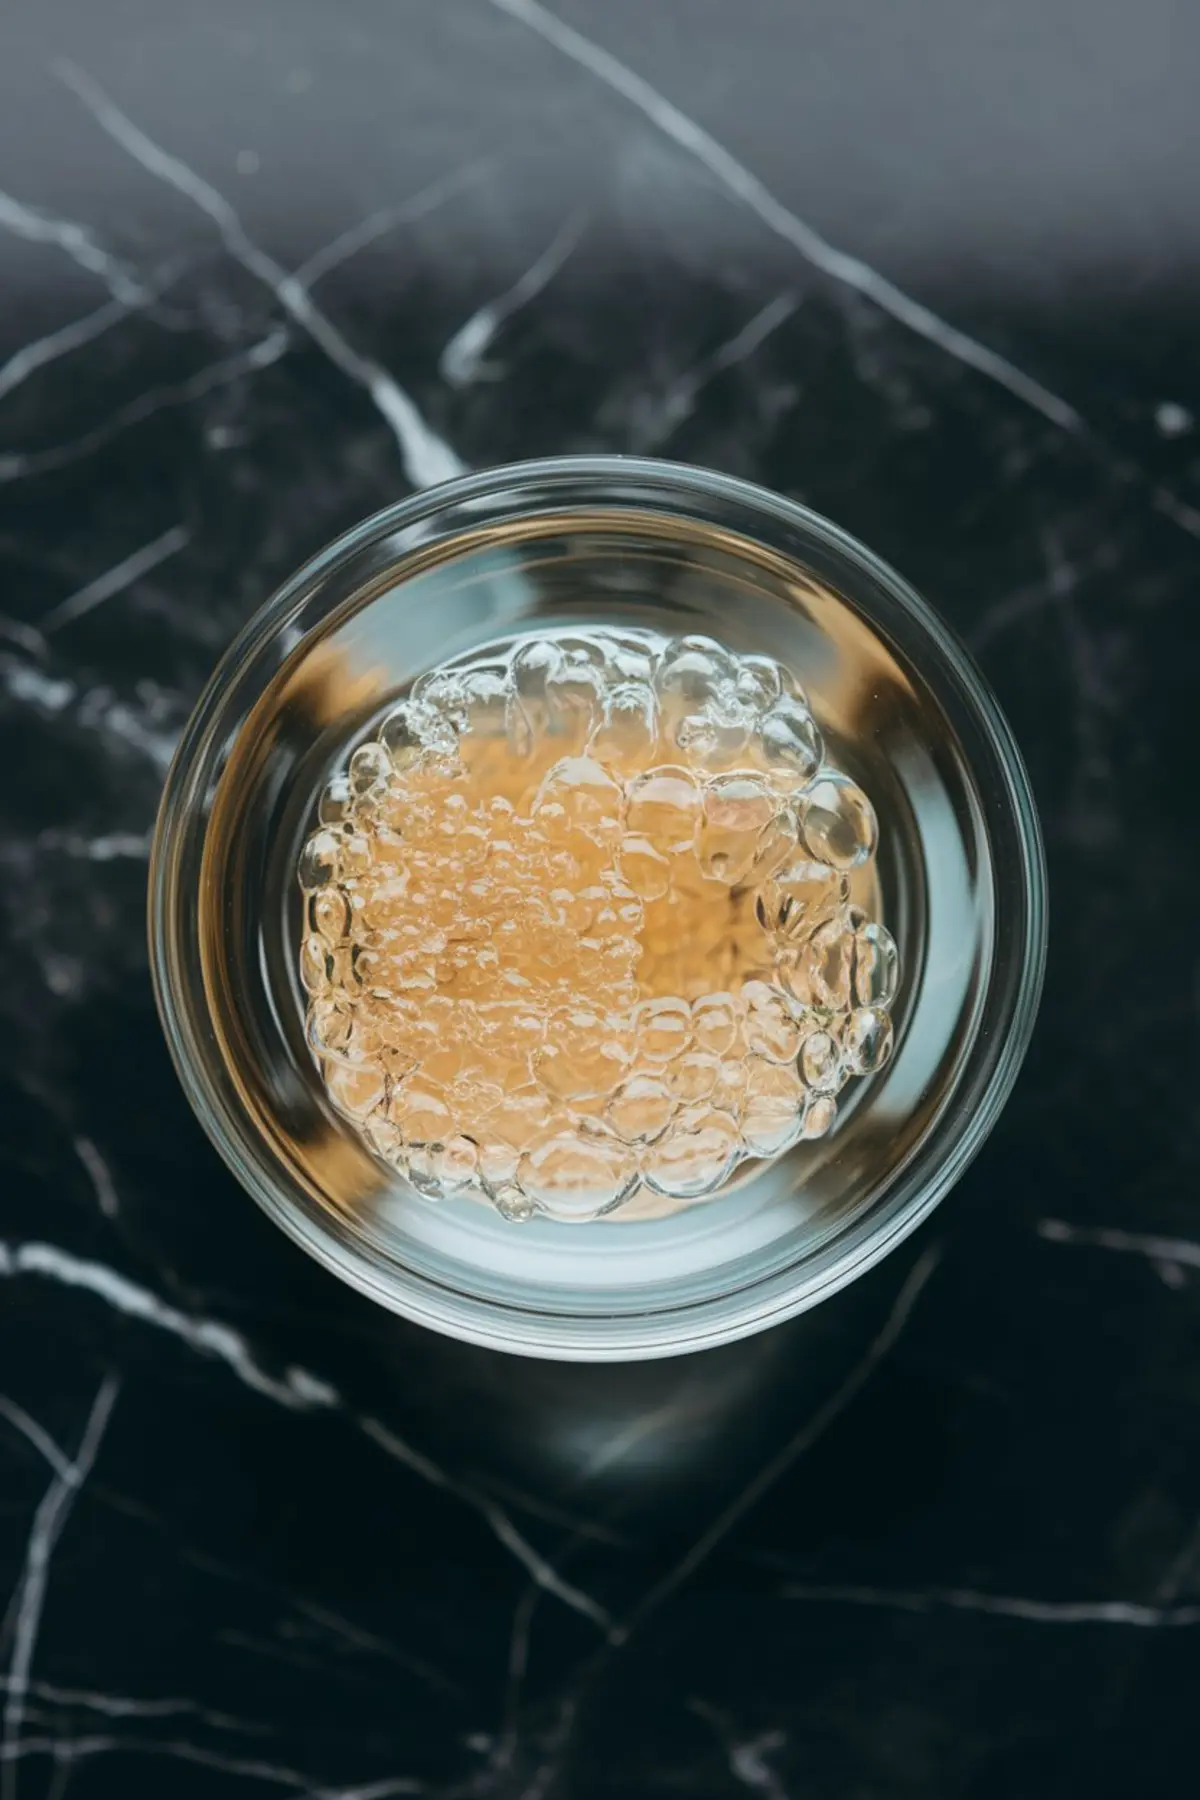
To start, you’ll need unflavored gelatin, which gives these chicks their structure and springy bite. I always let my gelatin bloom in cold water first because, as I’ve learned (the hard way), rushing this step leads to marshmallows that don’t set right. You’ll know the gelatin is ready when it looks thick and wrinkly, like a soft jelly.
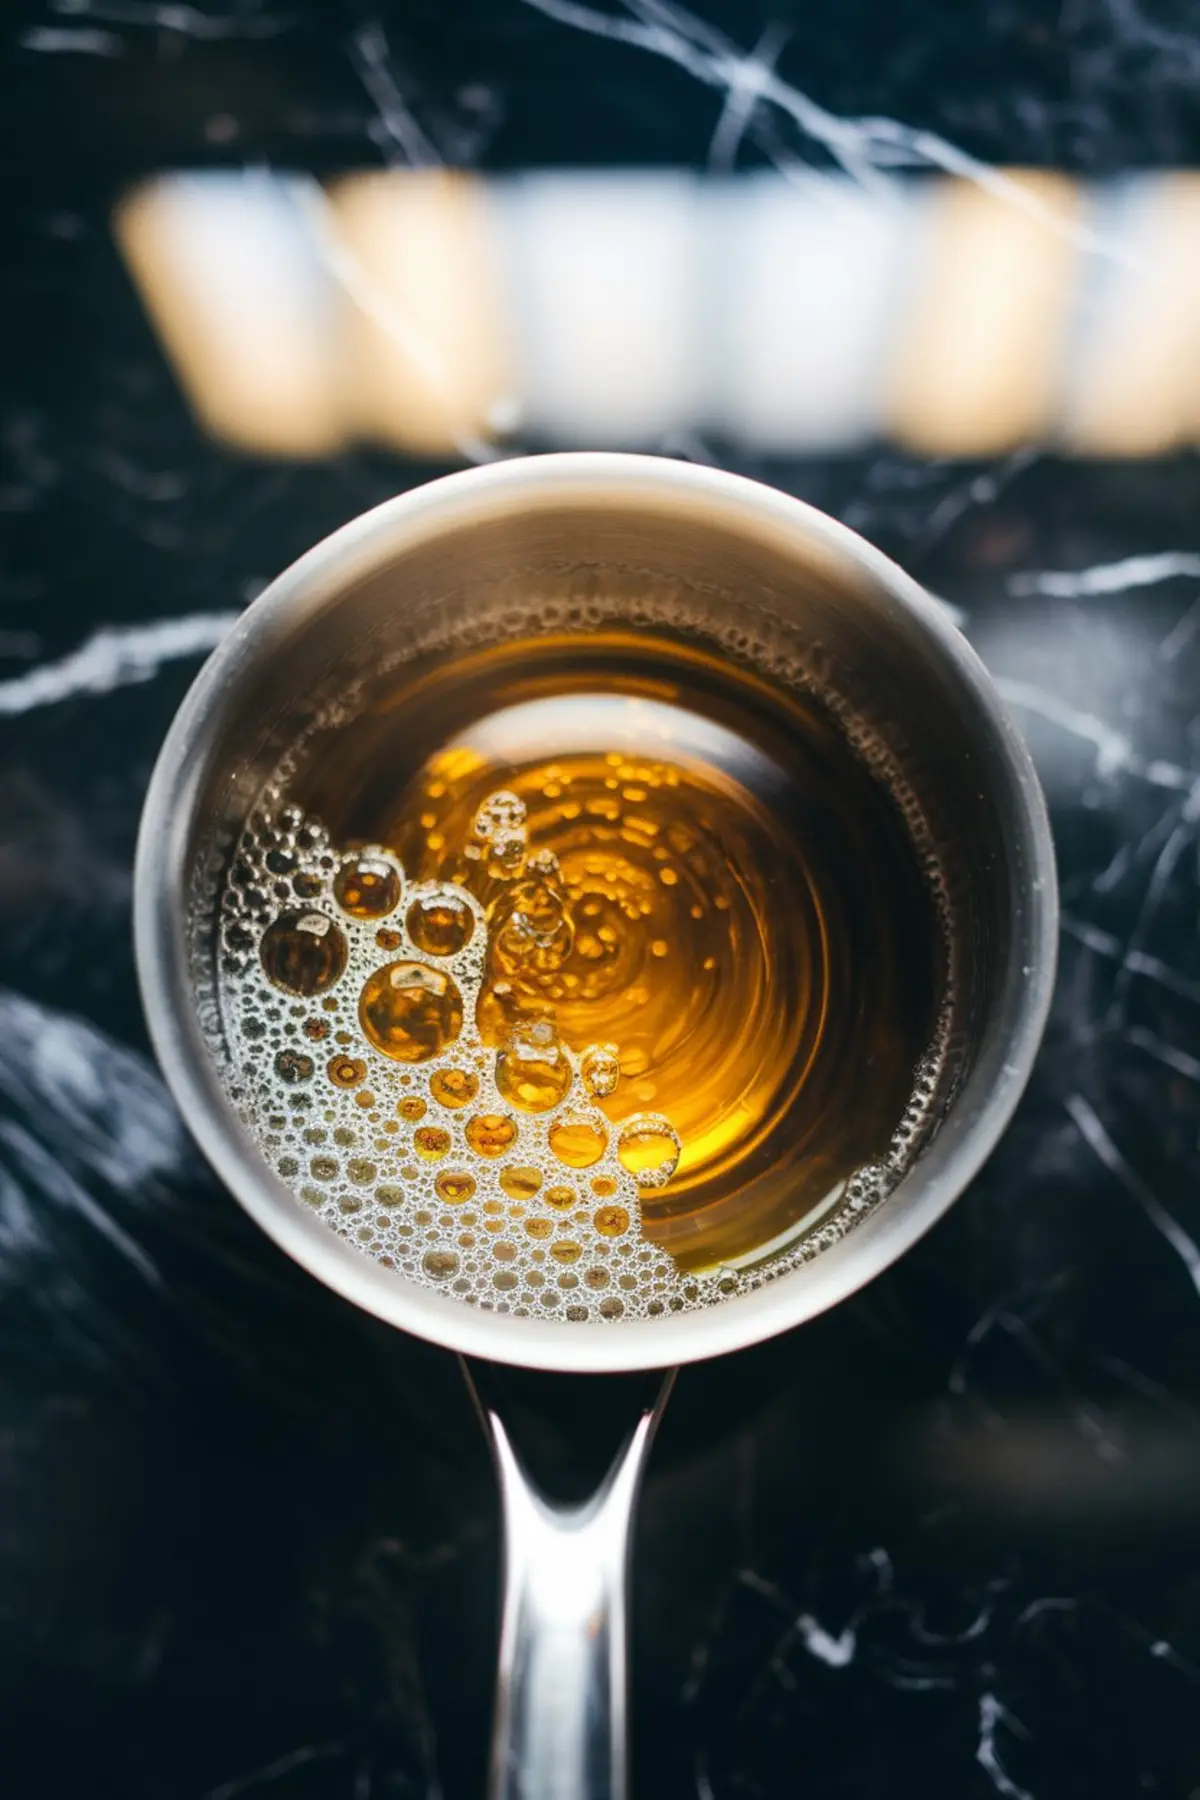
While that’s resting, I move to the sugar syrup. Granulated sugar, light corn syrup, water, and a pinch of salt all go into a small saucepan. I stir it gently until the sugar dissolves completely. Here, patience is everything — once it starts bubbling, I stop stirring. I don’t walk away, though. I stand right there, watching as it climbs to the magic 240°F mark. My candy thermometer never leaves my side during this part, because if you overcook it, your chicks will be chewy instead of soft. And no one wants chewy chicks, right?
Once the syrup hits the right temperature, I turn on my stand mixer where the gelatin is waiting, and I slowly pour in that hot sugar mix. Now comes my favorite part — whipping it all together until it triples in size, thick and glossy, like a meringue that holds its shape but is far softer. This part takes a good 8 to 10 minutes, and it’s always amazing to see how something so sticky and hot turns into a fluffy cloud.
Coloring and Shaping Homemade Marshmallow Chicks without Store-Bought Molds
After whipping, I add the vanilla extract, and here’s where you can decide how creative you want to get. I divide the fluffy marshmallow into bowls and add pastel food coloring — usually yellow for classic chicks, but I’ve done soft blues and pinks when I’m feeling playful.
If you have chick-shaped silicone molds, you’re golden. I lightly spray them with nonstick spray so nothing sticks. If you don’t have molds, don’t worry. I often use a piping bag with a round tip to pipe small chick shapes directly onto parchment paper. The trick here is to work fast. Once the marshmallow starts to cool, it sets quickly. And trust me, trying to pipe a chick out of marshmallow that’s half-set is like wrestling with a sticky octopus — it won’t be pretty.
I smooth the tops with a greased spatula so they’re even and let them sit out for a good 4 hours, sometimes overnight if I’m planning ahead.
How to Decorate Marshmallow Chicks with Easy Candy Details
Once they’re set, I carefully remove them from the molds, or if I piped them, I gently lift them off the parchment. Then, I roll them in a mixture of powdered sugar and cornstarch to stop them from sticking to each other or my hands.
Now comes the fun part — giving them faces. I use melted chocolate or mini chocolate chips for eyes, and small orange candy melts or sprinkles for the beaks. I’ve learned from trial and error that using a toothpick to apply the chocolate makes for much neater eyes than trying to spoon it on.
And here’s that little dash of magic I mentioned earlier — a tiny pinch of salt in the syrup. It’s not enough to taste salty, but just enough to balance the sweetness and give the vanilla flavor more depth. Without that pinch, they risk tasting flat and overly sugary. That was one of those discoveries I scribbled into my Pin Notebook, where I keep all my recipe tweaks and secrets. So now you know my marshmallow chick secret, and I hope it helps you, too.

Tips for Making Soft, Non-Sticky Marshmallow Chicks That Last
One thing to remember — let the marshmallows sit uncovered while they set. Covering them can make them sweaty and sticky. And don’t store them in the fridge. Room temperature is their happy place. If you’re stacking them in a tin or container, a layer of parchment paper between them keeps them from sticking together.
If you find they’re too sticky when you first unmold them, give them another gentle toss in the powdered sugar and cornstarch mix. They’ll behave after that.
And if you want to get extra creative, these marshmallow chicks also look adorable on top of cupcakes, cakes, or even as part of an Easter dessert board alongside other favorites like Easter Chick Oreo Pops and Chick Cake Pops.
More Easy Easter Marshmallow Ideas and Alternatives to Peeps
If you’ve ever wondered how to make homemade Peeps, this is essentially your answer — but better because you can choose the flavors and colors you love. Plus, piping them freehand gives them quirky shapes that make them look even more handmade and lovable.
I’ve also used this same marshmallow base to make other fun shapes for different holidays. Swap the chick molds for egg molds, and you’ll have sweet little marshmallow eggs, much like the Easter Egg Cake Pops I shared earlier.
So don’t be afraid to experiment. These marshmallows can be anything you want them to be — as long as you’re ready to move fast once the fluff is whipped!
Why You’ll Keep Coming Back to Homemade Marshmallow Chicks — Save This for Later!
Every time I make these marshmallow chicks, I think back to that first batch and how surprised I was by how easy they actually are. They may look like something you need a candy factory to create, but if you can whip egg whites or frosting, you can whip marshmallow.
And if you try them, I’d love to know — how did yours turn out? Did you go with classic yellow chicks, or did you mix up the colors? Maybe added a fun twist of your own? Drop a comment below and let’s share ideas — because let’s be honest, marshmallow-making is more fun when we do it together.
And hey, don’t forget to save this recipe as a pin on your board so you’ll have it ready for Easter, spring birthdays, or just a fun kitchen day with the kids.
Homemade Marshmallow Chicks Recipe

Soft, fluffy marshmallow chicks are a fun and festive treat for spring. These homemade marshmallows have a light vanilla flavor and a melt-in-your-mouth texture. A touch of food coloring gives them a pastel Easter look, while chocolate and candy details bring them to life. Perfect for filling baskets, decorating desserts, or enjoying as a sweet snack.
Ingredients
- 3 packets (7g each) unflavored gelatin
- ½ cup cold water (for blooming gelatin)
- 1 cup granulated sugar
- ½ cup light corn syrup
- ¼ cup water
- ¼ teaspoon salt
- 1 teaspoon vanilla extract
- Food coloring (pastel yellow, pink, blue, or any colors you like)
- ½ cup powdered sugar (for dusting)
- ½ cup cornstarch (for dusting)
- Melted chocolate or mini chocolate chips (for eyes)
- Orange candy melts or small orange sprinkles (for beaks)
- Small chick-shaped silicone molds (or a piping bag with a round tip)
Instructions
Notes
Gelatin Blooming: Allowing the gelatin to bloom properly is essential for achieving the right marshmallow texture. The gelatin should fully absorb the cold water before adding the hot syrup. If the gelatin is not bloomed long enough, the final marshmallows may turn out grainy or have an uneven texture.
Sugar Syrup Temperature: Using a candy thermometer is crucial for accuracy. The syrup must reach exactly 240°F (soft-ball stage) to create the right consistency. If it’s undercooked, the marshmallows may not set properly; if it’s overcooked, they may turn out too dense or chewy. Avoid stirring the syrup once it starts boiling to prevent crystallization.
Whipping the Marshmallow Mixture: Once the hot syrup is added to the bloomed gelatin, whipping at high speed helps incorporate air and create the signature light and fluffy texture. The mixture should become thick, glossy, and nearly tripled in volume. Overwhipping can cause the mixture to set too quickly, making it harder to shape.
Coloring the Marshmallows: Food coloring should be added quickly and gently folded in to avoid deflating the mixture. Gel food coloring works best because it doesn’t affect the consistency. If using liquid food coloring, add it sparingly to prevent thinning the mixture.
Using Molds vs. Piping: Silicone molds create uniform shapes and make unmolding easier, while piping allows for more creative designs. If piping directly onto a tray, work quickly, as the mixture begins setting within minutes. Lightly greasing the piping bag can help the marshmallow flow smoothly.
Setting Time: Marshmallows need at least 4 hours to set, but overnight is best for a firmer texture. Let them sit uncovered in a cool, dry area to prevent excess moisture buildup, which can make them sticky.
Coating to Prevent Sticking: Rolling the finished marshmallow chicks in a mixture of powdered sugar and cornstarch helps keep them from sticking together. If the marshmallows feel too sticky after unmolding, dust them lightly again before storing.
Decorating the Chicks: Melted chocolate or mini chocolate chips work well for eyes, while small orange candy melts or sprinkles create simple beaks. For best results, use a toothpick or a fine-tipped piping bag to apply the details precisely. Let the decorations set before handling to prevent smudging.
Storage Tips: Store marshmallow chicks in an airtight container at room temperature for up to a week. Avoid refrigeration, as moisture can make them sticky. If stacking them, place parchment paper between layers to prevent them from sticking together.
Nutrition Information:
Yield:
15Serving Size:
1Amount Per Serving: Calories: 188Total Fat: 4gSaturated Fat: 2gTrans Fat: 0gUnsaturated Fat: 1gCholesterol: 0mgSodium: 48mgCarbohydrates: 40gFiber: 1gSugar: 34gProtein: 2g
