
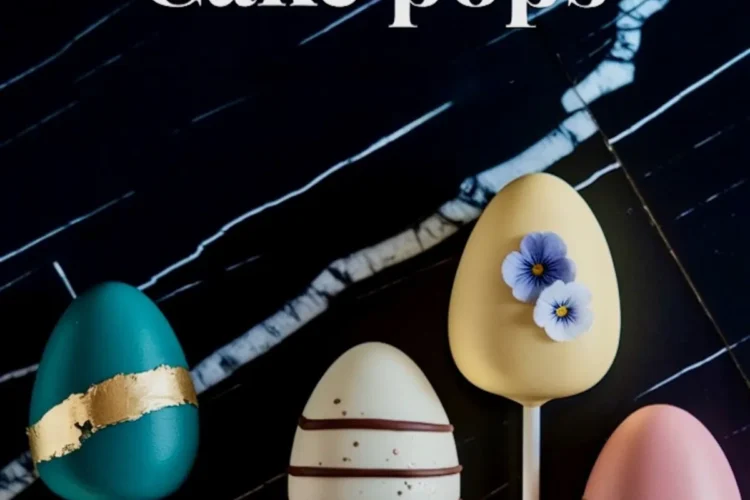
I love desserts that bring lighthearted memories and bright colors. My fascination with baked sweets started early when I discovered a version of these cake pops in an old family journal. That journal mentioned that eggs represent renewal, which suits the spirit of Easter more than anything else.
I treasure each part of this recipe, and I hope you will, too. My appreciation for these sweet egg-shaped pops comes from countless kitchen experiments. My cat, Whiskers, usually saunters by and supervises while I prepare the batter, as though he knows a big treat will follow.
I also admire how these pops have a sweet flavor and a satisfying bite. There’s an ingredient that might surprise you, and I plan to reveal it after describing the simple steps. Many folks guess it’s extra vanilla or a pinch of cinnamon, but they never manage to get it right.

Easter Egg Cake Pops Overview
These colorful cake pops have a moist interior that balances nicely with a thin outer layer. Each pop offers a quick taste of a familiar cake flavor, whether you choose vanilla or chocolate. White chocolate or candy melts usually coat the surface, and pastel hues give them a sweet springtime touch.
Decorations often include edible gold or pressed flowers, which add a charming finish to the pastel base. I learned this from an aunt who loved candy artistry and used to prepare elaborate chocolate eggs. Her influence remains strong in my kitchen endeavors.
Surprises often happen during the process if you rush. Cake pops need a stable center, which means chilling the shaped eggs before dipping. You also want a clean, smooth surface so your decorative touches will stand out instead of sliding away.
People ask me if these pops resemble other Easter desserts, such as the Easter Dump Cake or the Peanut Butter Easter Eggs. I see them as cousins at a holiday gathering, each offering its own sweet twist. The variations are endless, and everything fits the theme of bright spring celebrations.
Easter Egg Cake Pops Ingredients

I lean on a simple cake mix for convenience, but a homemade version works if you prefer. Oil, eggs, and water usually blend with the mix to form a base that can hold frosting later. A softened butter frosting creates the binder that transforms fluffy cake crumbs into pliable dough.
White chocolate chips or candy melts often produce the pastel coating. Coconut oil or shortening can loosen the chocolate if it feels too thick for dipping. Edible gold, pressed flowers, or sugar flowers bring a showy finish that pleases any sweet-tooth onlooker.
I keep all these ingredients noted in my Pin Notebook. That small spiral has become my place for every tweak, every flavor shift, and every design experiment I try. You might use your own version, whether it’s a bookmarked phone note or a cluster of sticky notes on the fridge.
Easter Egg Cake Pops Steps
First, bake the cake as directed and wait for it to cool thoroughly. Warm cake tends to crumble unevenly, and that causes lumps in the final mixture. I recommend taking your time before you start breaking the cake into fine crumbs.
Next, stir in the frosting bit by bit. Check if the crumbs feel too dry and need extra moisture. You want a moldable texture that won’t stick to your fingers.
Shaping the eggs is my favorite part. My aunt taught me to pinch one end gently to form a pointed tip, which mimics a real egg. You can adjust the size, but a tablespoon or so usually creates a good portion for a single pop.
Chill those formed eggs for a couple of hours. This rest makes the mixture solid so it won’t fall apart once you dip it in chocolate. Freezing them for about 30 minutes also works if you lack the patience for a lengthier wait.
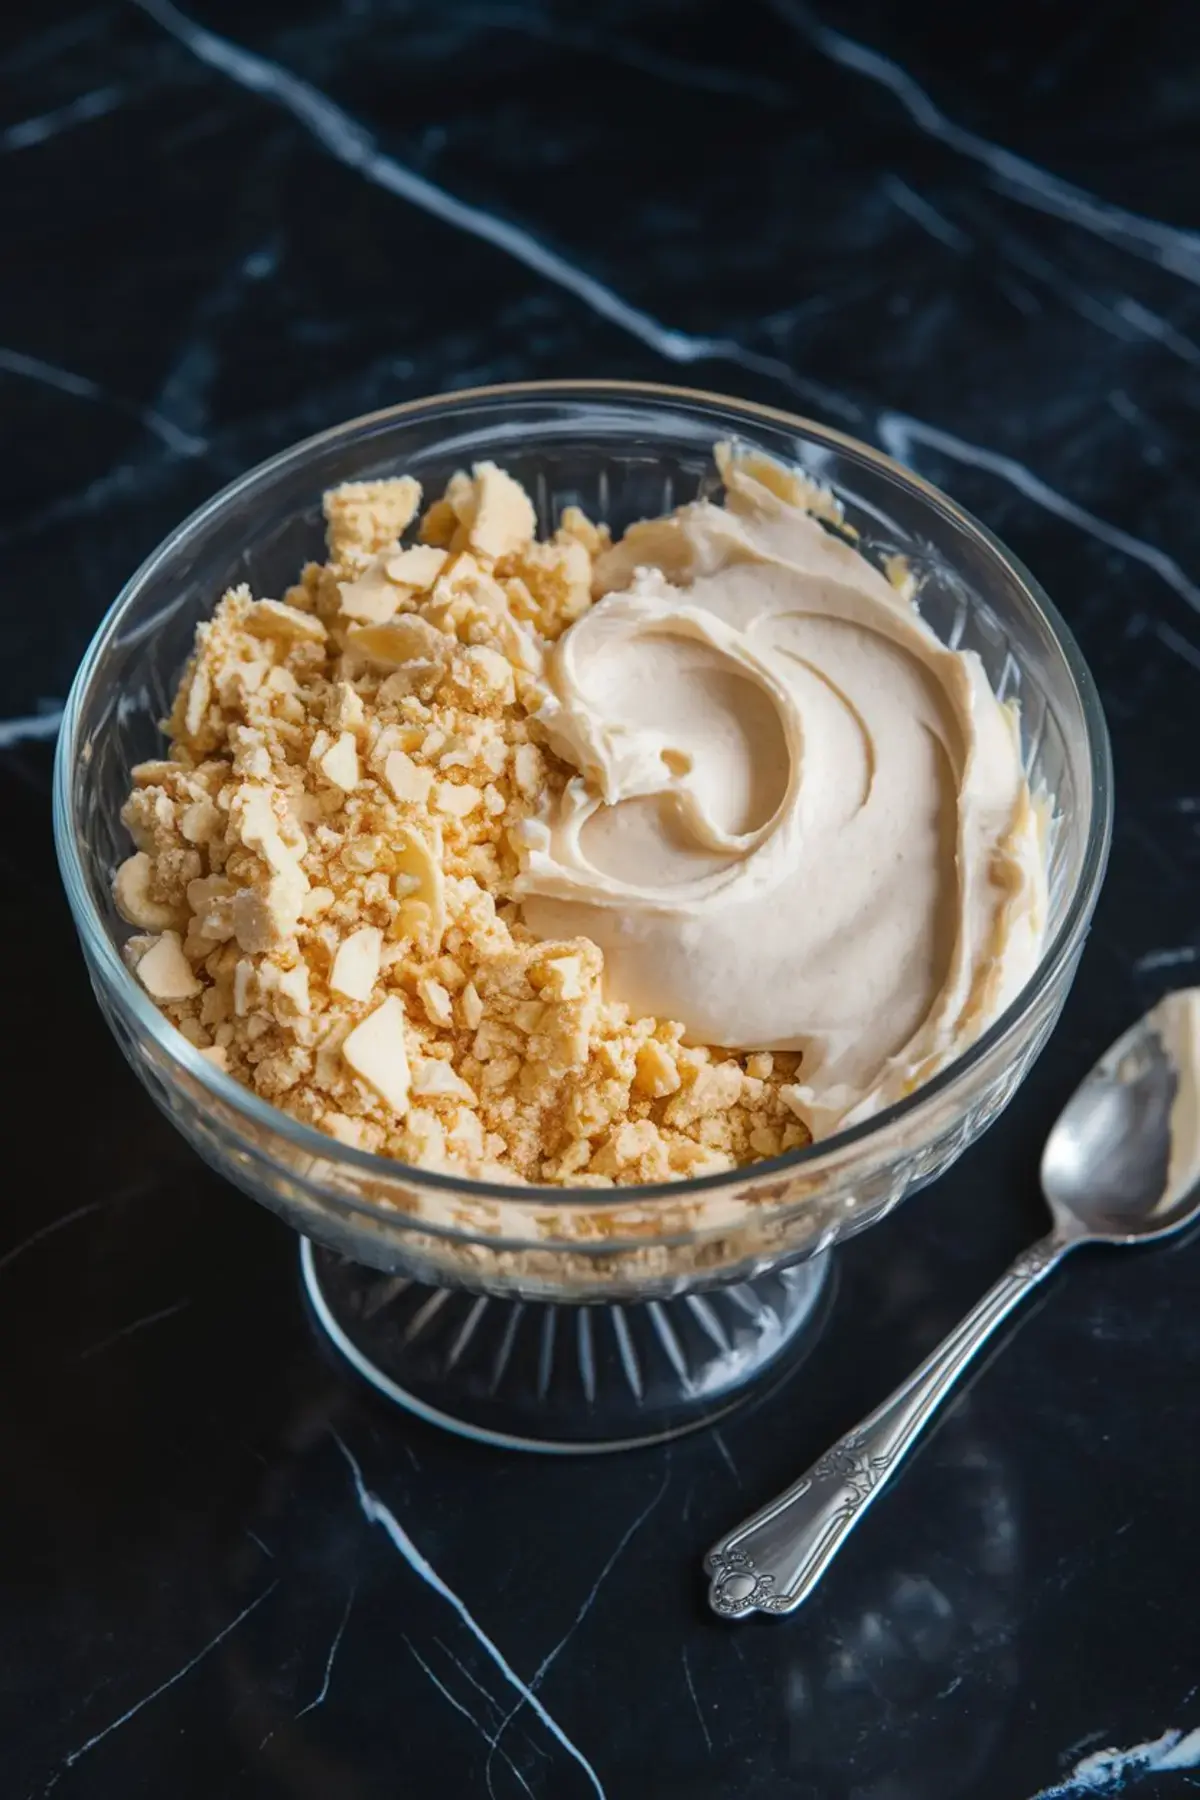
Melt your chocolate or candy melts carefully, stirring in short intervals. If the texture seems thick, add a bit of coconut oil to make it smoother. You can use a simple microwave-safe bowl and heat in 30-second bursts, checking after each pause.
Dip the chilled eggs using a fork or skewer, and let the excess drip back into the bowl. Place them on parchment paper to set. Skip the sticks until the coating hardens, or you risk creating small cracks in the shell.
Add sticks once the surface solidifies. A dab of melted chocolate on the tip can help it anchor securely in the egg. You can then decorate with gold leaf, flowers, or a delicate drizzle of another color.
Feel free to get creative with your accents. This dessert becomes an art project, and your personality shows in the final design. Check out the Bunny Watercolor Cake if you want more whimsical ideas.
The Magic Dash Revealed
I promised a surprise, and it’s time to share. I add a small pinch of fine sea salt to the cake crumbs, right when I’m mixing in the frosting. This subtle note boosts the overall taste and makes the sweetness shine even more.
That dash of salt confuses guests who can’t quite place the extra layer of flavor. I learned that trick from a neighbor who always said sweetness benefits from contrast. Each pop carries that hint of depth, which keeps the experience interesting without overpowering the sugary coat.
I recall once forgetting that pinch, and the pops tasted a bit flat. That memory still makes me extra attentive. You might find the same once you try it for yourself.
Easter Egg Cake Pops Conclusion

This dessert gives me the chance to create a lively celebration in the shape of simple eggs. Family and friends gather around and pick up these pops, often admiring the pastel shades and soft gold accents. You can recreate this scene by preparing them at home and adjusting the flavors or decorations as you wish.
Remember to pin this post for later if you want quick access when you plan your Easter treats. Drop a comment and let me know how your cake pops turned out, or ask any question that comes to mind. Your feedback and ideas inspire me to keep experimenting and sharing new ways to delight everyone.
Easter Egg Cake Pops
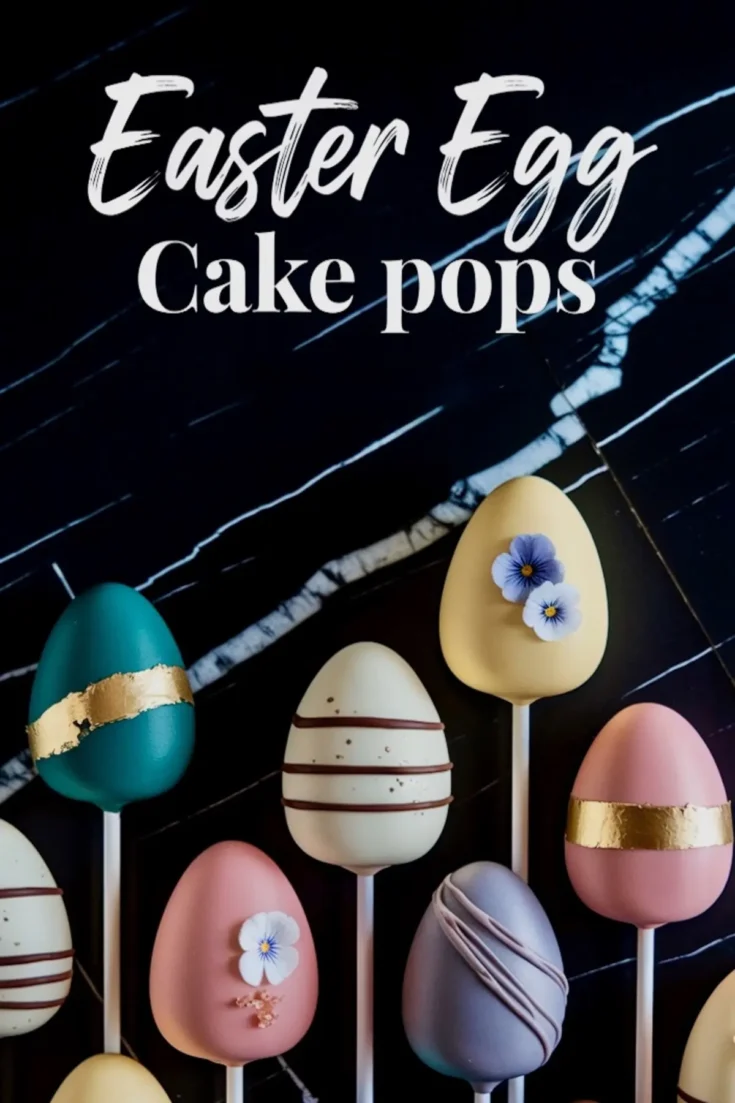
These beautiful Easter Egg Cake Pops combine a moist cake and smooth frosting, shaped into elegant eggs and coated in pastel chocolate. They are decorated with edible gold and flowers to create stunning spring treats that look professionally made.
Ingredients
- FOR THE CAKE:
- 1 box vanilla or chocolate cake mix (or homemade cake if preferred)
- Eggs, oil, and water (as directed on cake mix box)
- FOR THE FROSTING:
- ½ cup unsalted butter, softened
- 1 ½ cups powdered sugar
- 2–3 tablespoons milk
- 1 teaspoon vanilla extract (optional)
- FOR THE COATING:
- 2 cups white chocolate chips or candy melts (in pastel colors such as white, pink, teal, gray)
- 1 tablespoon coconut oil or vegetable shortening (to thin chocolate if needed)
- FOR DECORATION:
- Edible gold leaf or gold dust
- Edible pressed flowers or sugar flowers
- Cake pop sticks
Instructions
- BAKE AND PREPARE THE CAKE MIXTURE: Bake the cake according to the box instructions or your preferred recipe. Let the cake cool completely to avoid crumbling issues. Once cooled, crumble the cake into fine, even crumbs using your hands or a fork until it resembles coarse sand. Gradually add frosting to the crumbs, starting with a few spoonfuls and mixing with a spatula or your hands until the mixture holds together like soft clay. It should be moist enough to shape but not sticky. Add more frosting only if the mixture feels too dry.
- SHAPE THE EGGS AND CHILL: Scoop about 1 to 1 ½ tablespoons of the cake mixture and form it into an egg shape. Roll it between your hands to smooth, and pinch one end slightly to create a pointed egg tip. Place shaped eggs on a parchment-lined tray. Chill in the refrigerator for at least 2 hours or freeze for 30 minutes until very firm to ensure they hold their shape during dipping.
- COAT THE EGGS: Melt the candy melts or white chocolate in a microwave-safe bowl, heating in 30-second intervals and stirring between each burst until smooth. If the chocolate is too thick, stir in a small amount of coconut oil or shortening to thin it. Remove the chilled egg shapes from the refrigerator. Using a fork or skewer, dip each egg fully into the melted chocolate, coating evenly. Tap gently on the side of the bowl to remove excess chocolate. Place coated eggs on parchment paper to set completely. Avoid adding sticks until the coating has fully set to maintain a smooth finish.
- DECORATE AND ADD STICKS: Once the chocolate coating is firm and smooth, decide which end of the egg to insert the stick—usually the broader, rounded end works best. If needed, dip the tip of the stick into melted chocolate to help it adhere before inserting it halfway into the egg. For decoration, apply edible gold leaf or brush with edible gold dust for a polished look. Add pressed flowers, sugar flowers, or other small edible decorations. Optional: drizzle contrasting chocolate over the top for added texture. Keep the color palette soft and pastel for a refined Easter appearance.
Notes
For best results, ensure that the cake is completely cooled before crumbling. Warm cake will create uneven crumbs and can make the mixture too soft to shape properly. If using a homemade cake, avoid recipes that are too light or airy, as a denser crumb holds together better for cake pops.
When combining the cake crumbs with frosting, add the frosting a little at a time to avoid making the mixture too wet. The goal is to achieve a soft, pliable texture that holds its shape when rolled, similar to soft modeling clay. If the mixture becomes too sticky, let it sit for a few minutes at room temperature to firm up slightly before shaping.
Shaping the eggs evenly will help them coat smoothly later. To form consistent shapes, use a small cookie scoop to portion out the mixture before shaping. When forming the egg shape, rolling it gently between your palms and then pinching one end to create a point gives a natural egg appearance. Smooth out any cracks or rough spots as much as possible before chilling.
Chilling the shaped eggs is a critical step. If they are not firm enough, they may fall apart or slide off the stick when dipped. Freezing them for a short time (about 30 minutes) is a good option if you're short on time, but do not freeze them solid, as extreme cold can cause the chocolate coating to crack when drying.
When melting chocolate or candy melts, heat slowly and stir often to prevent overheating, which can cause seizing. If the coating seems too thick for dipping, adding a small amount of coconut oil or vegetable shortening helps thin it to a smoother consistency for even coverage.
To achieve a professional finish, dip each chilled egg into the melted chocolate and let excess coating drip off before setting it down to dry. Avoid inserting sticks before dipping, as adding sticks too early can create cracks in the chocolate shell or cause the shape to loosen. Inserting sticks after the coating sets ensures a clean, polished look.
For decoration, edible gold leaf works beautifully but can be delicate to handle. Use a dry brush or tweezers to apply small pieces gently onto the surface. Edible pressed flowers or sugar flowers should be added before the coating is fully set if you want them to adhere without extra chocolate "glue." You can also use a fine brush to apply a thin layer of melted chocolate to attach decorations if the coating is already firm.
Store finished cake pops in an airtight container at a cool room temperature for up to 3 days. If storing longer, refrigerate them, but bring them back to room temperature before serving to avoid condensation on the chocolate surface. These cake pops make elegant gifts when individually wrapped in clear bags tied with ribbon.
Nutrition Information:
Yield:
24Serving Size:
1Amount Per Serving: Calories: 175Total Fat: 11gSaturated Fat: 6gTrans Fat: 0gUnsaturated Fat: 4gCholesterol: 24mgSodium: 37mgCarbohydrates: 18gFiber: 0gSugar: 17gProtein: 2g
