
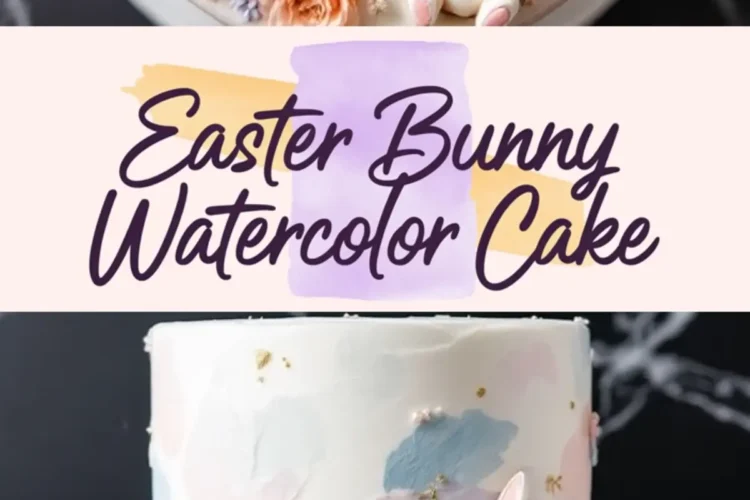
I learned about this treat from an old cookbook in my aunt’s attic. The pages hinted at a colorful tradition that celebrated spring blossoms and laughter around the table. I fell in love with its soft vanilla crumb and gentle rainbow swirls because each slice seemed to promise brightness with every bite.
My enthusiasm never wavered after the first taste. Close friends praised the cheerful design, and children stared wide-eyed at the playful bunny figure perched on top. Curiosity often bubbles up, especially when I drop a subtle hint that the recipe involves something unexpected.
Bunny Watercolor Cake Ingredients And Flavor
All-purpose flour, baking powder, and salt form the backbone of this recipe. Butter, sugar, eggs, and vanilla extract contribute softness and subtle sweetness. Whole milk balances everything, letting the cake bake into a moist, tender delight.
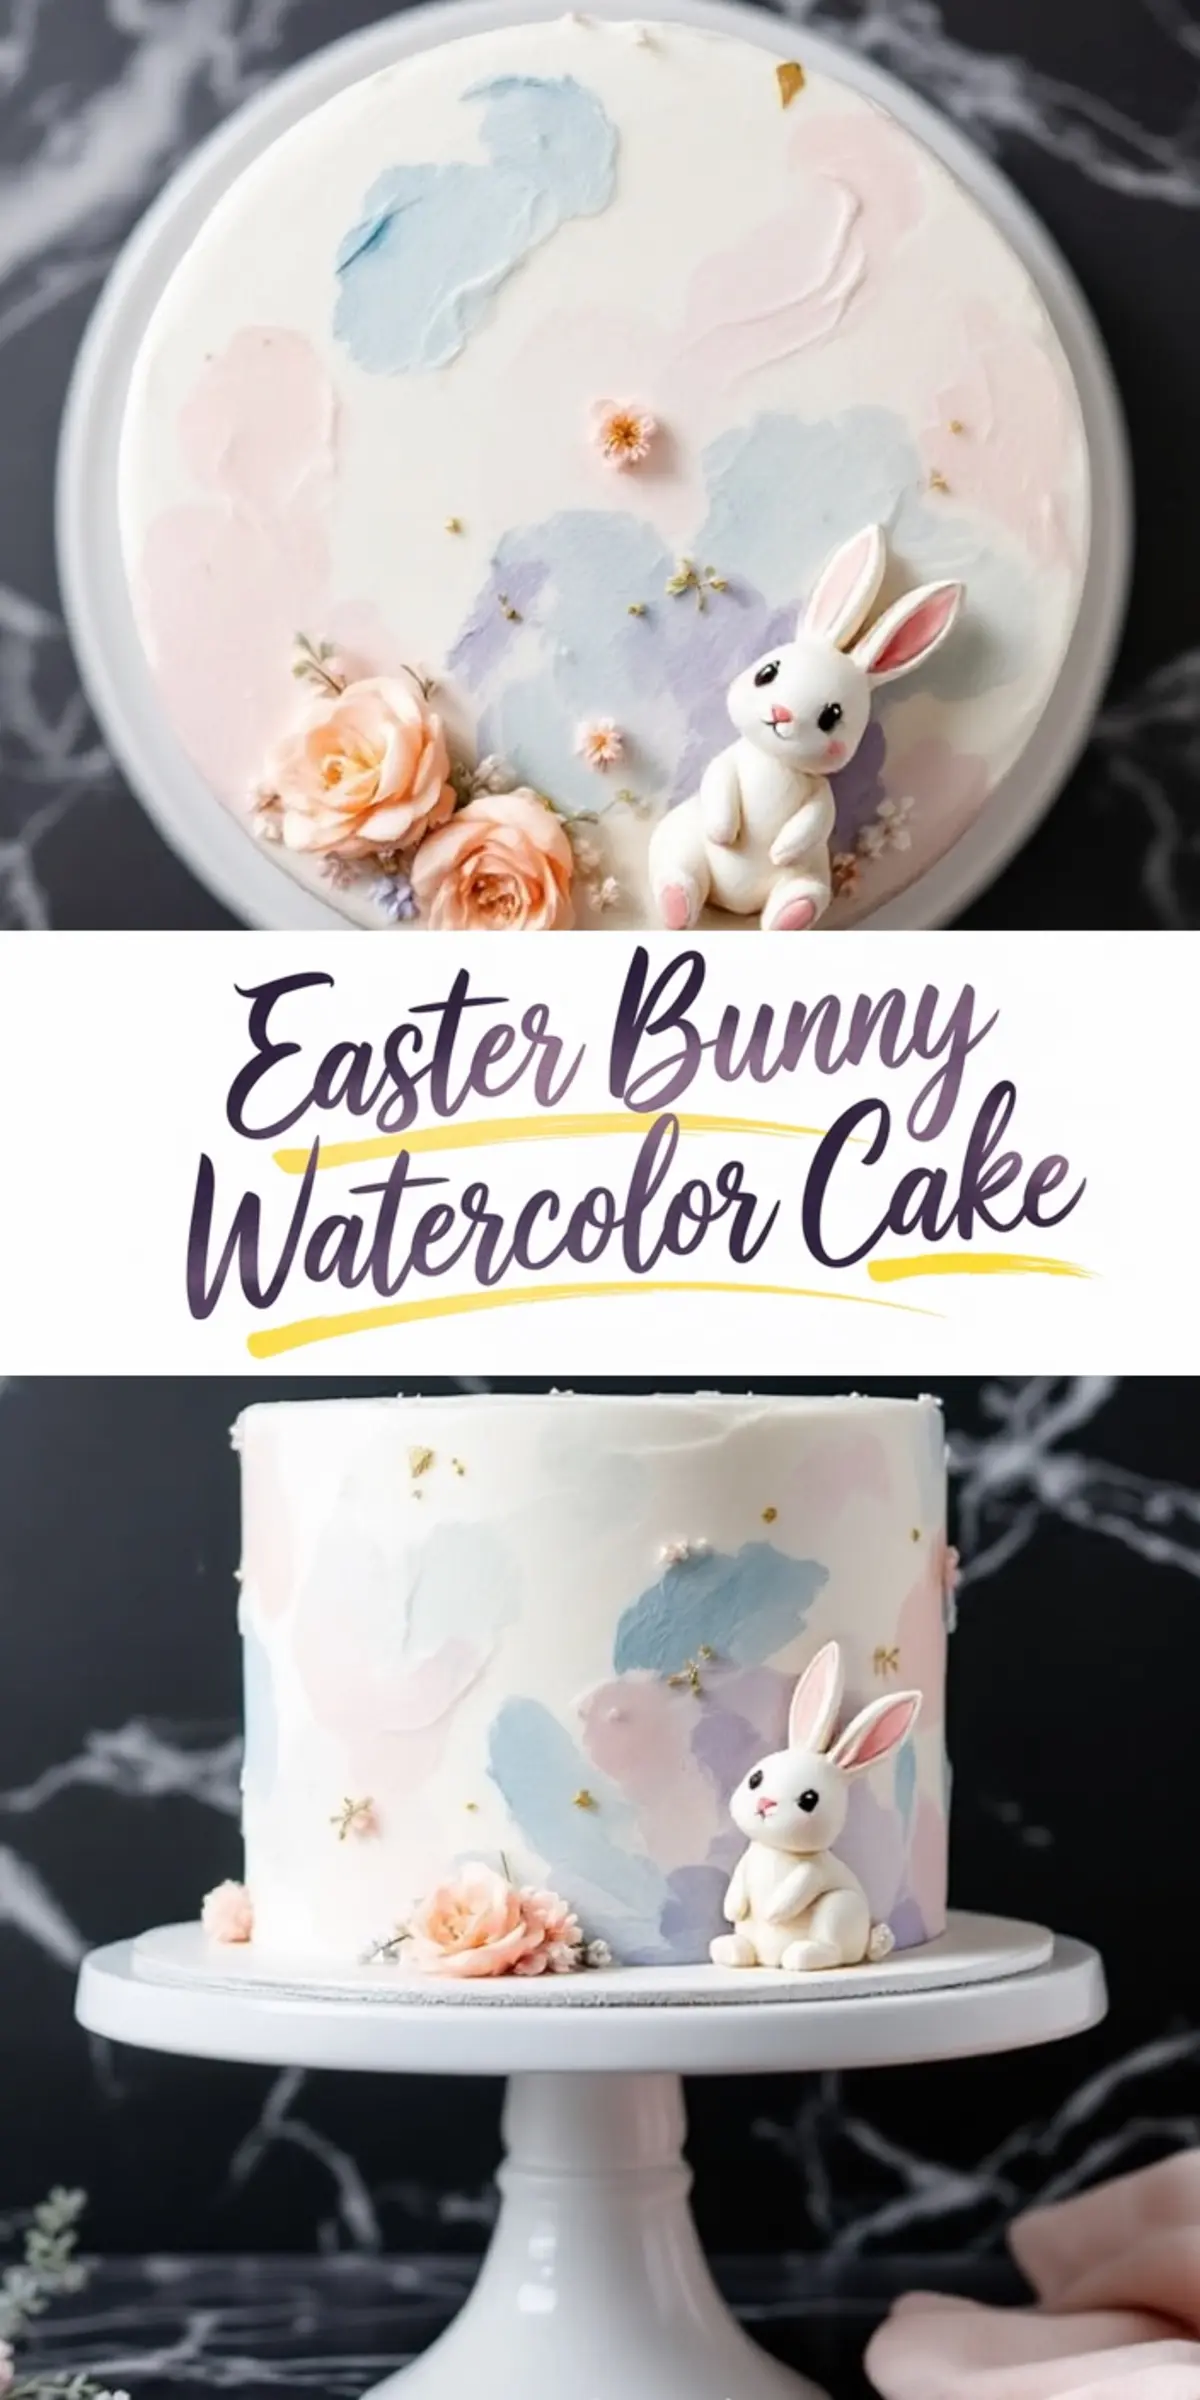
A simple combination of butter, powdered sugar, and vanilla extract shapes the buttercream frosting. Heavy cream, added by the spoonful, ensures smooth spreading. Gel food colors in pastel pink, blue, lilac, peach, and green transform that buttercream into a watercolor dream.
Gold leaf or gold dust adds a gentle shimmer on the surface. Petite fresh flowers, if pesticide-free, create a fresh accent that hints at new beginnings. Fondant or modeling chocolate brings the bunny topper to life with cute little ears and paws.
Preparing The Cake Batter
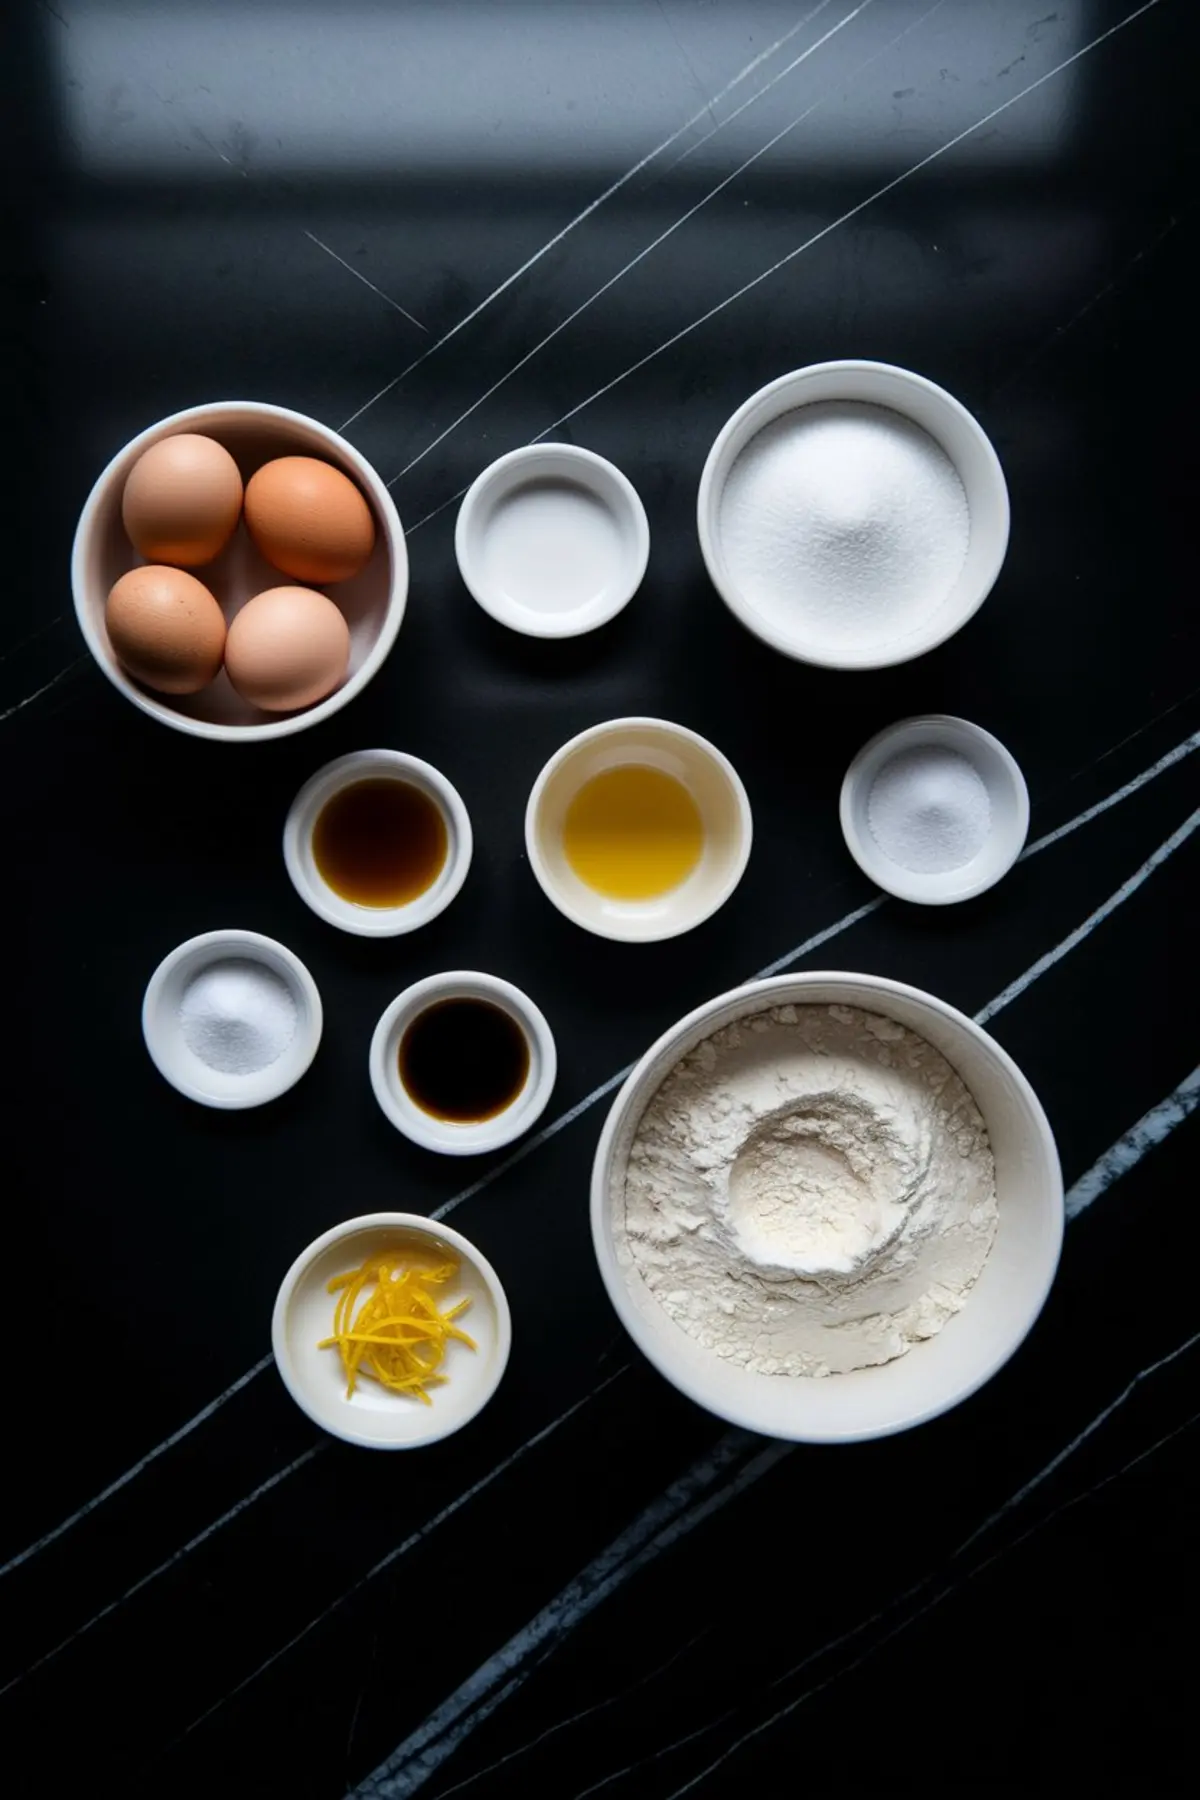
Preheat the oven to 350°F (175°C) and ready three 8-inch round pans. Butter or oil them, then line with parchment paper for easy release. Sift the dry mix of flour, baking powder, and salt in one bowl.
Beat the butter and sugar together until fluffy. Add the eggs one at a time, mixing well in between. Stir in the vanilla, letting its aroma come through gently.
Combine the dry ingredients with the wet mixture in parts, alternating with the milk. Avoid overmixing because that can toughen the cake. Spread the batter evenly into the pans, then level the tops.
Baking The Layers
Place the pans on the center rack. Bake them for 25 to 30 minutes, watching for a golden top and a clean toothpick test. Let the cakes cool for ten minutes, then flip them onto a rack until fully cool.
Each layer emerges with a pleasant vanilla scent. The edges feel lightly firm and ready to handle. Moments like this bring me a quiet sense of accomplishment.
Making The Buttercream
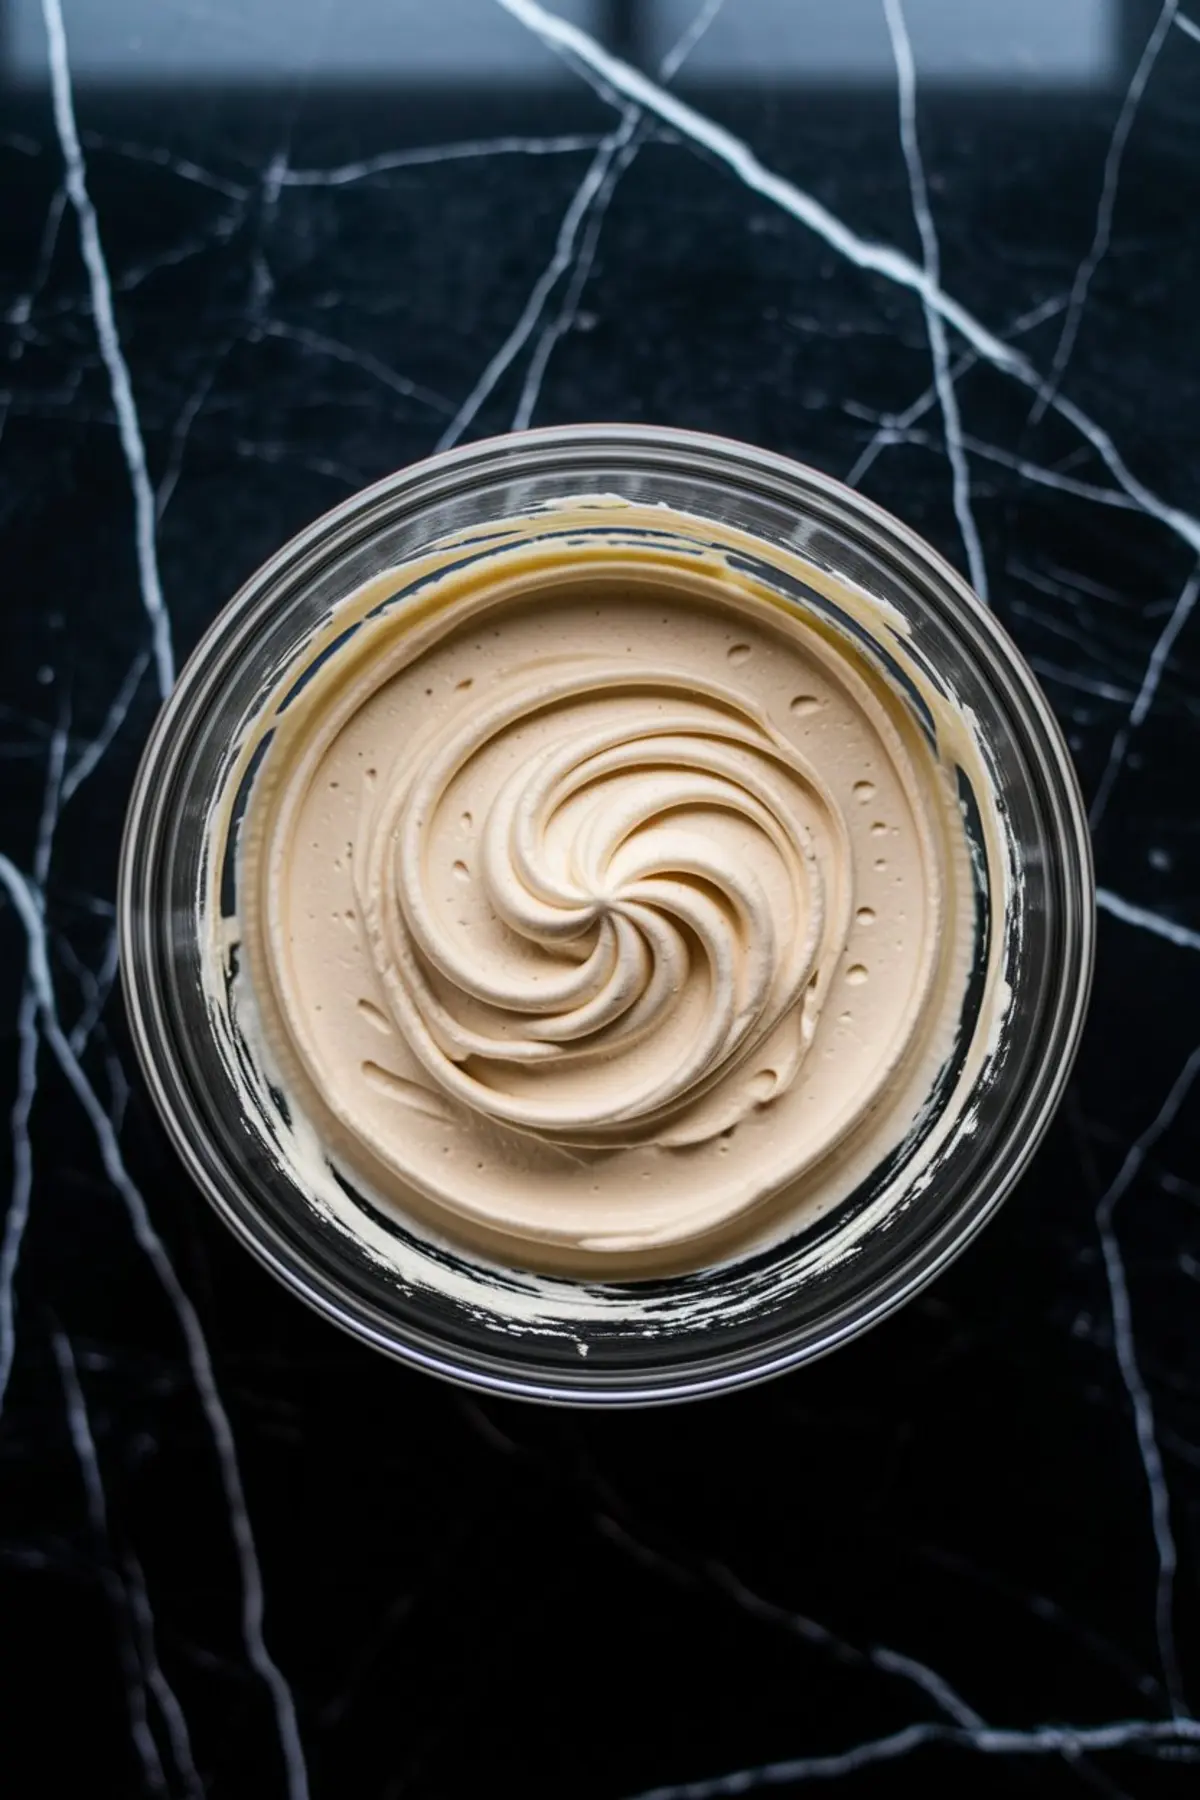
Beat softened butter until it looks creamy and light. Add powdered sugar gradually to maintain a smooth texture. Stir in vanilla extract, then add small amounts of heavy cream to find a spreadable consistency.
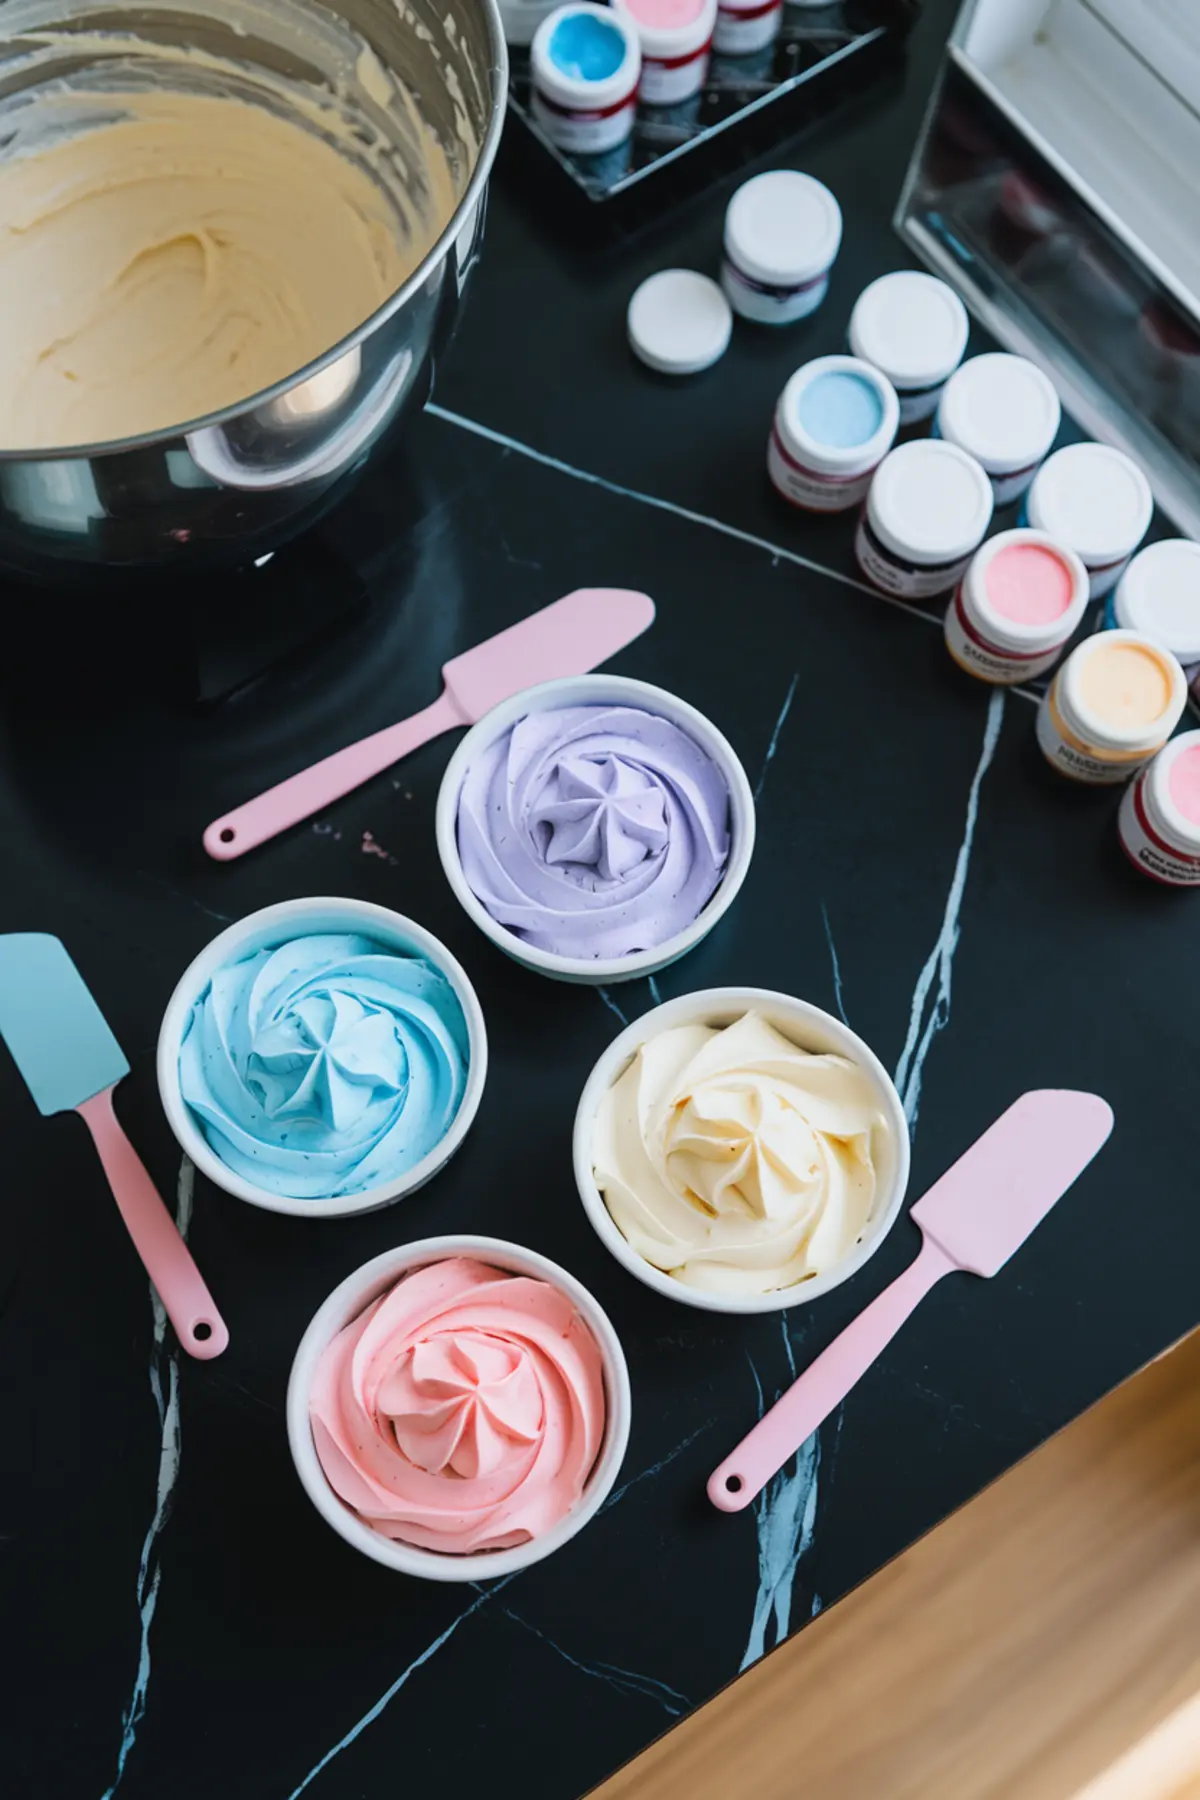
Separate the buttercream into bowls. Color each portion with pastel gel shades for a gentle palette. Set each color aside until assembly time.
Layering And Crumb Coating
Position the first cake layer on your serving plate. Frost the top with some plain buttercream and repeat with the second and third layers. Apply a thin crumb coat around the entire stacked cake, then chill it for half an hour to set.
This stage is a chance to pause and appreciate the process. I often imagine Whiskers, my tabby cat, eyeing the bowl of leftover frosting with mischievous curiosity. He once tried to dip a paw in a frosting bowl, but I whisked him away quickly for safety.
Final Coat And Watercolor Technique
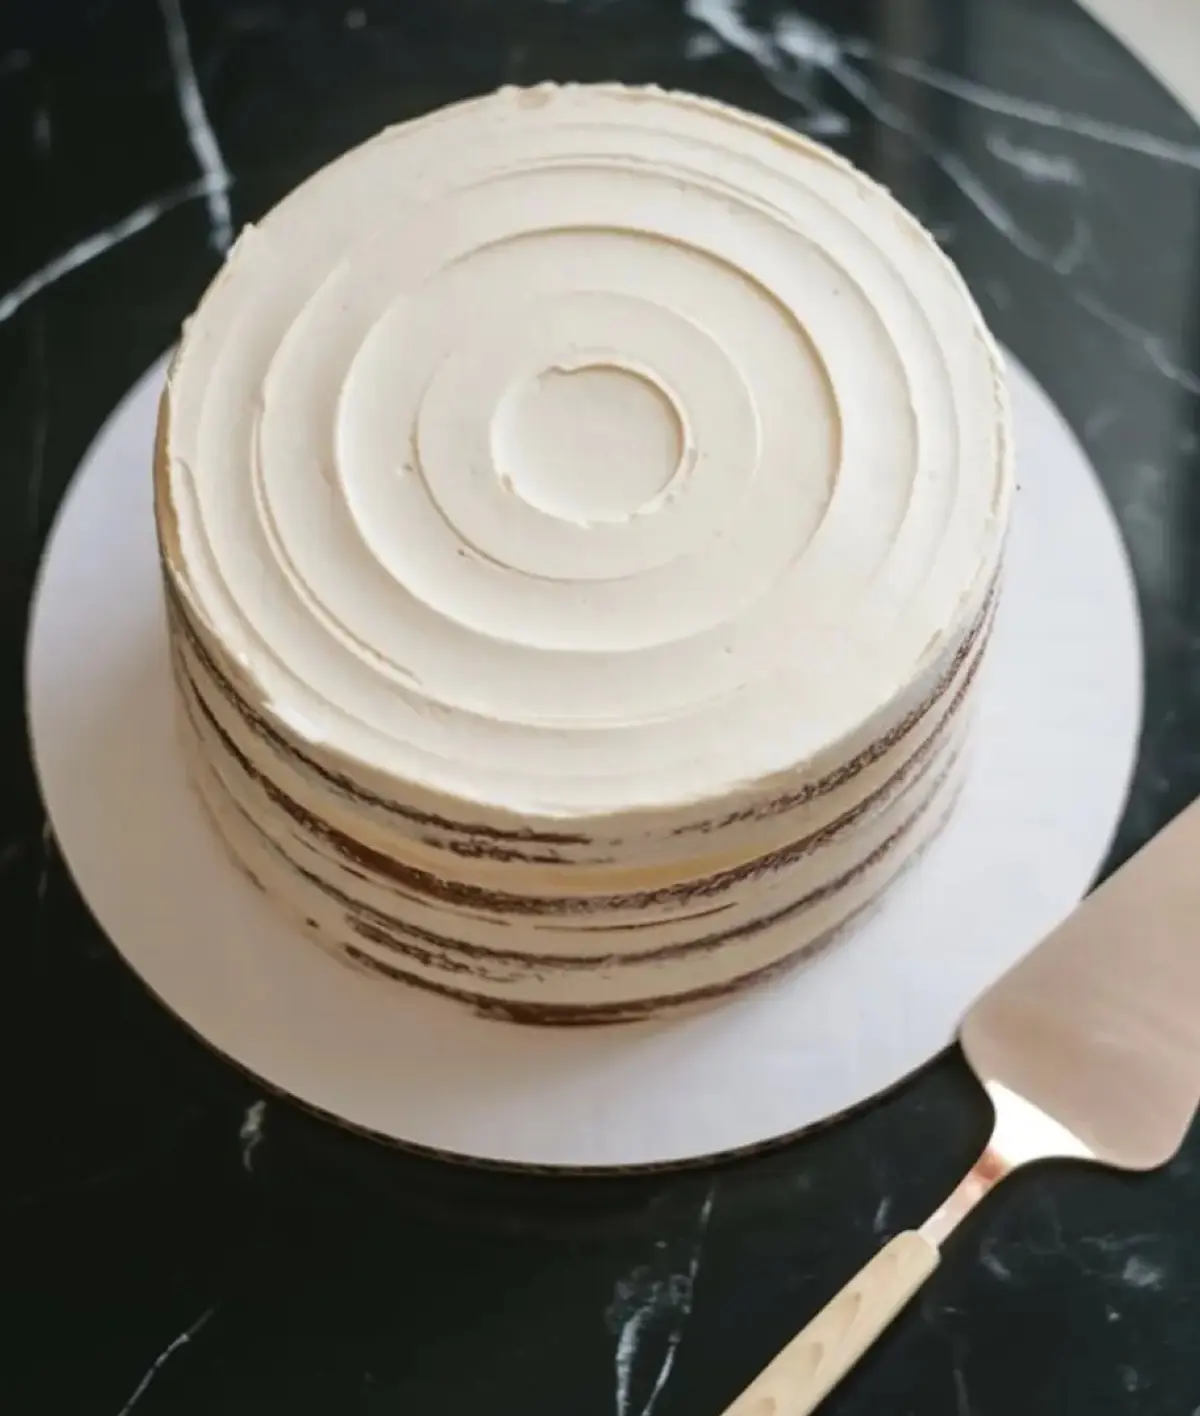
Retrieve the chilled cake once the crumb coat firms up. Spread a generous second coat of buttercream, smoothing it with an offset spatula. Patch different pastel hues around the surface, then gently blend them with a bench scraper.
Try not to over-blend, or the colors can merge into one muddy shade. Aim for an airy swirl of pink, blue, lilac, peach, and green, each peeking through like a dawn sky. This pattern achieves a springtime flourish that guests appreciate.
Forming The Bunny Topper
Shape a playful bunny from fondant or modeling chocolate. Add ears, arms, and feet, attaching them with a dab of water or edible glue. Draw or apply tiny details for the face to complete its friendly look.
Place it on the cake with care. A small drift of flowers at the base highlights the topper’s cuteness. Edible gold accents add a sprinkling of warmth around the edges if desired.
The Unexpected Dash
Lemon zest happens to be my hidden trick. A small pinch of grated zest goes into the final batch of buttercream, giving the entire dessert a light citrus twist. No one ever expects that bright note, but it makes them smile with the first forkful.
My Aunt Marian always believed in little secrets that surprise people at the table. Her Golden Spoon, passed down to me years ago, stirs the batter in nearly every recipe I make. That gentle swirl with her spoon feels like my aunt guiding me through these homey moments.
Personal Cooking Notes
I often scribble recipe tweaks in my Pin Notebook. A doodle here or a scratch of math there helps me recall changes in measurements or new decorating ideas. This cake earned a special star for the pastel color scheme that instantly brightens my day.
Friends often ask about other Easter-themed treats I keep in that notebook. My Triple Chocolate Easter Roll [https://pindesserts.com/easter-desserts/triple-chocolate-easter-roll/] stands out if you like a bold cocoa hit. Another favorite is my simple Easter Dump Cake [https://pindesserts.com/easter-desserts/easter-dump-cake/], which offers easy assembly and sweet layering.
Serving Suggestions And Joyful Gatherings
Choose a cake stand that highlights the pastel artistry. Slice with a sharp knife warmed under running water for neater cuts. Watch each slice reveal a charming swirl that pairs nicely with fresh coffee or tea.
My mother insists that Easter gatherings revolve around laughter and good dessert. This cake fits that spirit and encourages everyone to linger a bit longer. A friend once said the bunny topper reminded her of whimsical childhood stories, and that memory stayed with me.
For more spring inspiration, check out my Peanut Butter Easter Eggs [https://pindesserts.com/easter-desserts/peanut-butter-easter-eggs/]. Hand them out as sweet gifts or place them on the dessert table. Each treat adds to the joy of celebrating rebirth and warmer days ahead.
Save And Share
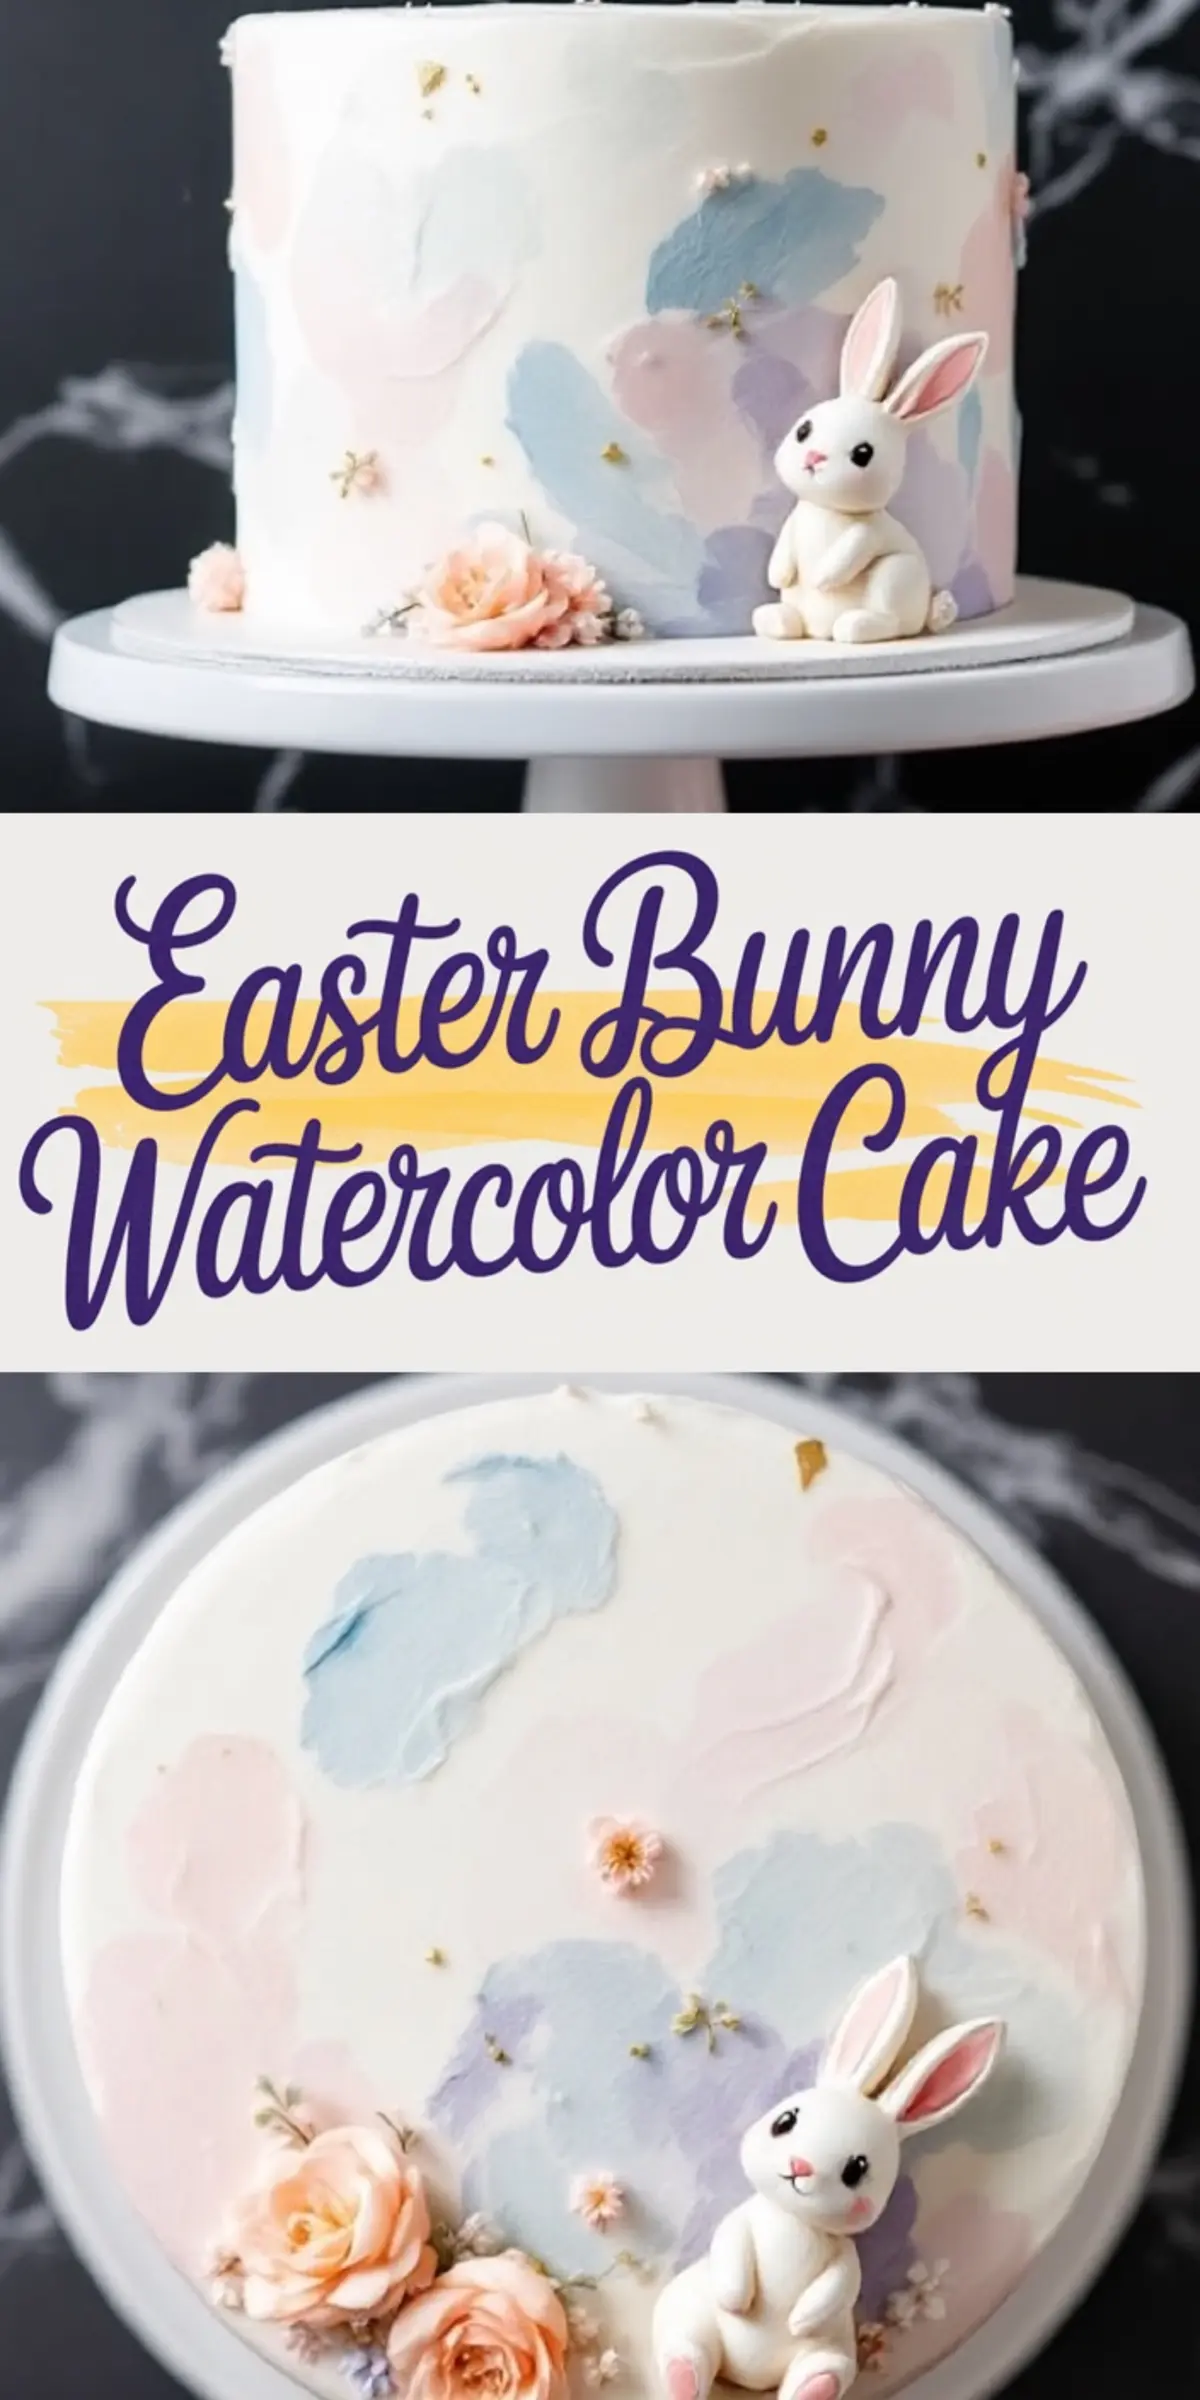
Pin this recipe to your favorite board so you can find it with ease. Friends might spot your pin and decide to try a Bunny Watercolor Cake of their own. Drop a note in the comments to share how your cake turned out or to ask questions about the decorating process.
Community helps recipes grow and evolve. Moments of collaboration in the kitchen make each celebration sweeter. I hope these pastel colors brighten your table as they brighten mine.
Bunny Watercolor Cake
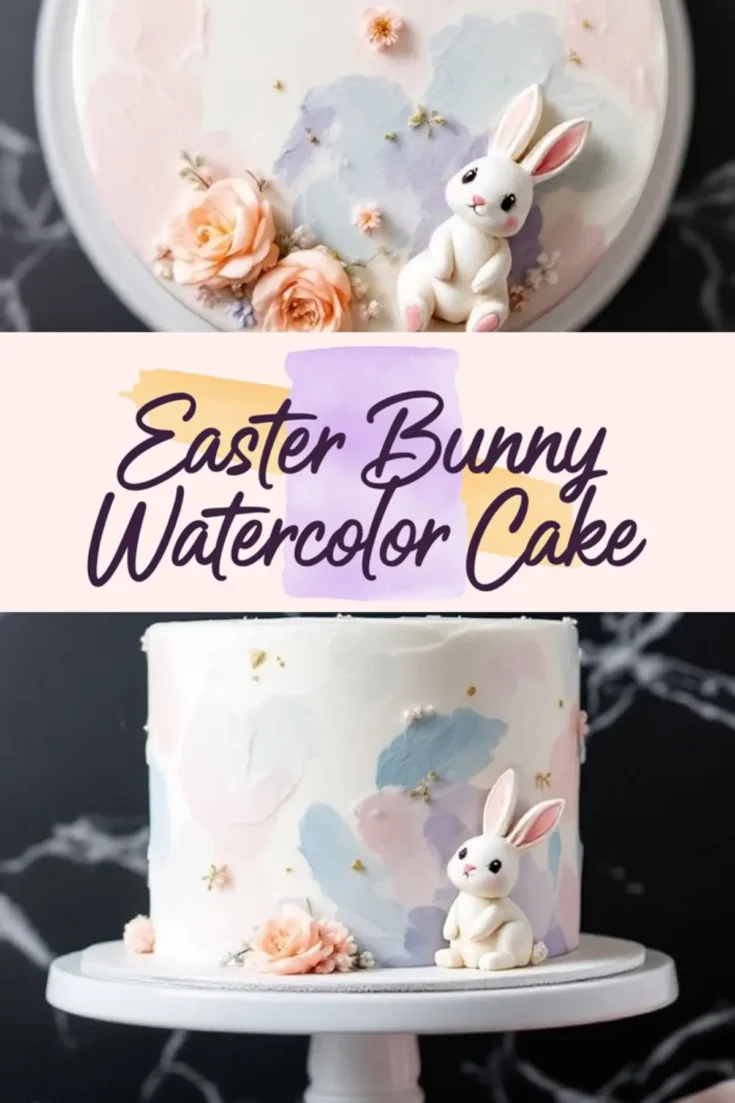
A soft vanilla cake layered with buttercream and decorated with pastel watercolor designs and a handmade bunny topper. This cake combines simple baking techniques with creative decorating, making it a beautiful centerpiece for spring or Easter celebrations.
Ingredients
- FOR THE VANILLA CAKE
- 2 ½ cups all-purpose flour
- 2 ½ tsp baking powder
- ½ tsp salt
- 1 cup unsalted butter, room temperature
- 2 cups granulated sugar
- 4 large eggs
- 1 tbsp vanilla extract
- 1 cup whole milk
- FOR THE BUTTERCREAM FROSTING
- 1 ½ cups unsalted butter, room temperature
- 5 cups powdered sugar, sifted
- 2 tsp vanilla extract
- 2-3 tbsp heavy cream (as needed for consistency)
- Gel food coloring (pastel shades: pink, blue, lilac, peach, green)
- FOR DECORATION
- Edible gold leaf or gold dust (optional)
- Small fresh flowers such as roses or baby’s breath (ensure food safe or use artificial)
- Fondant or modeling chocolate for the bunny topper
- Edible glue or water for assembling decorations
Instructions
- PREPARE THE CAKE BATTER: Preheat the oven to 350°F (175°C). Grease and line three 8-inch round cake pans with parchment paper. In a medium bowl, whisk together the flour, baking powder, and salt. In a large bowl, beat the butter and sugar until light and fluffy. Add eggs one at a time, beating well after each addition, then stir in the vanilla extract.
- COMBINE WET AND DRY INGREDIENTS: Add the flour mixture to the butter mixture in three parts, alternating with the milk, beginning and ending with the flour mixture. Mix until just combined, being careful not to overmix.
- BAKE THE CAKES: Divide the batter evenly among the prepared pans and smooth the tops. Bake for 25-30 minutes or until a toothpick inserted into the center comes out clean. Let the cakes cool in the pans for 10 minutes, then turn out onto a wire rack to cool completely.
- MAKE THE BUTTERCREAM FROSTING: In a large bowl, beat the butter until smooth and fluffy. Gradually add the powdered sugar, one cup at a time, mixing on low until combined. Stir in vanilla extract and beat for 2 more minutes. Add heavy cream, one tablespoon at a time, until the frosting reaches a soft but stable consistency for spreading.
- ASSEMBLE THE CAKE LAYERS: Place one cake layer on a serving plate. Spread a layer of buttercream over the top. Repeat with the second and third layers. Apply a thin crumb coat of buttercream over the entire cake to seal in crumbs, then chill for 30 minutes until set.
- APPLY FINAL FROSTING COAT: Once the crumb coat is firm, apply a thicker final coat of buttercream and smooth it evenly with an offset spatula or bench scraper.
- CREATE THE WATERCOLOR EFFECT: Divide the remaining buttercream into small bowls and tint each portion with different pastel gel colors. Using an offset spatula, dab small patches of each colored buttercream randomly over the cake. Gently smooth over the surface with a bench scraper to blend slightly, but avoid overworking to keep the colors distinct. Add more color in layers as desired until you achieve the desired look.
- MAKE THE BUNNY TOPPER: Shape a bunny figure from white fondant or modeling chocolate. Form ears, arms, and feet separately and attach using edible glue or a dab of water. Use a black edible marker or small pieces of fondant for the eyes and add a small pink piece for the nose and inner ears.
- DECORATE THE CAKE: Place the bunny topper on top of the cake. Arrange small flowers around the base or on top, ensuring they are food safe or artificial. Add touches of edible gold leaf or dust for extra detail if desired.
Notes
Ensure any fresh flowers used are free of pesticides and safe for food use, or opt for artificial flowers designed for cake decoration. The bunny topper can be made ahead of time and stored in a cool, dry place.
