
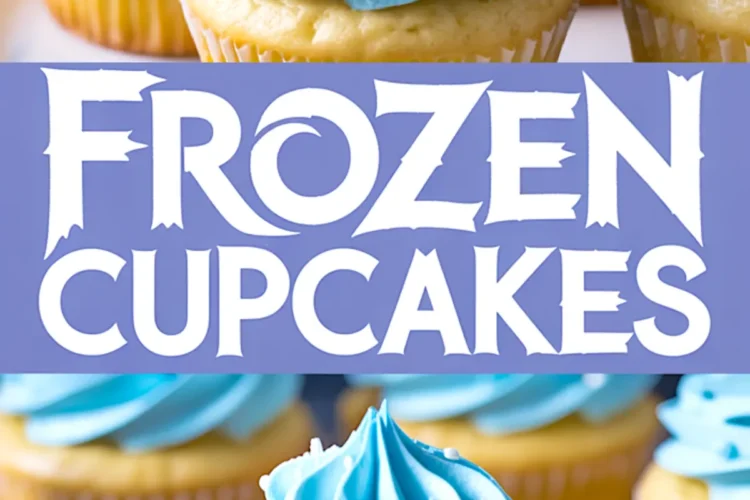
Every child who’s whispered “Let it go” under their breath has dreamed of something magical on their birthday table.
These homemade Frozen cupcakes deliver more than color-matched frosting and a swirl that stands tall. They offer confidence to any home baker hoping to bring the Elsa Frozen cake dream to life without stress or a bakery bill.
This post will walk you through my tested method for blue vanilla cupcakes with smooth buttercream, snowy sprinkles, and one surprising ingredient that sets this recipe apart. It’s not what you think and I’ll share that twist just after the steps.
If you’ve ever wanted a no-fail way to bake Frozen-themed cupcakes for a birthday or party, you’re in the right place.
Let’s start with the base.
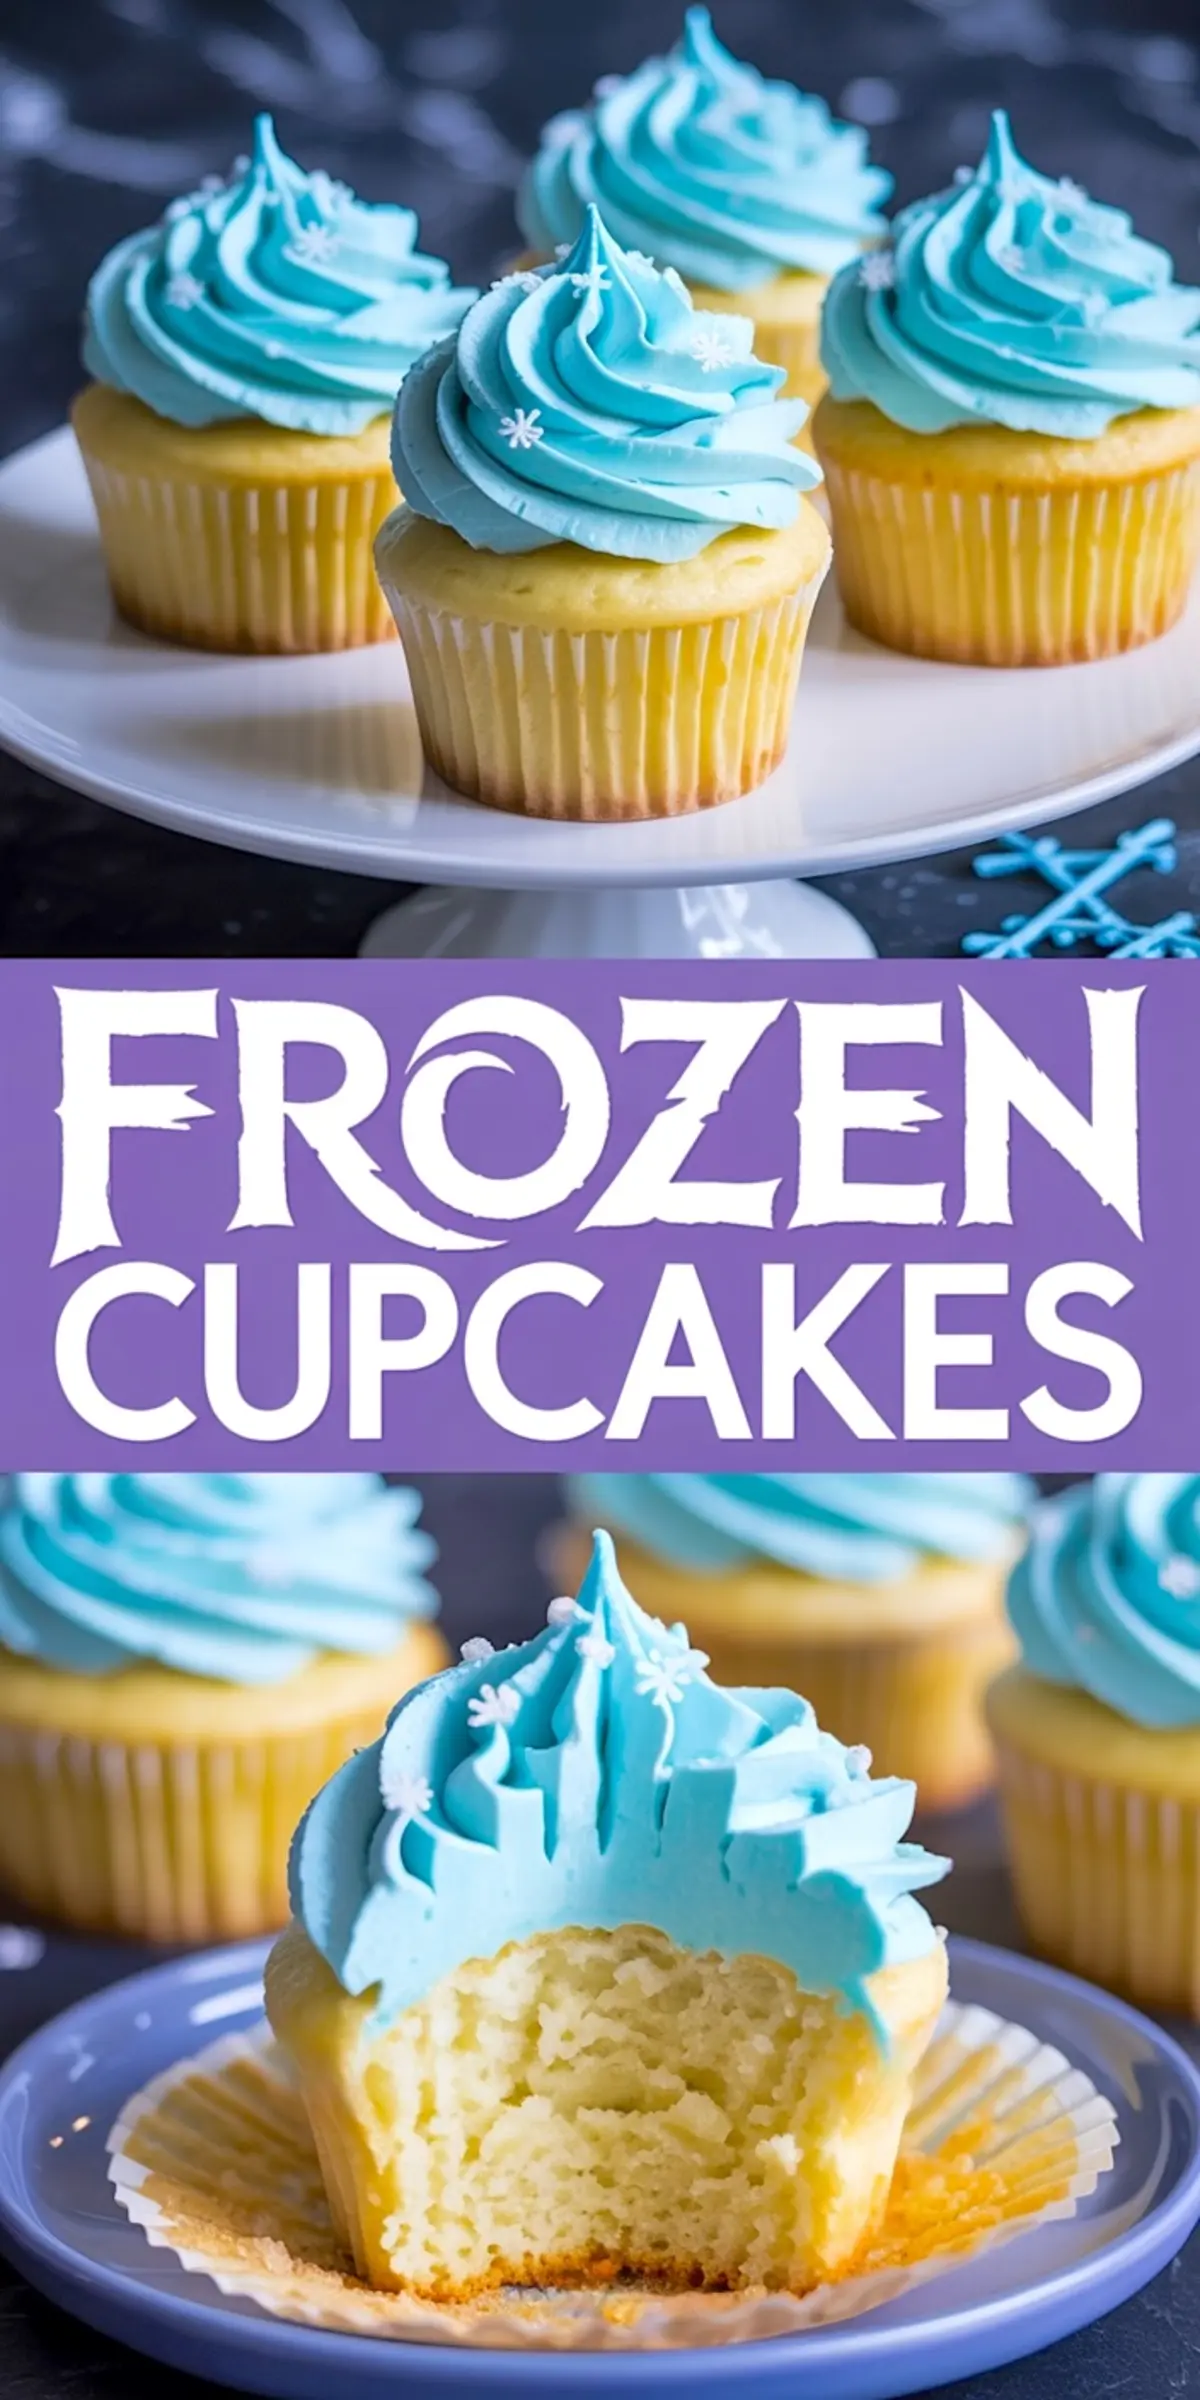
How to Make Soft Vanilla Cupcakes That Hold Their Shape
The batter in this recipe stays fluffy even with colored frosting on top.
Start by creaming the butter and sugar together until light and airy. Don’t rush this step. This is where your structure begins. I’ve used both hand mixers and stand mixers here, and either works, as long as your butter is at room temperature.
Next, the eggs go in one at a time. You want each yolk to fully disappear before adding the next. Add the vanilla after that. I prefer a double-strength vanilla because it keeps its flavor even after baking.
The flour, baking powder, and salt come in gradually, alternating with milk. Start with dry and end with dry.
In my notes, I’ve tried both whole milk and buttermilk. Whole milk gives these cupcakes a springy, reliable texture that kids love. Buttermilk adds tang, which is lovely—but can overpower the subtle vanilla when paired with colored frosting. Stick to whole milk for balance.
The batter should feel soft, not runny. Use a scoop to fill each liner about two-thirds full. Overfilling risks muffin tops, which look out of place in a clean Frozen cupcake display.
Baking and Cooling Without Cracks or Collapse
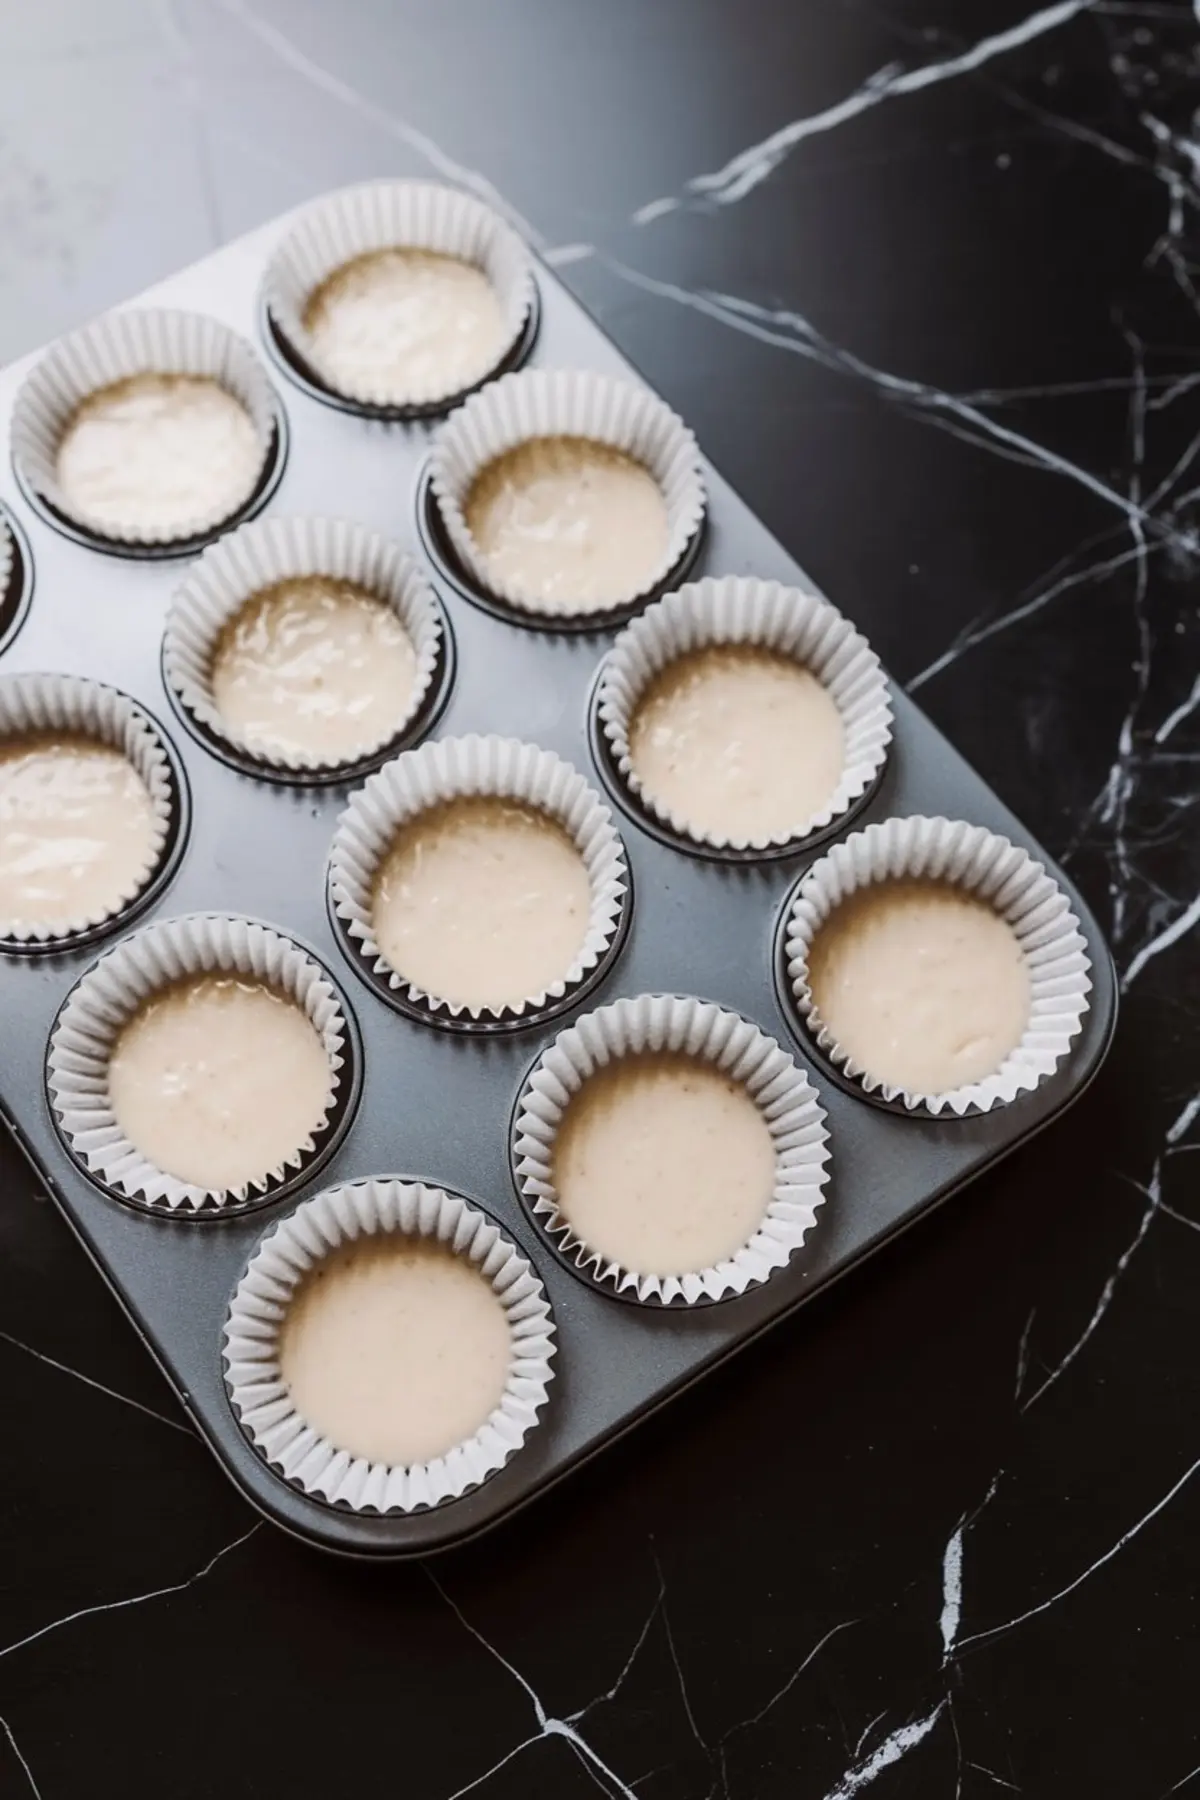
Set your oven to 350°F and place the tray in the center rack.
These cupcakes take 18 to 20 minutes to bake through. You’ll know they’re done when a toothpick comes out clean or with one moist crumb.
Let them rest in the pan for five minutes, then move to a wire rack.
This rest time allows the crumb to firm up just enough so they don’t deflate while cooling.
If you’re working ahead, bake them a day in advance. They stay soft when covered tightly at room temperature. You’ll have more freedom to focus on the frosting details the next day.
You can also compare these to my Vanilla Cupcakes for a similar base. The Frozen version has slight tweaks for color hold and structure.
How to Make Smooth Buttercream That Pipes Tall
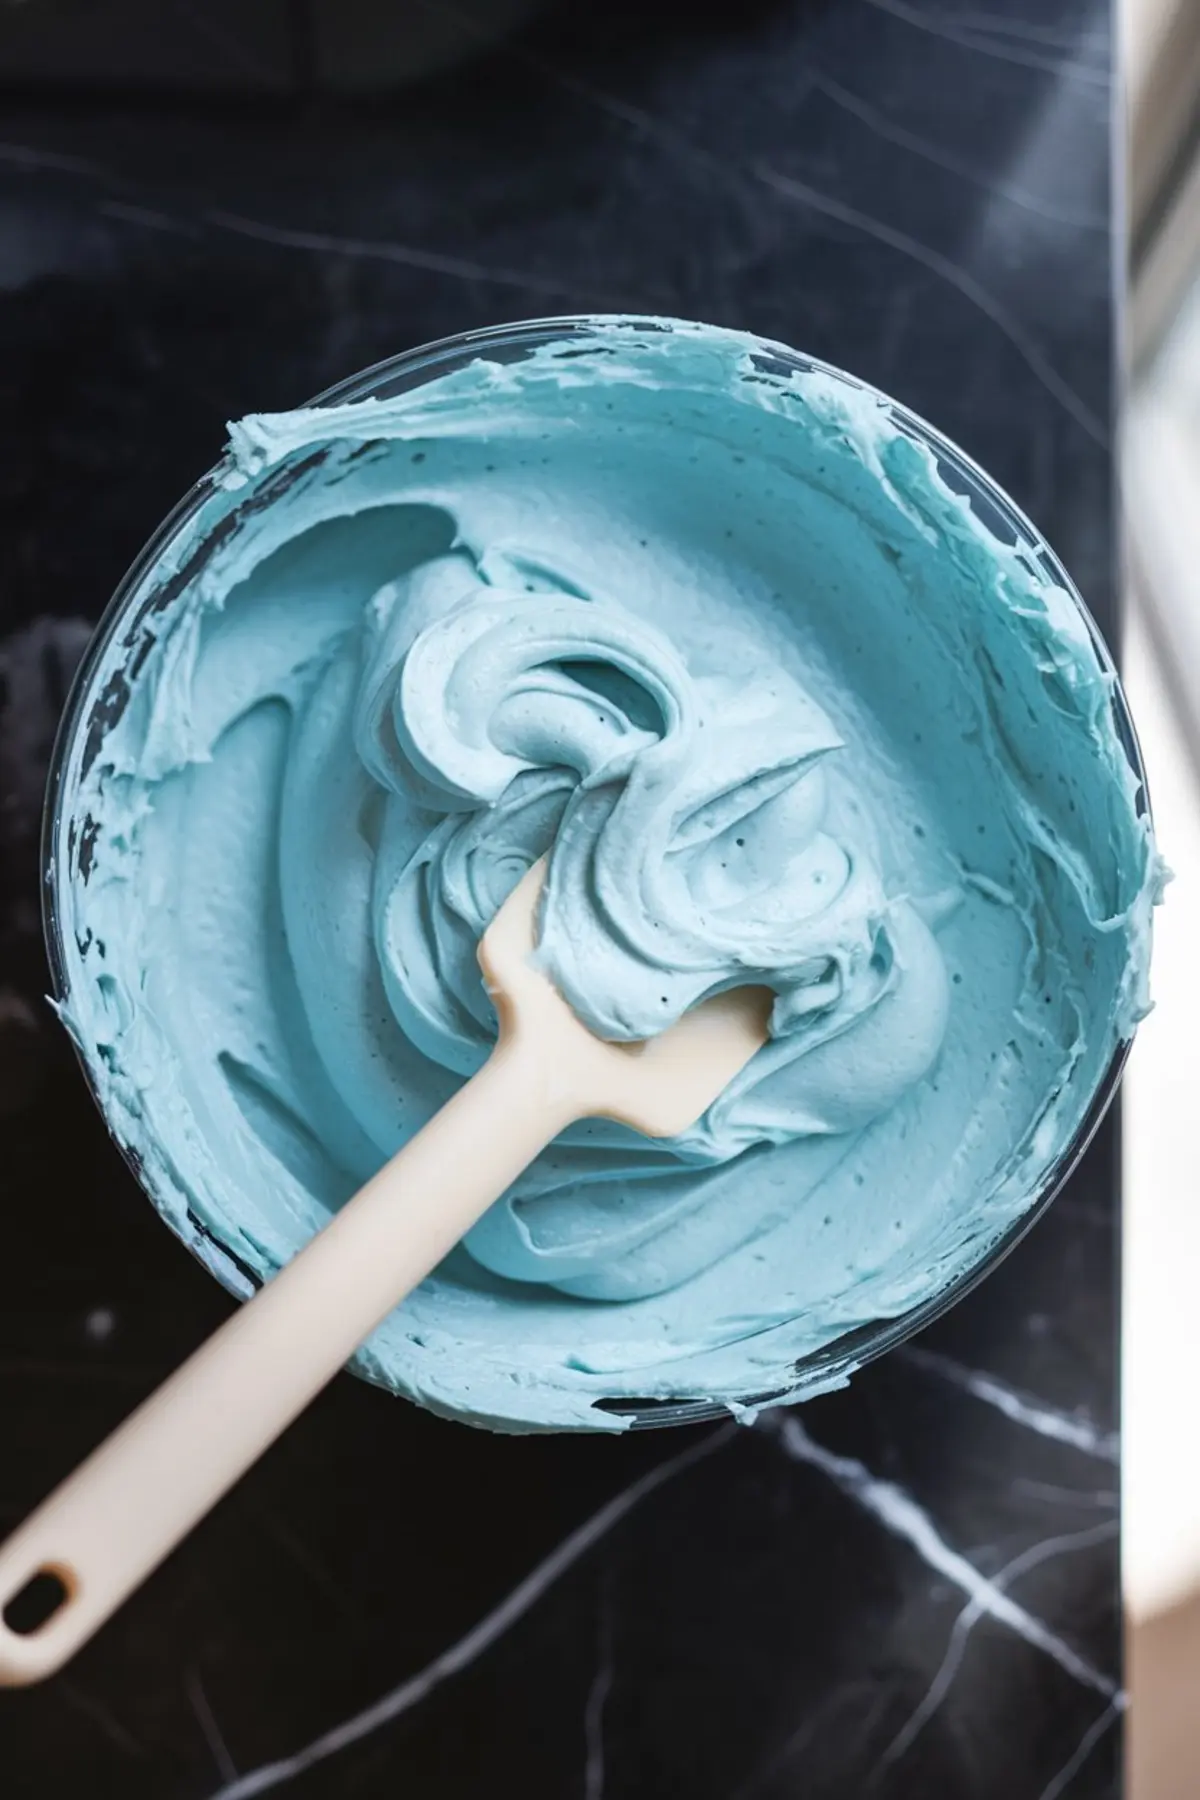
Buttercream is where most Frozen cupcake ideas fall apart.
Start with room temperature butter. It should leave a thumbprint when pressed but not feel greasy. Beat until creamy before adding powdered sugar. I go one cup at a time to avoid clumping.
Once combined, stir in vanilla and milk. If the frosting feels stiff, add another spoon of milk. If it’s too soft, pop it in the fridge for ten minutes before piping.
Color is everything here. Use blue gel food coloring, not liquid. Gel keeps the consistency firm while giving that clear Elsa-blue shade.
Add color a little at a time. Mix thoroughly between additions. You want a cool, icy tone—not sky blue or turquoise.
Try to match the tone you’d see in Frozen Cake Pops or Elsa birthday cakes at high-end bakeries. This frosting holds a shape and keeps its sheen.
How to Pipe Frozen Cupcake Frosting Like a Snow Queen
Use a large open star tip. I always reach for the Wilton 1M. Start from the outside edge and swirl inward, then lift straight up for that signature peak.
Each swirl stands tall and neat when the buttercream is the right texture.
Top with snowflake sprinkles or white sugar pearls. If you can’t find snowflakes, sugar pearls work well and look just as snowy under soft lighting.
You can also follow a similar technique I use in my Ice Cream Cone Cupcakes to practice piping height and shape.
What Makes These Cupcakes Stand Out From Other Frozen Cake Ideas
Here’s the part I hinted at earlier.
The dash of salt in both the cupcake batter and frosting is what brings everything to life. It pulls the vanilla forward and keeps the sweetness balanced.
Without it, the frosting can taste flat. With it, each bite finishes clean.
It’s small. It’s simple. But that tiny adjustment is what made these my go-to Frozen birthday party food recipe. Parents thank me. Kids finish the entire swirl. That doesn’t always happen with overly sweet frosting.
Other Frozen Themed Cupcake Ideas That Work
If you’re baking a full table of Frozen themed food, mix in some Funfetti Cupcakes with blue and white sprinkles for variation.
They complement these without stealing attention.
You can also explore Red Velvet Cupcakes if you want a bold contrast beside all the Elsa cupcakes. Just swap out the red sprinkles for silver or leave them plain and pipe snowflakes on top.
Before You Bake: A Quick Ingredient Tip
I’ve tested buttercream made with both milk and heavy cream.
Milk creates a light texture that pipes easily and holds its shape even in warm kitchens. Heavy cream gives a richer mouthfeel but can soften too quickly under lights or at outdoor parties.
If you’re setting these out on a dessert table, stick with milk. It holds better and lets the frosting stay tall and smooth.
This is the same trick I use when preparing display-friendly Frozen Cupcake Cake towers that sit out longer than an hour.
Final Notes and Party Prep Advice
Make these cupcakes the night before and frost them the morning of your event.
Once frosted, store in a covered cupcake carrier if you’re traveling. Keep them in a cool room and avoid direct sunlight.
Want to tie them into an Elsa birthday cake display? Group them on a white cake stand, scatter a few Frozen cake pops nearby, and place a mini Elsa figurine between the rows. It transforms the setup into something kids remember.
Save These Frozen Cupcakes for Your Next Elsa Party

If you’re planning Frozen birthday party food, pin this for later.
You’ll save yourself the stress of last-minute baking, and you’ll get cupcakes that actually look and taste the way you hoped they would.
And if you try them, I’d love to hear from you. Tell me in the comments how they turned out. Ask a question if you need to swap something. Let’s make this a space where other bakers can feel ready too.
Frozen Cupcakes Recipe

Cool-blue vanilla cupcakes bring soft, springy texture together with a smooth buttercream frosting tinted Elsa-blue. Each cupcake is topped with a high swirl of frosting and finished with snowflake sprinkles or white sugar pearls. The recipe uses simple ingredients and reliable techniques for consistent results.
Ingredients
- FOR THE VANILLA CUPCAKES
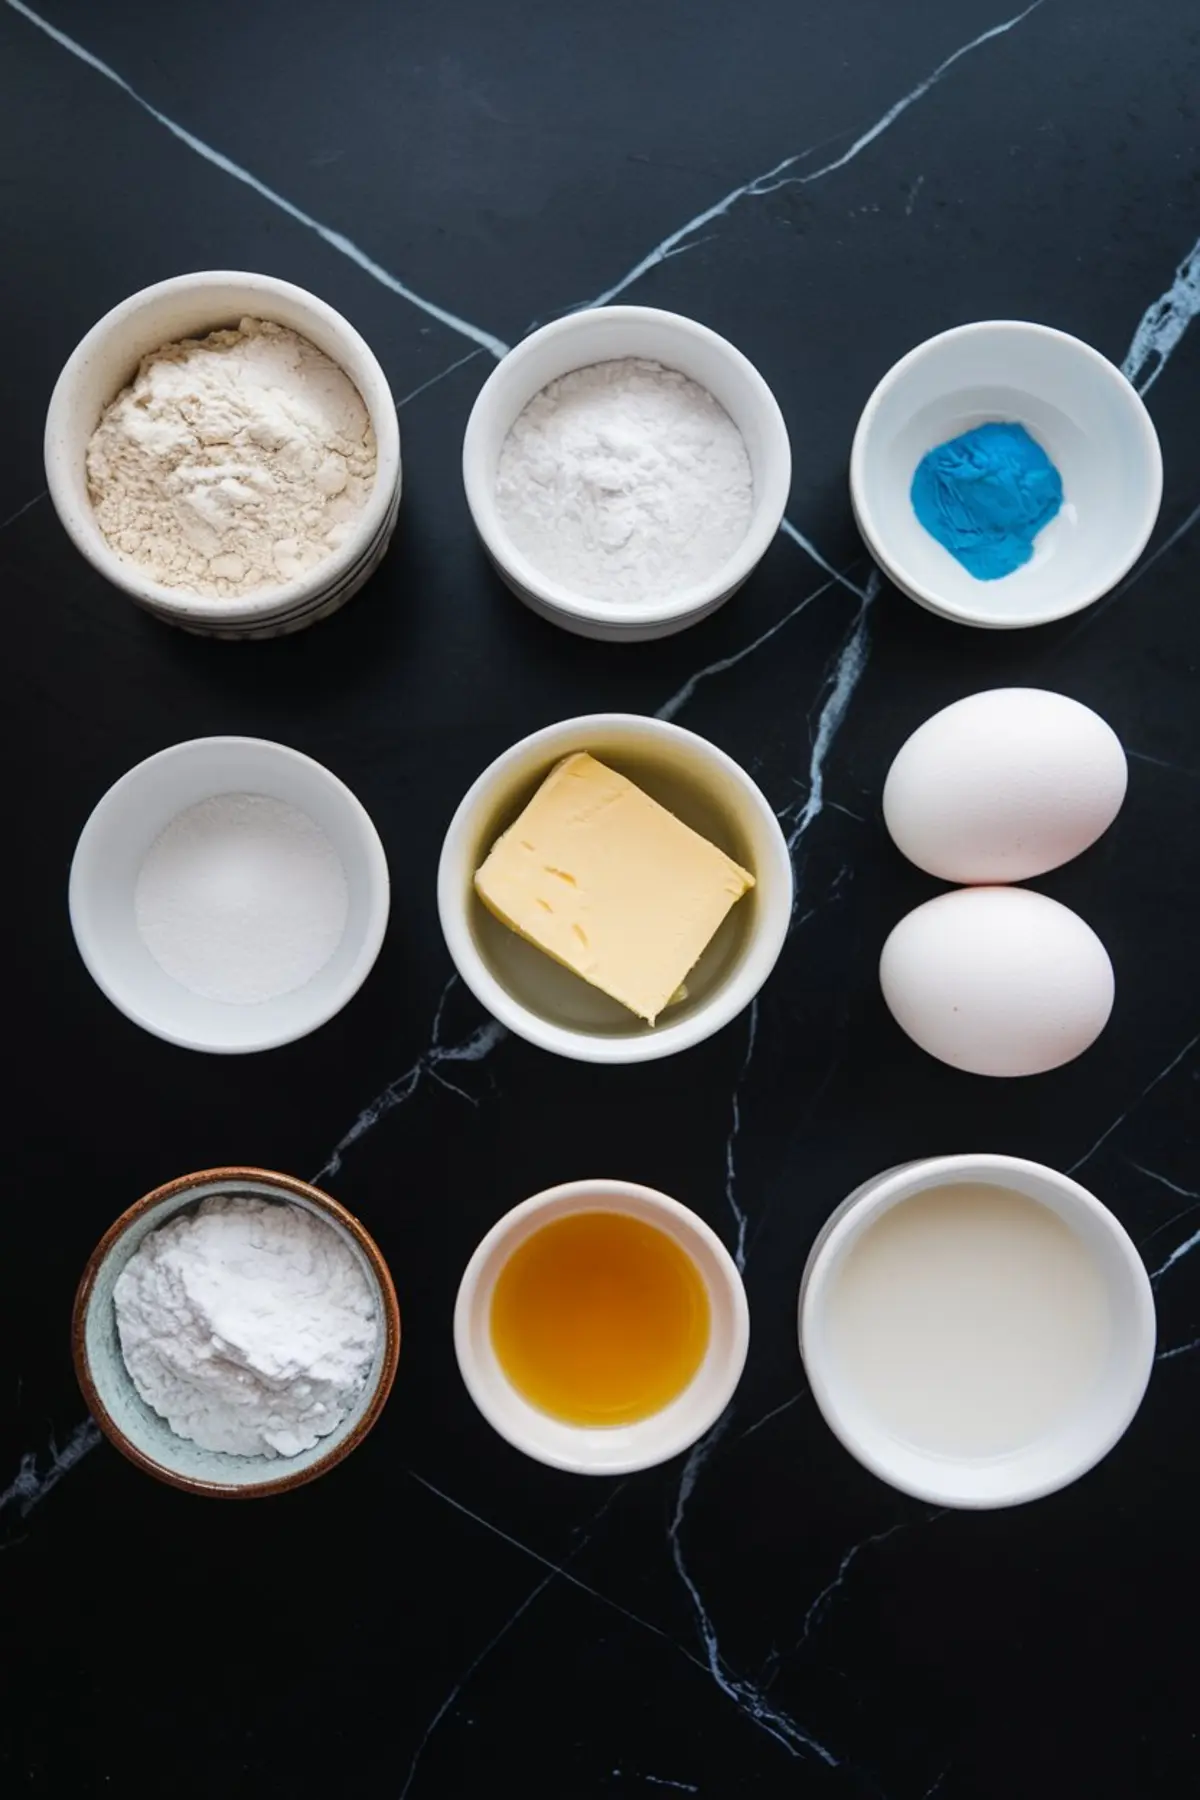
- 1 ½ cups all-purpose flour
- 1 ½ teaspoons baking powder
- ¼ teaspoon salt
- ½ cup unsalted butter, at room temperature
- ¾ cup granulated sugar
- 2 large eggs
- 2 teaspoons vanilla extract
- ½ cup whole milk
- FOR THE BUTTERCREAM FROSTING
- 1 cup unsalted butter, at room temperature
- 3 cups powdered sugar
- 2 teaspoons vanilla extract
- 1–2 tablespoons milk or heavy cream
- Blue gel food coloring (adjust to desired shade)
- FOR DECORATING
- White nonpareils or sugar pearls
- Snowflake sprinkles
Instructions
- PREHEAT THE OVEN AND PREPARE THE PAN: Preheat the oven to 350°F (175°C). Line a 12-cup muffin pan with cupcake liners and set aside.
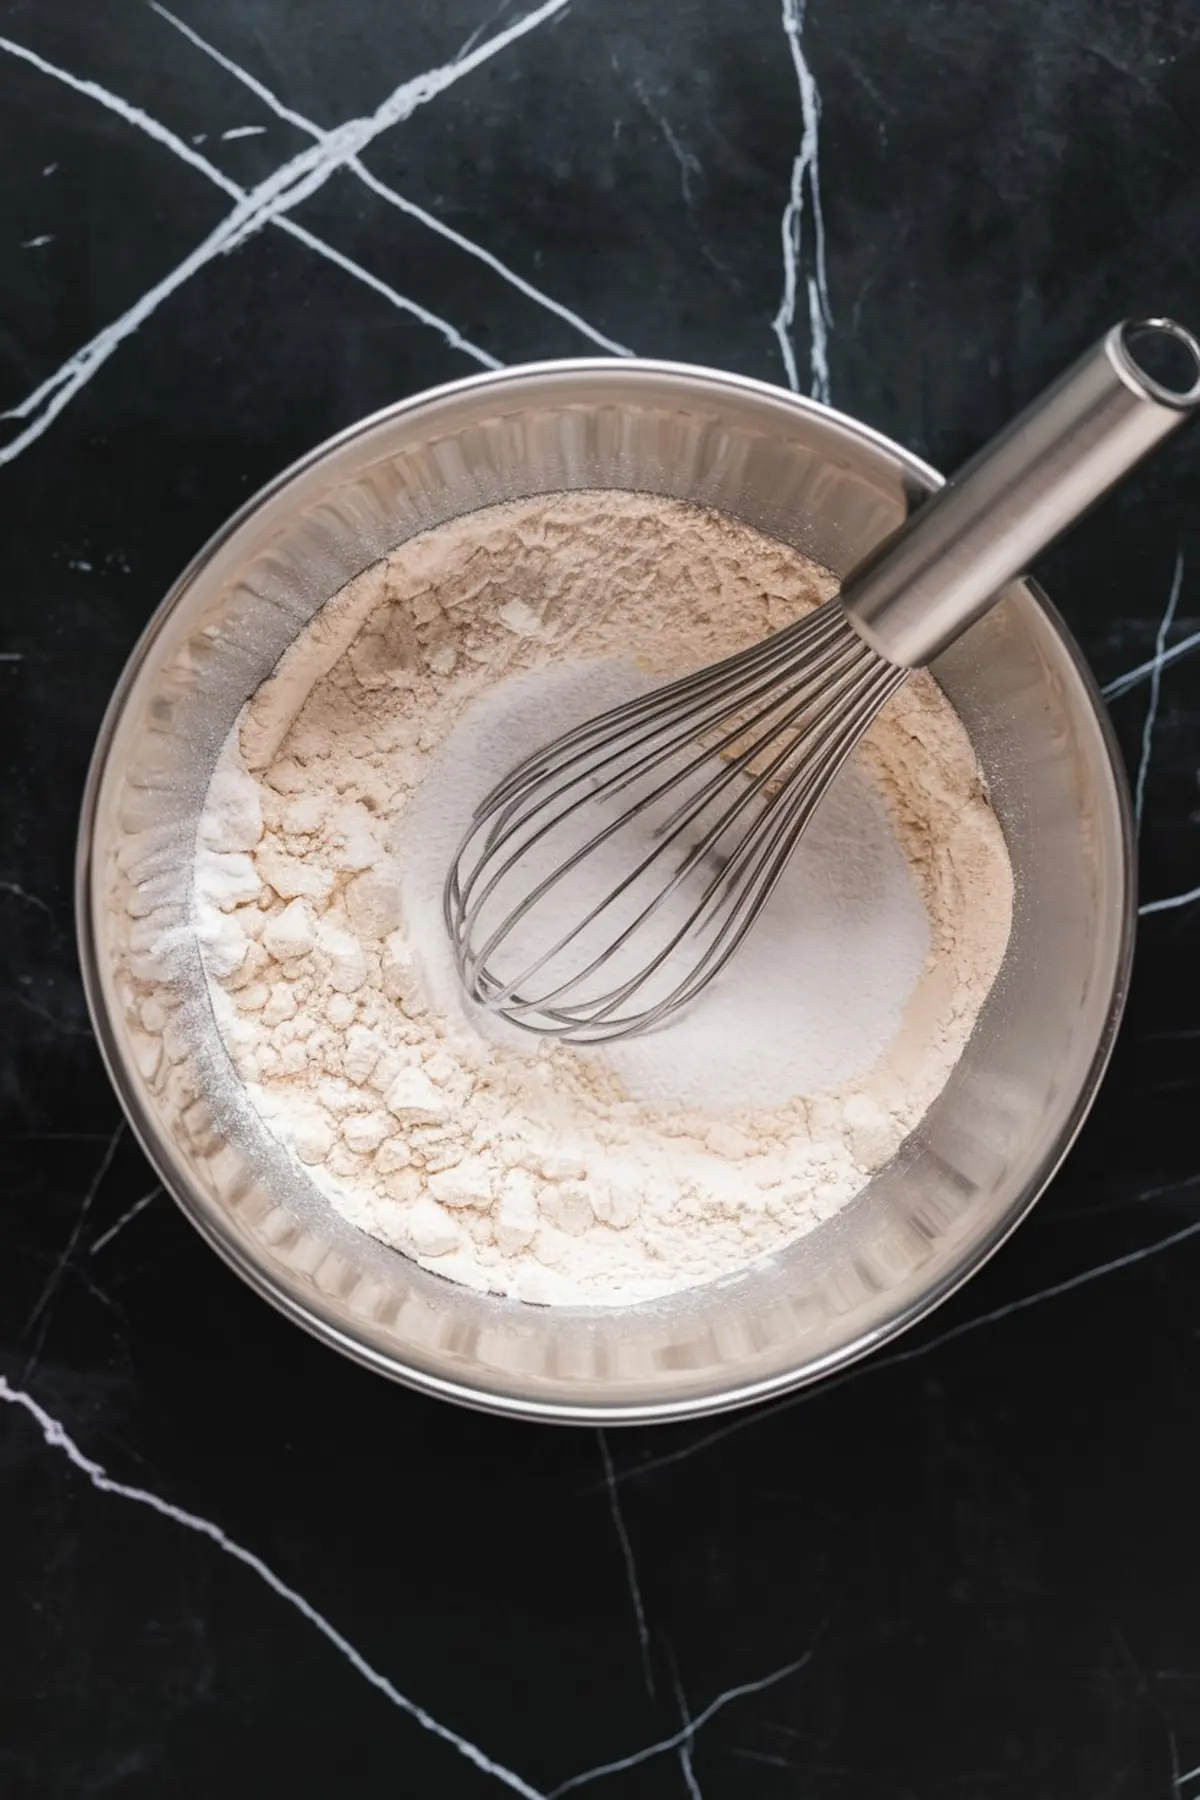
- MIX THE DRY INGREDIENTS: In a medium bowl, whisk together the flour, baking powder, and salt until well combined. Set the bowl aside.
- CREAM THE BUTTER AND SUGAR: In a large bowl, beat the butter and sugar together on medium speed using an electric mixer for 2–3 minutes, or until the mixture looks light and fluffy.
- ADD THE EGGS AND VANILLA: Add the eggs one at a time, beating well after each addition. Stir in the vanilla extract until fully incorporated.
- ALTERNATE DRY INGREDIENTS AND MILK: Add the flour mixture in three parts, alternating with the milk. Begin and end with the dry ingredients. Mix just until combined; do not overmix.
- PORTION AND BAKE: Divide the batter evenly between the cupcake liners, filling each about two-thirds full. Bake for 18–20 minutes, or until a toothpick inserted in the center comes out clean.
- COOL THE CUPCAKES: Let the cupcakes cool in the pan for 5 minutes, then transfer them to a wire rack to cool completely before frosting.
- MAKE THE FROSTING: In a large bowl, beat the butter until creamy and smooth. Add the powdered sugar 1 cup at a time, mixing well after each addition. Stir in the vanilla extract and 1 tablespoon of milk, adding more milk if needed for desired consistency.
- TINT THE FROSTING: Add blue gel food coloring a small amount at a time, mixing thoroughly after each addition until the frosting reaches your preferred shade of light blue.
- PIPE AND DECORATE: Fit a piping bag with a large star tip (such as Wilton 1M). Fill the bag with the frosting and pipe tall swirls on top of each cooled cupcake. Start from the outer edge and spiral inward, then lift straight up. Finish with snowflake sprinkles or white sugar pearls.
Notes
Softened butter is key to both the cupcake batter and frosting texture. Use gel food coloring for strong color without altering consistency. If snowflake sprinkles are unavailable, substitute with sugar pearls or pipe small designs using melted white chocolate.
Nutrition Information:
Yield:
12Serving Size:
1Amount Per Serving: Calories: 494Total Fat: 27gSaturated Fat: 16gTrans Fat: 0gUnsaturated Fat: 10gCholesterol: 103mgSodium: 150mgCarbohydrates: 59gFiber: 0gSugar: 46gProtein: 4g
