
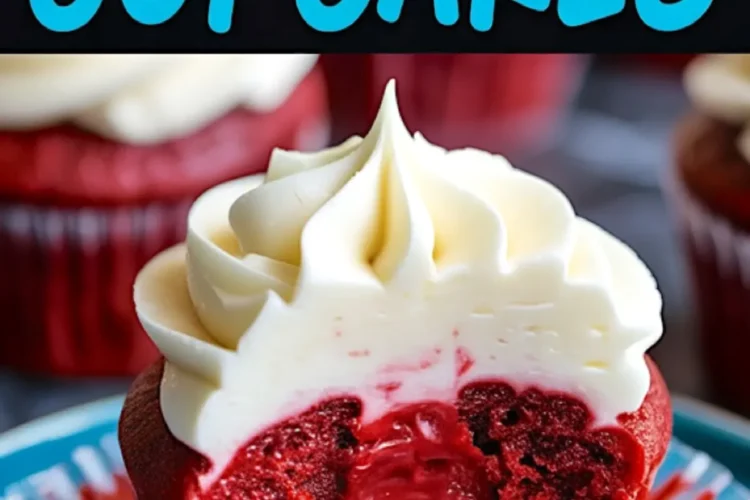
Red velvet cupcakes frustrated me for years. I would bake batch after batch, chasing that smooth, tender crumb everyone talks about. Some came out dry. Others turned dense. I wanted the kind of cupcake that felt soft the moment you bit into it, with cream cheese frosting that stood tall but stayed creamy.
This recipe finally gave me what I was missing. You will see how the right balance of moisture, gentle mixing, and one simple ingredient change creates consistent results. I’ll walk you through each part. And after the steps, I’ll share the one switch that changed everything for me.

The Ingredients That Build a Moist, Balanced Crumb
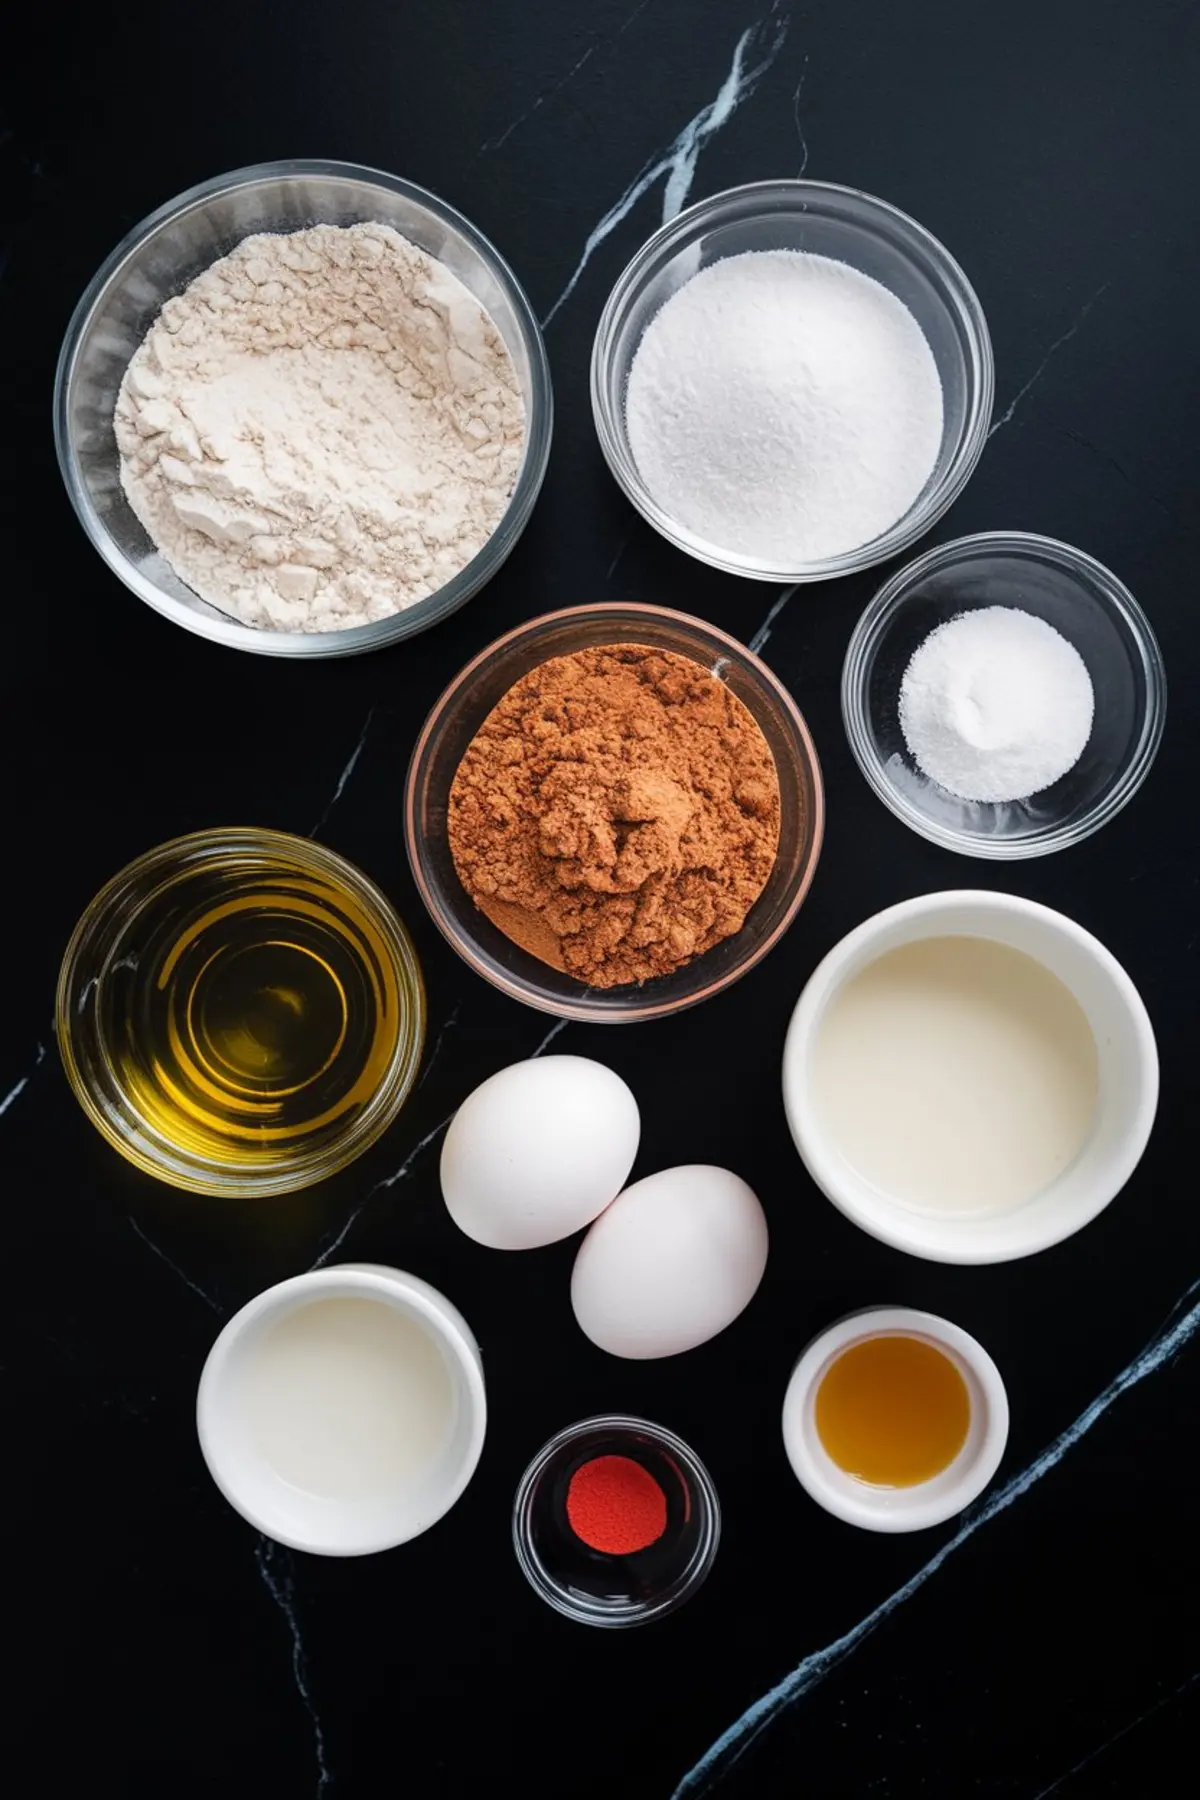
Each ingredient works together. All-purpose flour holds structure. Granulated sugar sweetens without overpowering the cocoa. Baking soda helps the rise. Salt balances every bite. Unsweetened cocoa powder provides the subtle chocolate flavor that makes red velvet distinct from chocolate cake.
In another bowl, I combine vegetable oil, buttermilk, eggs, white vinegar, vanilla extract, and red gel food coloring. Buttermilk adds light tang. Vinegar activates the baking soda for a soft rise. Oil locks in moisture better than butter.
Inside my Pin Notebook, where I track every recipe adjustment, I’ve written this many times: oil wins for red velvet cupcakes. Butter tastes rich but tends to dry out the crumb. Oil delivers that consistently soft, velvety bite.
How Gentle Mixing Protects the Texture
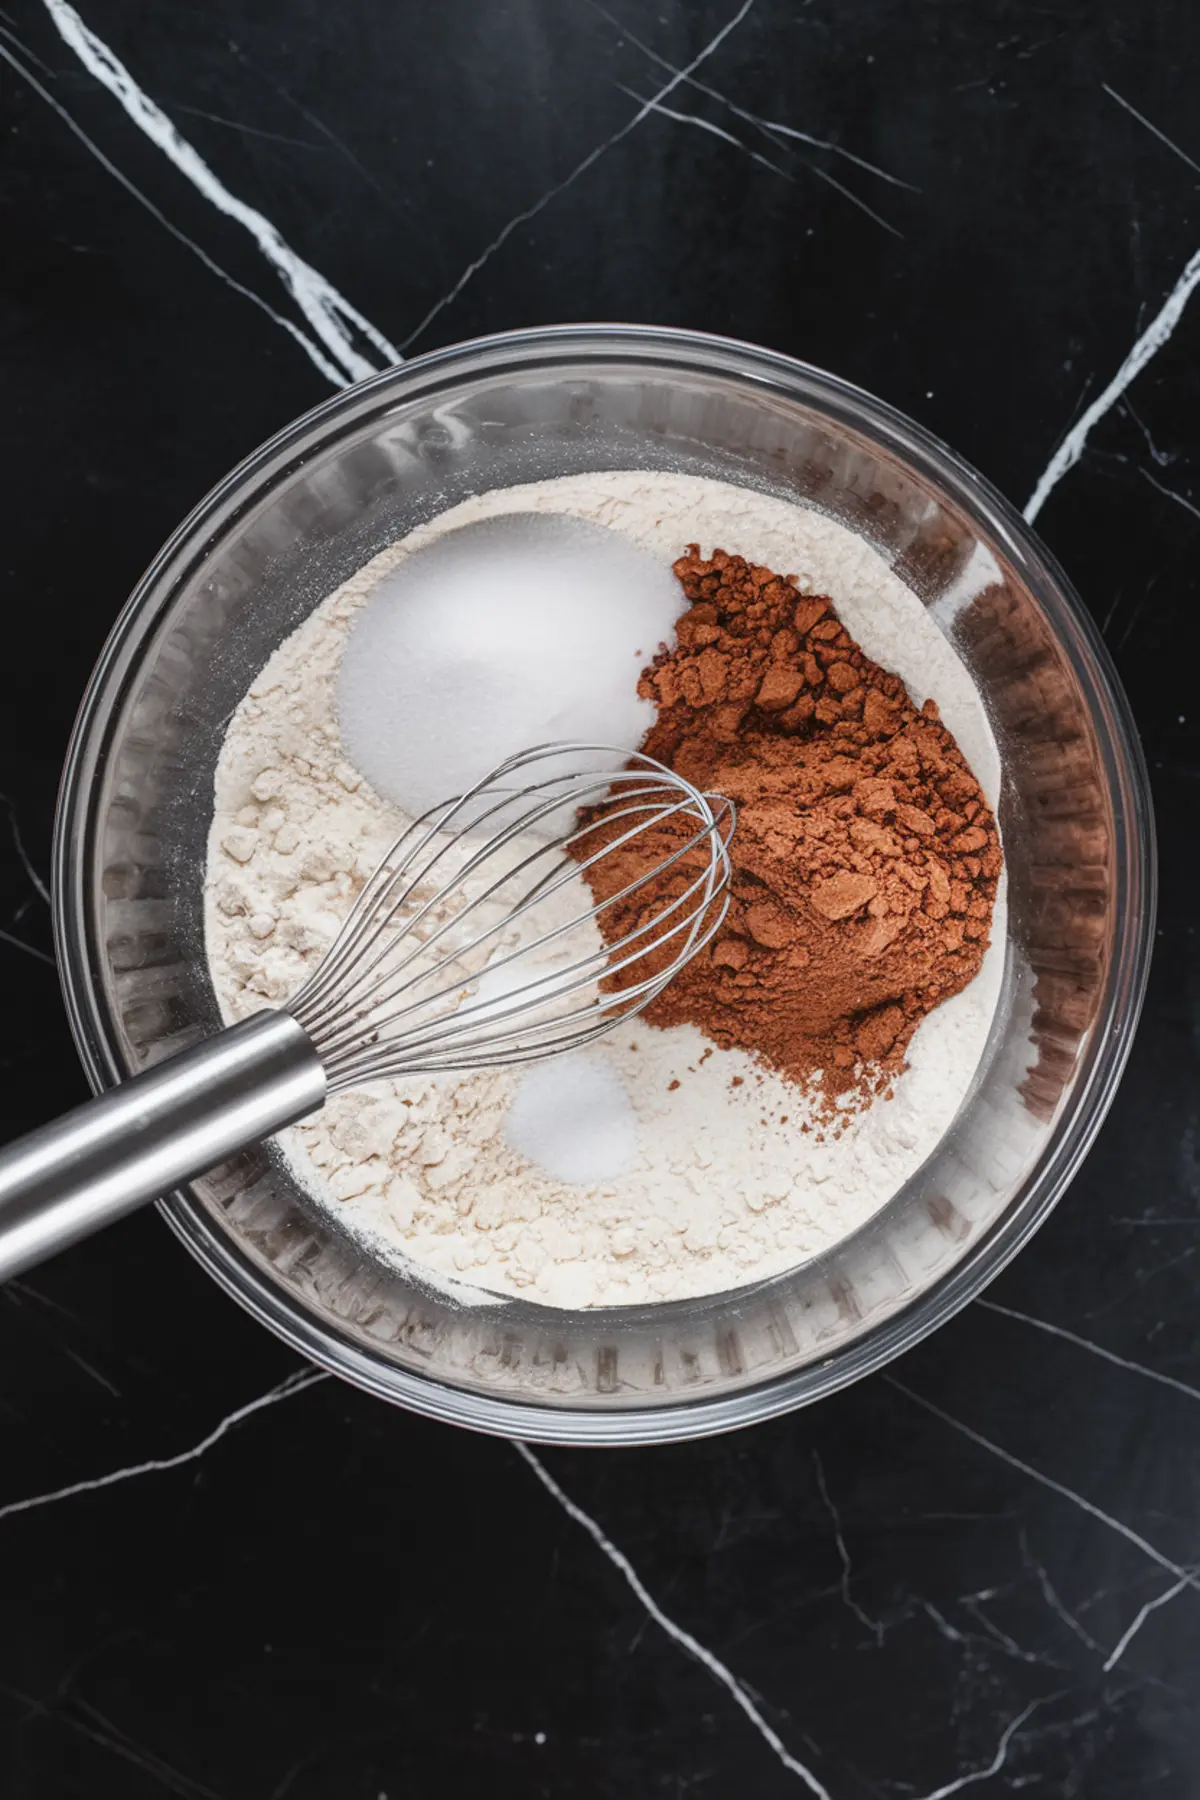
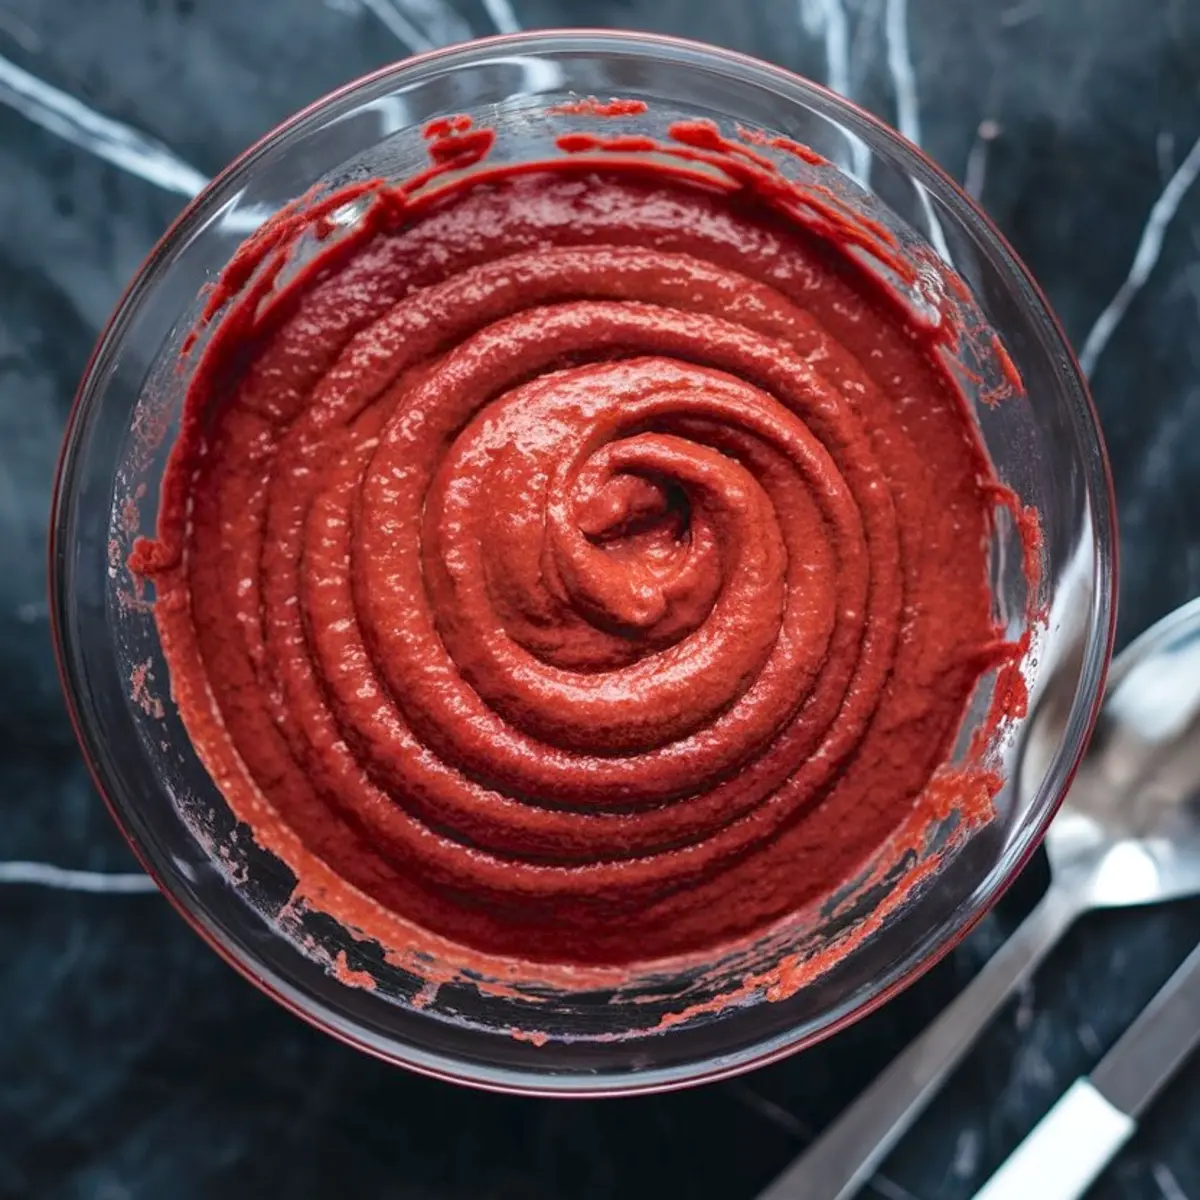
When I mix wet and dry ingredients together, I take my time. A rubber spatula folds the batter gently, preserving air without overworking it. Overmixing tightens the crumb and steals the softness you want.
I fill each cupcake liner about two-thirds full. This allows room for a full rise without spilling.
I’ve tested metal tins and silicone pans. Metal provides steady heat and even baking. Silicone often leaves pale bottoms and uneven texture. For these cupcakes, metal remains my go-to for consistent results.
Baking and Cooling Without Rushing
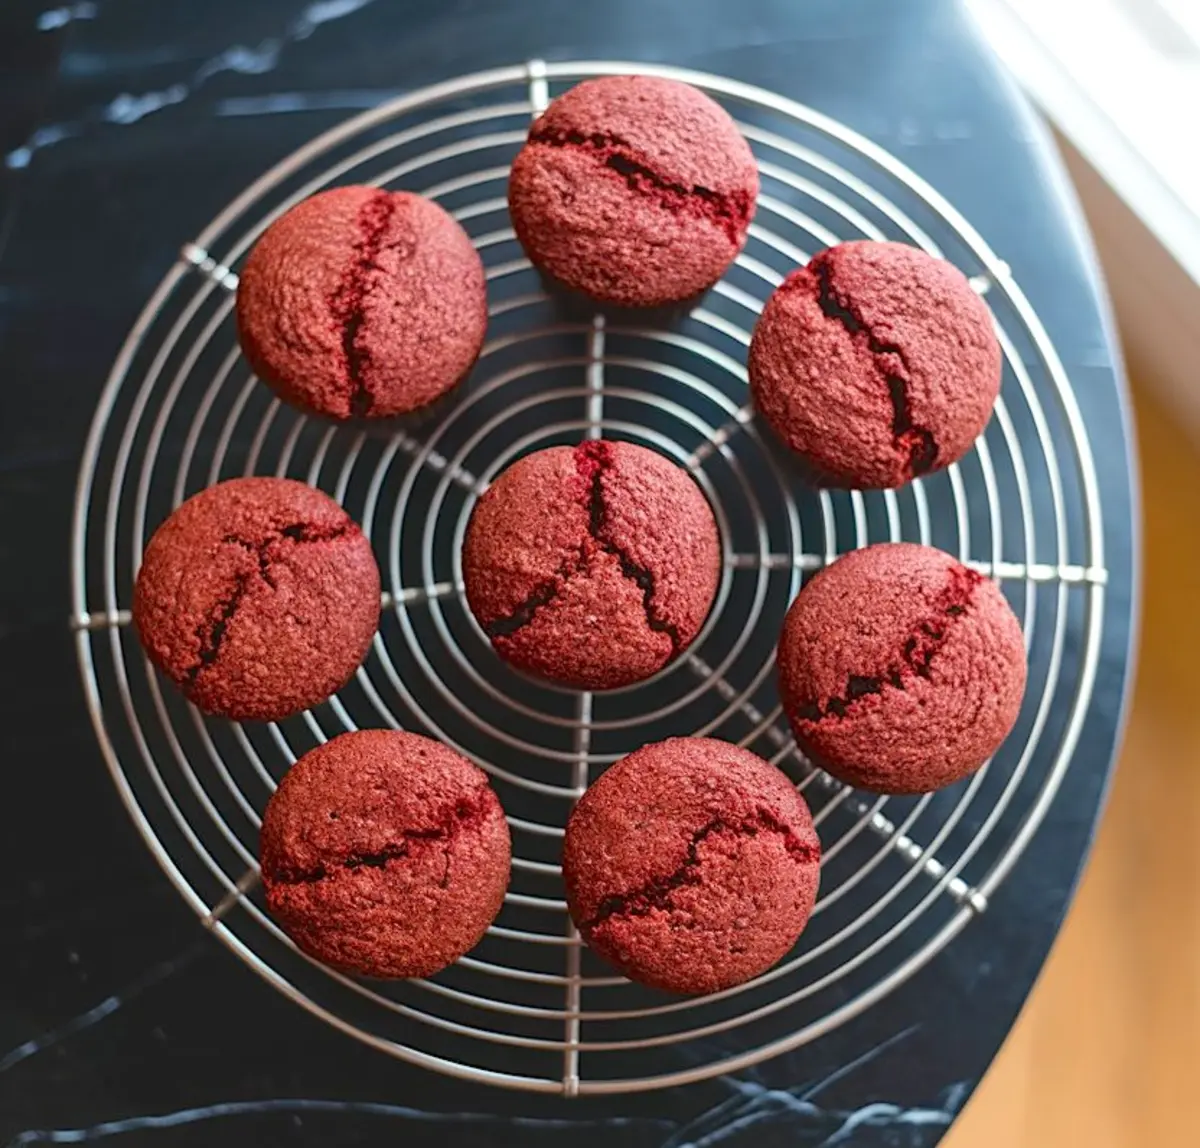
The oven stays at 350°F. After about 18 minutes, I check the center with a toothpick. A few moist crumbs mean they’re ready.
Once baked, they cool fully on a wire rack. This step matters. Frosting too soon leads to melting and sliding. Patience protects the final result.
The Cream Cheese Frosting I Trust
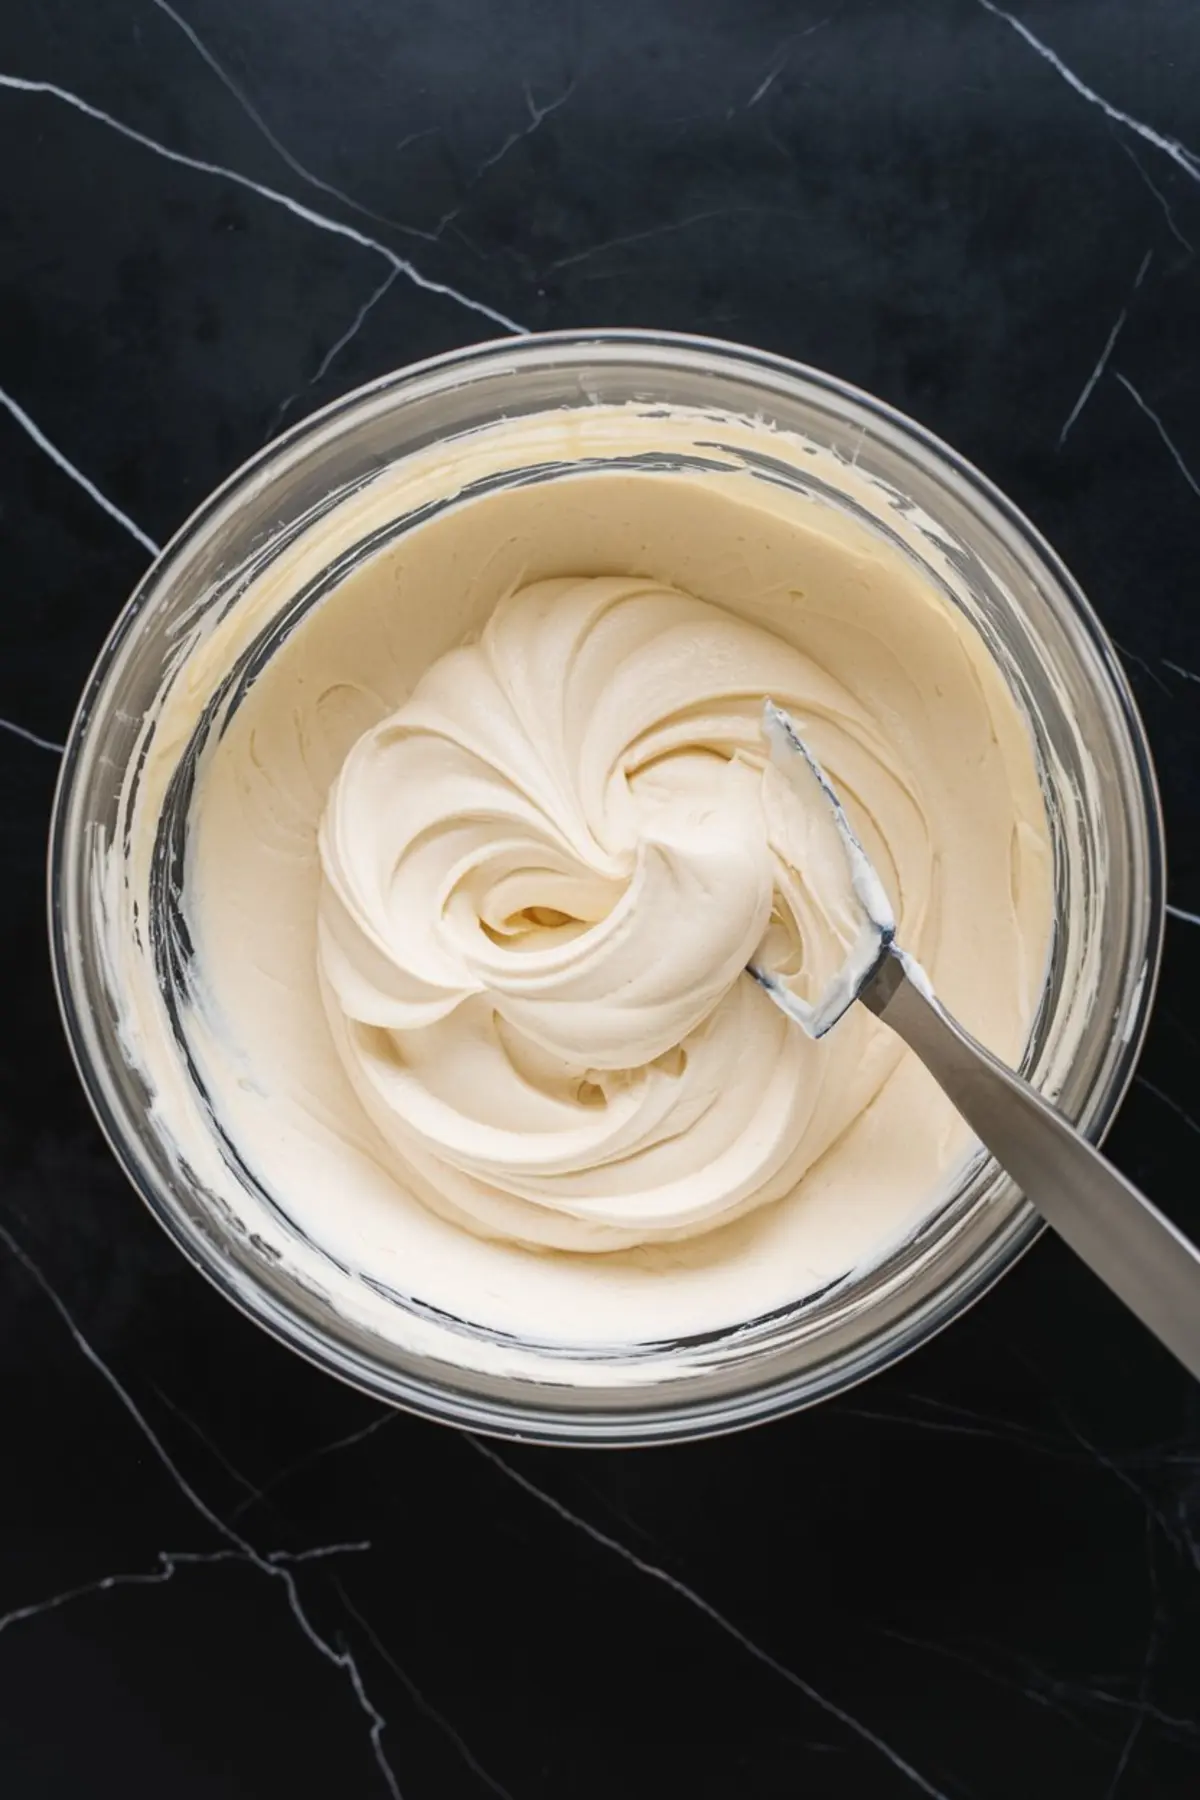
I start with fully softened cream cheese and unsalted butter. I beat them until fluffy, then slowly add sifted powdered sugar. Vanilla extract brings depth. A pinch of salt balances the sweetness.
When smooth, I transfer the frosting into a piping bag with a star tip. The tall swirls hold shape and give that bakery-style finish.
I use this same frosting for my Vanilla Cupcakes when I want an elegant touch for birthdays or small gatherings. Its stability works across many desserts while staying creamy.
Decorating for a Professional Look
After frosting, I sometimes sprinkle white chocolate shavings or add small white sprinkles. These small touches make them feel like Cupcakes Aesthetic you see in bakeries, while keeping the focus on the flavor.
Store the cupcakes in an airtight container in the refrigerator. They hold moisture for several days. Before serving, bring them to room temperature so the crumb feels as soft as when freshly baked.
The Small Change That Fixed My Red Velvet
Now for the secret I hinted at earlier.
It was the food coloring. Years ago, I used liquid food coloring like most recipes suggest. The problem? Liquid thins the batter. It throws off the moisture balance and leads to unpredictable texture.
Switching to gel food coloring changed everything. The color stayed rich without adding unnecessary liquid. The batter remained stable. My crumb became soft, even, and reliable every time. It’s a small change that made the biggest difference for me, and I’ve never gone back.
Related Recipes You Might Also Enjoy
If you enjoy these cupcakes, you may want to explore:
- Vanilla Cupcakes for a soft, versatile base you can build on.
- Cupcakes Aesthetic for creative decorating ideas for any occasion.
Save and Share Your Results
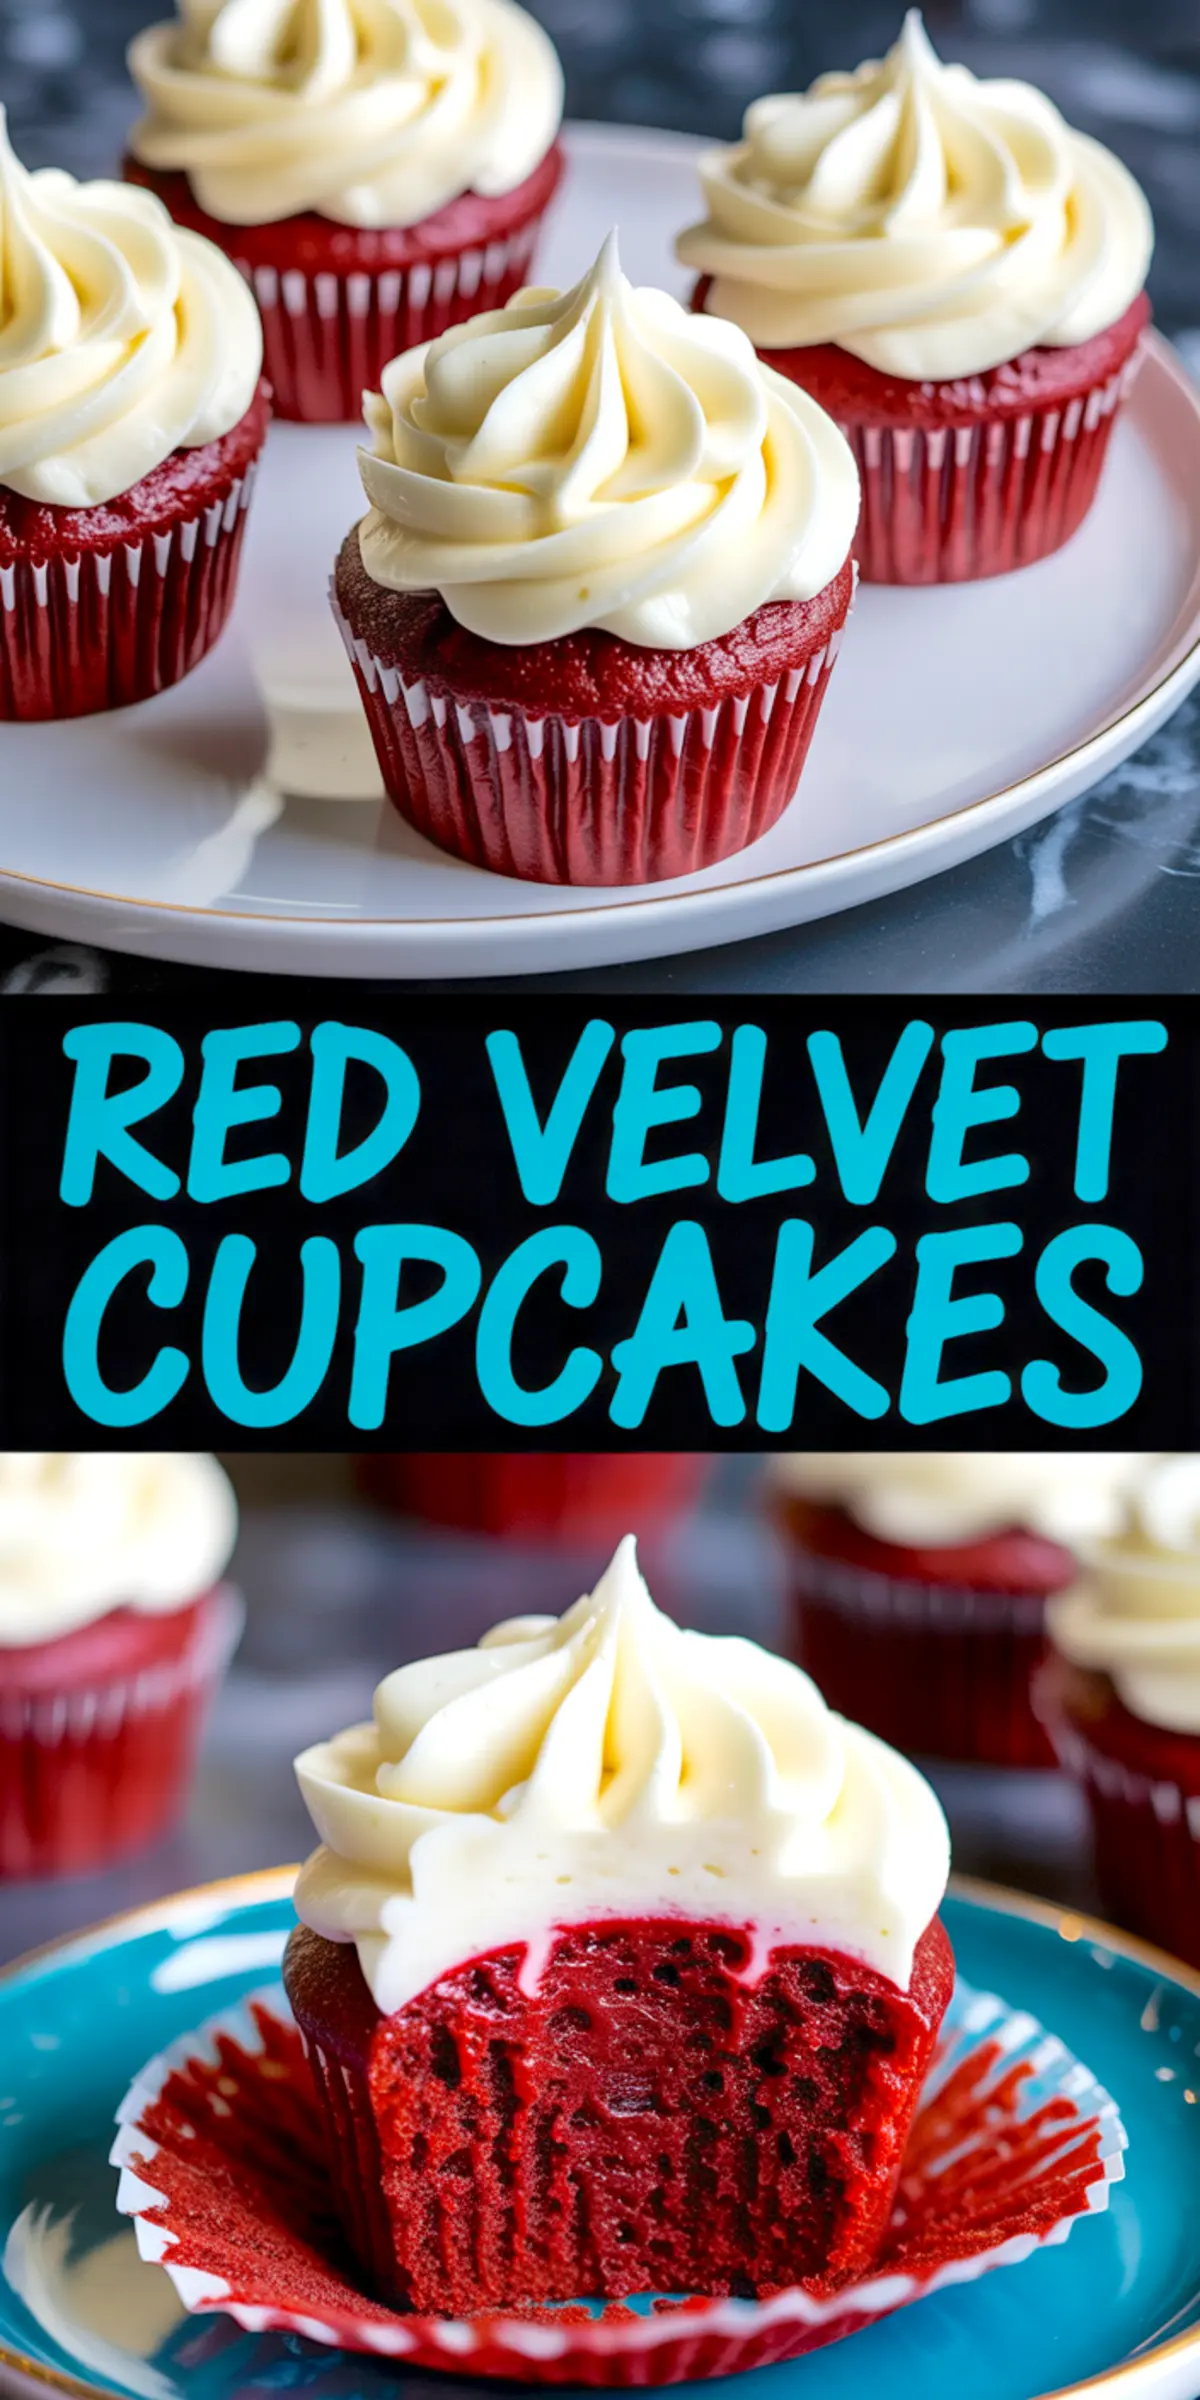
Save this recipe on your Pinterest board so you can easily find it next time you want to bake. I would love to hear how your red velvet cupcakes turned out. Share your results or any questions in the comments below. Your baking stories help me fill more pages in my Pin Notebook.
Red Velvet Cupcakes Recipe
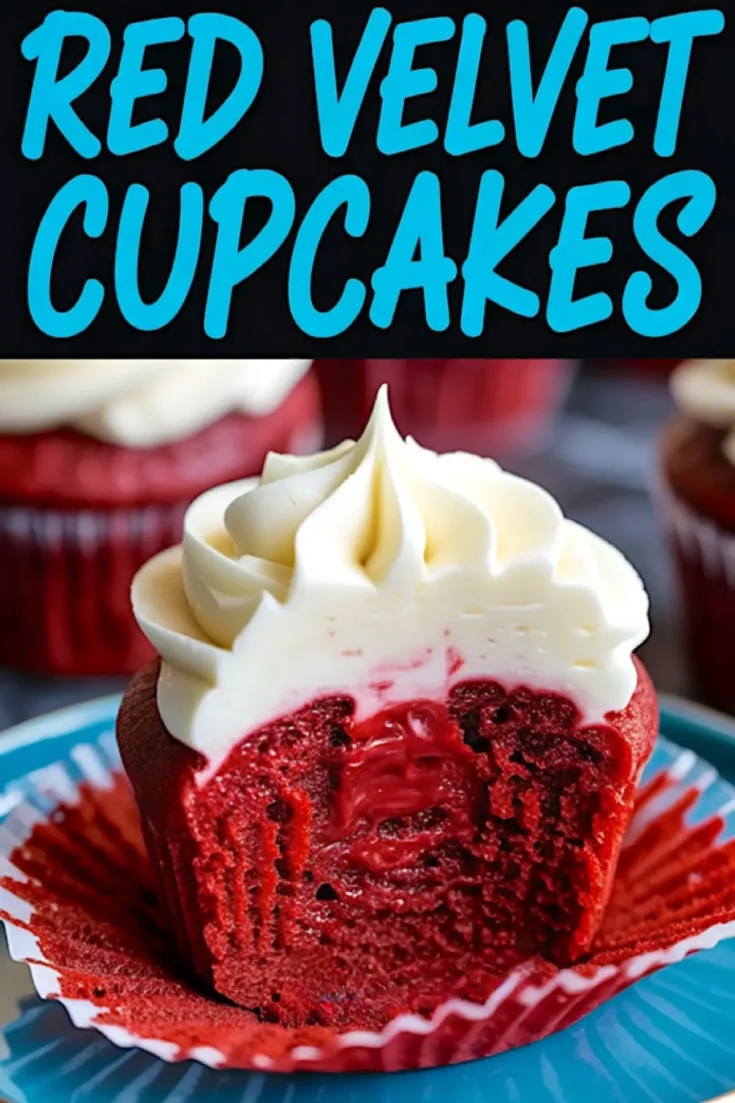
These red velvet cupcakes are soft and tender with a velvety crumb, balanced cocoa flavor, and a subtle tang from buttermilk and vinegar. Rich cream cheese frosting tops them with a creamy, slightly sweet finish. This method focuses on moisture and gentle mixing to achieve a delicate texture every time.
Ingredients
- FOR THE CUPCAKES
- 1 ⅔ cups all-purpose flour
- 1 cup granulated sugar
- 1 teaspoon baking soda
- ½ teaspoon salt
- 2 tablespoons unsweetened cocoa powder
- 1 cup vegetable oil
- 1 cup buttermilk, at room temperature
- 2 large eggs, at room temperature
- 1 tablespoon white vinegar
- 1 tablespoon pure vanilla extract
- 1 tablespoon red gel food coloring
- FOR THE CREAM CHEESE FROSTING
- 8 oz cream cheese, softened
- ½ cup unsalted butter, softened
- 3 ½ cups powdered sugar, sifted
- 2 teaspoons pure vanilla extract
- Pinch of salt
Instructions
- PREPARE INGREDIENTS AND EQUIPMENT: Allow the buttermilk, eggs, and cream cheese to come to room temperature. Preheat the oven to 350°F (177°C). Line a muffin tin with 14 to 16 paper cupcake liners.
- MIX THE DRY INGREDIENTS: In a large bowl, whisk together the all-purpose flour, granulated sugar, baking soda, salt, and unsweetened cocoa powder until evenly combined and no clumps remain.
- COMBINE THE WET INGREDIENTS: In a separate bowl, whisk together the vegetable oil, buttermilk, eggs, white vinegar, vanilla extract, and red gel food coloring until the mixture is smooth and fully blended.
- FORM THE BATTER: Add the wet ingredients to the dry ingredients. Stir gently using a rubber spatula or wooden spoon until the batter is smooth and uniform. Avoid overmixing to maintain a tender crumb.
- FILL THE CUPCAKE LINERS: Divide the batter evenly among the cupcake liners, filling each about two-thirds full for even baking.
- BAKE THE CUPCAKES: Place the muffin tin in the preheated oven and bake for 18 to 20 minutes. Check for doneness by gently pressing the tops; they should spring back. A toothpick inserted into the center should come out clean or with a few moist crumbs attached.
- COOL THE CUPCAKES: Transfer the cupcakes to a wire rack and let them cool completely before frosting to prevent the frosting from melting.
- PREPARE THE CREAM CHEESE FROSTING: In a large bowl, beat the softened cream cheese and unsalted butter together until light and fluffy. Gradually add the sifted powdered sugar while mixing on low speed, then increase to medium speed. Add the vanilla extract and a pinch of salt. Beat until the frosting is smooth and spreadable.
- FROST THE CUPCAKES: Fill a piping bag fitted with a large star tip with the cream cheese frosting. Pipe tall swirls onto each cooled cupcake. Optionally, garnish with white sprinkles or shaved white chocolate.
Notes
For the deepest red color, use gel food coloring rather than liquid. Make sure not to overmix the batter to maintain the cupcakes' soft texture. Store cupcakes in an airtight container in the refrigerator for up to 3 days.
Nutrition Information:
Yield:
16Serving Size:
1Amount Per Serving: Calories: 459Total Fat: 26gSaturated Fat: 9gTrans Fat: 0gUnsaturated Fat: 15gCholesterol: 54mgSodium: 258mgCarbohydrates: 52gFiber: 1gSugar: 41gProtein: 4g
