
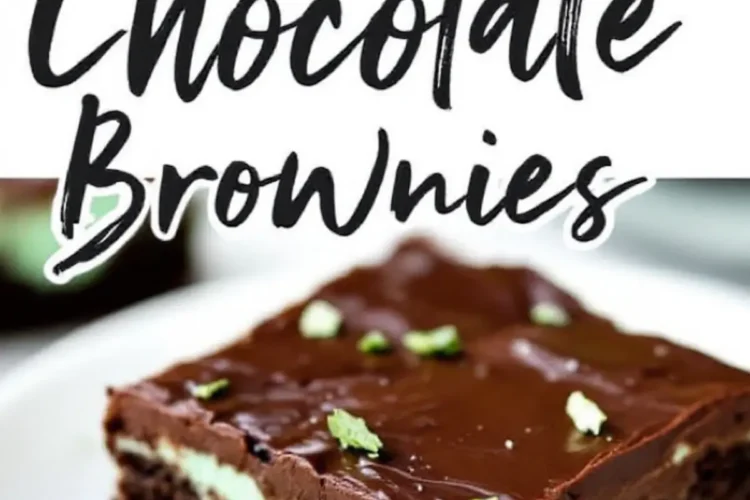
I once spent a long weekend experimenting with brownie variations, searching for a layered dessert that balanced freshness with rich cocoa notes. You will discover how to blend cool mint flavors with fudgy chocolate steps in a straightforward way here. My hope is to share a personal approach that sparks your confidence and curiosity.
My own trial-and-error journey shaped these Mint Chocolate Brownies. I learned many lessons from scorched pans, overmixed batters, and uneven layers. Each misstep guided me to a final method that I trust.
I remember Whiskers – my cat, peeking at me from the counter during each new attempt. He seemed to judge the swirling scents by twitching his whiskers in approval. That was my sure sign that this dessert had promise.
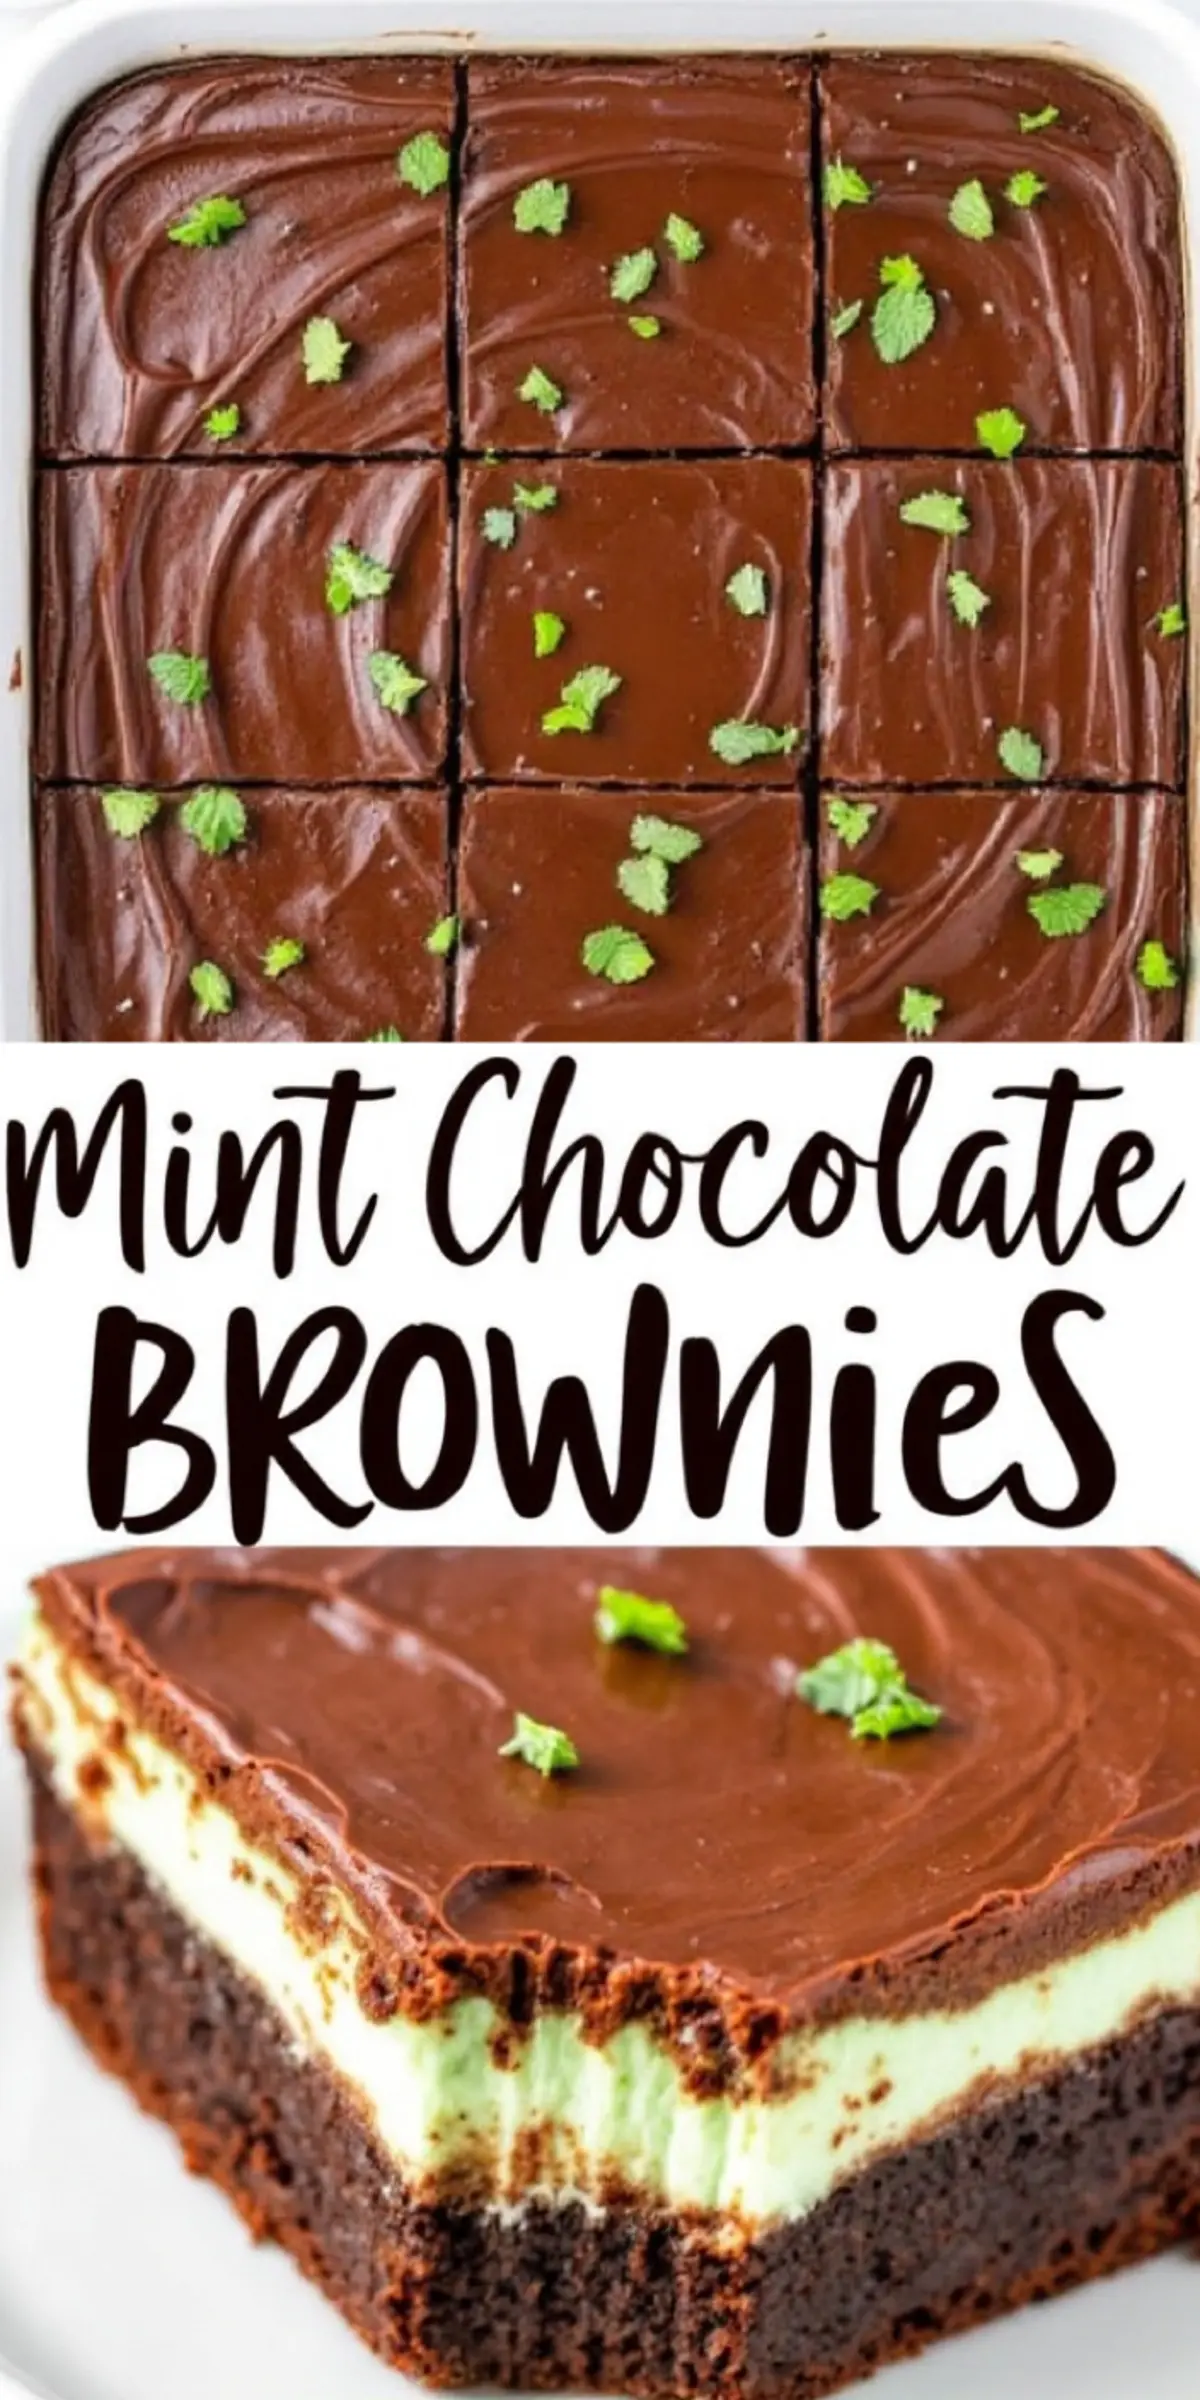
Mint Chocolate Brownies: Why They Stand Out
Your taste buds will enjoy the rich cocoa base covered by a soft mint frosting. The flavors meld in a way that leads to a balanced bite every time. This dessert feels like a nostalgic treat that sneaks in a cool surprise.
I respect recipes that do not require complicated steps. My aim is to keep things organized for you with easy tweaks that you might enjoy testing. A brownies-first approach helps you start strong before adding extra layers.
You will also see a unique dimension of flavor that sets these brownies apart. The idea came from a quick substitution in the frosting phase. I realized that a tiny shift in ingredients could spark a much bolder taste.
Brownie Base Prep And Ingredients
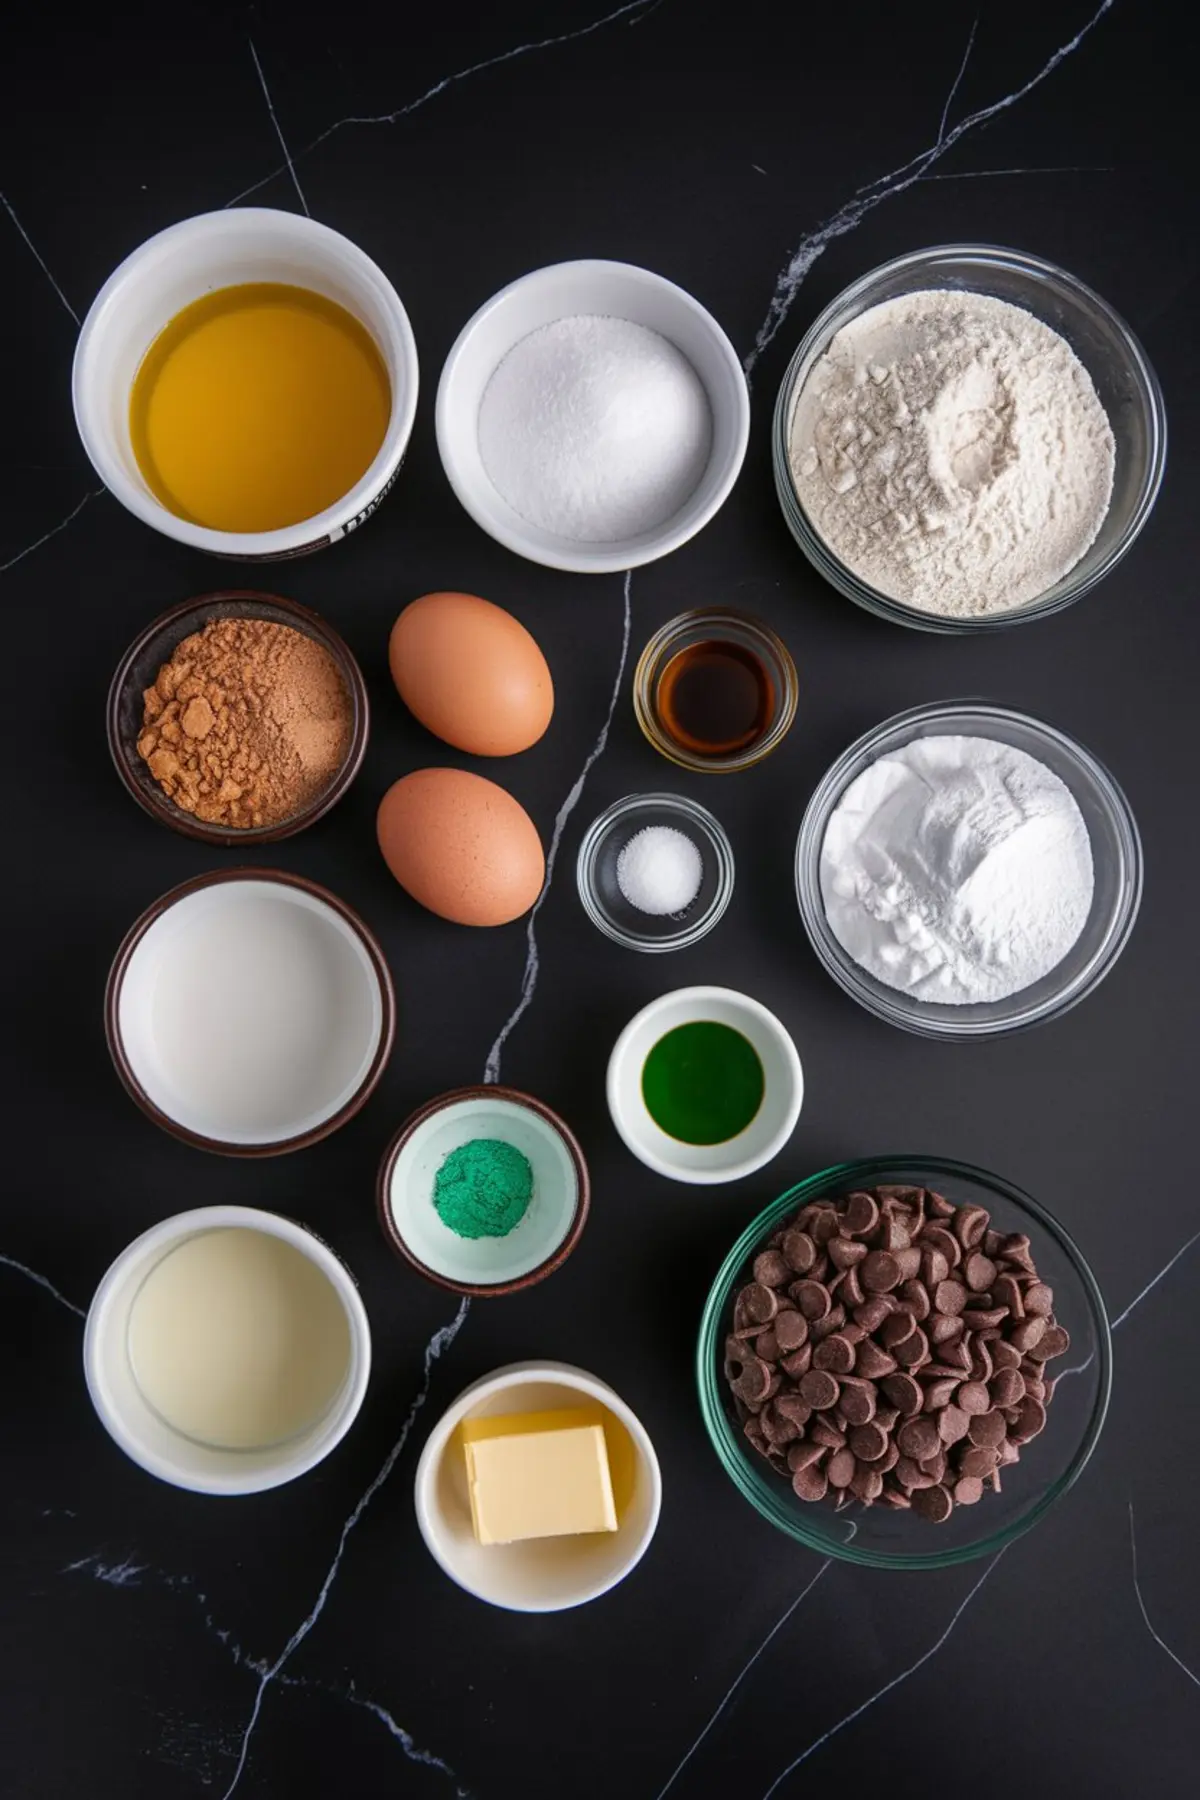
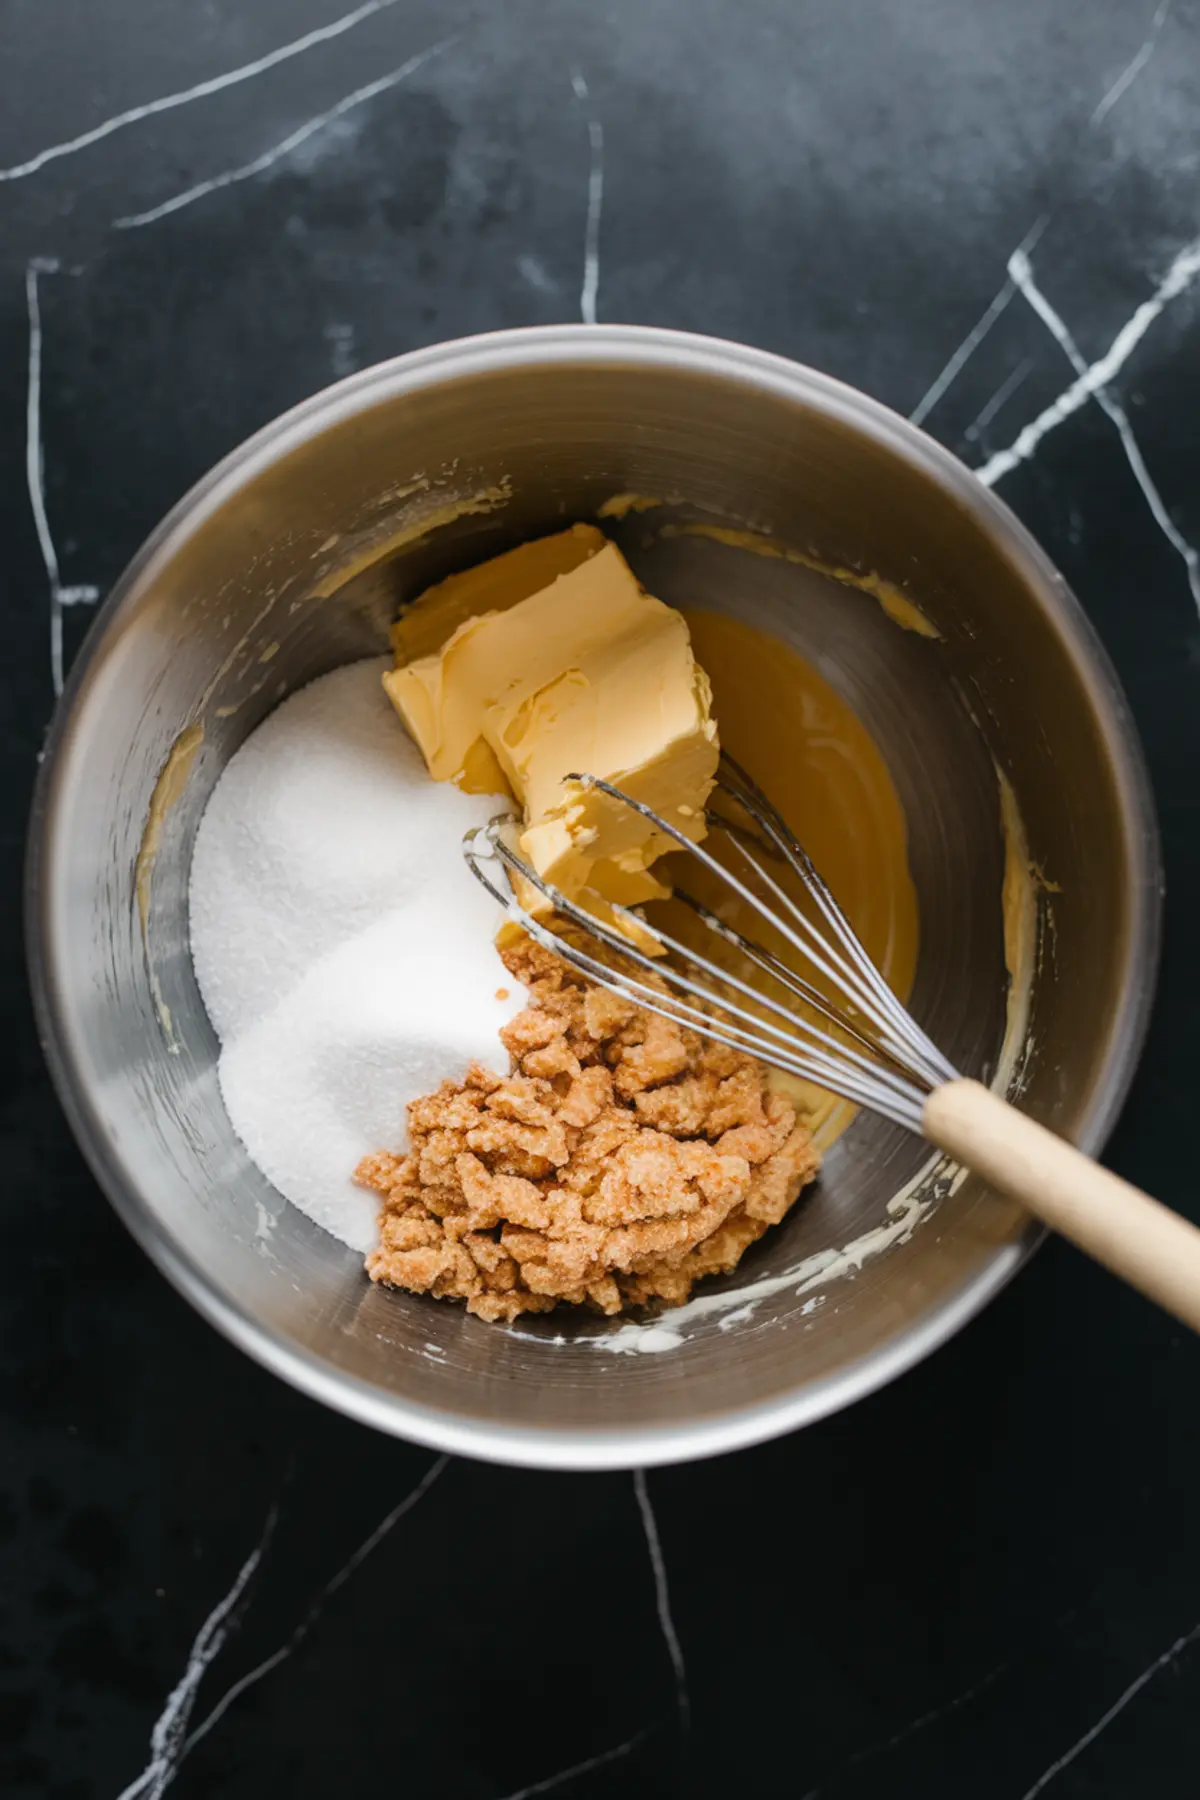
I always begin with the melted butter, which ensures that sugar dissolves more evenly. That step builds a dense and moist crumb in the final bake. The combination of granulated sugar and brown sugar brings a sweet finish that pairs with cocoa.
You can keep the recipe on track by measuring out flour, cocoa powder, salt, and baking powder in one bowl. Whisking these dry items together prevents lumps and helps them blend well later. Then you fold them into your wet mixture with care.
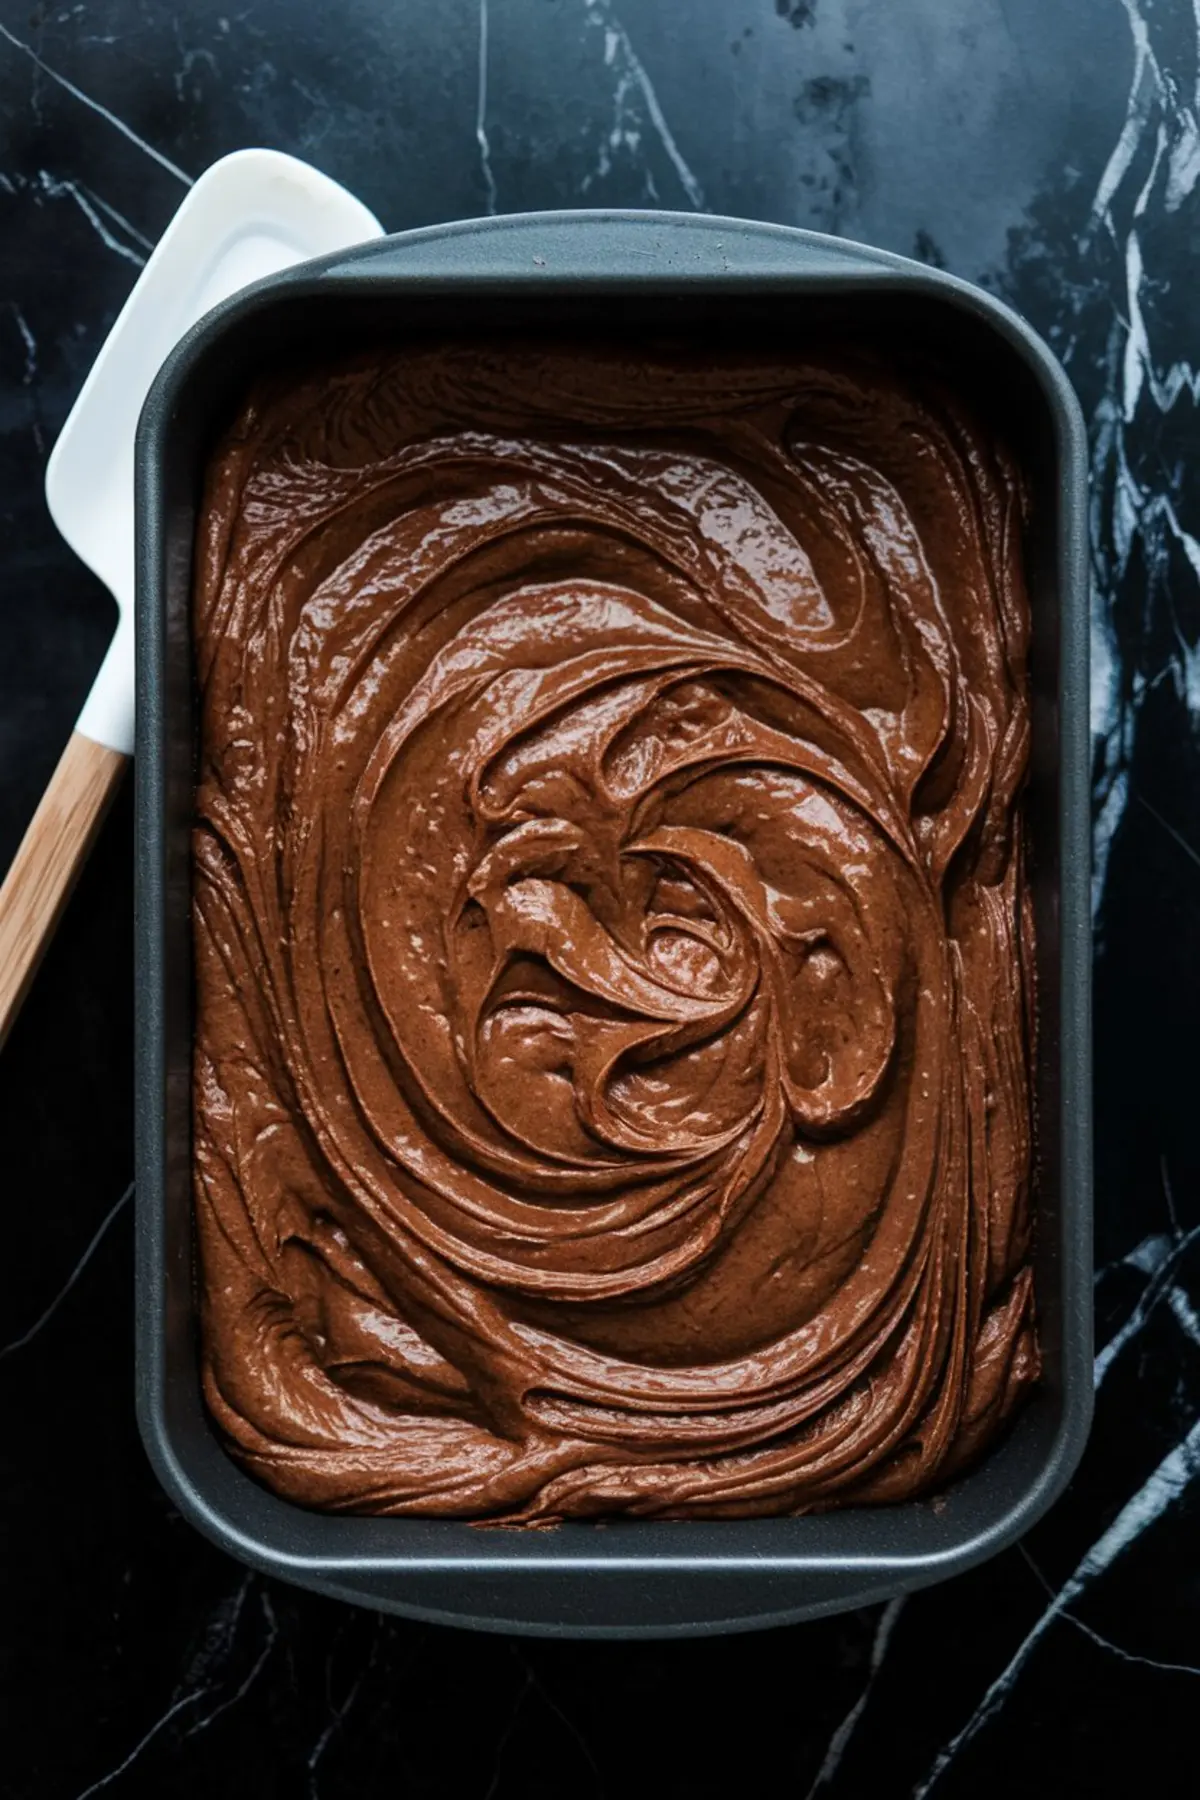
I beat the eggs into the sugar and butter mixture one by one. This approach keeps the batter smooth. I add vanilla extract, which lifts the entire taste profile.
Frosting Steps And Helpful Pointers
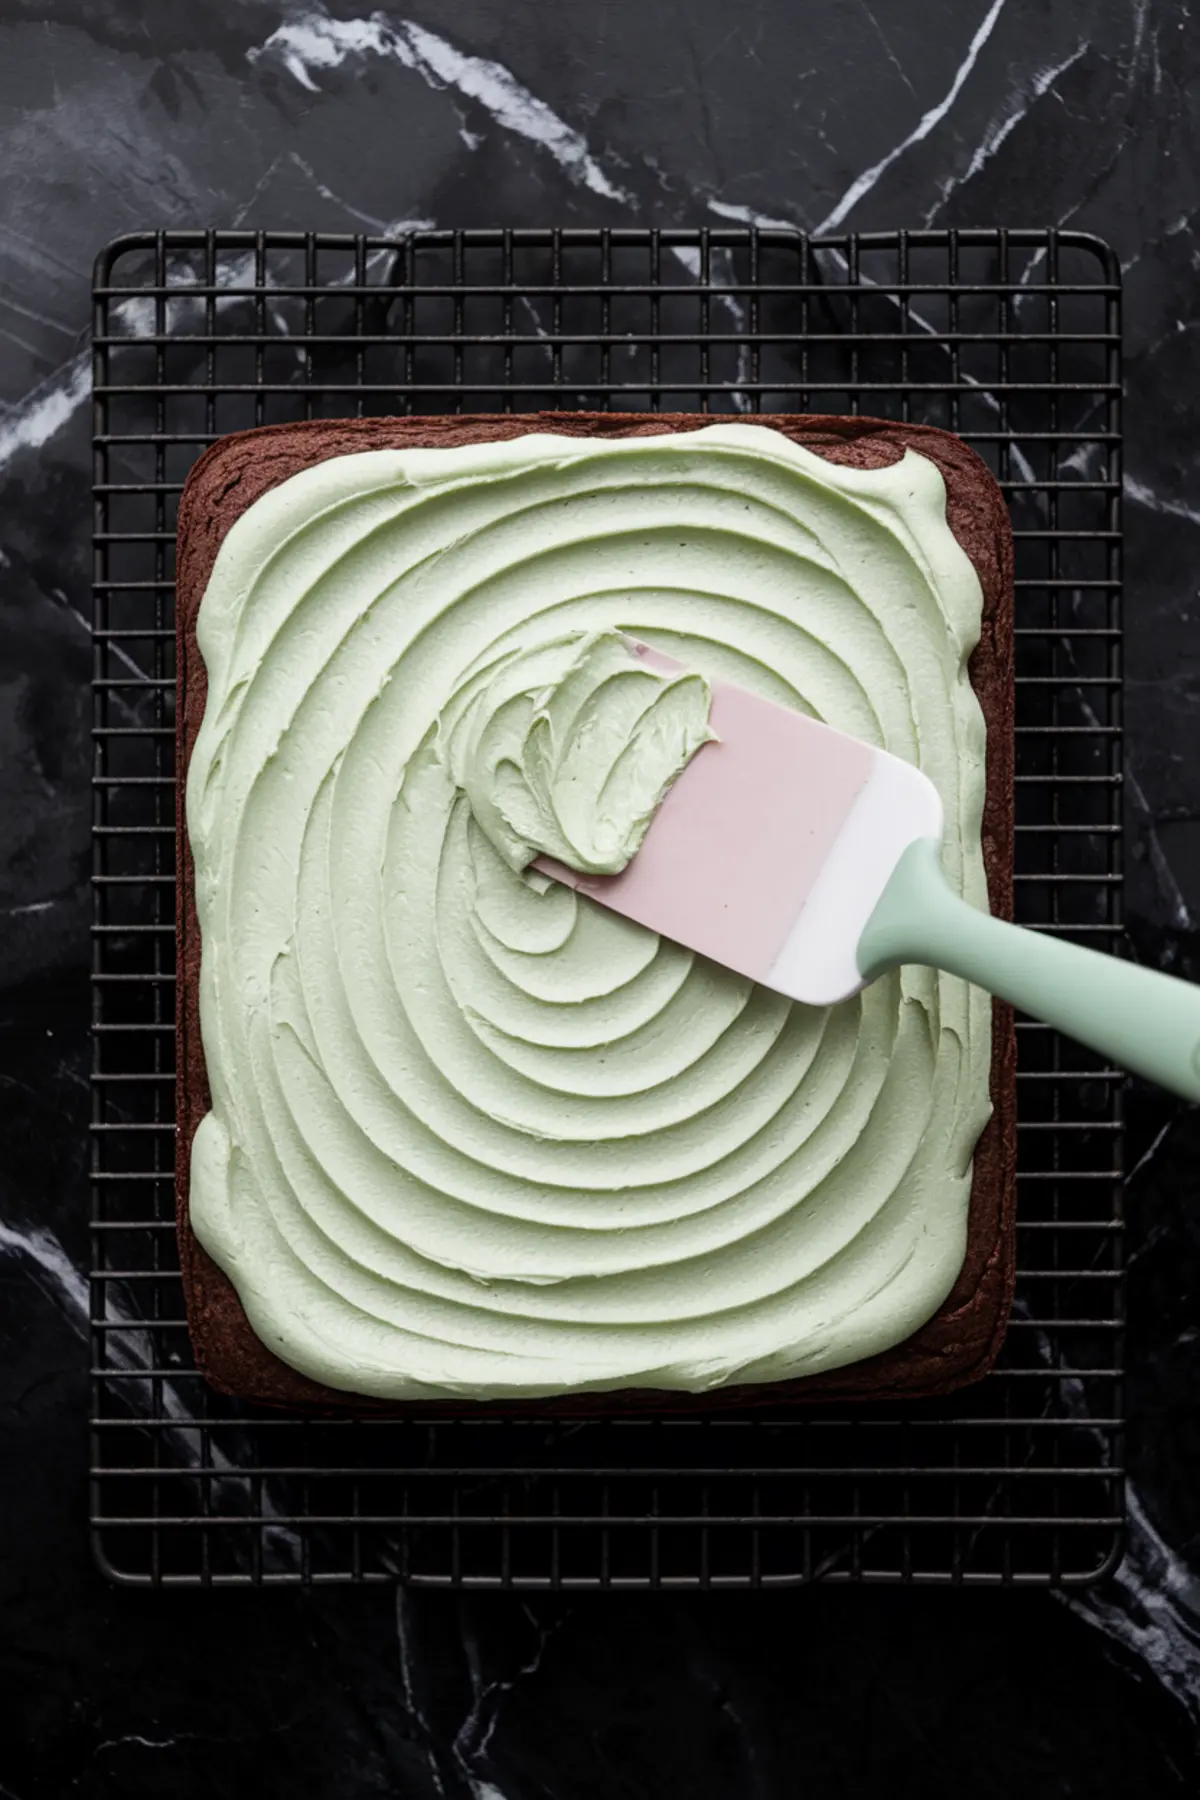
The brownies must cool fully before you tackle the mint frosting. That resting period allows the surface to set, avoiding any meltdown of the buttery layer. Patience can protect all the work you put in so far.
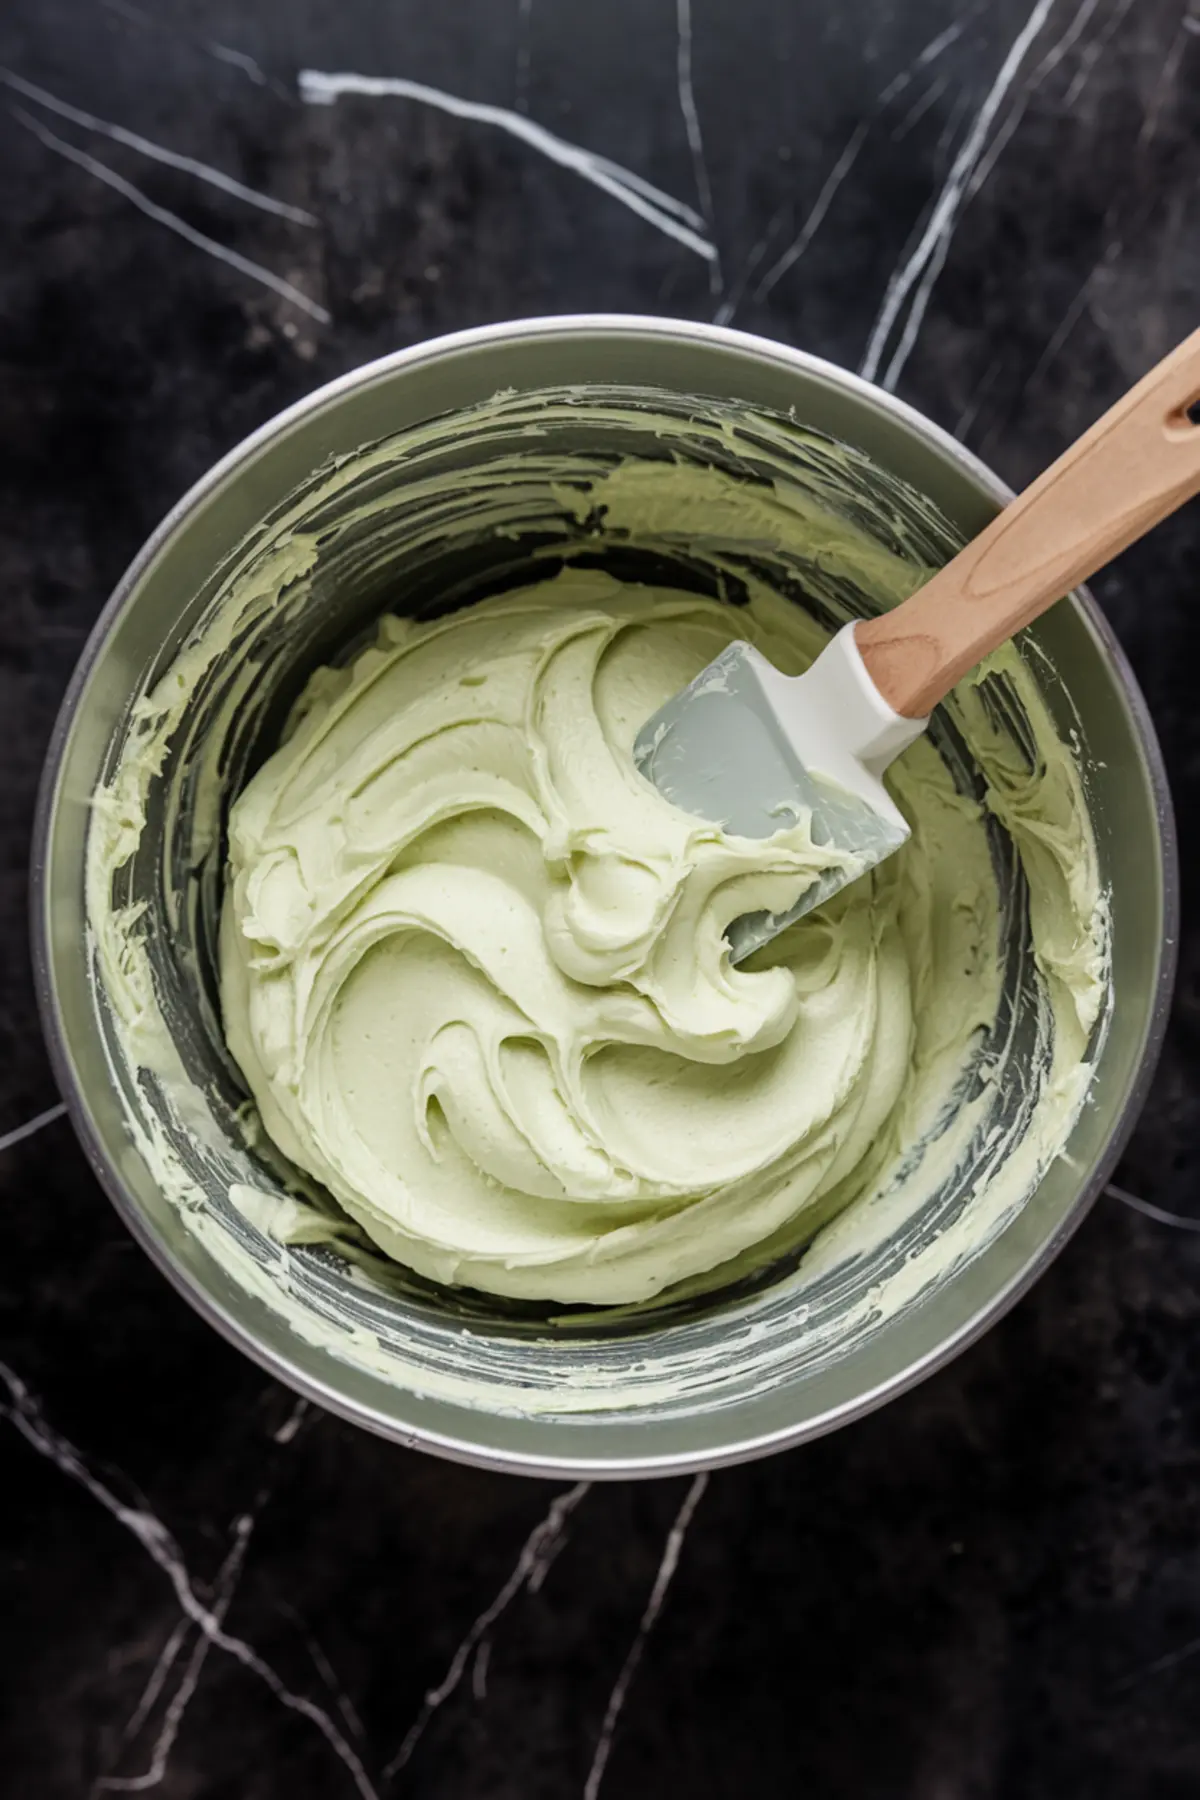
Creaming the softened butter and powdered sugar forms a thick base for the frosting. A quick drizzle of heavy cream loosens the texture. Peppermint extract provides the signature mint factor, and you can swirl in a bit of green color if you want.
I recall Whiskers craning his neck during this phase, possibly sensing a chilled breeze from the peppermint oils. He once tried to taste a small dab off the counter. That told me the aroma was quite tempting.
Ganache And Final Assembly
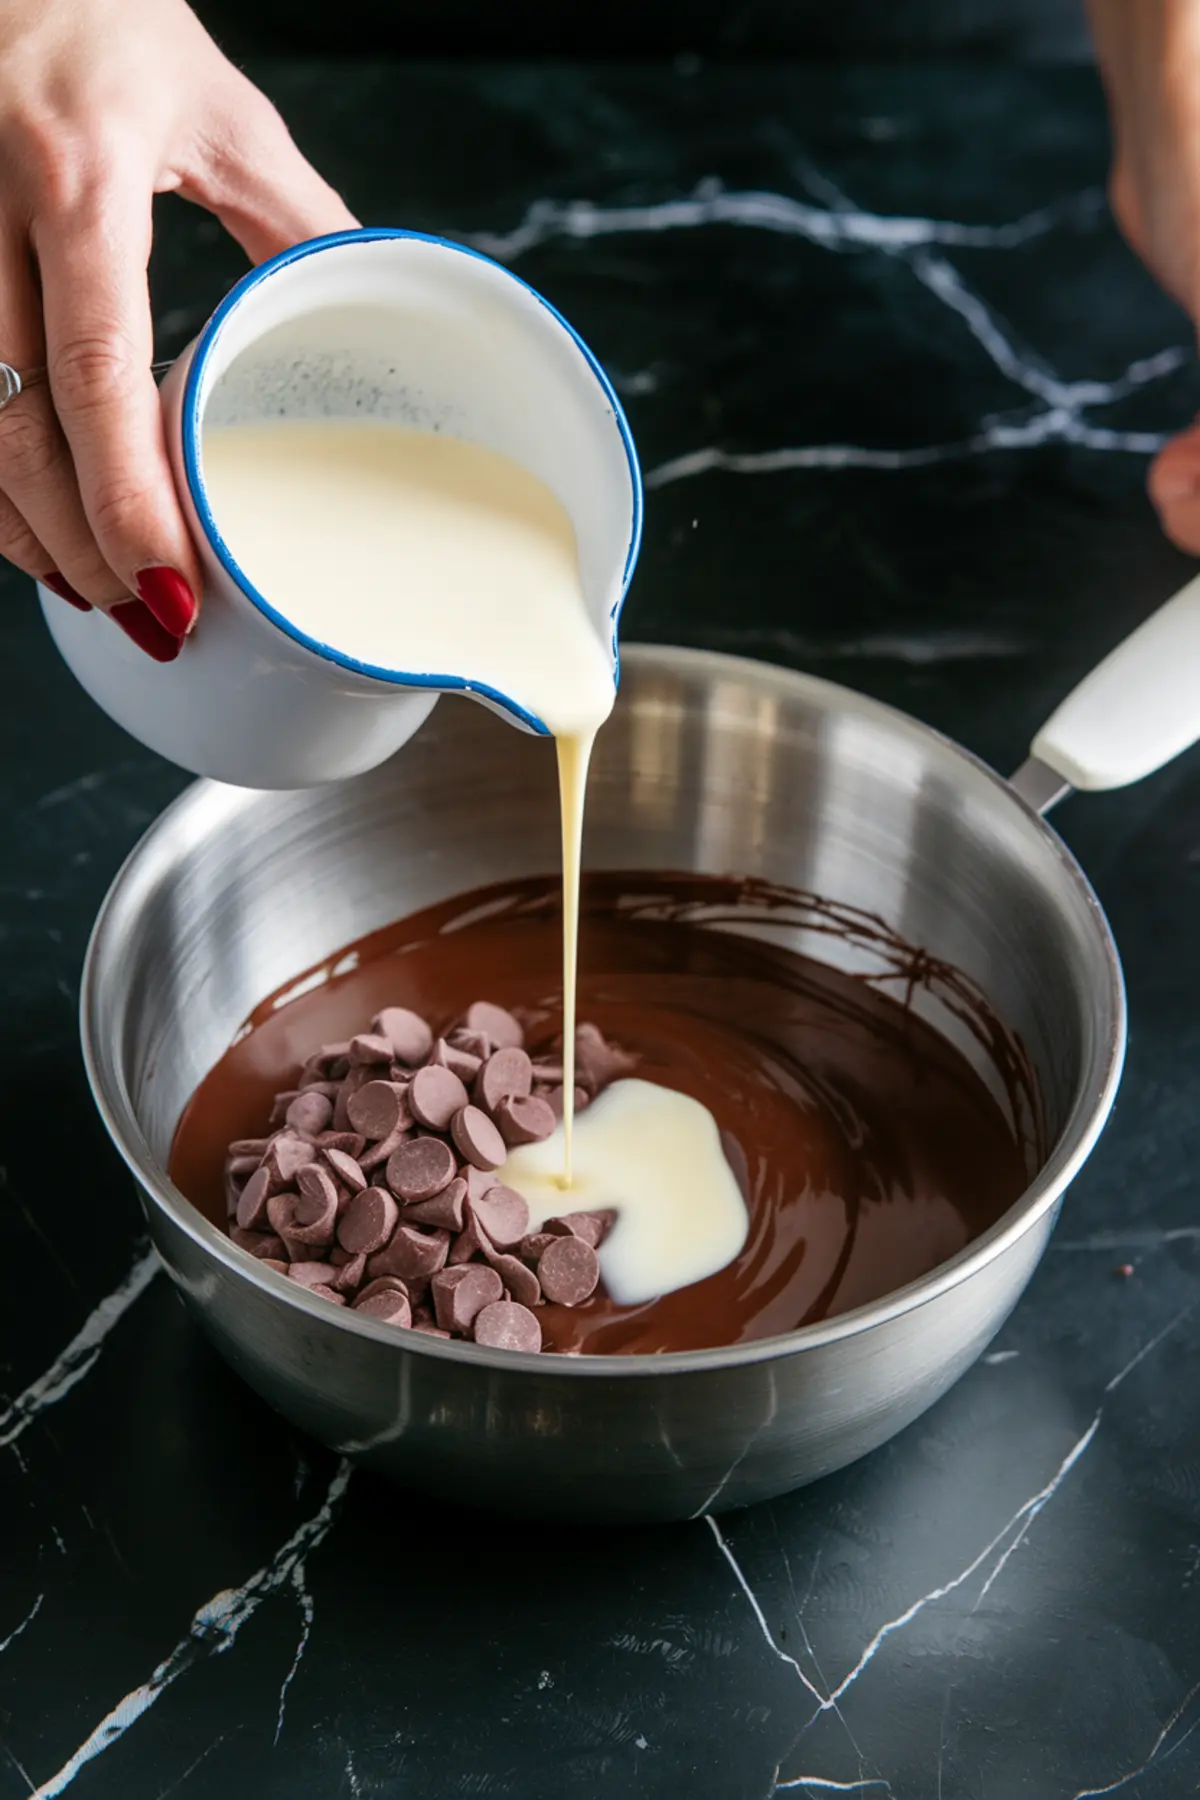
The ganache stage completes the dessert with a glossy topping. Warm heavy cream over low heat, then pour it over semi-sweet chocolate chips. A gentle stir transforms it into a smooth finish, especially after you add that spoonful of butter.
I find it crucial to let the ganache cool slightly before spreading it on the chilled mint layer. A few minutes can save you from streaks or lumps. I prefer a soft spatula, but a butter knife works fine too.
Once the brownies firm up in the refrigerator, you can cut them into squares for a clean presentation. Each layer will show a neat division of chocolate, mint, and shiny ganache. That visually pleases guests before they even take a bite.
The Dash Magic That Changes Everything
You might wonder about that unexpected dash of magic I hinted at earlier. My trick is a tiny pinch of espresso powder in the brownie batter. The quantity is too small to taste like coffee, yet it enriches the chocolate depth by a surprising margin.
I discovered this trick on a whim. I tossed in the powder after noticing a half-finished jar on my spice shelf. My first bite felt more balanced, as if the chocolate flavor broadened in subtle ways.
This secret addition rarely fails, especially if you have chocoholics in your life. A friend once said he sensed a bolder cocoa presence but could not detect the coffee. That gave me a small sense of pride, as if I had pulled off an artful illusion.
I trust you will enjoy every bite of these brownies. The mint layer lifts the fudge-like foundation, and the espresso pinch gives it a special spark. My final outcome is always a plate of squares that vanish sooner than expected.
Closing Notes
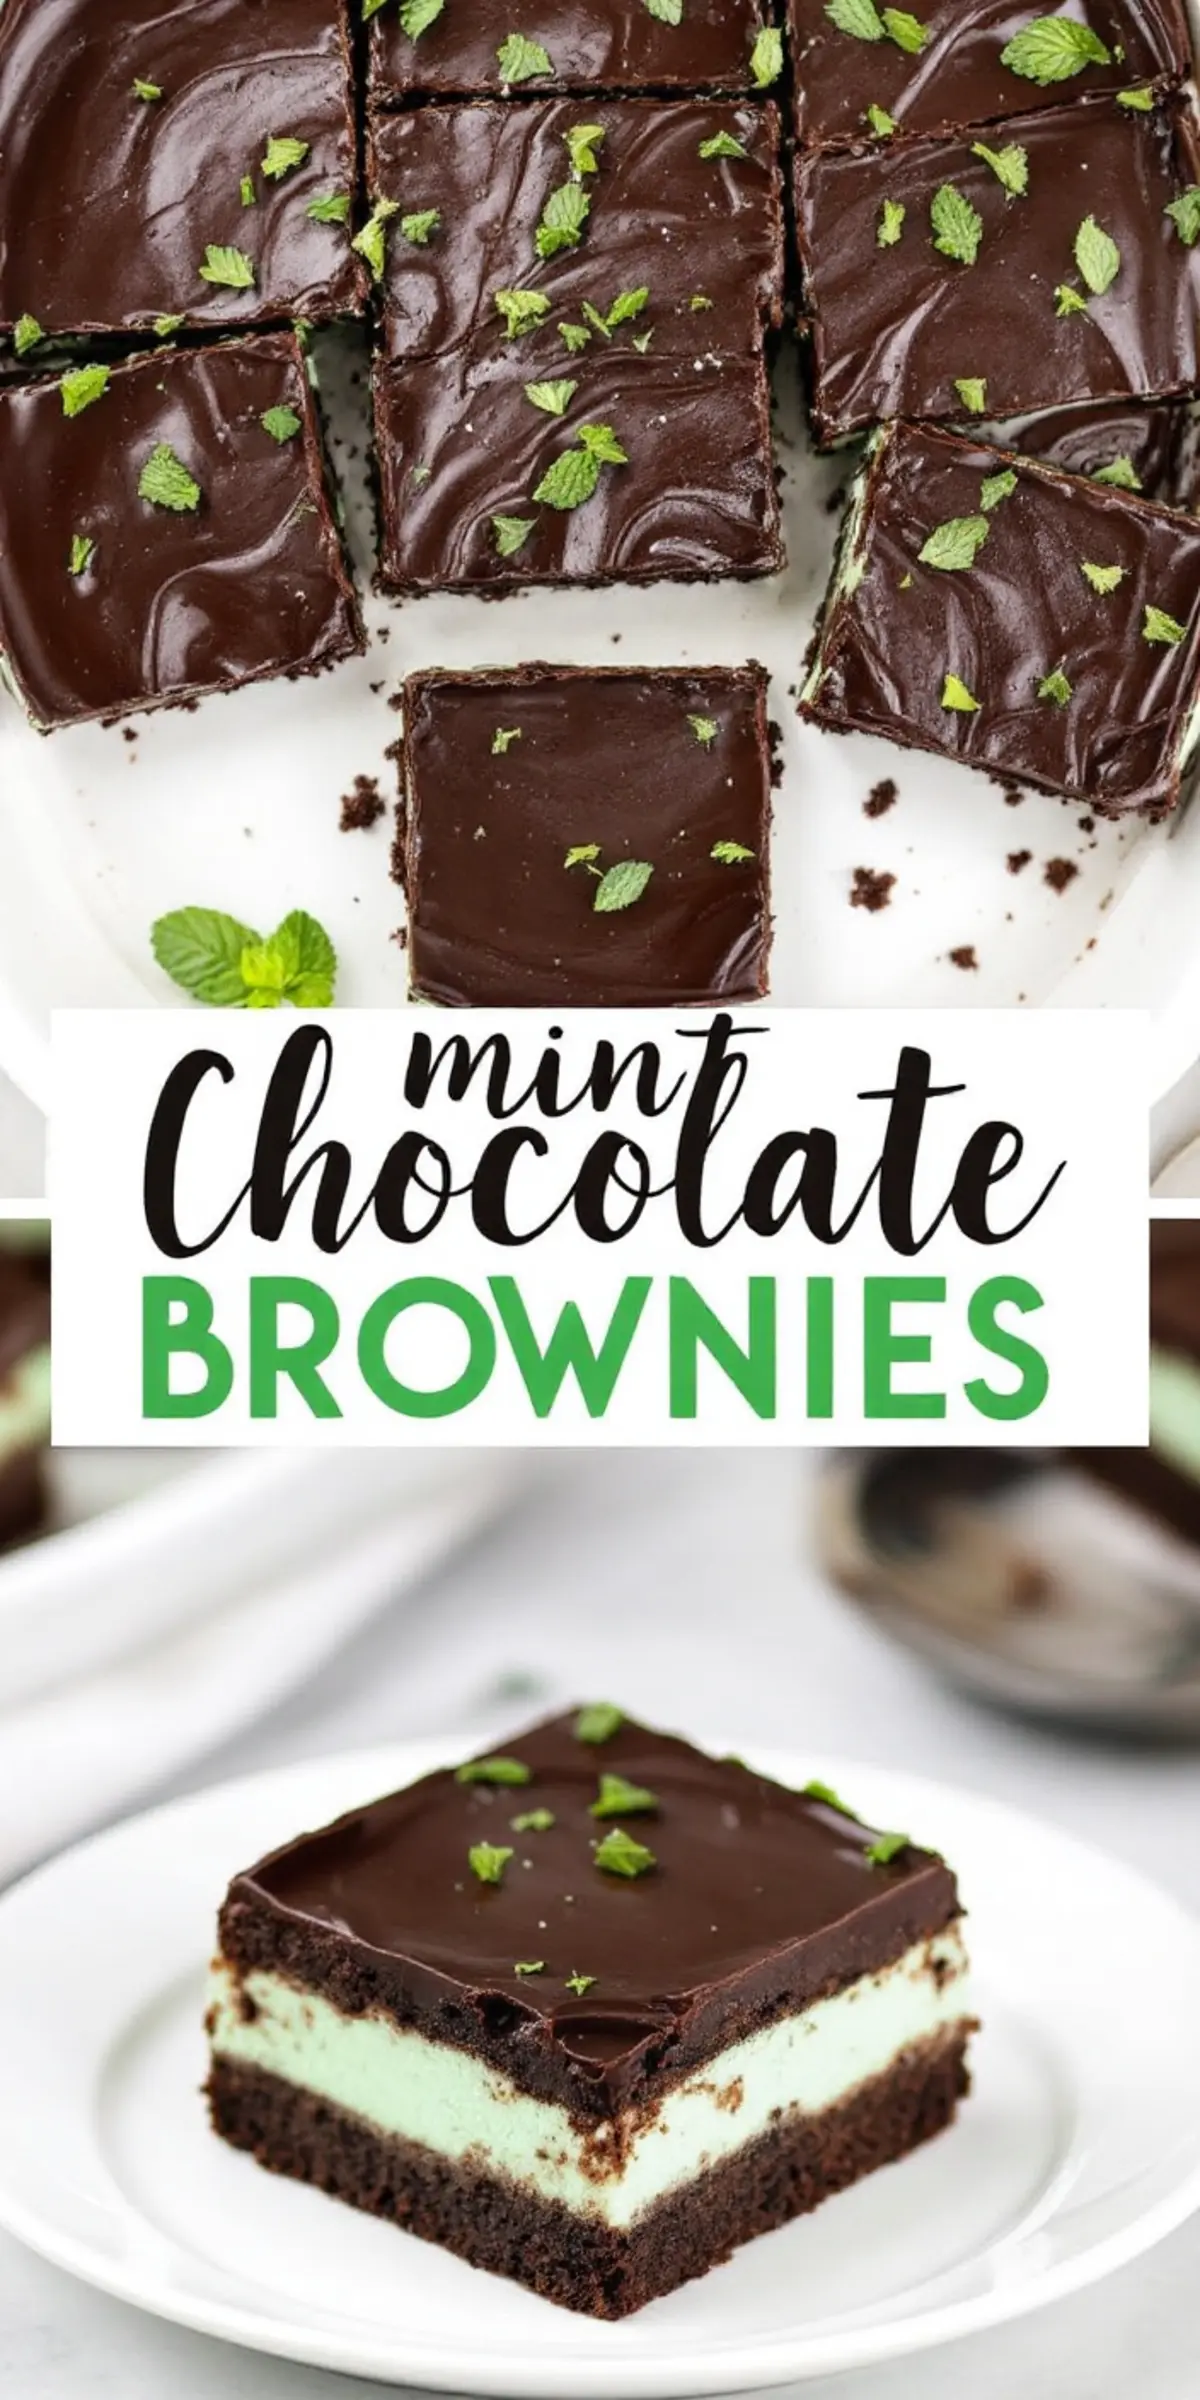
Thank you for letting me share this layered brownie journey. Feel free to pin this recipe for future reference and keep it handy on your boards. Do you feel ready to try it out?
I enjoy hearing about different experiences. Please drop a comment about how yours turned out or if you want a few extra tips. Readers often discover clever ways to improvise, and I love seeing how creative minds work.
These brownies blend chocolate and mint in a way that remains straightforward for beginners. I hope your tray emerges from the oven with a thick, fudgy base and a refreshing top. My best advice is to cut them once everything sets, so your squares look neat and stay firm.
Your feedback drives more tasty ideas on this blog. Let us know if you have suggestions or adjustments that brought out an unexpected flavor. Our table grows richer with every shared story.
More Chocolate Dessert Ideas:
Blackberry Cheesecake Brownies
Mint Chocolate Brownies Recipe
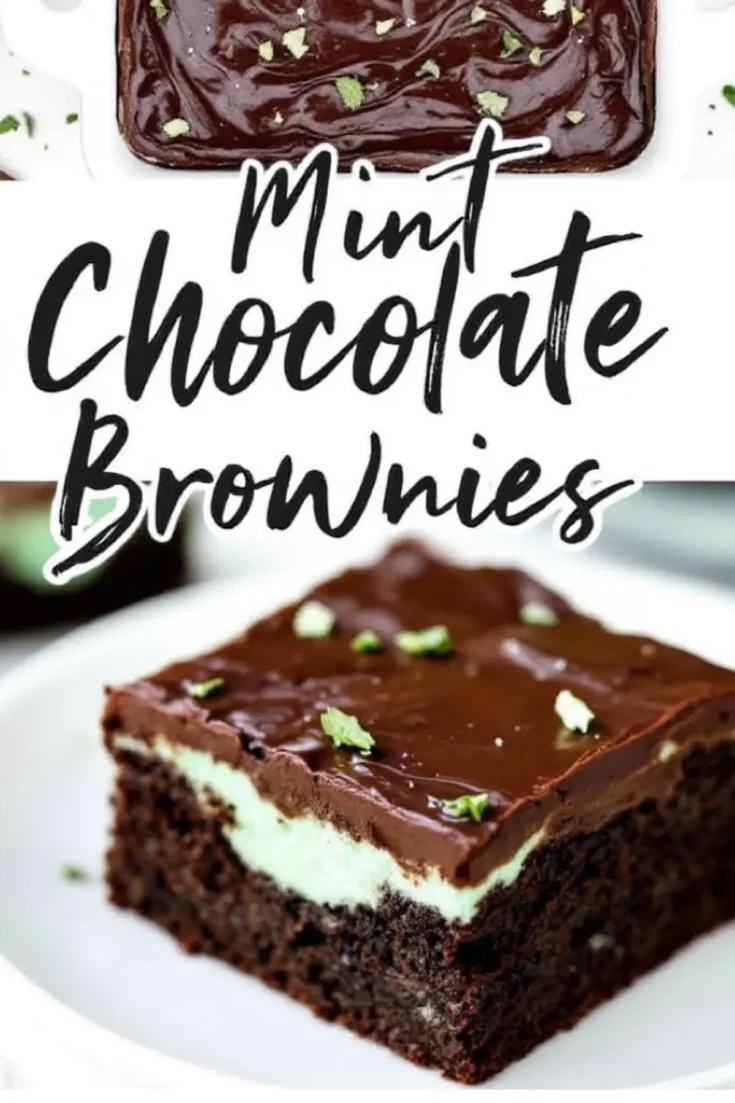
Rich brownies with a cool mint frosting and smooth chocolate ganache topping. This layered bar dessert brings together fudgy chocolate and refreshing peppermint for a classic combination in an easy-to-serve format.
Ingredients
- FOR THE BROWNIE BASE
- 1 cup (2 sticks) unsalted butter, melted
- 1 ½ cups granulated sugar
- 1 cup brown sugar
- 4 large eggs
- 1 tablespoon vanilla extract
- 1 cup all-purpose flour
- ½ cup unsweetened cocoa powder
- ½ teaspoon salt
- ½ teaspoon baking powder
- FOR THE MINT LAYER
- ½ cup unsalted butter, softened
- 2 cups powdered sugar
- 2 tablespoons heavy cream
- 1 teaspoon peppermint extract
- 2–3 drops green food coloring (optional)
- FOR THE CHOCOLATE GANACHE
- 1 cup semi-sweet chocolate chips
- ½ cup heavy cream
- 1 tablespoon unsalted butter
Instructions
- PREPARE THE BROWNIE BASE: Preheat the oven to 350°F (175°C). Grease a 9x13-inch baking dish and line it with parchment paper, allowing some overhang for easy lifting later.
- MIX THE BATTER: In a large mixing bowl, whisk together the melted butter, granulated sugar, and brown sugar until smooth. Add the eggs one at a time, mixing well after each addition. Stir in the vanilla extract.
- ADD DRY INGREDIENTS: In a separate bowl, sift together the flour, cocoa powder, salt, and baking powder. Gradually stir the dry mixture into the wet mixture until fully combined. The batter should be thick and glossy.
- BAKE THE BROWNIES: Spread the batter evenly in the prepared baking dish. Bake for 25–30 minutes, or until a toothpick inserted into the center comes out with a few moist crumbs. Let the brownies cool completely in the pan before proceeding.
- MAKE THE MINT LAYER: While the brownies cool, beat the softened butter in a medium bowl until smooth. Add the powdered sugar and mix until well blended. Add the heavy cream, peppermint extract, and green food coloring if using. Beat until the mixture is smooth, thick, and spreadable.
- SPREAD MINT LAYER: Once the brownie layer is completely cool, spread the mint layer evenly over the top using an offset spatula. Refrigerate for 15–20 minutes to allow the layer to firm up.
- PREPARE THE GANACHE: In a small saucepan, heat the heavy cream over low heat until it just begins to simmer. Pour it over the chocolate chips in a heatproof bowl and let sit for 2 minutes. Stir until smooth and glossy. Add the butter and stir until fully melted and incorporated.
- ADD THE GANACHE: Let the ganache cool slightly, then pour it over the chilled mint layer. Spread evenly with a spatula. Return the pan to the refrigerator for at least 30 minutes to allow the ganache to set fully.
- SLICE AND SERVE: Once chilled and firm, lift the brownies out of the pan using the parchment overhang. Cut into 16 even squares using a sharp knife, wiping the blade clean between cuts for neat layers.
Notes
For the best results, allow each layer to fully cool or firm before adding the next. The brownie base must be completely cool before spreading the mint layer to prevent melting or separation. After applying the mint layer, a brief chill helps it set, making it easier to spread the ganache without mixing the layers.
When making the ganache, use high-quality semi-sweet chocolate chips or chopped chocolate for a smoother, more flavorful finish. Be sure to let the heated cream sit with the chocolate for a minute or two before stirring to help it melt evenly. Stir gently to avoid incorporating too much air, which can create bubbles on the surface of the ganache.
To achieve clean, defined layers when cutting, use a long, sharp knife and wipe the blade with a warm, damp cloth between slices. This prevents buildup from smudging the layers and keeps the presentation sharp.
These brownies are rich and flavorful, so smaller portions can be satisfying. You can cut them into 16 large squares or 24 smaller ones for bite-sized servings at parties or gatherings.
Store brownies in an airtight container in the refrigerator for up to 5 days. For the best texture, let them sit at room temperature for about 10–15 minutes before serving. You can also freeze them for up to 2 months; wrap individual pieces tightly in plastic wrap and place them in a freezer-safe container. Thaw overnight in the refrigerator before serving.
Nutrition Information:
Yield:
16Serving Size:
1Amount Per Serving: Calories: 394Total Fat: 16gSaturated Fat: 9gTrans Fat: 0gUnsaturated Fat: 6gCholesterol: 78mgSodium: 125mgCarbohydrates: 61gFiber: 1gSugar: 50gProtein: 4g
