
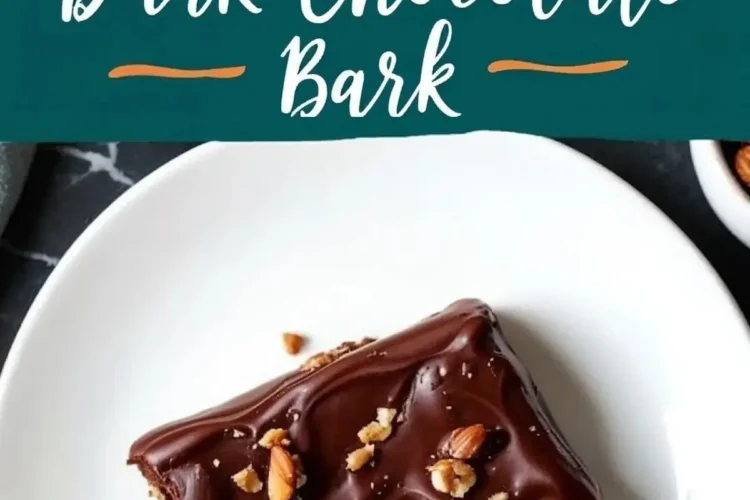
I first tasted this dark chocolate bark on a lazy Sunday afternoon, right after my neighbor had gifted a small box of it. The flavor hit me with a bold cocoa punch, followed by a delightful nutty crunch. My eyes grew wide, and I knew I would replicate that magic in my own kitchen. My cat, Whiskers, meowed with confusion as I stood there, smitten.
His puzzled stare made the moment funnier. I have chased that taste ever since, and now I am sharing my version of this bark with you. There is one interesting ingredient that gives it a boost, but let’s hold that thought for a moment.
Personal Connections With This Special Dessert
I enjoy new recipes because each one carries a memory. Chocolate treats have always brought me comfort. Friends and family flock to the table the moment they spot fresh bark on my counter.
My aunt Marian introduced me to quality cocoa products many years ago. Her guidance remains in my heart, and I remember her each time I grab the Golden Spoon she left me. This spoon looks humble, but it has stirred countless recipes in my kitchen. My Pin Notebook also stays close by, holding notes and scribbles about small changes and odd experiments that I love testing out. That notebook has turned into a beloved companion for my cooking sessions.
Gathering Flavors And Texture
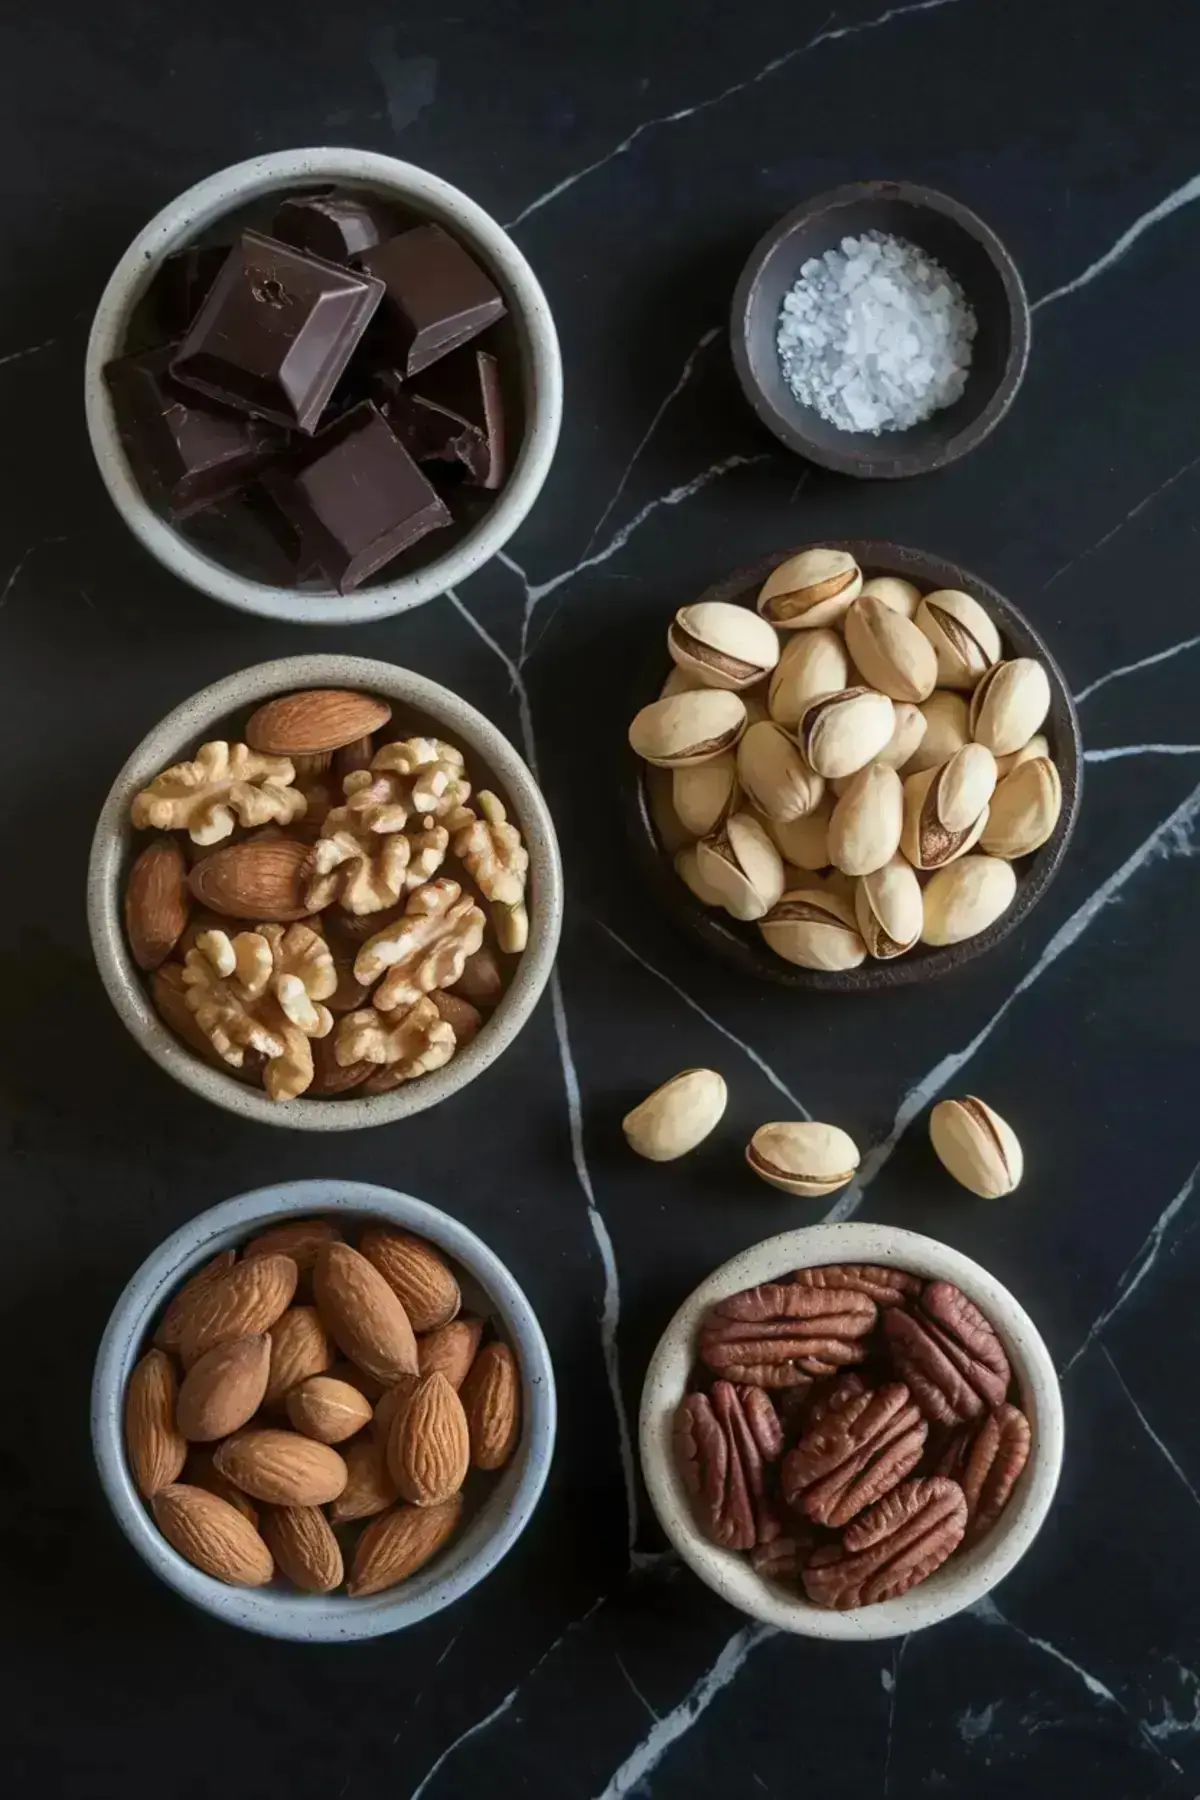
I appreciate the convenience of dark chocolate bark. The approach is straightforward: melted dark chocolate forms the base, while roasted nuts add satisfying crunch. Many folks go with almonds, walnuts, or hazelnuts, though pistachios bring a dash of vibrant color. Dried cranberries or orange zest add brightness. Shredded coconut can offer a subtle sweetness that contrasts with the slight bitterness of dark chocolate. A pinch of sea salt enhances the taste. High-quality dark chocolate is always important, and I look for something with at least 70% cocoa content. This choice creates a richer, more pronounced flavor in every bite.
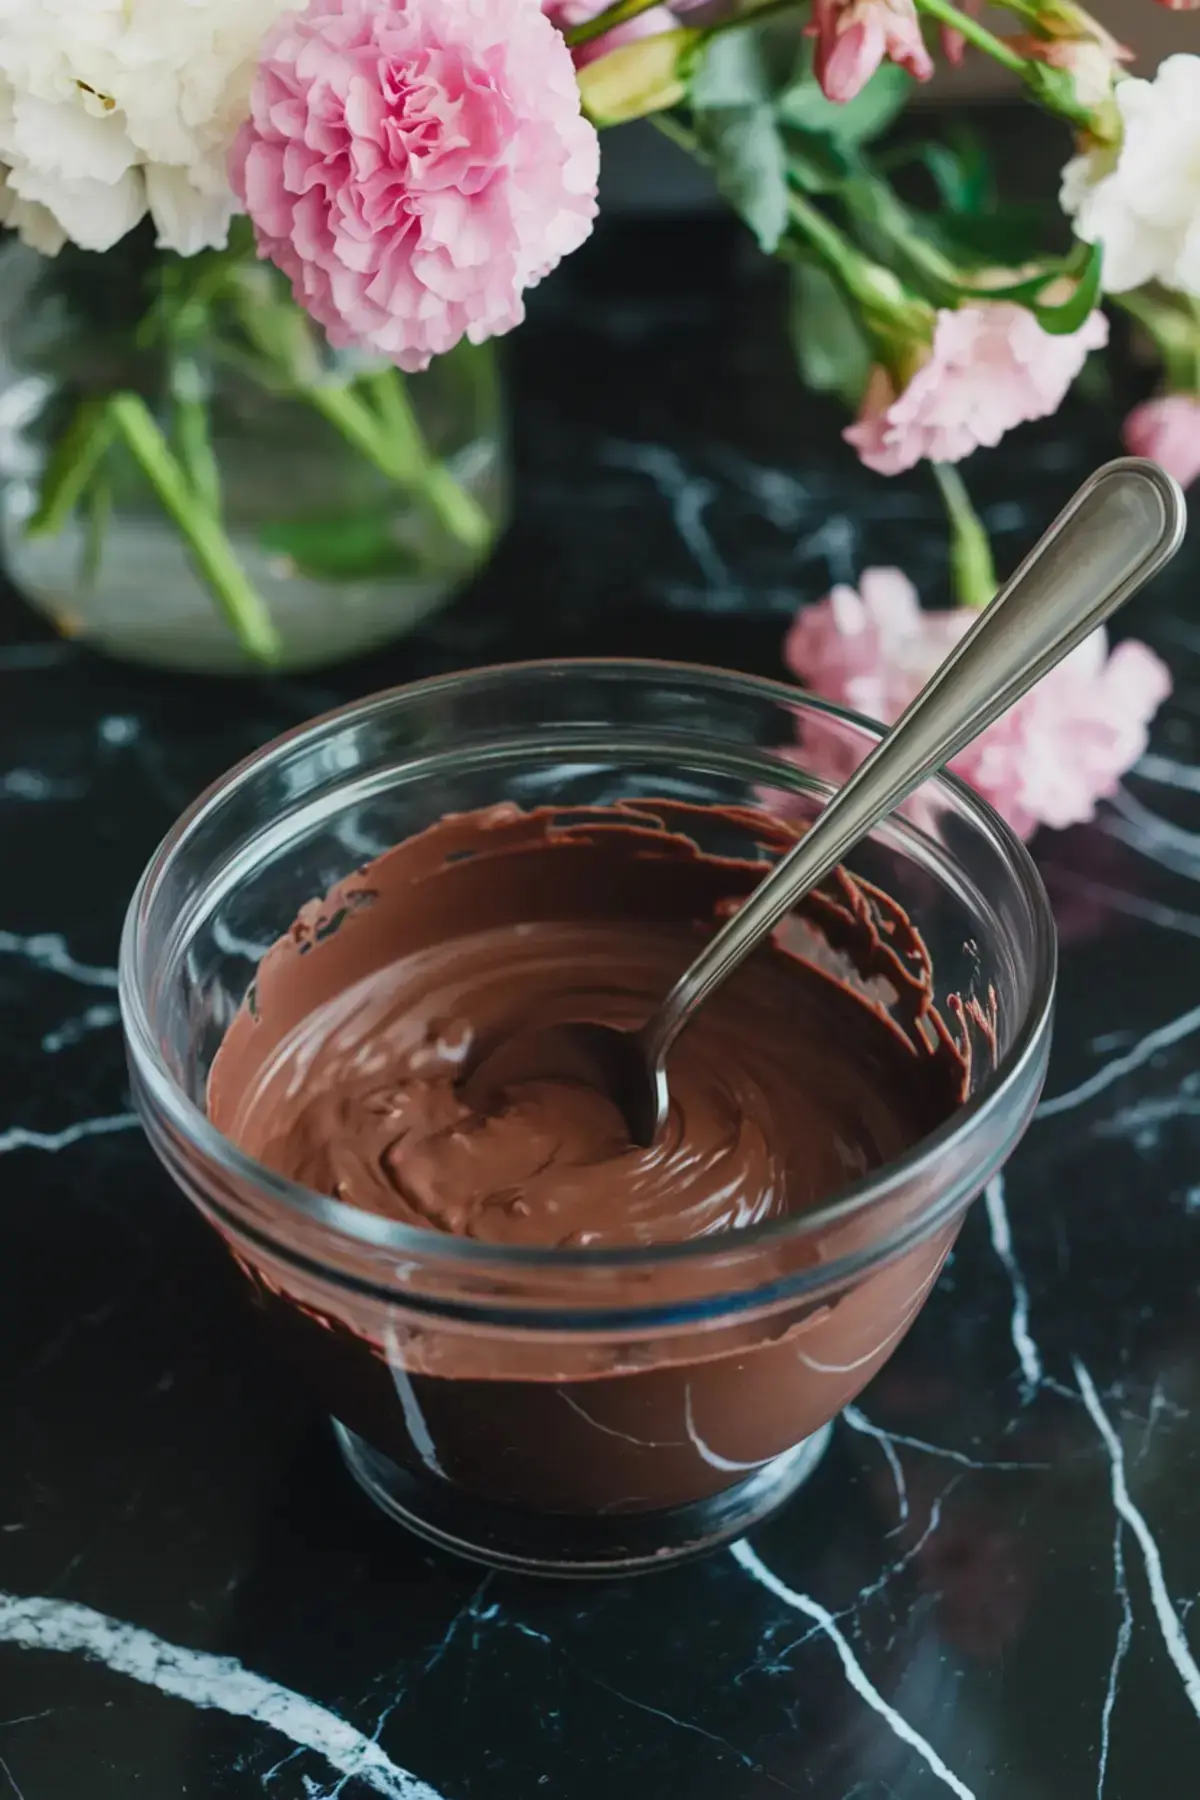
Dark chocolate melts smoothly when heated with care. Small chunks or chips work best because they melt faster and more evenly. Patience matters here. Stirring helps achieve a glossy texture without scorching the chocolate. A double boiler technique protects it from sudden temperature spikes. A microwave can also do the job in short bursts, with frequent pauses for stirring. Roasting the nuts before adding them is another step that boosts taste and aroma. An oven set to 350°F is perfect for that. A short time inside the oven is all you need. The moment the nuts grow fragrant, the roast is ready.
Laying Out The Layers
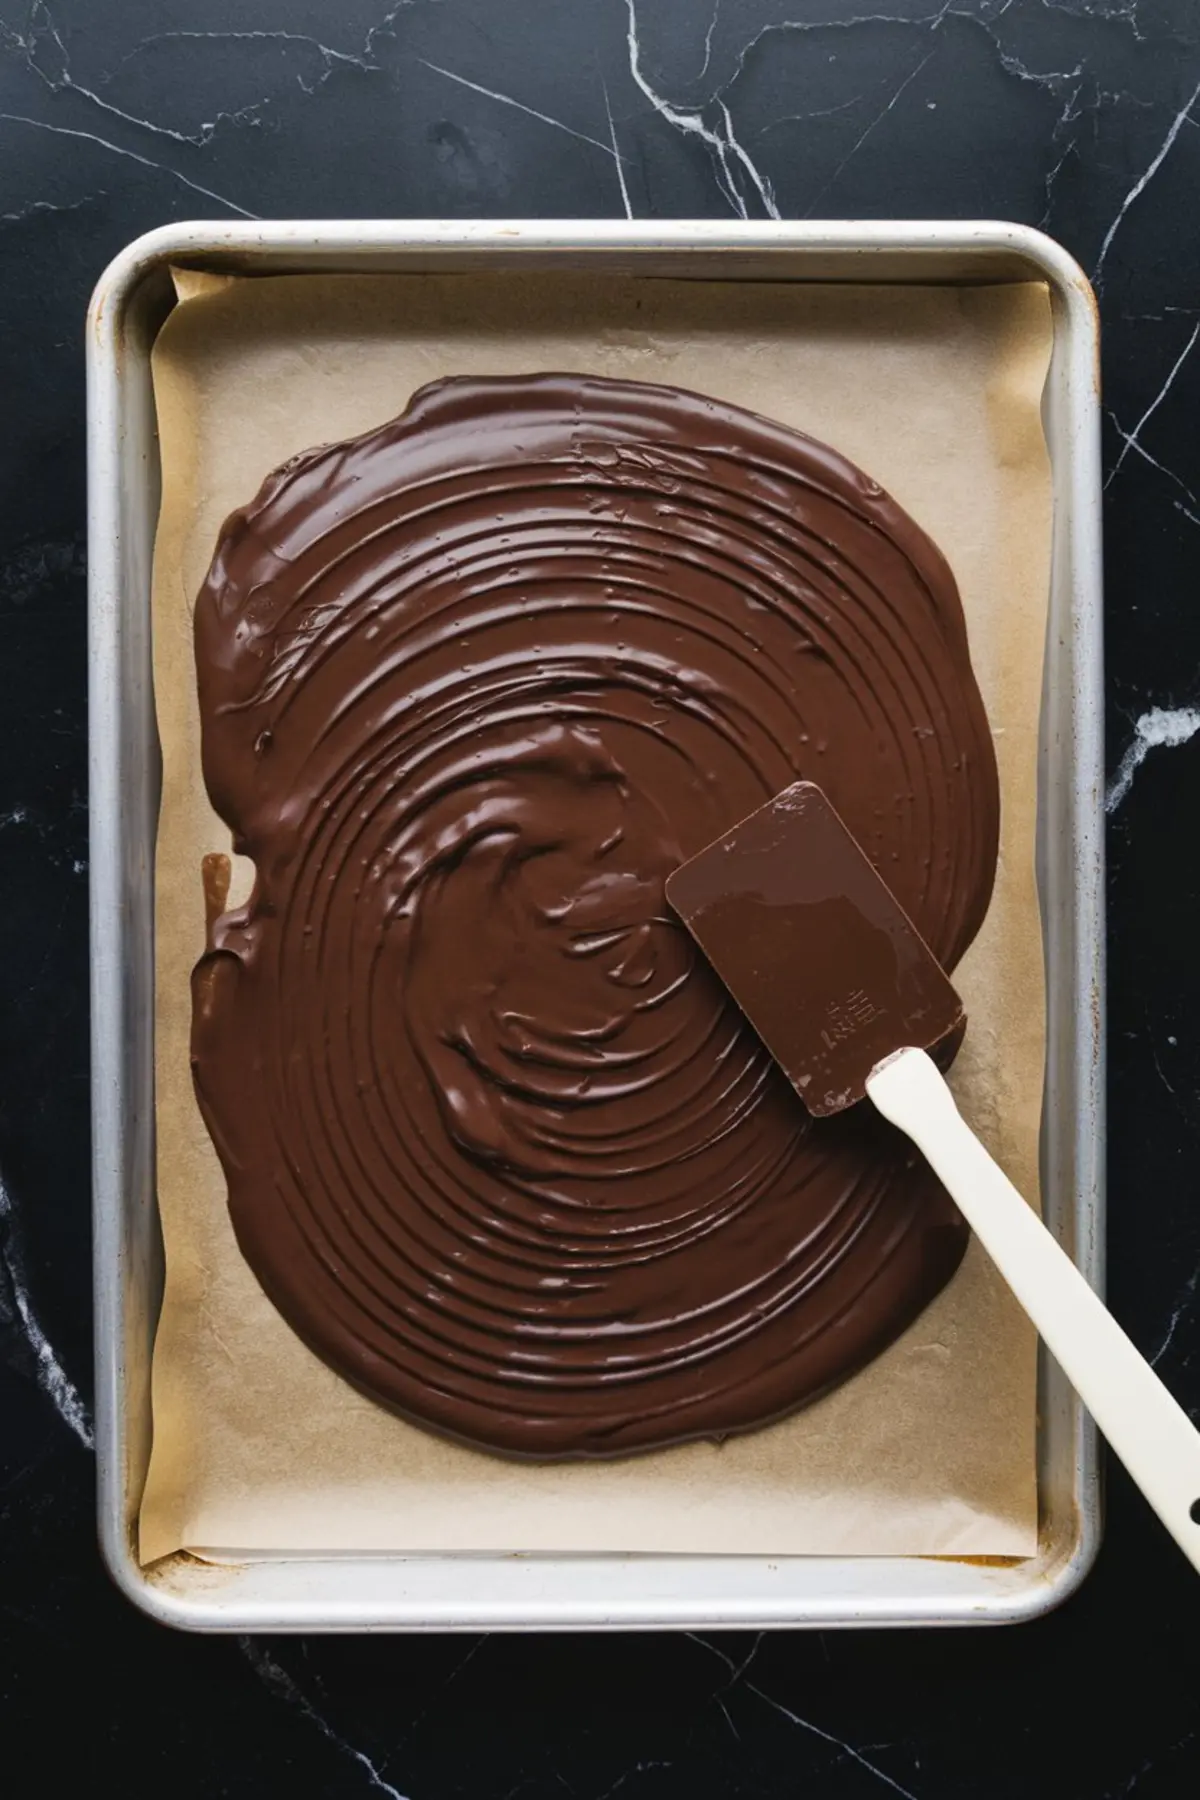
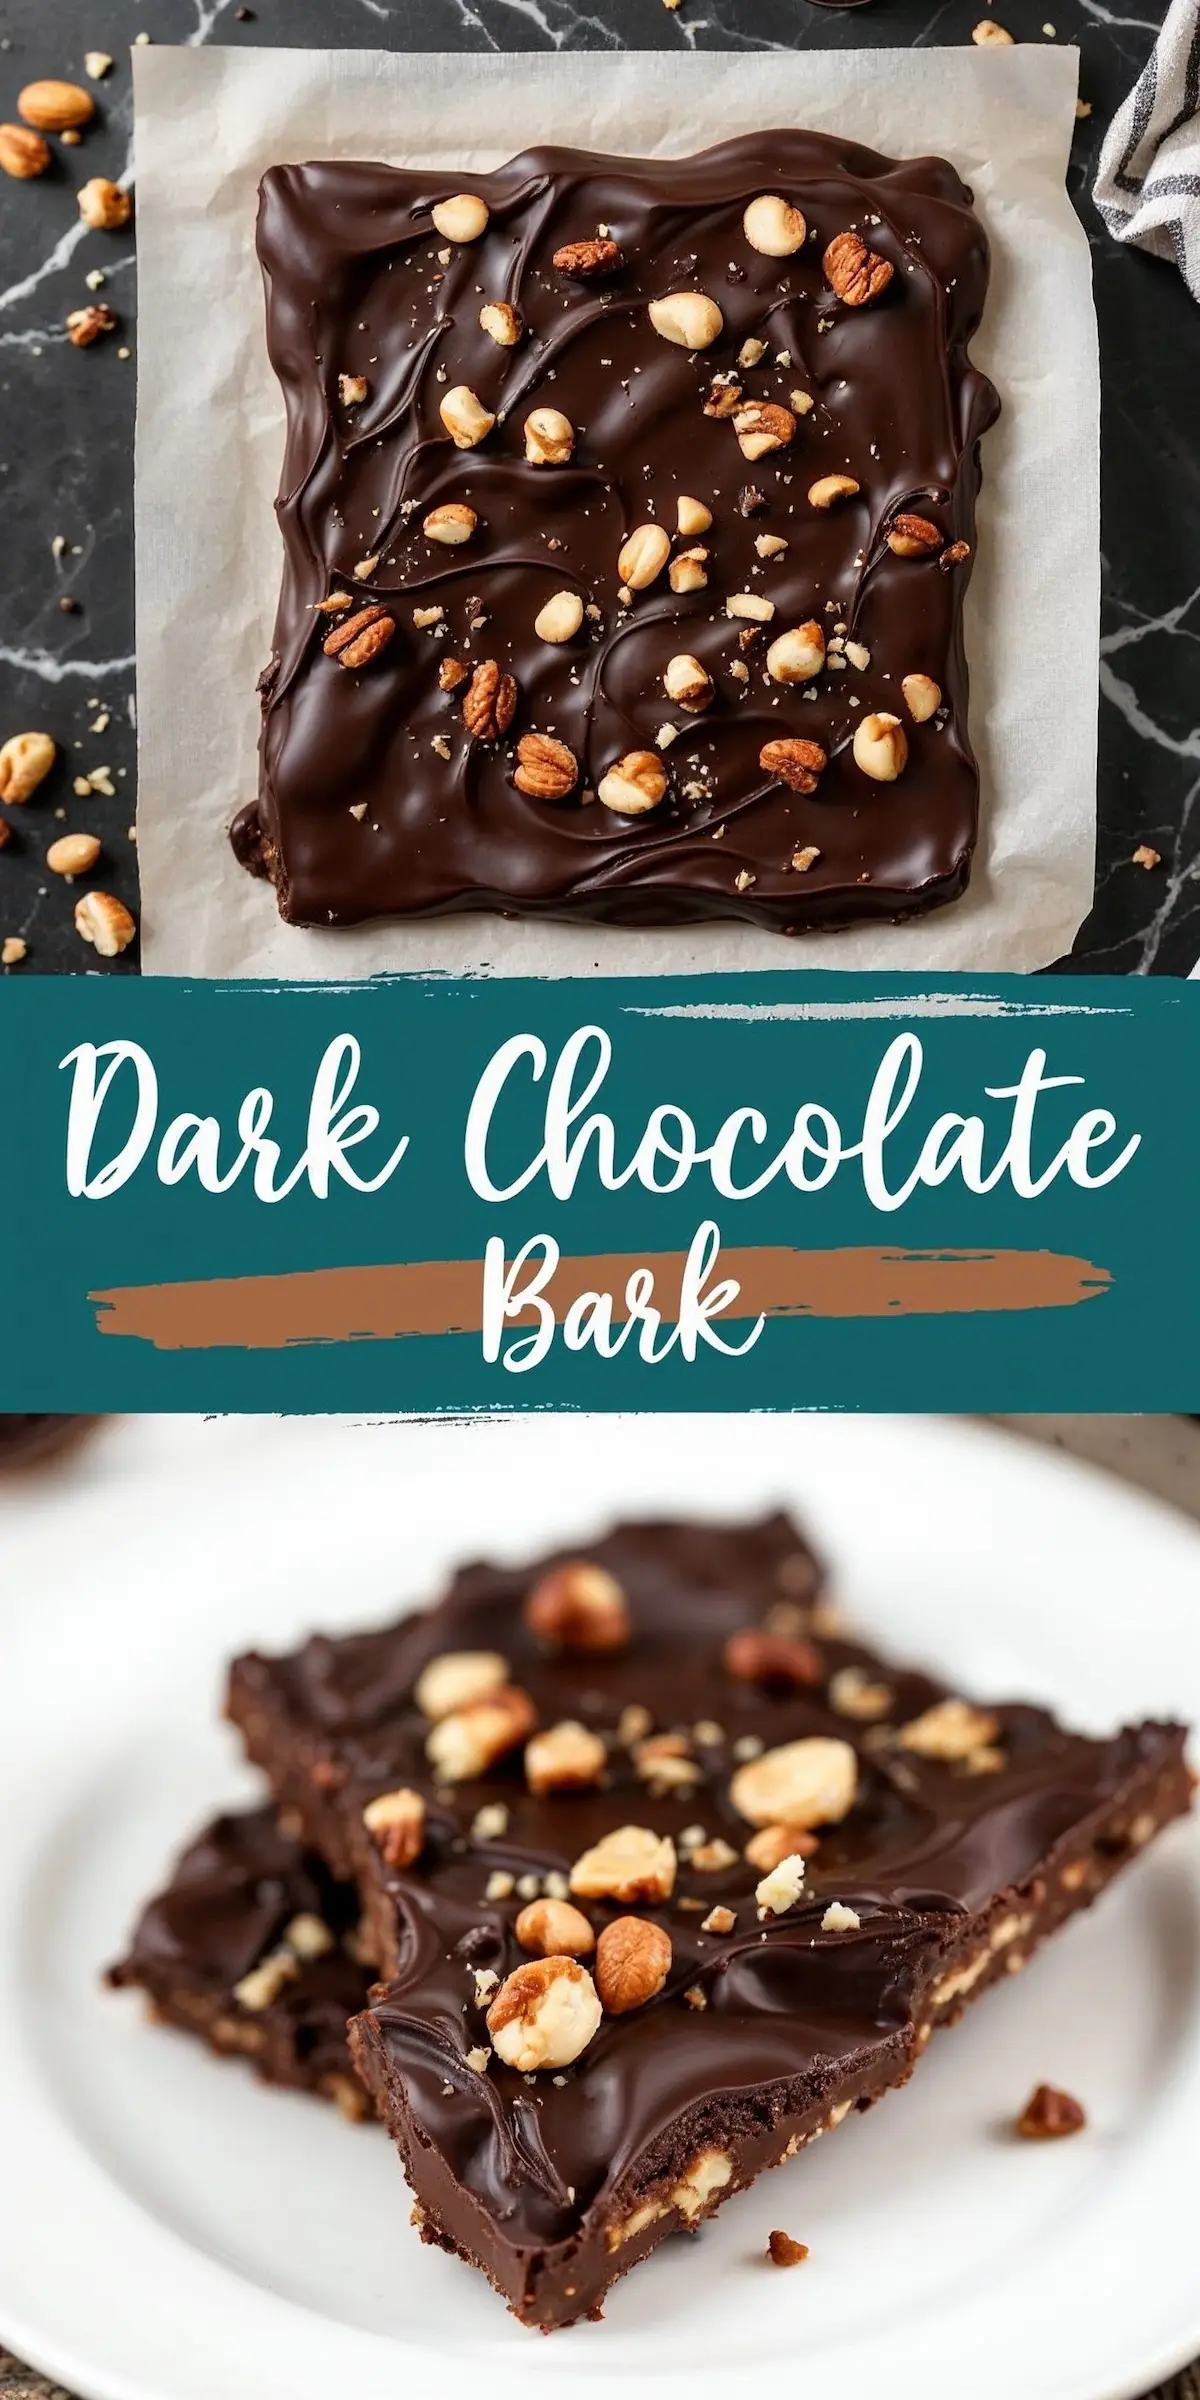
The process of shaping this bark is simple yet exciting. Warm chocolate flows onto a parchment-lined baking sheet. The bark’s thickness remains up to you. I prefer a thin spread, which cools quickly and snaps neatly. Each scattering of chopped nuts lands on top of that silky surface. The color contrast of the nuts, plus any extra toppings, creates a visual appeal that makes the treat look special. A soft sprinkle of sea salt completes the picture.
Cooling takes place at room temperature if there’s no rush, or inside the fridge for speed. Both work fine, as the chocolate needs to set and form a firm sheet. Pieces then snap apart by hand. No need for knives or any special slicing. The spontaneous shapes remind me of a mosaic. Friends sometimes claim they can taste the love in those random edges.
The Secret Dash That Makes A Difference
I mentioned a curious ingredient, and it is a slight pinch of smoked paprika. This might sound odd in a sweet treat. My skepticism vanished once I tried it. I wrote the idea in my Pin Notebook, tested it, and found a pleasant, gentle warmth that contrasts with the dark chocolate. People rarely guess the source of that subtle edge, and I enjoy surprising their taste buds.
Smoked paprika adds a lift to the usual chocolate-nut mix, but moderation is key. Too much can overshadow the bark, so keep it at a pinch. I measure it with that Golden Spoon to ensure it stays subtle. Close friends and family know I keep that spoon in my apron pocket, but they rarely notice the measurement because I move quickly, with a little flourish for fun.
A Quick Reminder On Storage
Storage is another important factor. Airtight containers help maintain a firm texture. Dark chocolate bark survives at room temperature for about two weeks. Warm climates can prompt a little shift in texture, so the fridge is a safe option. The flavors stay bright, and the nuts remain crisp. On the rare chance you have leftovers for a longer period, it is wise to label the container and keep it in the fridge. That helps avoid mixing aromas with other foods.
Ways To Explore More Chocolate Wonders
Chocolate holds a special power that attracts anyone in search of a sweet moment. I like sharing other treats such as Chocolate Fudge Brownies or a comforting batch of Homemade Chocolate Croissants. Each dessert has its own story. My personal favorite involves morning gatherings with friends, cozy robes, and a fresh tray of those croissants. Another suggestion could be Homemade Chocolate Hazelnut Truffles, which are fun to gift during the holidays. Every creation celebrates chocolate in a distinct way.
This bark, however, remains my go-to. Its crunchy center and smooth base satisfy my appetite for something both quick and memorable. My guests always ask for seconds, and I catch Whiskers creeping around the countertop, hoping for a crumb to fall. A wise cat knows that chocolate is off-limits for him, but the sniffing ritual continues.
Closing Thoughts: Share Your Experience And Pin For Later
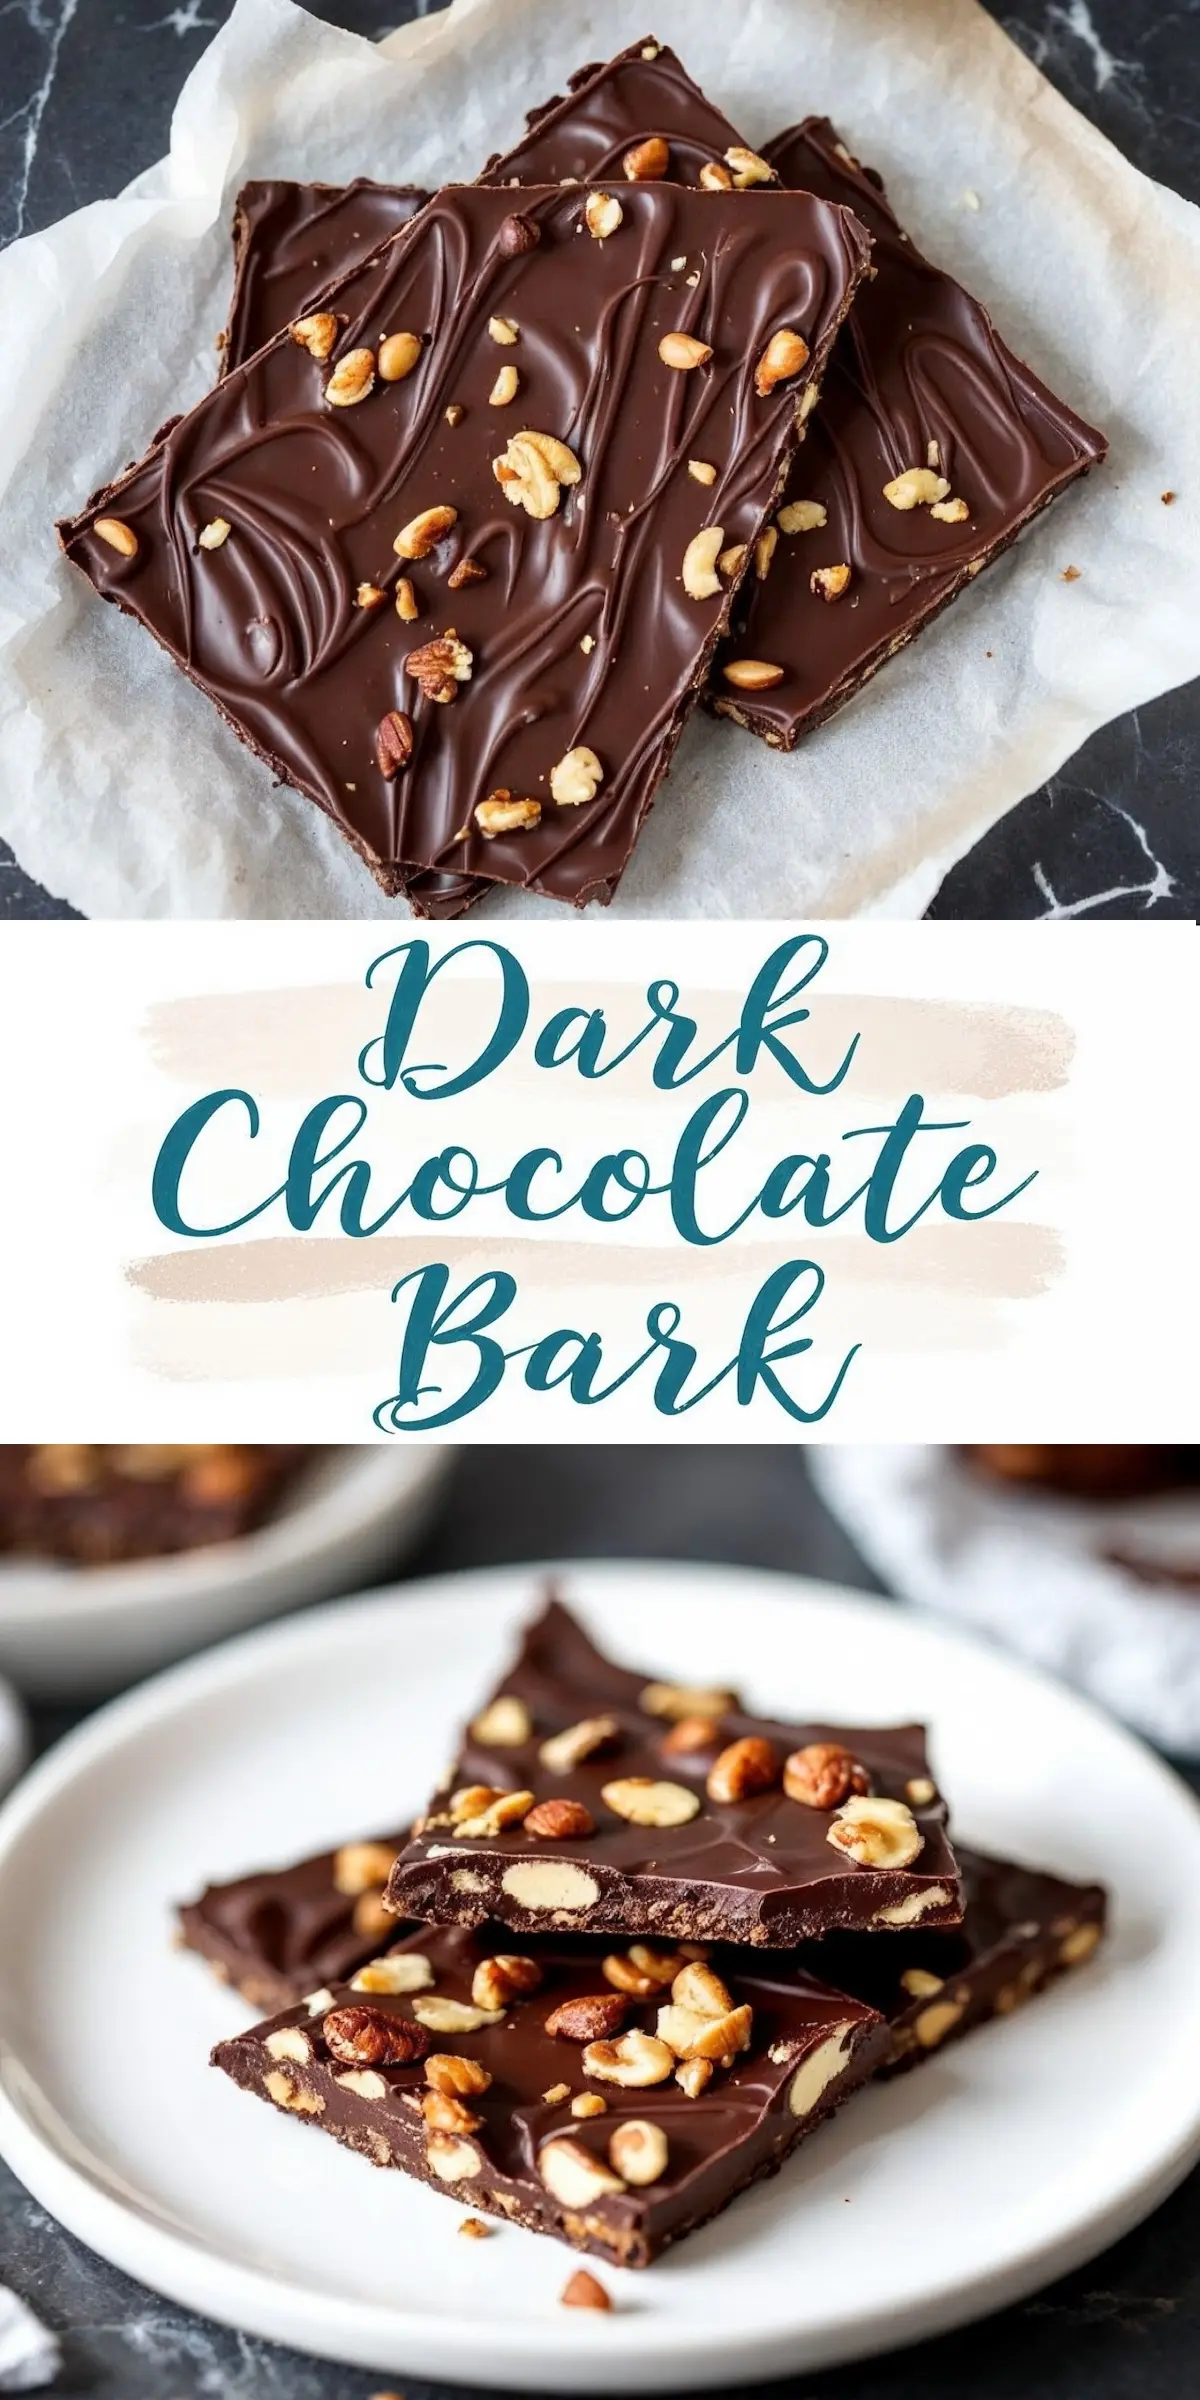
I hope this bark offers a spark of joy in your kitchen. Feel free to save this page on Pinterest if you want an easy reference for later. I love hearing how recipes turn out, and readers often drop their favorite tweaks or topping ideas in the comments. Sharing knowledge and experiences helps our community grow. You might have a hidden tip that turns a regular dessert into a memorable one. Let me know if you have questions or suggestions. I check my Pin Notebook each time I spot a creative twist, and new angles on chocolate rarely fail to amaze me.
Homemade Dark Chocolate Bark with Nuts Recipe

Rich dark chocolate bark is a simple treat that pairs the bold flavor of dark chocolate with the crunch of roasted nuts. This recipe is versatile, allowing for creative variations with optional add-ins like dried fruits or citrus zest.
Ingredients
- Dark Chocolate: 12 oz of high-quality dark chocolate (at least 70% cocoa)
- Nuts: 1 cup of mixed nuts, roasted (options: almonds, walnuts, pecans, hazelnuts, pistachios)
- Optional Add-Ins: 2 tbsp dried cranberries, shredded coconut, or orange zest
- Sea Salt: A sprinkle for garnish - optional
Instructions
Notes
To customize, use your favorite combination of nuts or add-ins.
Store the bark in an airtight container at room temperature for up to two weeks.
Nutrition Information:
Yield:
10Serving Size:
1Amount Per Serving: Calories: 313Total Fat: 20gSaturated Fat: 9gTrans Fat: 0gUnsaturated Fat: 10gCholesterol: 3mgSodium: 80mgCarbohydrates: 31gFiber: 5gSugar: 22gProtein: 4g
