
Panna cotta wears elegance well, but getting it to look as good as it tastes? That takes more than pouring cream into a mold.
This guide shows you exactly how to present panna cotta in a way that feels intentional—whether you’re serving friends at dinner or sharing your dessert on Pinterest.
You’ll learn how to play with glassware, layering, and toppings so your panna cotta doesn’t just sit there—it glows.
And yes, there’s one surprising technique I always use to get that camera-ready, creamy shine. It’s subtle but makes all the difference. Keep reading for that.
What Makes Panna Cotta Visually Appealing?

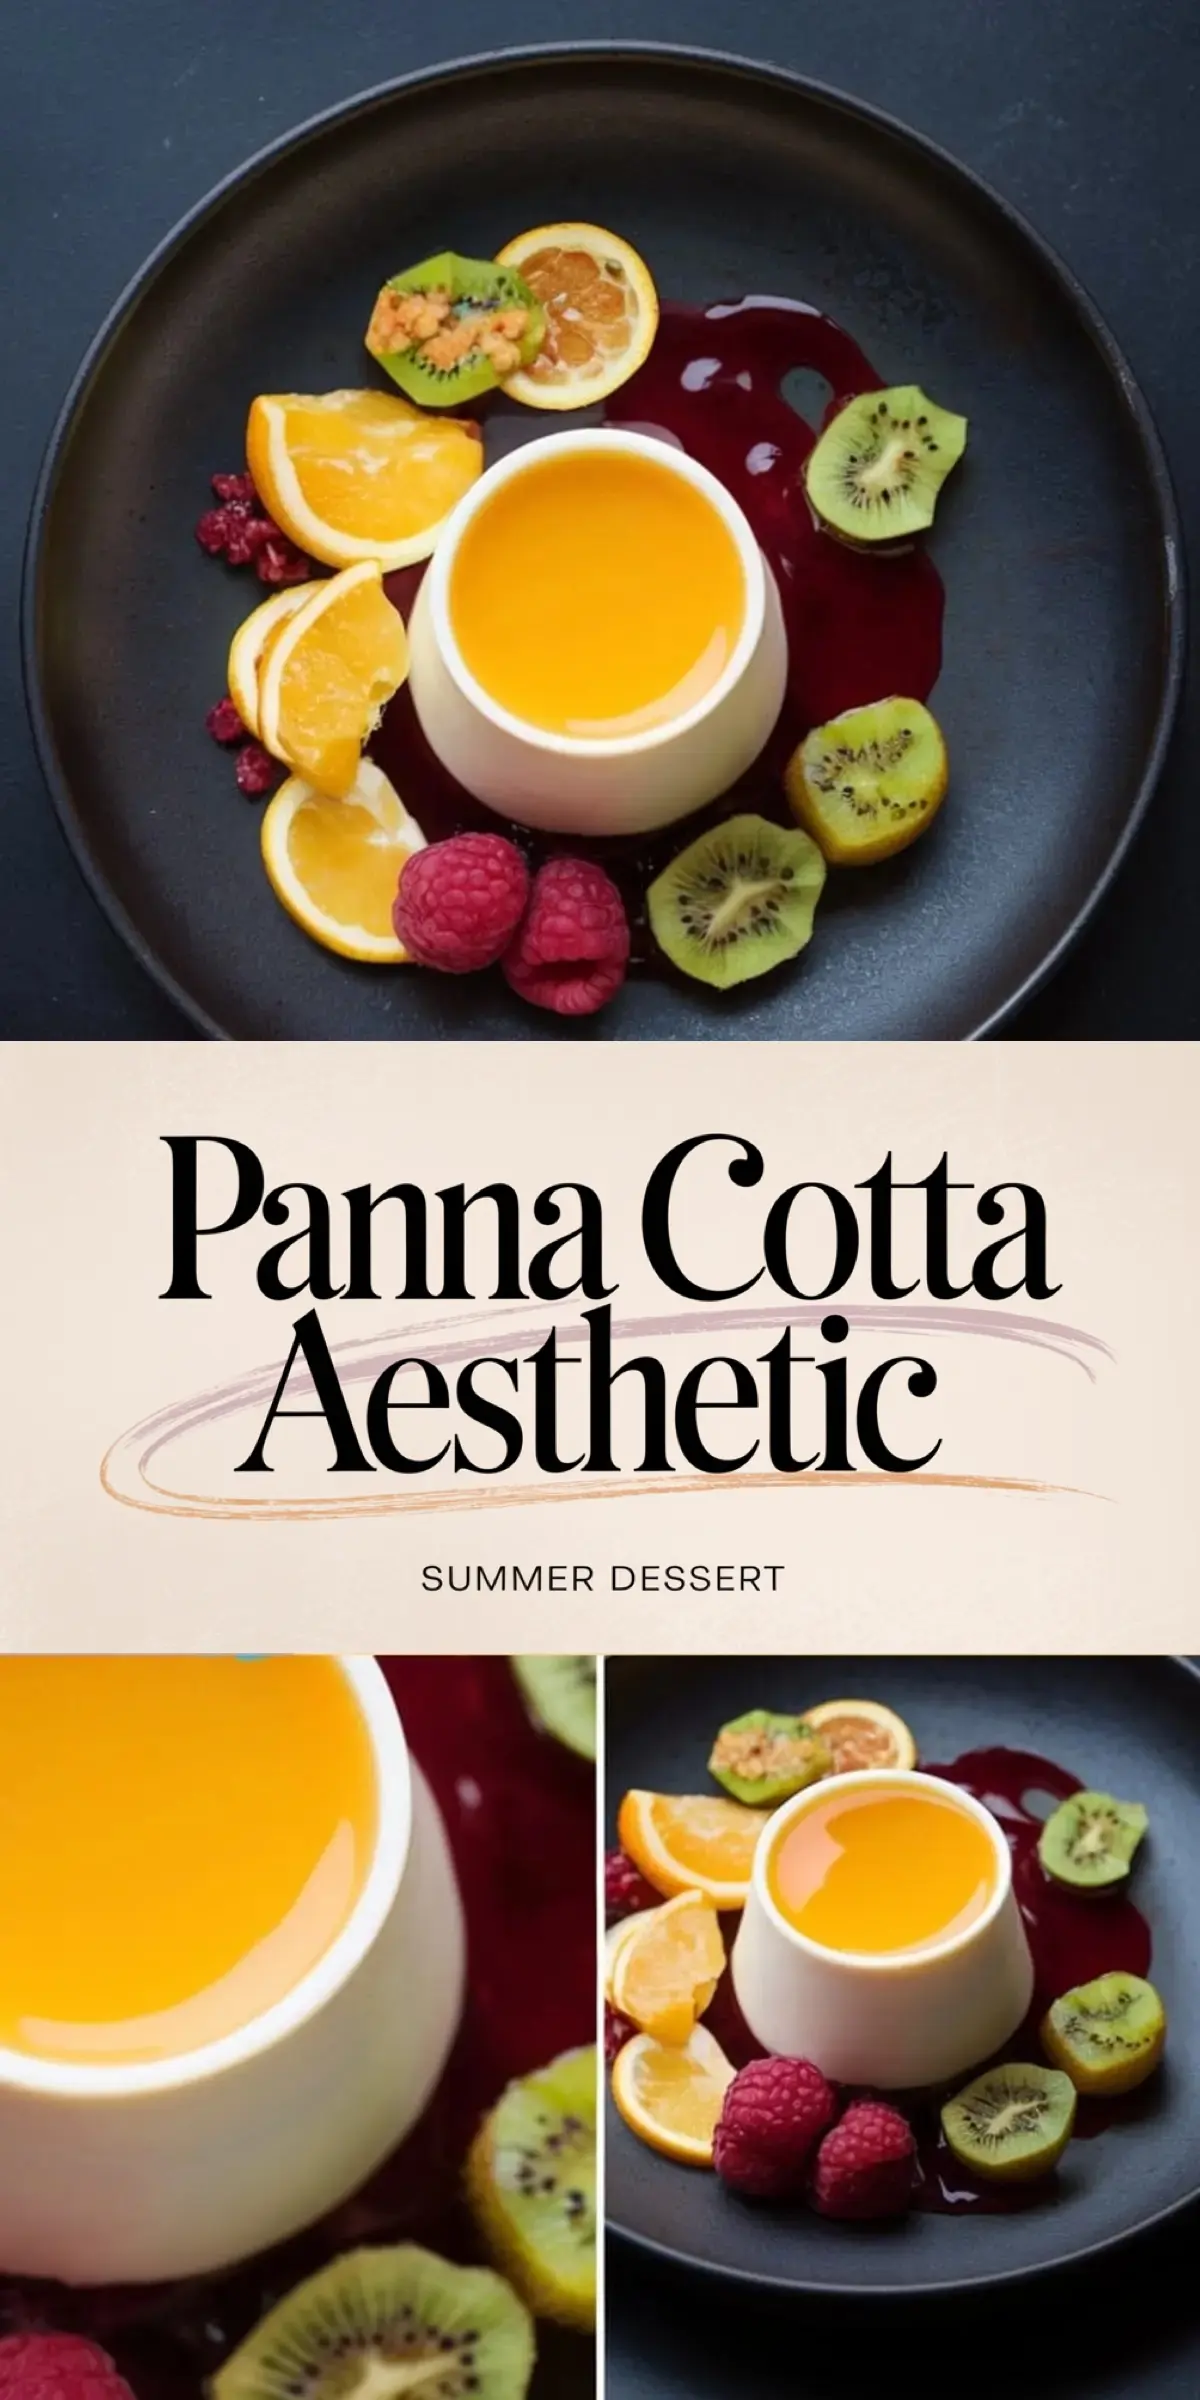
At its core, panna cotta has a clean, blank canvas. That smooth, pale base sets the tone.
But contrast is what creates drama. A bright fruit coulis, a glinting garnish, or an unexpected vessel can turn something soft into something striking.
Think of panna cotta as light catching form. The wobble draws the eye. The toppings tell the story.
Choosing the Right Mold or Glass Makes a Huge Difference
I’ve served panna cotta every which way. Silicone molds, fluted ramekins, tiny jars, wine glasses, teacups, and even clear espresso tumblers.
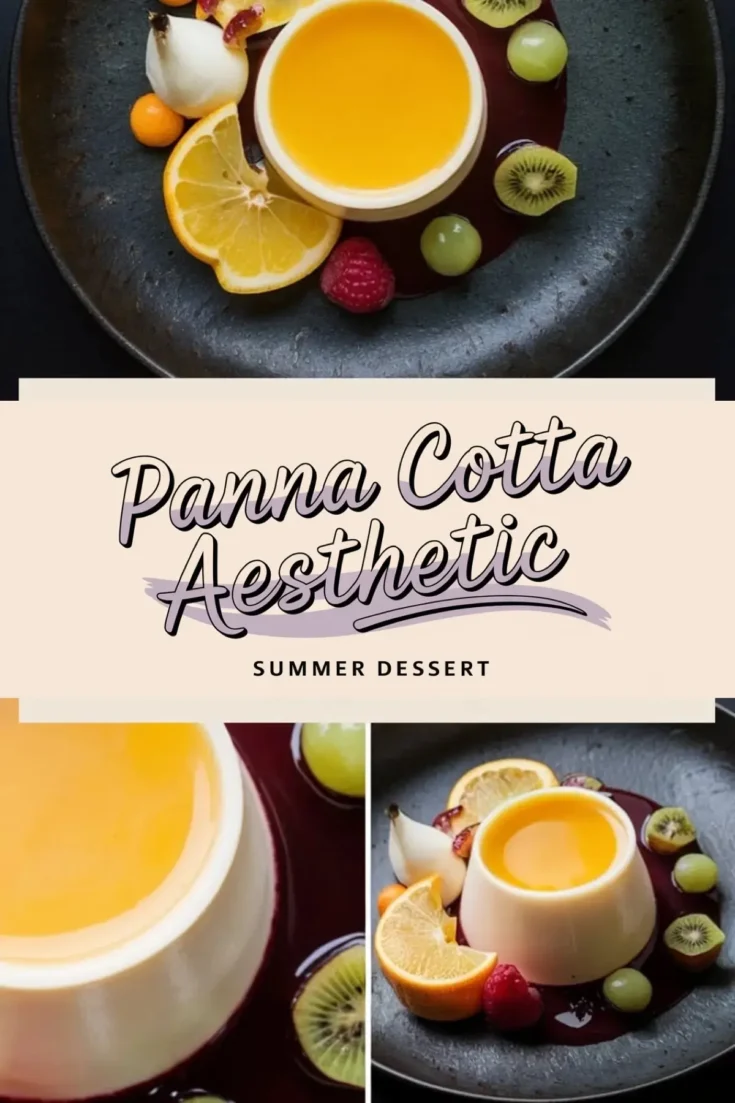
If you want a minimalist aesthetic, go unmolded. A white ramekin with straight edges, inverted onto a dark ceramic plate, gives that high-contrast restaurant look. It’s clean, it’s modern, and it lets the sauce speak.
Want something more romantic? Serve it in a stemmed glass. Think coupe or vintage wine goblet. You won’t unmold it—just let it set directly in the glass and spoon fruit or cream on top. It feels soft. Elegant. Almost like a custard parfait.
Layering Panna Cotta for a Visual Impact
Layered panna cotta doesn’t have to be difficult. It just takes timing.
Let your first layer partially set. It should be firm enough to hold its shape but soft enough to blend at the seam. Then gently pour the second layer over the back of a spoon to avoid disturbing the surface.
Color contrast matters. White vanilla and deep red raspberry? Timeless. Coconut with mango puree? Bright and tropical.

You can see how that comes together in my Pina Colada Panna Cotta, which plays with creamy coconut and golden pineapple.
Using Color and Texture to Build Visual Layers
Toppings are where you get to play. Here’s where panna cotta shifts from “dessert” to art.
You don’t need anything fancy. Just think contrast. A deep berry sauce pooled on one side. A few shards of caramel. A scatter of crushed pistachios.
Even something as simple as edible flowers or microgreens can elevate the dish. If it’s floral or herbal, make sure it complements the flavor—don’t just use it for looks.
And if you’re going for cozy? Try what I did for my Coffee Panna Cotta—a light dusting of cocoa powder and a broken chocolate curl. The depth of color changes everything.
How Lighting and Surface Choices Affect the Final Look
If you’re photographing or pinning your panna cotta, don’t underestimate the background.
A white plate on a white counter can wash it out. Use a darker plate, a linen napkin, or a stone slab to make it pop.
Side lighting works best. It picks up the subtle curves and shows off that soft sheen on top. And don’t crowd the shot. Let the panna cotta breathe.
Fresh vs. Sauced: What Shows Better?
I’ve gone back and forth on this. Some days, I like a fully sauced panna cotta—fruit cascading over the sides, soaking into the base. It’s lush and dramatic.
But when I want to let the form shine, I spoon the coulis to the side instead. It leaves the center visible and lets the wobble steal the spotlight.
There’s no right or wrong, but for Pinterest-style styling? Side pooling gives you cleaner lines and keeps the panna cotta itself at the center.
My One Unexpected Trick for Shine and Structure
Here it is—the small move that took my panna cotta from flat to photo-worthy.
I brush a drop of neutral oil inside each mold before pouring. It’s not about release—it’s about reflection. That ultra-thin coat gives the final set dessert a glossier surface once unmolded.
It’s subtle. But in the photo, it gleams. Try it once and you’ll never skip it again.
Let Your Panna Cotta Tell a Story
The aesthetic isn’t just about color or garnish. It’s about intention.
Are you going rustic? Use jammy berries, a chipped dish, and hand-whipped cream. Are you aiming for luxe? Use thin layers, gold spoons, and a dark slate plate.
Let your visual choices match the mood. People can feel the difference, even if they don’t name it.
Pin Now, Style Later—and Tell Me How It Turned Out
Save this post to your Pinterest board so next time you’re making panna cotta, you’ll know exactly how to style it with grace and purpose.
Leave a comment and tell me your favorite plating trick—or what glassware you’ve tried it in. I’m always inspired by your creativity.
And if you’re just starting out, here’s my base recipe: Vanilla Panna Cotta. It’s the blank canvas that got me here.
Now it’s your turn.
Aesthetic Panna Cotta
Vanilla panna cotta is a classic Italian chilled dessert made from cream, milk, sugar, and gelatin. It has a silky texture and delicate flavor that pairs beautifully with a simple fruit sauce. This version uses a seasonal berry coulis, but you can swap in other fruits or sauces to suit what you have on hand. It’s easy to prepare ahead and makes for a light, refreshing way to finish a meal.
Ingredients
- 2 cups heavy cream
- 1 cup whole milk
- 1/2 cup granulated sugar
- 2 teaspoons pure vanilla extract
- 2 1/4 teaspoons powdered gelatin (one standard packet)
- 3 tablespoons cold water
- FOR THE FRUIT SAUCE
- 1 cup mixed berries (fresh or frozen—strawberries, raspberries, blackberries)
- 2 tablespoons sugar
- 1 tablespoon lemon juice
Instructions
- SOFTEN THE GELATIN: Add the cold water to a small bowl, then sprinkle the gelatin evenly over the surface. Let it sit undisturbed for 5 to 10 minutes to bloom.
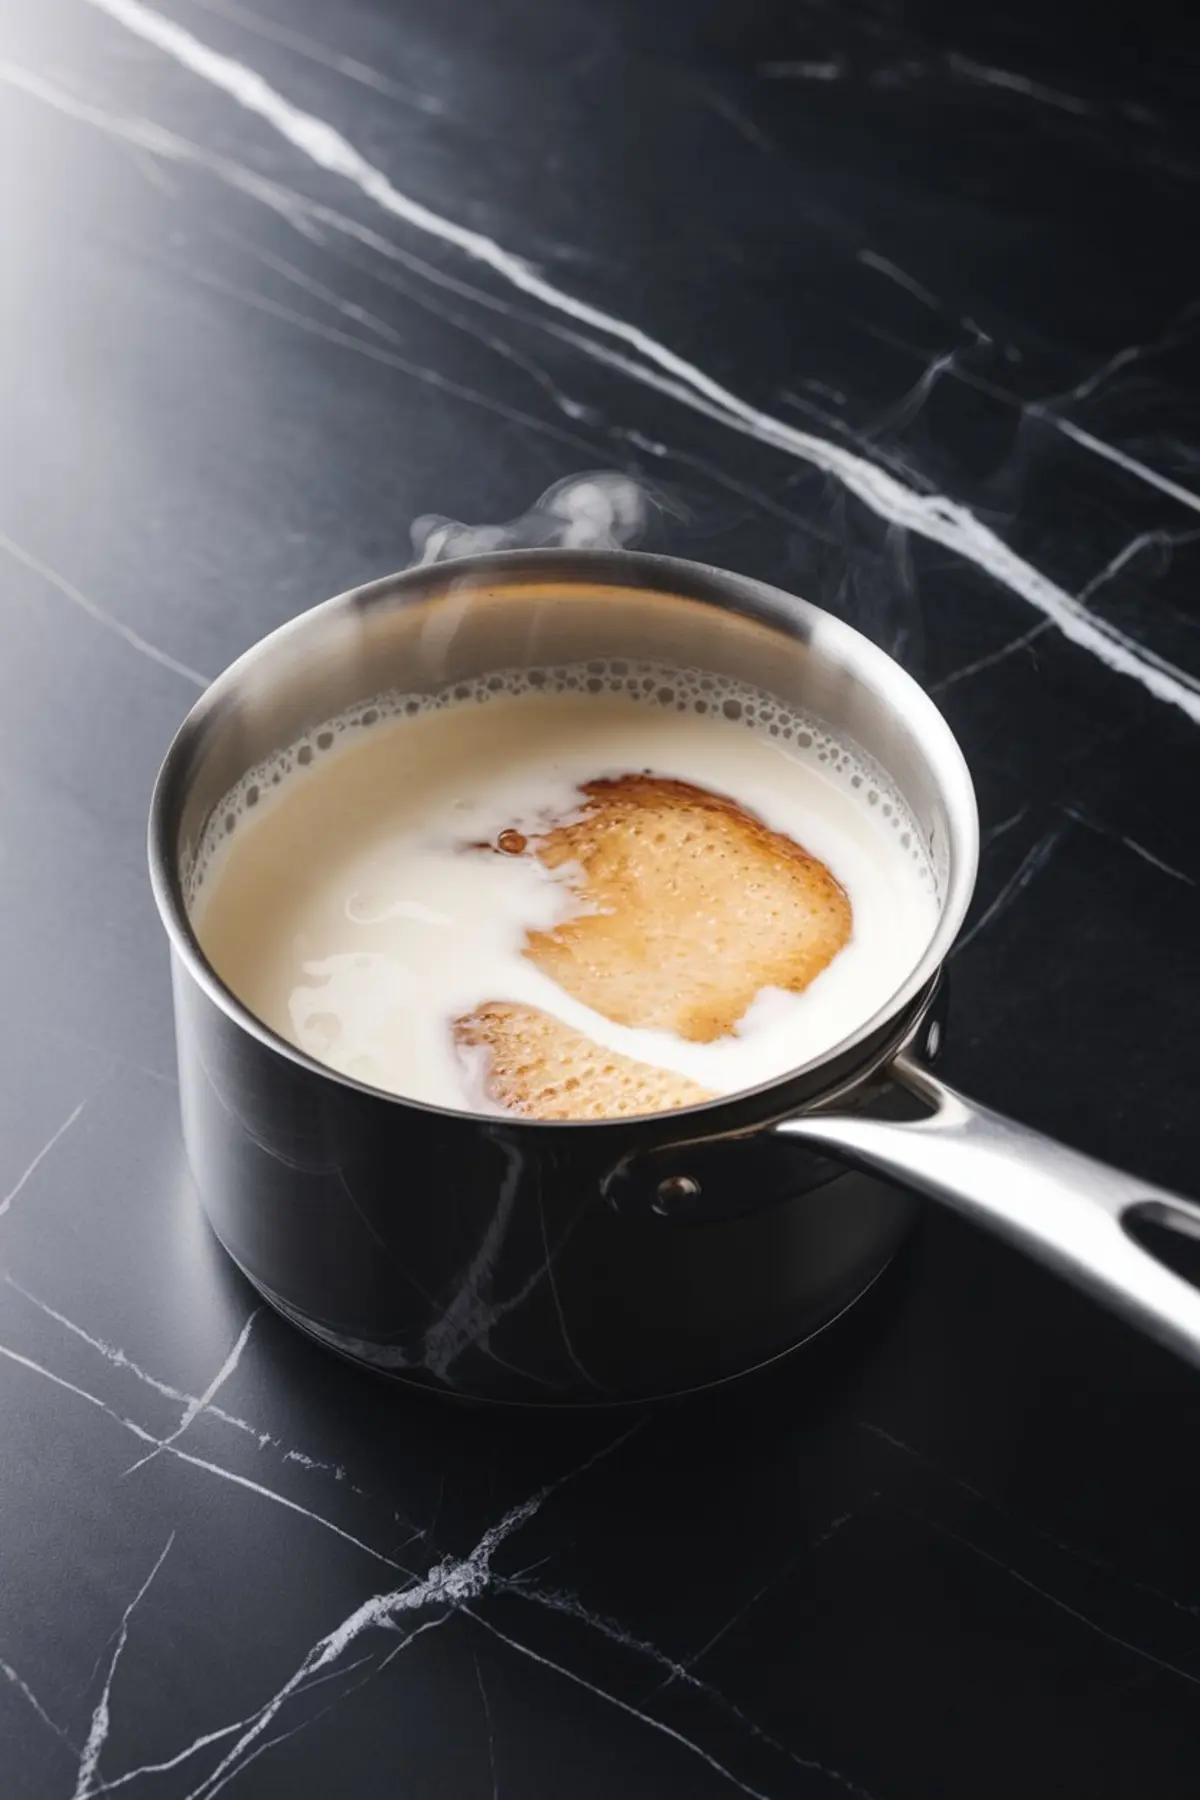
- HEAT THE DAIRY: In a medium saucepan, combine the heavy cream, whole milk, and granulated sugar. Warm the mixture over medium heat, stirring occasionally, until the sugar dissolves and the mixture is just shy of simmering. Do not let it boil.
- ADD THE GELATIN: Remove the saucepan from heat and immediately stir in the bloomed gelatin. Stir until the gelatin is fully dissolved. For extra smoothness, strain the mixture through a fine mesh sieve into a clean bowl or large measuring cup.
- ADD VANILLA AND CHILL: Stir in the vanilla extract once the mixture has cooled slightly. Pour the mixture into ramekins or silicone molds. Let them cool at room temperature, then cover and refrigerate for at least 4 hours or overnight until fully set.
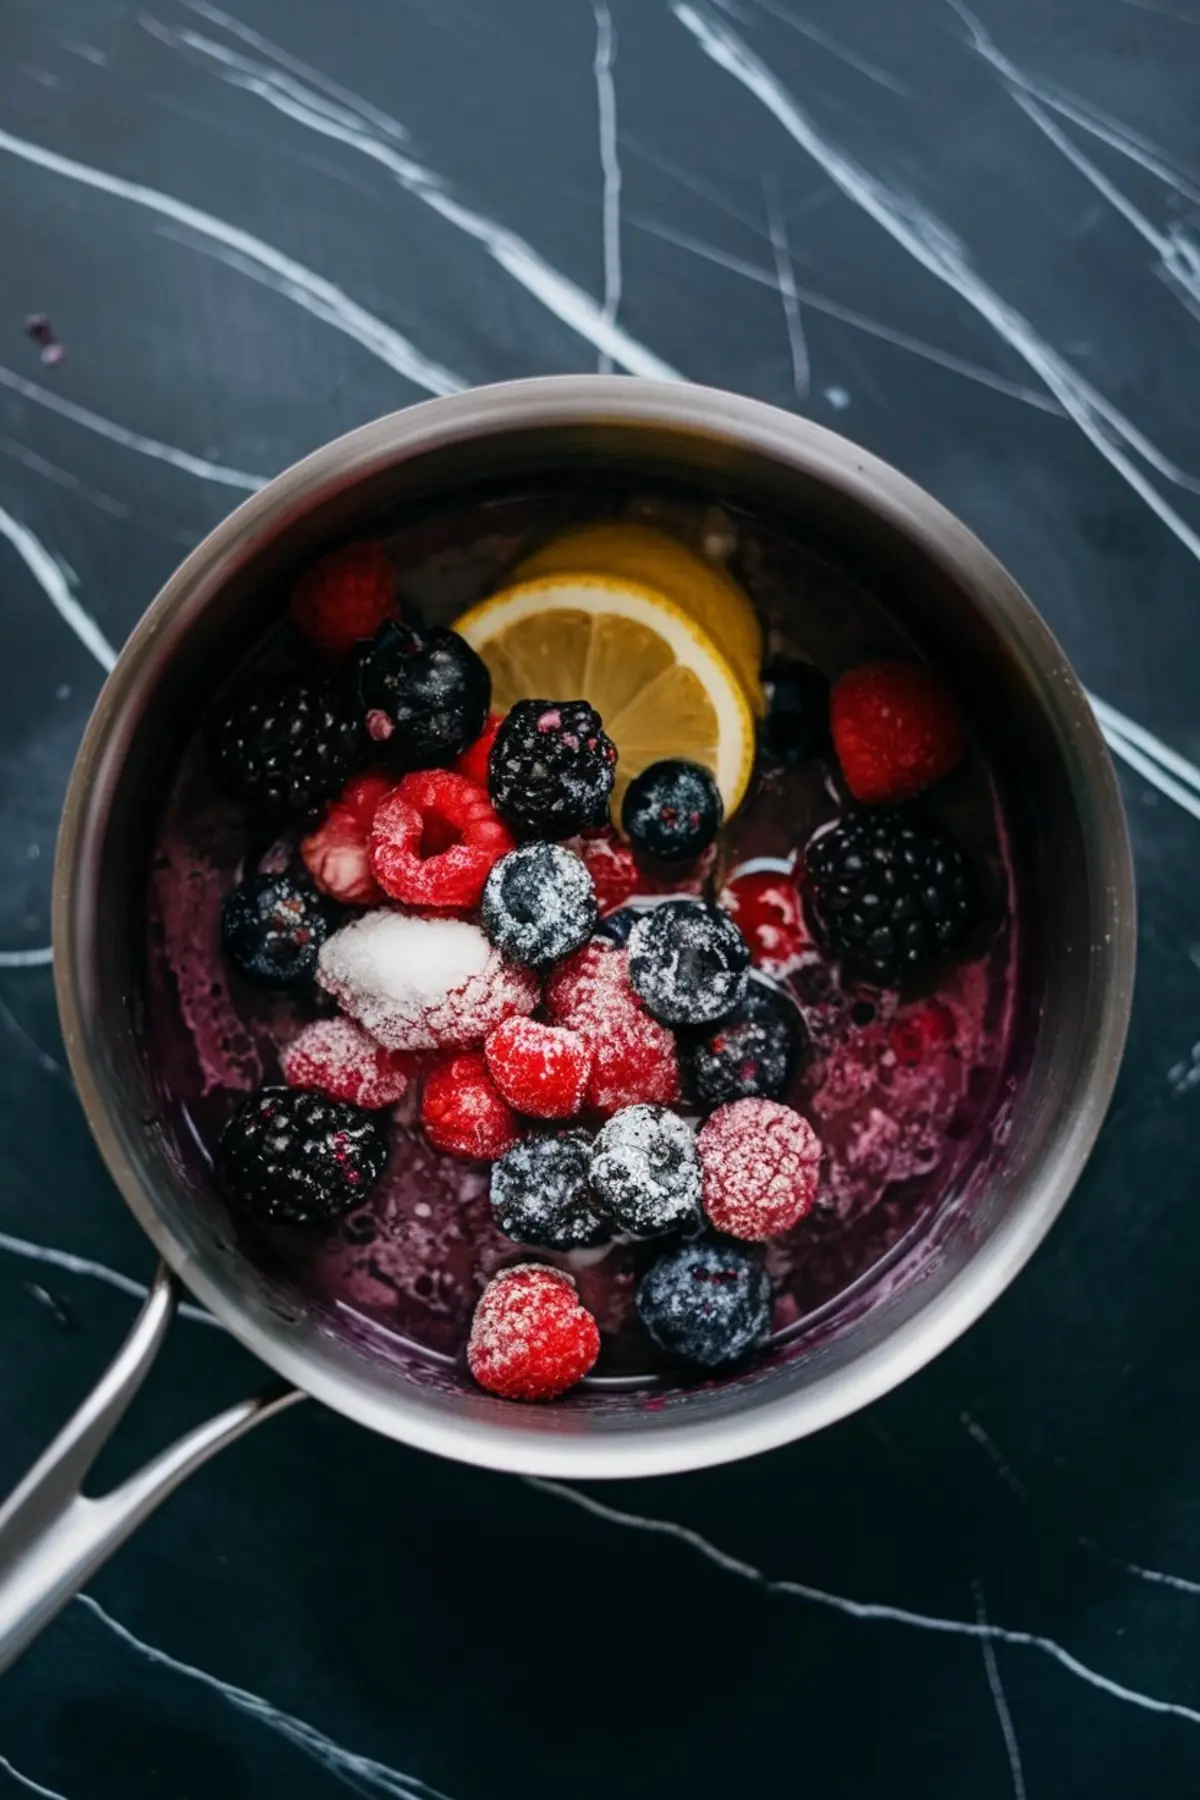
- MAKE THE FRUIT SAUCE: In a small saucepan, combine the mixed berries, sugar, and lemon juice. Cook over medium heat for about 5 minutes, stirring occasionally, until the berries break down and release their juices. Remove from heat, let it cool slightly, then puree the mixture and strain through a fine sieve for a smooth coulis.
- UNMOLD THE PANNA COTTA: To release the panna cotta, dip each ramekin in warm water for 5 to 10 seconds to loosen. Invert onto a serving plate and gently shake to unmold.
- SERVE: Spoon the fruit sauce around or over the panna cotta and garnish with fresh berries or herbs, if desired. Serve chilled.
Notes
To prevent rubbery texture, avoid using more gelatin than specified. For easier unmolding, lightly oil the ramekins before filling if not using silicone molds. You can adjust the sweetness or tartness of the fruit sauce by changing the sugar or lemon juice amounts.
Nutrition Information:
Yield:
4Serving Size:
1Amount Per Serving: Calories: 631Total Fat: 46gSaturated Fat: 29gTrans Fat: 1gUnsaturated Fat: 14gCholesterol: 141mgSodium: 208mgCarbohydrates: 50gFiber: 3gSugar: 46gProtein: 8g
