
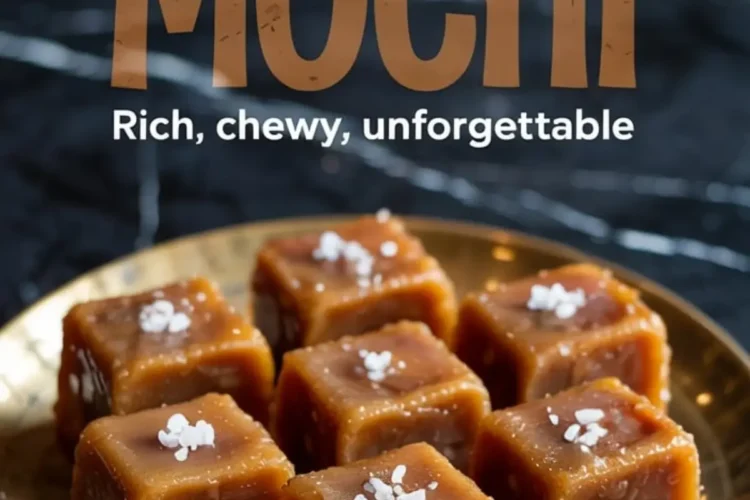
You’re here because you want something different. Not another brownie. Not another cake. You’re after that soft-chewy texture with deep flavor and a golden crust. Something that feels nostalgic yet fresh, like a dessert that somehow knows what you’re craving before you do.
This brown butter mochi checks all those boxes. You’ll learn exactly how to get that fudgy bite and why browning your butter changes everything. You don’t need a mixer. Just a spoon, a bowl, and a quiet hour.
The unexpected twist? There’s a single pantry ingredient that pulls it all together, quietly, confidently. I’ll tell you about it after the steps. It’s one of those tiny things that makes a big difference.

Why Brown Butter Mochi Deserves a Spot in Your Rotation
I’ve tested dozens of butter mochi variations in my kitchen, but none hit the way this one does. It isn’t just about the texture, though that stretch is something else.
The browned butter brings in a nutty, deep flavor that turns sweet rice flour into something golden and toasted. It edges close to toffee, without ever crossing into sticky-sweet.
And if you’ve never tried baking with glutinous rice flour, let this be your entry point. It gives the mochi that signature chew without needing anything fancy. Think of it like the comfort of rice pudding, but baked into little squares that don’t need a spoon.
The Ingredients that Make It Work
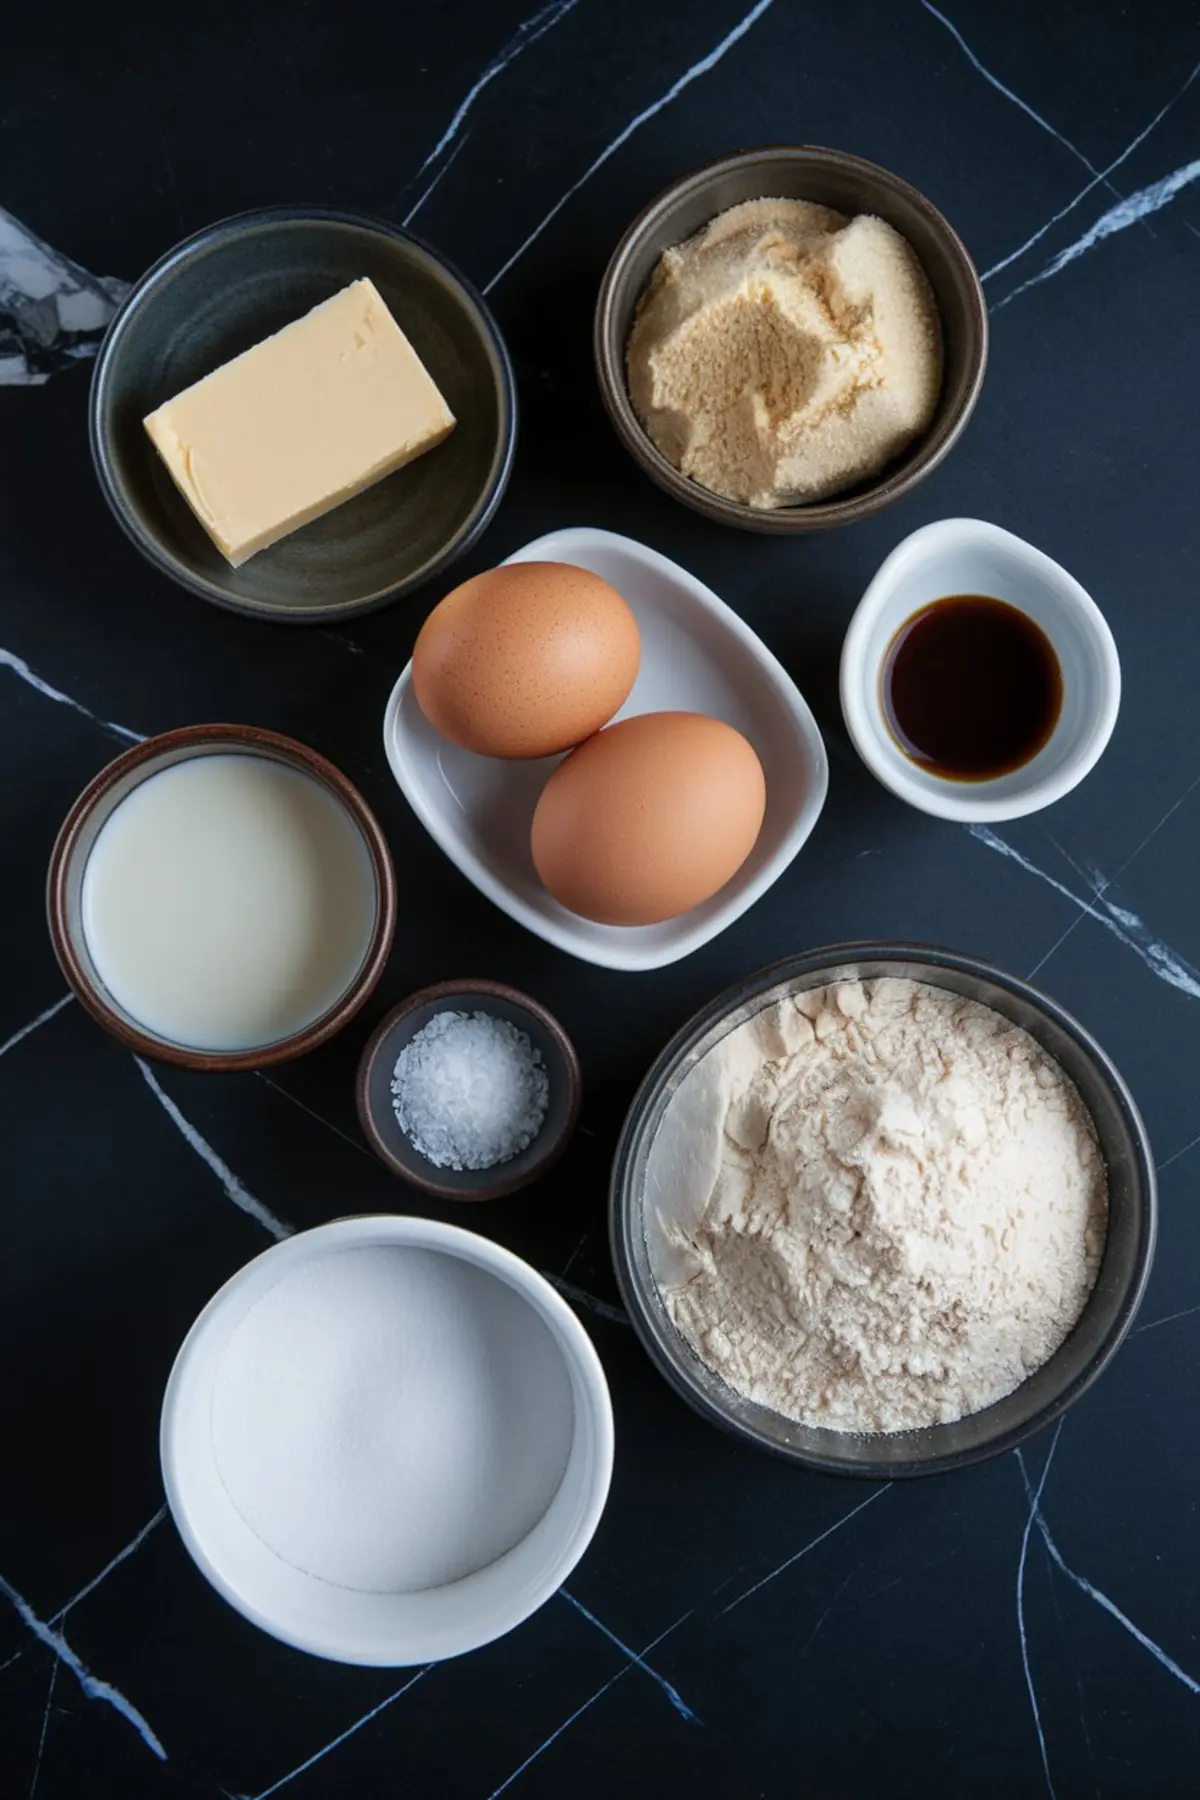
Start with butter—unsalted, always. Let it melt down until the milk solids turn golden and fragrant. The smell? Like roasted hazelnuts, warm and toasty.
Once the butter cools slightly, it gets whisked with brown sugar. Not white sugar. Brown sugar brings molasses depth, which matters here. It blends into the butter like syrup and gives the base a glossy sheen. You want that sheen.

Eggs follow, along with a splash of vanilla. This is where things start to feel familiar—like a custard you’ve made before.
Then come the milks: whole milk and canned coconut milk. Don’t use the light version. You need the full fat. The coconut adds body and just enough fragrance to lift the flavor without overpowering it.

I’ve made this with both oat milk and whole milk before. Whole milk wins every time. The oat version bakes softer, but it doesn’t brown the same or hold its structure as well. If you’re baking to impress, go with the whole milk.
How the Texture Comes Together
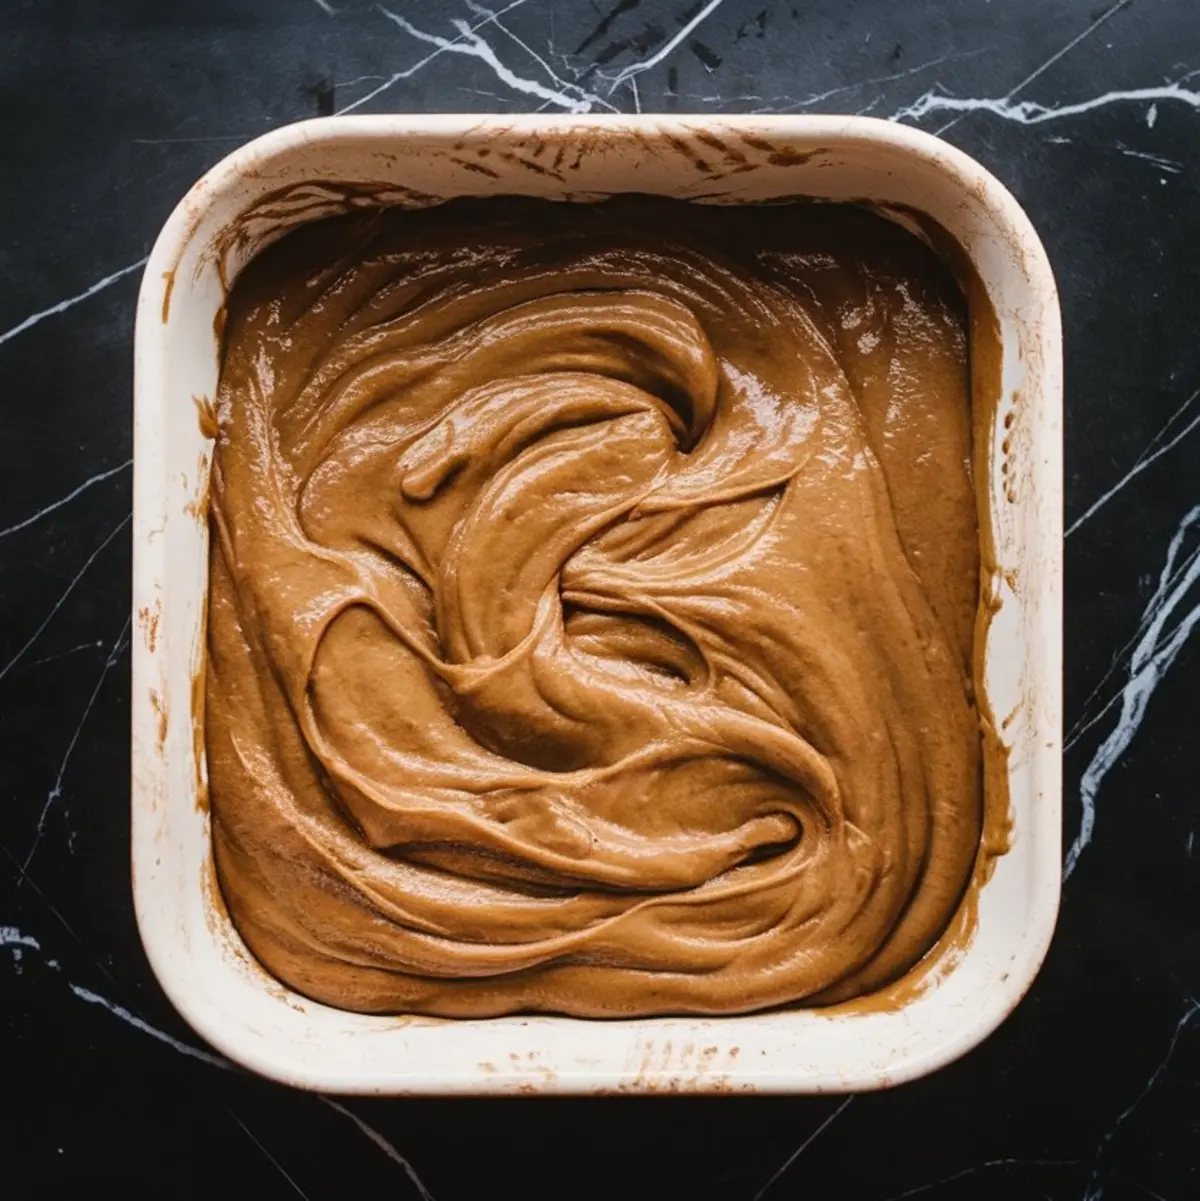
Once the liquid mixture is smooth, it meets the flour, glutinous rice flour, not regular rice flour. This is important. The “glutinous” part means sticky, not gluten, and that’s what gives the mochi its iconic chew.
As you stir it in, the batter will look thick and a bit stretchy. That’s exactly what you want. Salt cuts in here to sharpen the flavor. Don’t skip it.
I always write “add a pinch more than you think” in my Pin Notebook next to this recipe. The sea salt highlights the coconut and makes the brown butter taste like browned sugar.
Baking Notes You’ll Want to Remember
Preheat your oven, and make sure your pan is either well-greased or lined with parchment. I’ve used both glass and metal pans. Glass gives a softer bake with a more even top, but metal gives you those crisp edges if you like a bit of contrast. I personally prefer metal for this, it’s the difference between chewy and chewy-with-a-crunch.
Once it’s in the oven, bake until the top turns golden and firm. It should wobble slightly in the center when you give the pan a gentle nudge.
Let it cool completely. That’s the hardest part. Slice it warm, and you’ll end up with a sticky mess. Give it time, and the texture rewards your patience.
The Sprinkle That Changes Everything
Now, that ingredient I hinted at earlier? It’s flaky sea salt. You wouldn’t expect it on something soft and chewy, but the moment it hits your tongue, it makes sense.
It’s that final contrast. The caramel notes from the brown butter and sugar need something to keep them grounded. A tiny crunch of salt does the job.
I’ve made this mochi without it. It’s still good. But with it? It’s something you remember.
A Few of My Favorite Pairings
Brown butter mochi travels well and holds up for days, which makes it perfect for summer picnics or late-night fridge raids. I often tuck it next to something light to balance it out. Try it alongside this Strawberry Butter Mochi if you want contrast in color and flavor.
You could also pair it with something delicate like Lemon Lavender Milk Bread or go creamy and cool with Coffee Panna Cotta for a more elegant finish.
And if you want to stay on the citrus path, Lemon Tartlets with White Chocolate or this smooth Lemon Panna Cotta cut the richness beautifully.
Save and Share: Let’s Bake Together

This is one of those recipes that gets passed on by word of mouth—or shared in squares at kitchen tables. If you make it, I’d love to hear how it turned out. Did you use the sea salt? Did you try a different milk? Tell me in the comments.
Pin this brown butter mochi to your favorite dessert board so it’s easy to find again.
And if you’re like me and keep a little notebook of recipe tweaks and notes (my Pin Notebook lives in the kitchen drawer), jot down how you’d riff on this next time. Maybe a swirl of black sesame? Maybe add matcha to the dry mix?
That’s the fun of it. You get to keep evolving it.
Brown Butter Mochi Recipe

Brown butter mochi is rich, chewy, and made with sweet rice flour for its signature bounce. Browned butter adds a nutty depth that blends with coconut milk and brown sugar for a caramel-like base. The top bakes golden, while the inside stays soft and stretchy. A sprinkle of flaky sea salt sharpens each bite and balances the sweetness. No mixer needed—just one bowl and a few pantry staples.
Ingredients
- 1/2 cup (1 stick) unsalted butter
- 1 cup packed light brown sugar
- 2 large eggs
- 1 teaspoon vanilla extract
- 1 cup whole milk
- 1 cup canned coconut milk (full fat)
- 2 cups glutinous rice flour (sweet rice flour)
- 1/2 teaspoon fine sea salt
- Flaky sea salt for topping (optional but recommended)
Instructions
- BROWN THE BUTTER: In a medium saucepan, melt the butter over medium heat. Once it begins to foam, stir continuously and watch for golden flecks to appear at the bottom. When it smells nutty and toasty, immediately remove it from the heat.
- COMBINE BUTTER AND SUGAR: Pour the browned butter into a large mixing bowl. Add the brown sugar and whisk until the sugar melts into the warm butter and the mixture looks glossy. Let it cool for a few minutes before moving on.
- ADD EGGS AND VANILLA: Crack the eggs into a separate bowl, then whisk them into the cooled butter-sugar mixture. Stir in the vanilla extract until fully incorporated and smooth.
- MIX IN MILKS: Add the whole milk and coconut milk to the bowl. Whisk until the liquids are fully combined and the batter is creamy and uniform.
- ADD FLOUR AND SALT: Add the glutinous rice flour and fine sea salt. Stir with a spatula or whisk until the batter becomes smooth, thick, and slightly stretchy.
- PREPARE THE PAN: Preheat your oven to 350°F (175°C). Lightly grease a 9x9-inch baking dish or line it with parchment paper. Pour the batter into the pan and tap it gently on the counter to remove any air bubbles.
- BAKE THE MOCHI: Bake for 45 to 55 minutes, or until the top is set, golden brown, and slightly jiggly in the center. A toothpick inserted near the edge should come out clean.
- COOL AND SLICE: Let the mochi cool in the pan for at least 1 hour. Once fully cooled, slice into small squares and sprinkle the tops with flaky sea salt before serving.
Notes
Cool completely before slicing to prevent tearing. Store leftovers in an airtight container at room temperature for up to 2 days, or refrigerate for longer shelf life. Reheat briefly in the microwave to soften if needed.
Nutrition Information:
Yield:
16Serving Size:
1Amount Per Serving: Calories: 143Total Fat: 5gSaturated Fat: 3gTrans Fat: 0gUnsaturated Fat: 1gCholesterol: 26mgSodium: 127mgCarbohydrates: 23gFiber: 0gSugar: 12gProtein: 3g
