
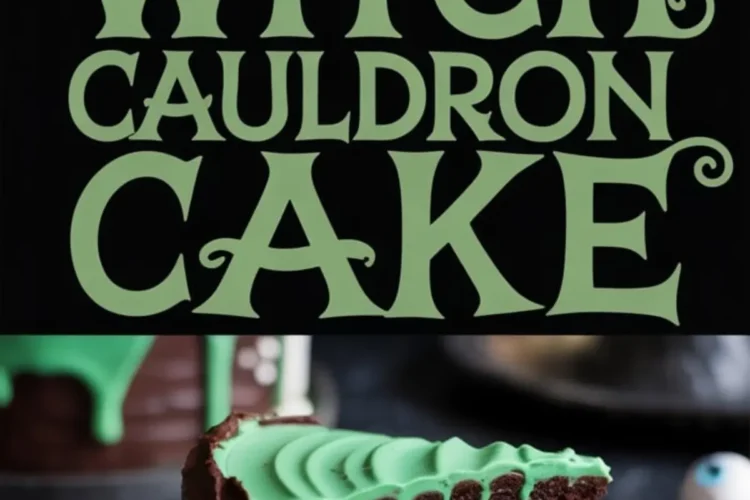
There are Halloween cakes, and then there are cakes that start conversations before the knife even touches the frosting.
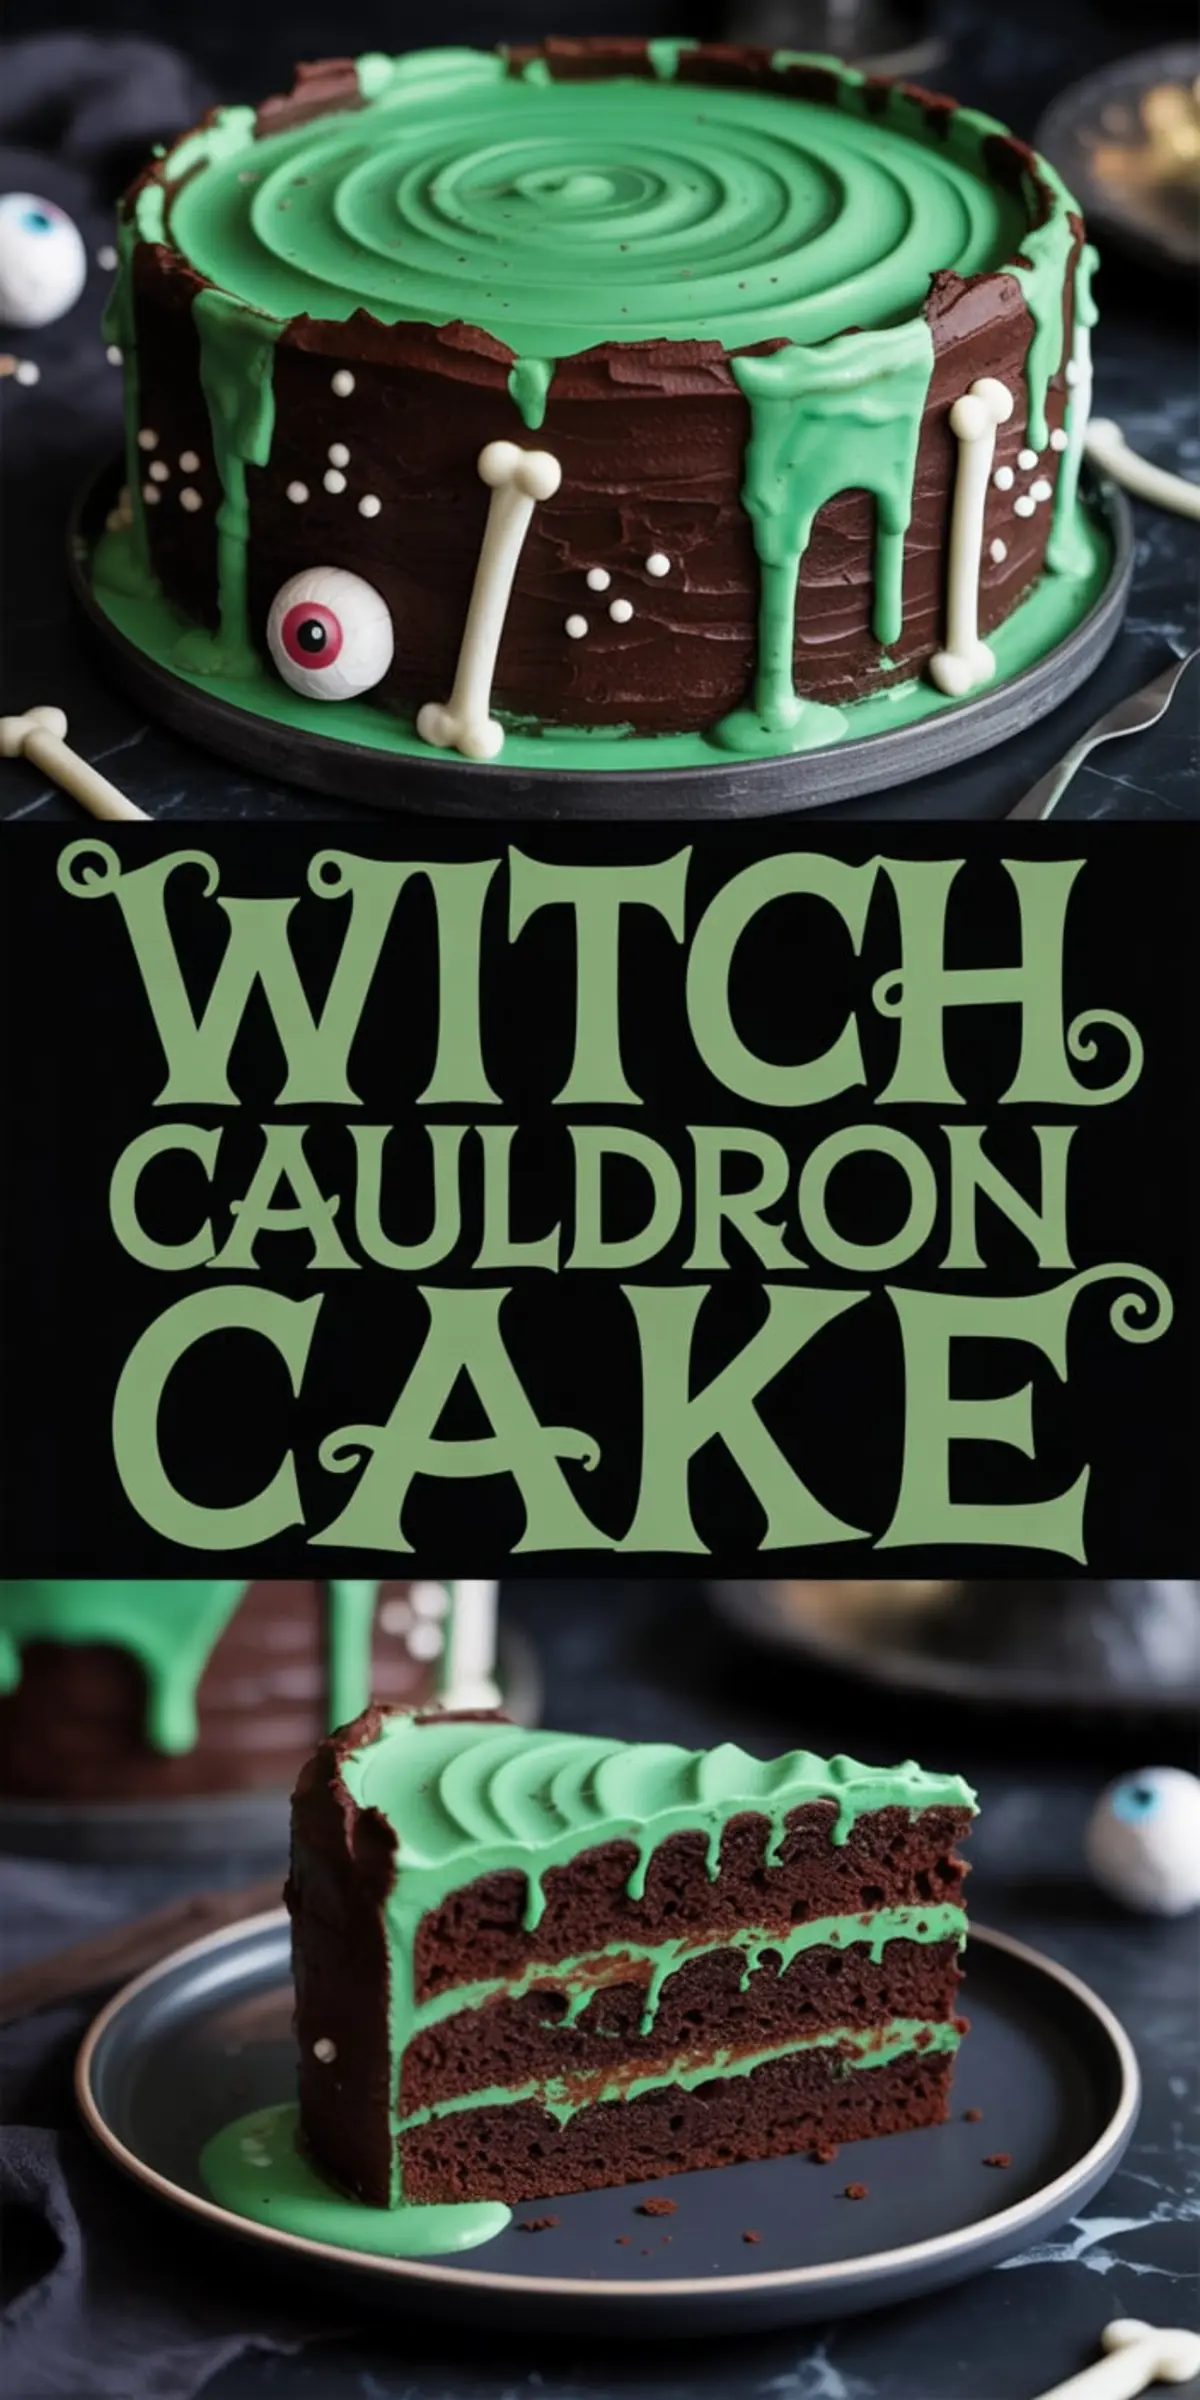
This Witch Cauldron Cake isn’t just a dessert. It’s a full-on spectacle. Between the pitch-dark frosting, the drips of neon green ganache, and those little candy eyeballs peeking out like they’re watching your every move, this cake taps into something deeper than spooky cake ideas.
You’ll walk away from this article knowing exactly how to pull off a Halloween cake design that gets remembered. You’ll get the steps, the structure, and most importantly, the why behind every decision.
If you’ve ever looked up a witch cake or witch birthday cake and felt overwhelmed by sculpted fondant hats and expensive tools, this version keeps things dramatic without being complicated. And the secret ingredient behind that glowing green ganache? We’ll get to that. You’ll want to keep reading.
Preparing the Dark Chocolate Cake Base for a Witch Cake Recipe
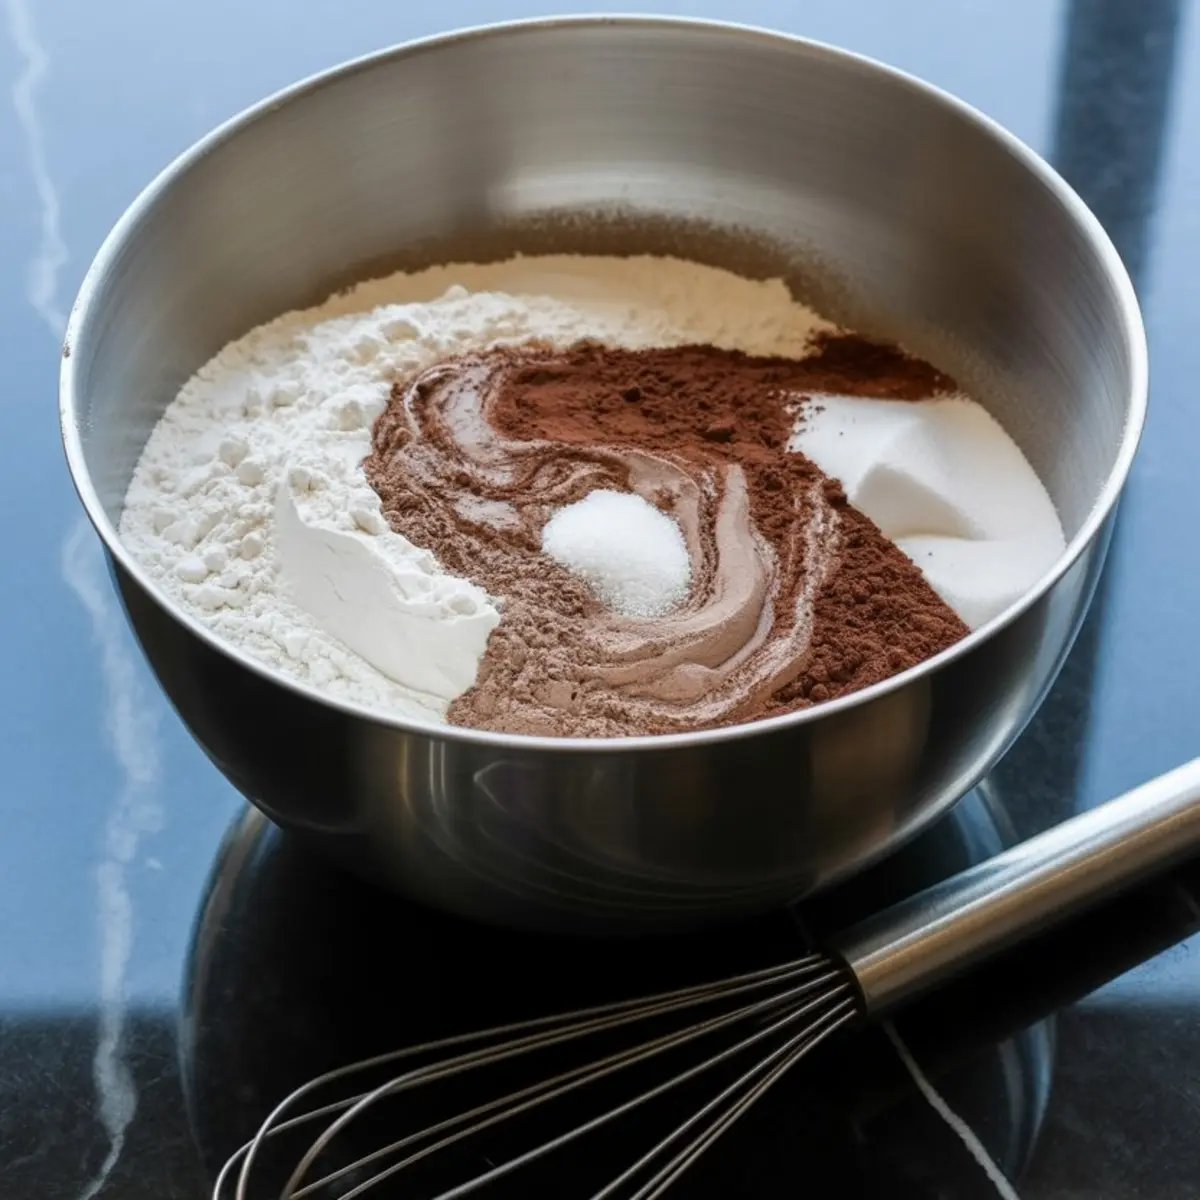
The cake itself starts with a classic base. I use all-purpose flour for structure, cocoa powder for depth, and both baking powder and soda to help the layers rise evenly. Sugar blends in for moisture, and salt sharpens the flavor just enough.
The wet mixture brings in eggs, buttermilk, oil, and vanilla. Buttermilk makes all the difference here. I’ve tested this recipe with both regular milk and buttermilk. In my Pin Notebook, the version with buttermilk consistently produced softer layers and a smoother crumb. It’s worth the extra step.
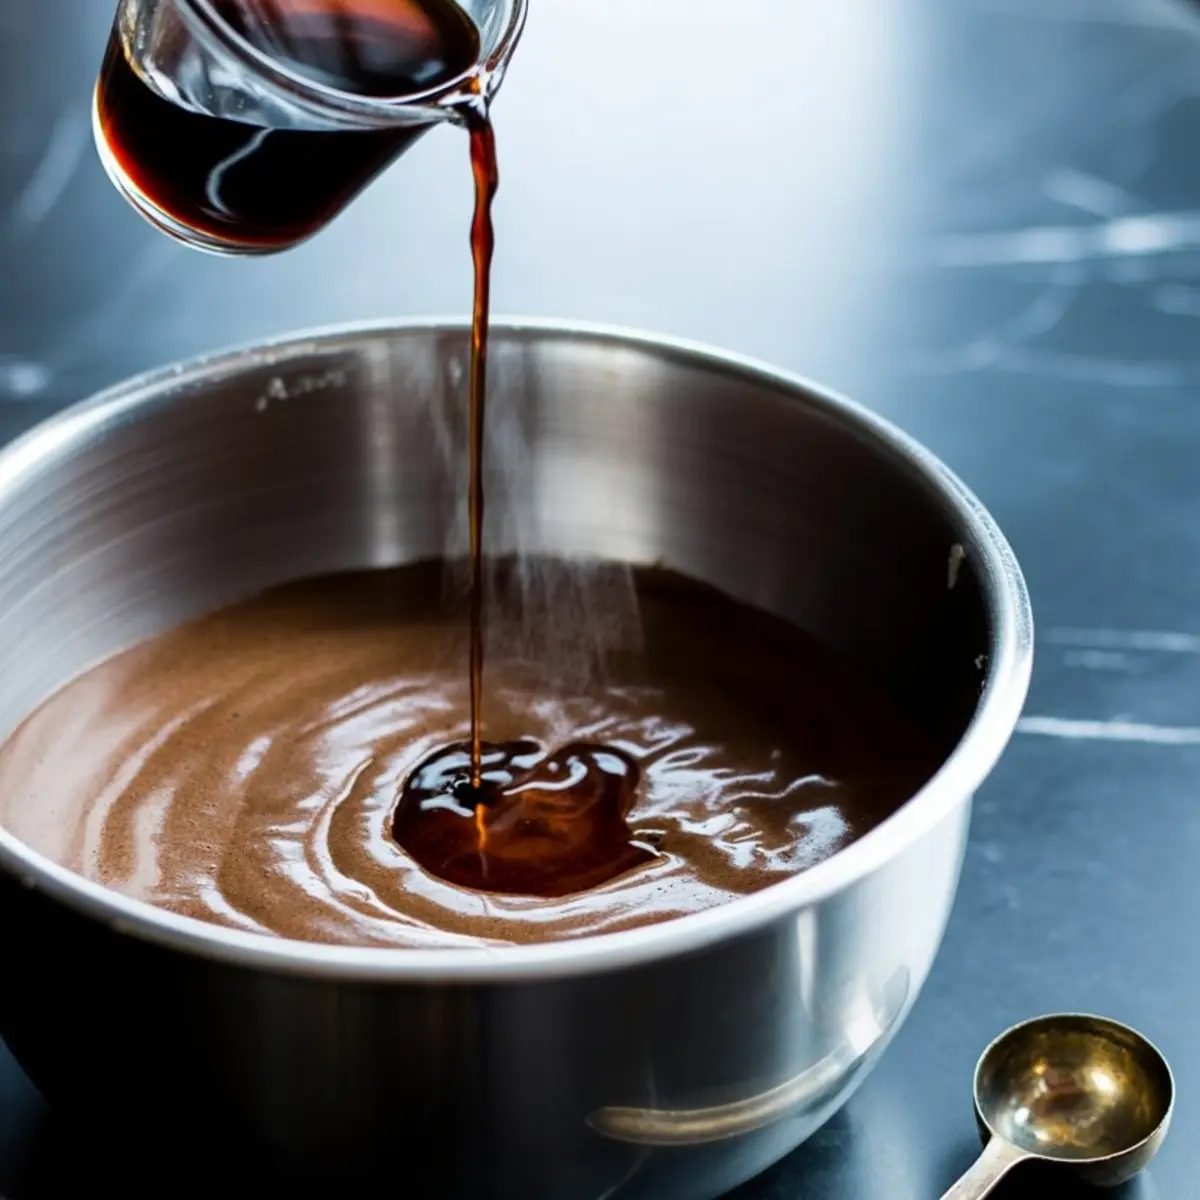
Hot coffee finishes the batter. It deepens the cocoa and loosens everything to a pourable texture. Don’t skip it or swap it for water. The difference shows in the bake.
If you’re working on a full Halloween dessert spread, this batter also works well for spooky cupcakes. You can find more Halloween cupcake ideas here.
Baking and Cooling Layers for a Stable Witch Cake Design
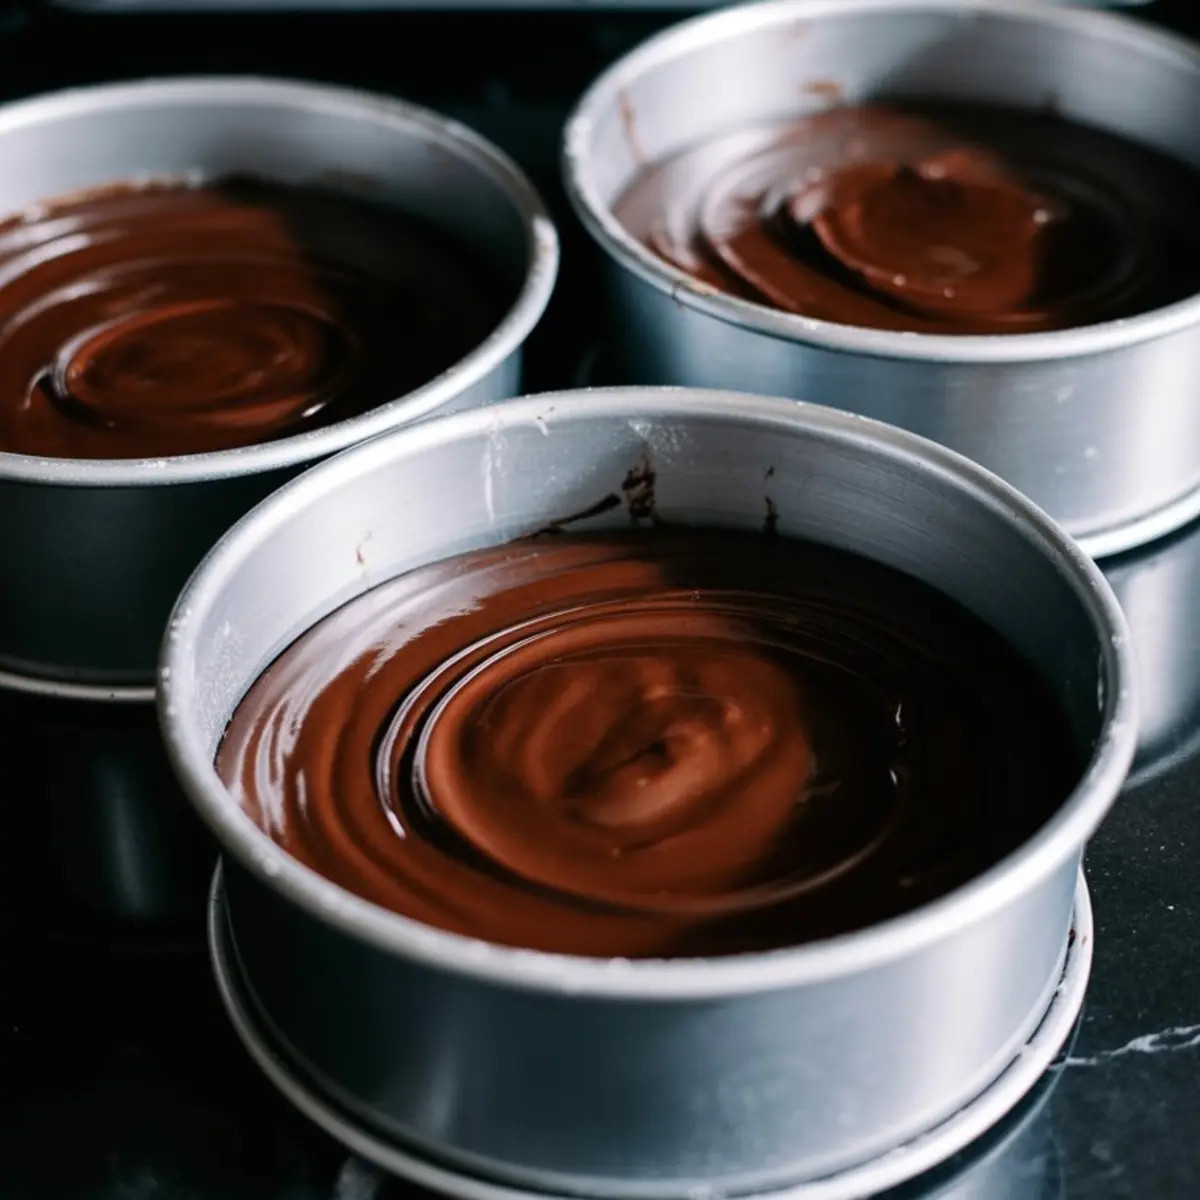
I use three 8-inch round pans lined with parchment paper. This keeps the bottoms from sticking and makes the layers easier to handle once cooled.
Each layer takes about 25 to 30 minutes to bake. A toothpick test is still the best way to check doneness, though I usually pull mine just before the edges darken. Cooling is key here. I cool them in the pans for ten minutes, then move them to wire racks.
When I’m short on time, I refrigerate the layers for 20 minutes. It helps firm them up for frosting.
Building the Chocolate Frosting for a Gothic Cake Look
The frosting uses softened butter, sifted powdered sugar, cocoa powder, and vanilla. I thin it out with a bit of milk or cream until it spreads smoothly but stays thick enough to hold shape. This gives you that witchy, gothic cake finish.
I like a rustic, swirled look over sharp edges. It makes the cake feel alive, like something bubbling in the woods under a full moon. If you like experimenting with texture, you can check out my Halloween brownies that use a similar swirl trick.
Making the Acid Green Ganache that Brings the Witch Cake Aesthetic to Life
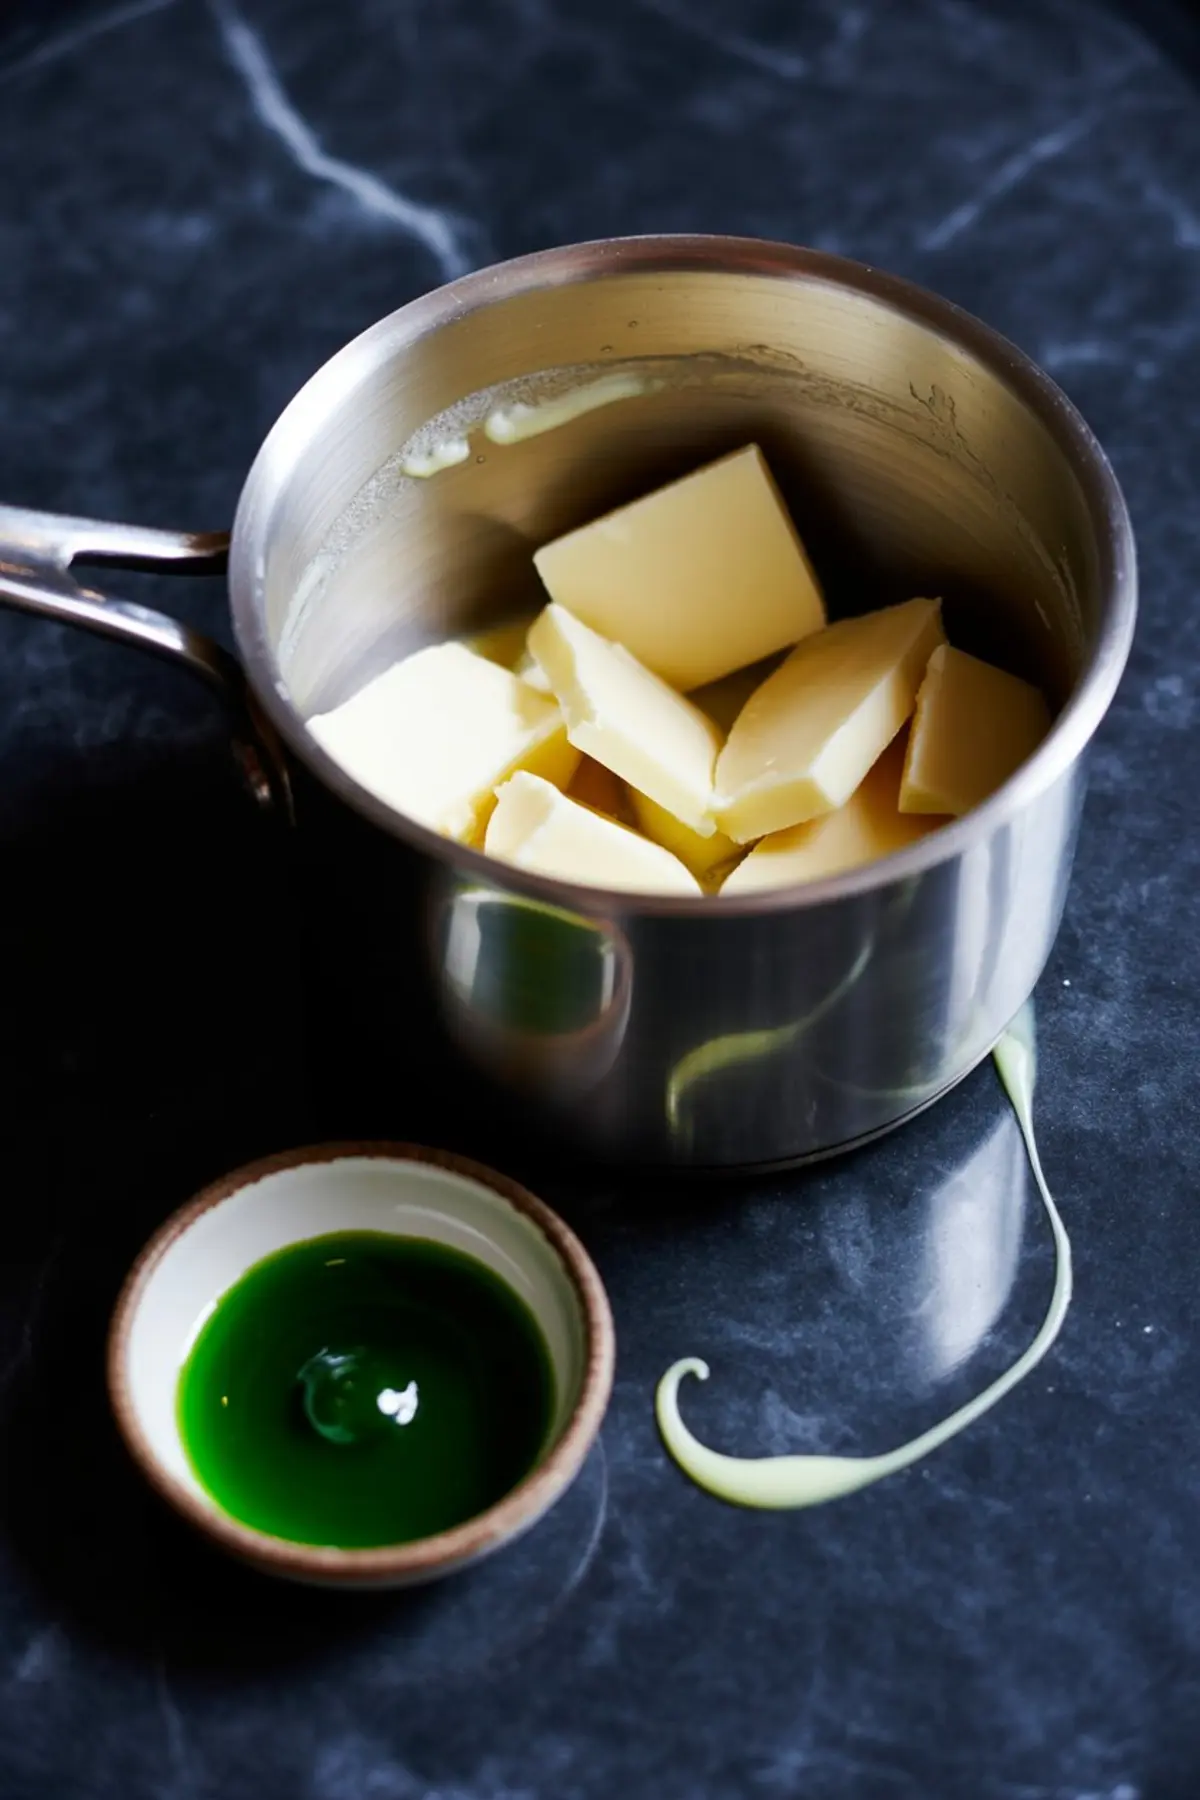
White chocolate and heavy cream form the base. I heat the cream until steaming, then pour it over the chocolate and let it sit for a minute before stirring. Patience matters here. Too much stirring too soon breaks the emulsion.
Then comes the color. Neon green gel food coloring. I add a little at a time until it hits that radioactive green I love. This is where the magic hides.
The secret ingredient? I use a single drop of lemon extract. It wakes up the sweetness of the white chocolate and gives the ganache a brightness that tastes…strange, in the best way. It’s the part that makes people pause mid-bite. They can’t always name it, but they taste something unexpected.
That dash of citrus is what makes this witches cake design pop—not just visually, but flavor-wise.
Assembly and Decorating for a Spooky Witch Cake with DIY Flair
I place one cake layer on a board, then spread a generous amount of frosting across the top. I repeat with the next two layers.
Once stacked, I coat the entire cake in frosting, smoothing it roughly with a spatula. This isn’t about perfection. It’s about story. The uneven texture reads as spell-cast chaos. I spoon the slightly cooled green ganache onto the center, letting it drip naturally. It doesn’t need to be even.
That bubbling effect? I swirl the ganache gently with the back of a spoon to mimic movement. Then I press candy eyeballs and bone-shaped sprinkles into the sides. Crushed Oreos or cocoa powder go on top for dirt. It’s whimsical, gothic, a little spooky.
Whiskers, my cat, tried to swat a candy eye off the edge last time I made this. He missed, but now I always double-check the decorations before serving.
Save This Spooky Cake Idea and Join the Conversation
This DIY witch-themed cake is my go-to Halloween cake aesthetic. Between the glowing ganache, the candy bones, and the eerie textures, it brings your dessert table to life.
If you’re into Halloween cake ideas with drama and flavor, this is one to bookmark. Or better yet, save this pin for your Halloween board. You can also explore more themed inspiration with this Halloween cheesecake guide.
Tried it? I’d love to hear how yours turned out. Share your tweaks or questions in the comments. Did your candy eyeballs survive the night? Did you add a witch hat topper?
Let’s swap stories.
Witch Cauldron Cake Recipe

Witch cauldron cake is one of the most dramatic Halloween cake designs, perfect for parties and themed gatherings. I bake a simple cake, then decorate it with dark frosting, candy bubbles, and spooky details to look like a bubbling cauldron. Some call it a witches cake recipe, others a witch cake design or cauldron cake, but each version captures that same Halloween cake aesthetic. I’ve seen witch birthday cake ideas, gothic cake decorations, and even Hocus Pocus cake inspirations, but this spooky witch cake stands out for its fun look. Among spooky cake ideas, it’s a DIY witch-themed cake design that’s festive, creative, and perfect for Halloween.
Ingredients
- FOR THE CAKE
- 2 cups all-purpose flour
- ¾ cup unsweetened cocoa powder
- 1½ teaspoons baking powder
- 1½ teaspoons baking soda
- ½ teaspoon salt
- 2 cups granulated sugar
- 2 large eggs
- 1 cup buttermilk
- ½ cup vegetable oil
- 2 teaspoons vanilla extract
- 1 cup hot coffee (or boiling water)
- FOR THE ACID GREEN GANACHE
- 12 ounces white chocolate, chopped
- ½ cup heavy cream
- Neon green gel food coloring (add gradually to reach desired shade)
- FOR THE CHOCOLATE FROSTING
- 1 cup unsalted butter, softened
- 3 cups powdered sugar
- ¾ cup unsweetened cocoa powder
- 1 teaspoon vanilla extract
- 2–3 tablespoons milk or cream
- DECORATIONS
- Candy eyeballs
- Candy bones or bone-shaped sprinkles
- Cocoa powder or crushed Oreos for “dirt”
Instructions
- PREPARE THE PANS AND OVEN: Preheat oven to 350°F (175°C). Grease and line three 8-inch round cake pans with parchment paper, ensuring the bottoms are fully covered to prevent sticking.
- MIX THE DRY INGREDIENTS: In a large bowl, whisk together the flour, cocoa powder, baking powder, baking soda, salt, and sugar until well combined. Set aside.
- COMBINE THE WET INGREDIENTS: In a separate bowl, whisk together the eggs, buttermilk, vegetable oil, and vanilla extract until smooth and fully incorporated.
- MAKE THE BATTER: Pour the wet ingredients into the dry ingredients and stir gently until just combined. Slowly pour in the hot coffee while mixing to create a smooth, thin batter. Do not overmix.
- BAKE THE CAKES: Divide the batter evenly between the prepared pans. Bake for 25–30 minutes or until a toothpick inserted in the center comes out clean. Let cakes cool in pans for 10 minutes, then transfer to wire racks to cool completely.
- MAKE THE CHOCOLATE FROSTING: In a large bowl, beat the softened butter until creamy. Sift in the powdered sugar and cocoa powder, mixing slowly at first to avoid a powder cloud. Increase speed and beat until combined. Add vanilla and just enough milk or cream to reach a thick, spreadable consistency.
- PREPARE THE GANACHE: In a small saucepan, heat the heavy cream over medium heat until it just begins to simmer. Pour it over the chopped white chocolate in a heatproof bowl. Let sit for 1 minute, then stir until completely smooth. Add green gel food coloring gradually, stirring until the ganache reaches the desired acid green color. Let it cool slightly until it thickens enough to pour without running too much.
- ASSEMBLE THE CAKE: Place one cake layer on a serving plate or cake board. Spread an even layer of chocolate frosting on top. Repeat with the second and third layers. Apply a generous layer of frosting to the top and sides of the cake, smoothing with a spatula.
- ADD THE GANACHE: Spoon the slightly cooled green ganache onto the center of the cake, letting it drip over the edges naturally. Use the back of a spoon to gently swirl it across the top to create a “bubbling potion” effect.
- DECORATE THE CAKE: Press candy eyeballs and bones into the sides of the cake. Sprinkle the top with cocoa powder or crushed Oreos to mimic dirt. Add extra candy bones on top for a spooky, crawling-out-of-the-cauldron effect.
Notes
To speed up cooling, refrigerate the cake layers for 20 minutes before assembly. For best color results, use gel food coloring, not liquid. Store the finished cake at room temperature for up to 2 days, or refrigerate if your kitchen is warm. Let sit at room temp before serving for best texture.
Nutrition Information:
Yield:
12Serving Size:
1Amount Per Serving: Calories: 878Total Fat: 44gSaturated Fat: 21gTrans Fat: 0gUnsaturated Fat: 19gCholesterol: 99mgSodium: 453mgCarbohydrates: 114gFiber: 3gSugar: 88gProtein: 10g
