
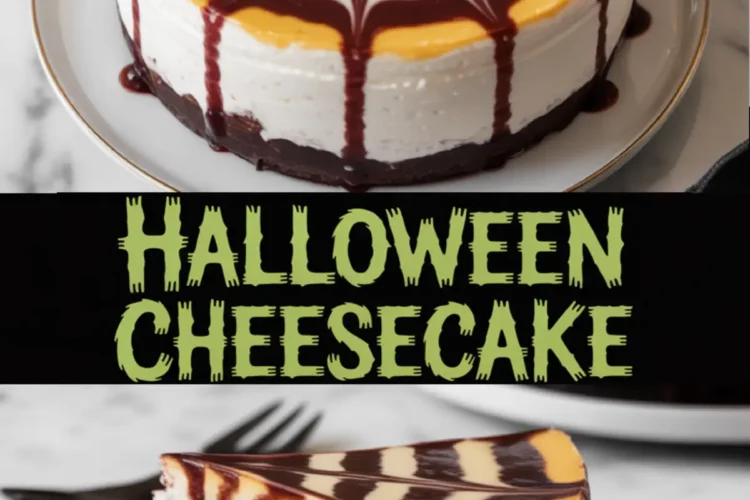
Halloween Cheesecake doesn’t whisper. It arrives cloaked in black cookie crust and dripping in deep crimson raspberry sauce. This spooky cheesecake recipe sets a mood before the first slice even falls. You came here for cheesecake Halloween brownies, spiderweb drips, maybe a spooky cake pop or two. But let me show you something different. Something blood-red and velvet-smooth that chills just right.
This dramatic dessert fits right into any Halloween themed dinner or table of spooky treats. Whether you’re planning a coffin cake or looking through Halloween cheesecake ideas for something eerie but elegant, this one strikes the balance. It plays nice with ghost cookies, spooky dinner punch, and even those messy-fun Halloween cake pops.
There’s confidence in a slice like this. That glossy topping sets with purpose. The filling doesn’t sink, and the crust holds its ground. Trust comes from that first bake, and I’ll walk you through it. You’ll finish this one with the kind of satisfaction that makes you write it down in your own Pin Notebook. I know I did.
There’s also a dash of something unusual in the topping. A little trick that brings the shine. We’ll get to that.
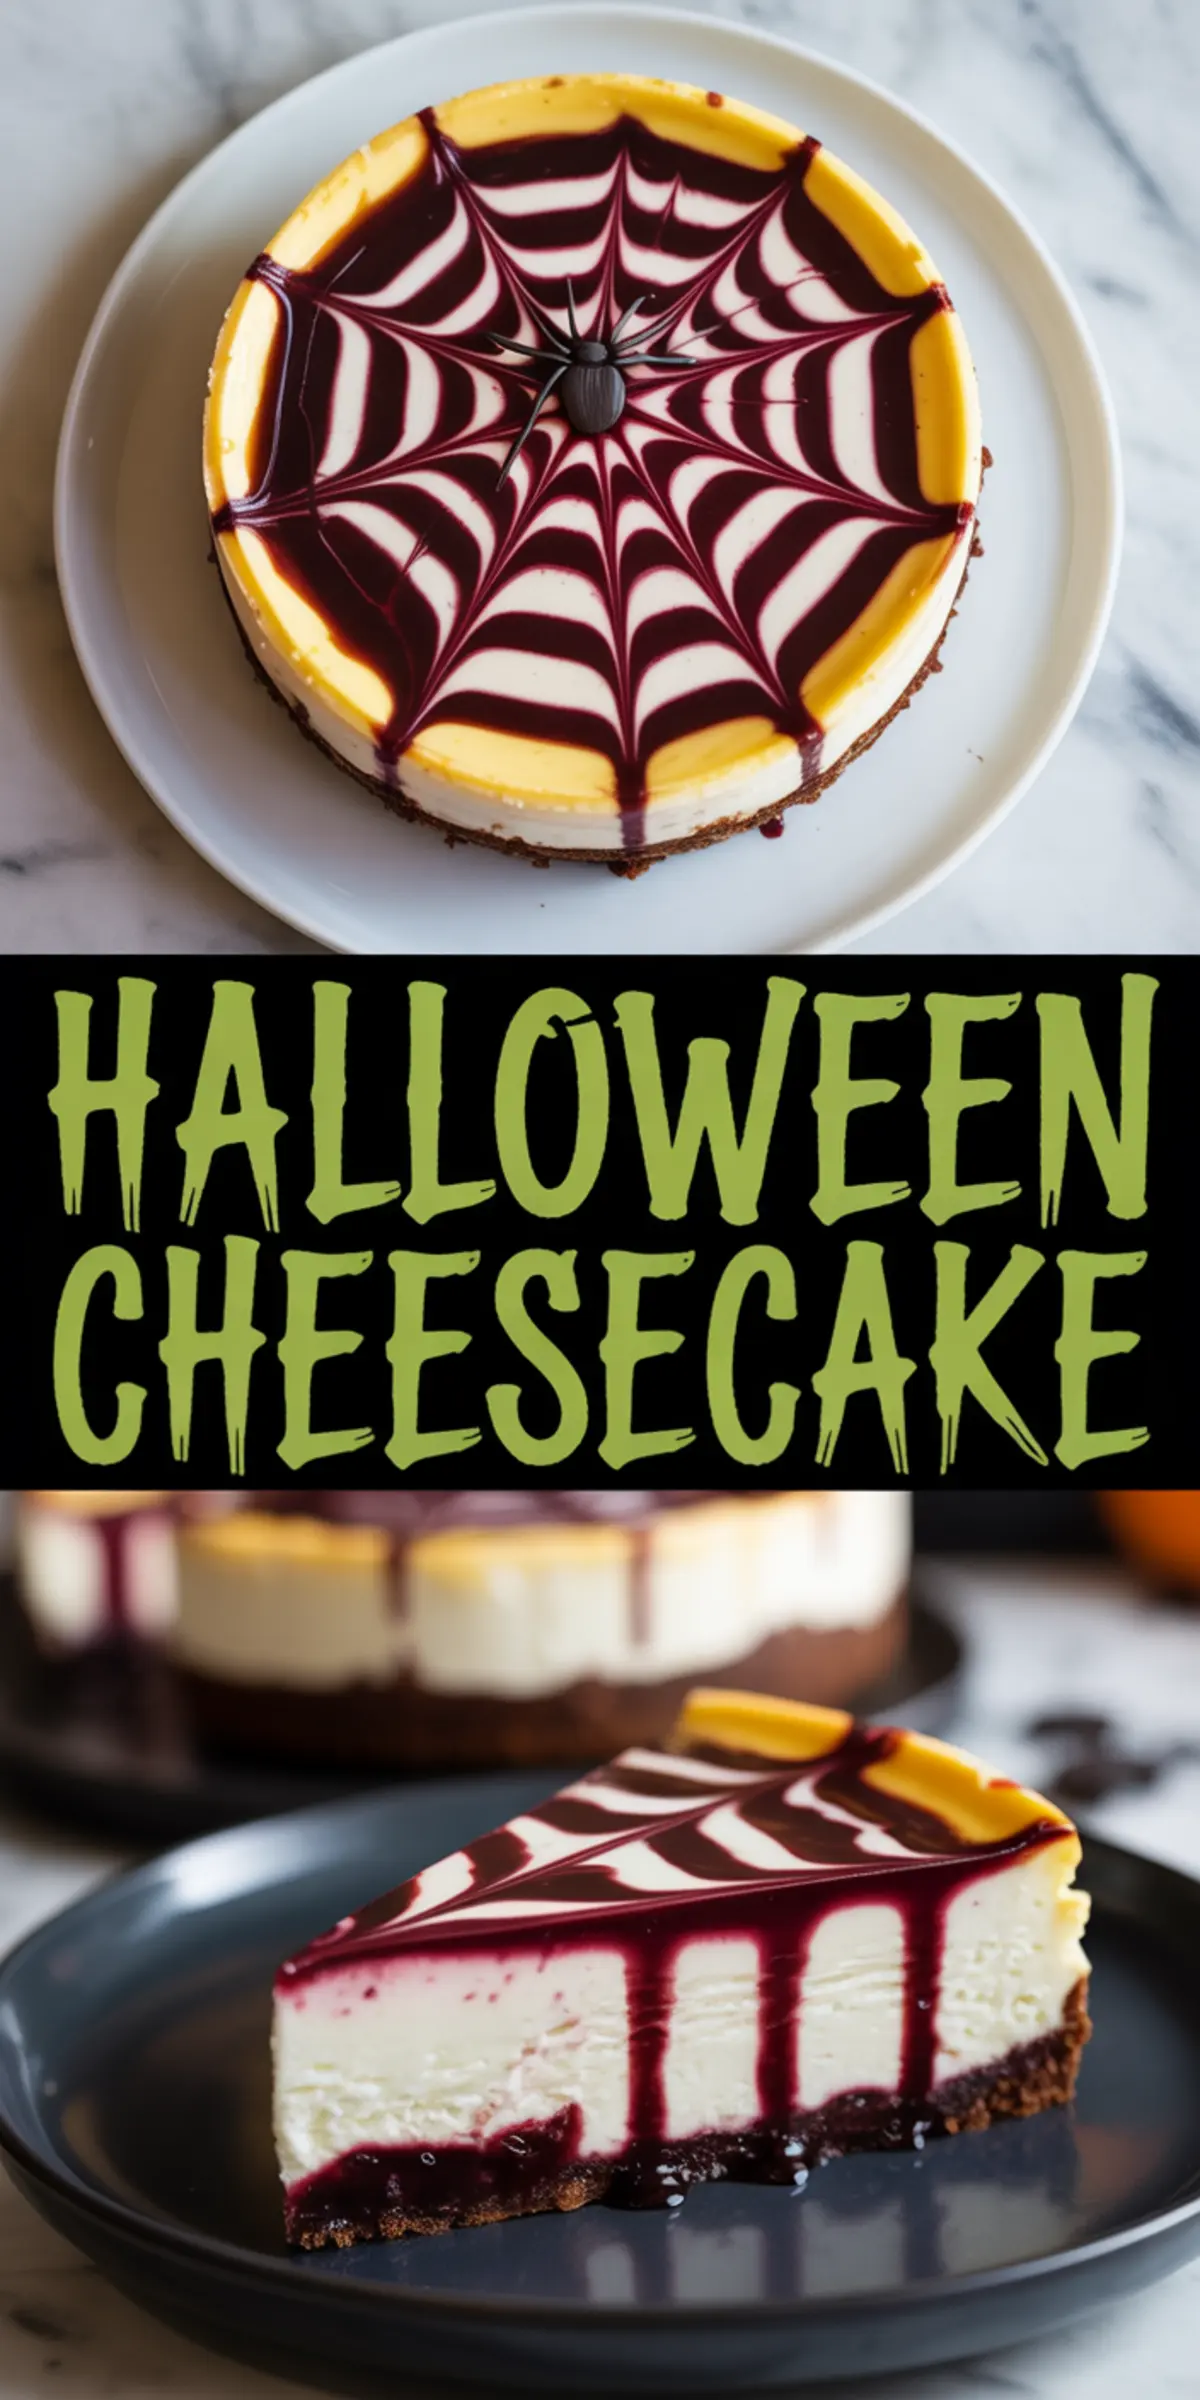
Dark Oreo Crust That Doesn’t Crumble

Start with cookies crushed so finely they feel like damp soil. That’s how I think of it when I’m working them in with melted butter. It should press into the pan with enough resistance to hold firm, but still give under your spoon.
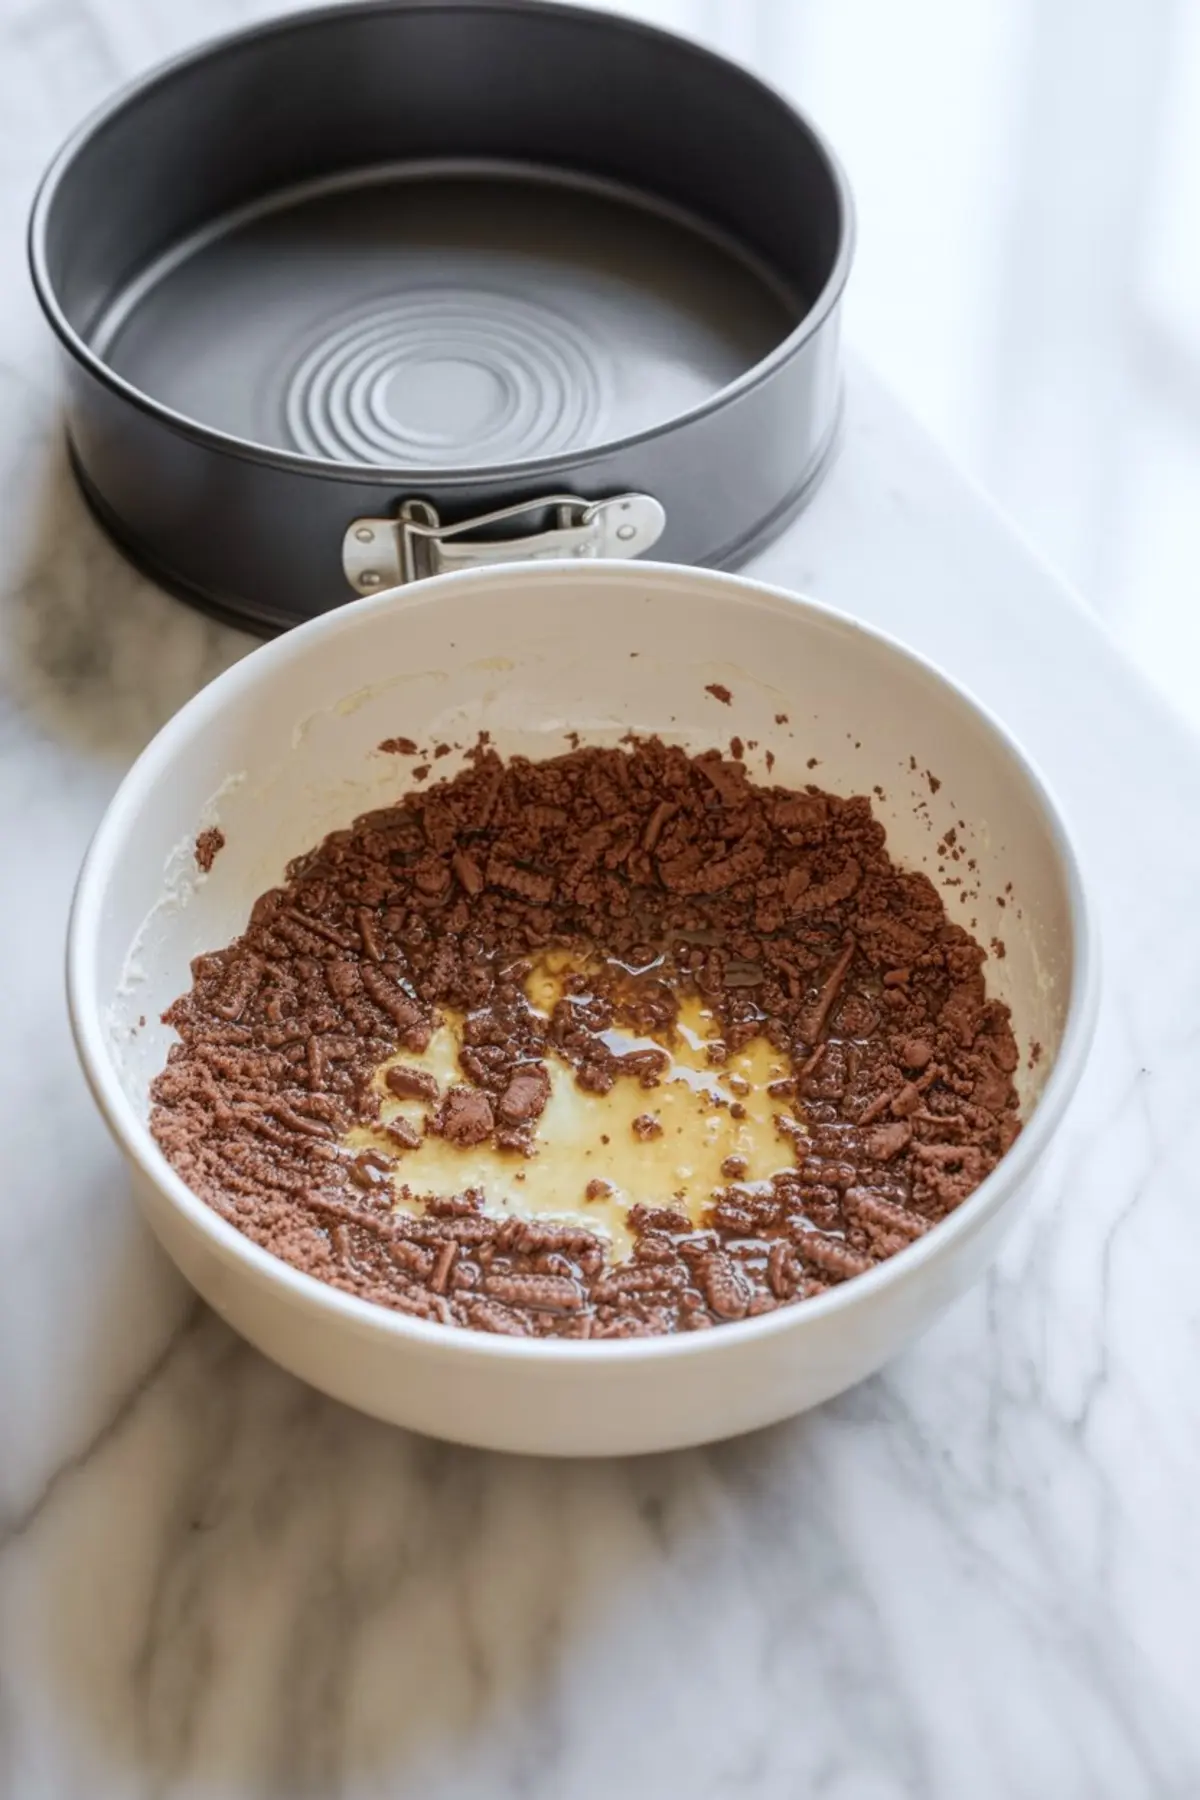
Use a measuring cup to flatten the base. Get the edges even. Don’t skip the bake on this part. Ten minutes in the oven helps the base lock in place. I’ve tried skipping it before on rushed mornings. The result? A crust that buckles. Let it bake. Let it cool.
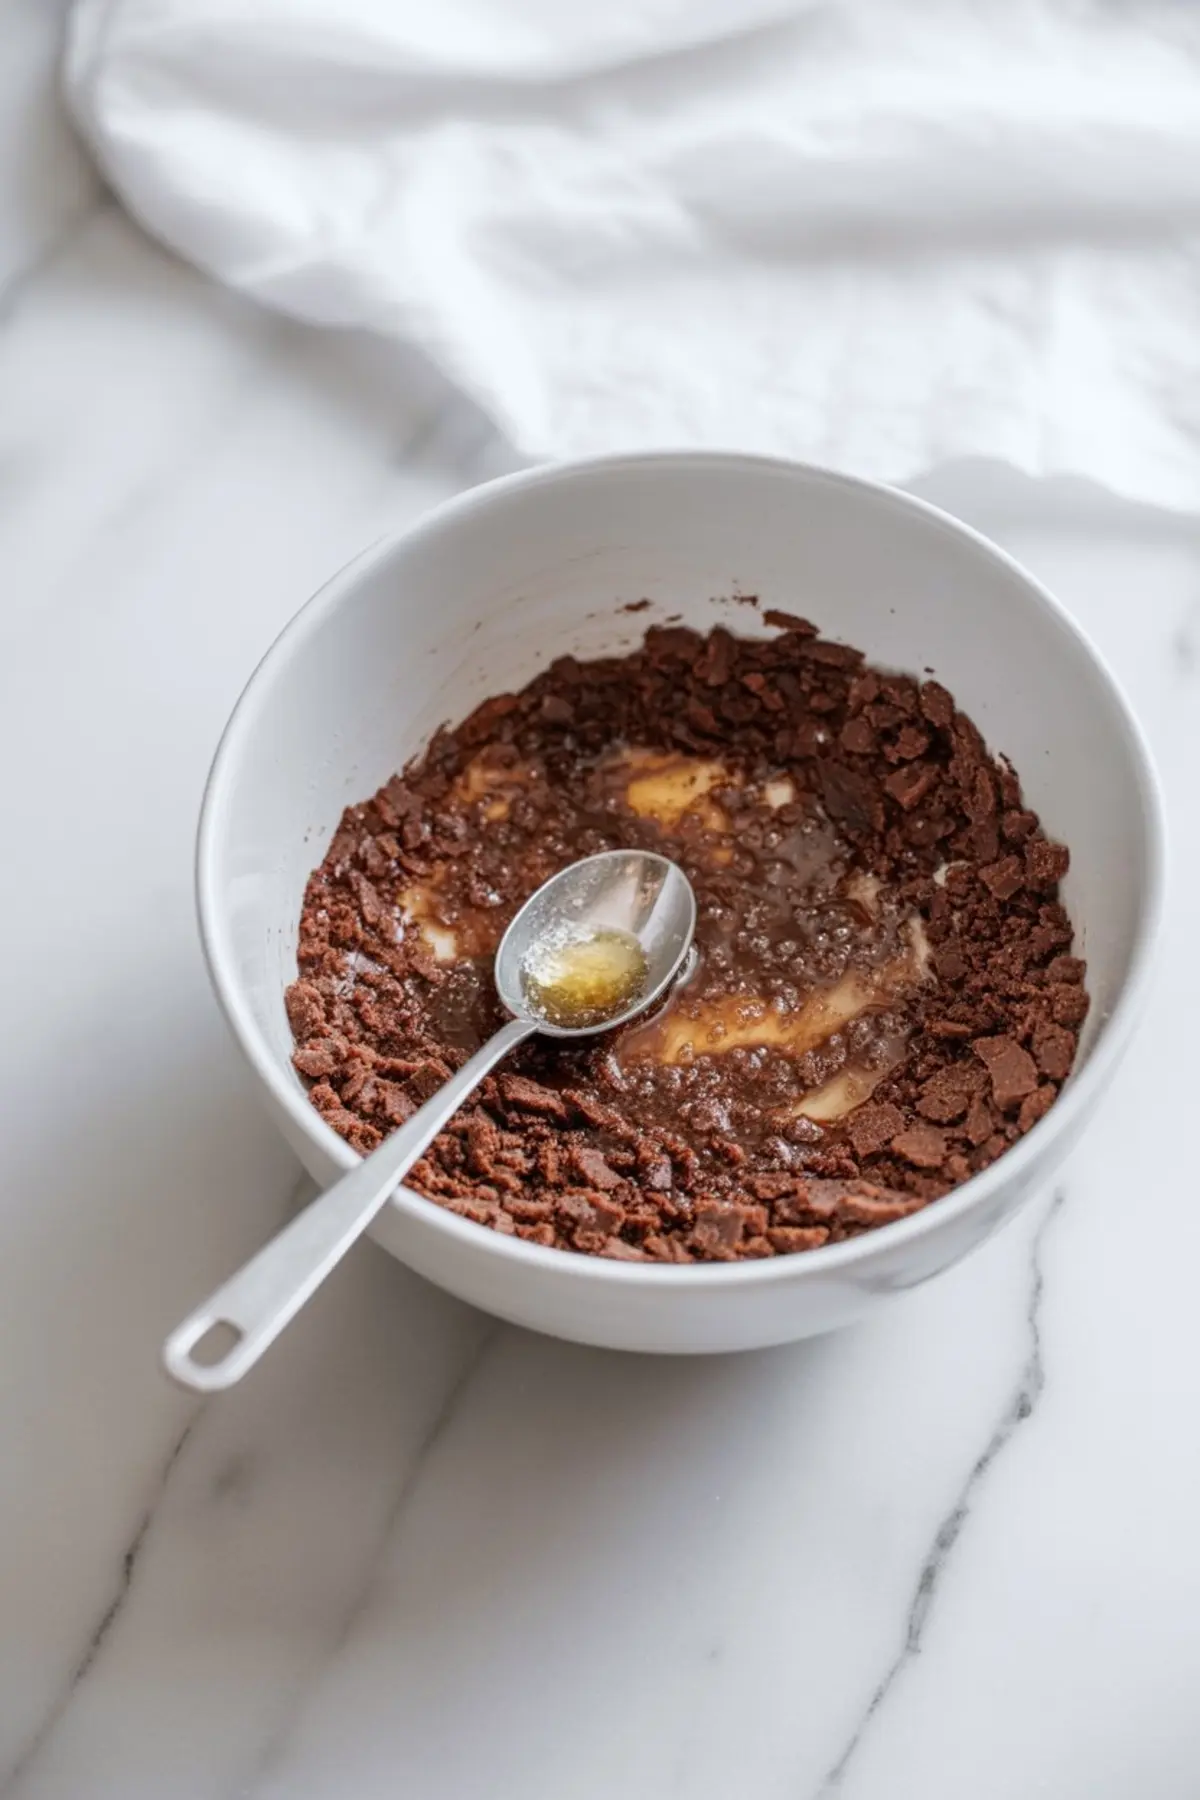
If you’re curious how this crust compares to graham cracker bases, I’ve made both dozens of times. Graham gives a softer sweetness, more classic. Oreo crust adds depth. That bitter cocoa edge supports fruit toppings better, especially tangy ones.
Smooth Cream Cheese Filling That Sets With Grace
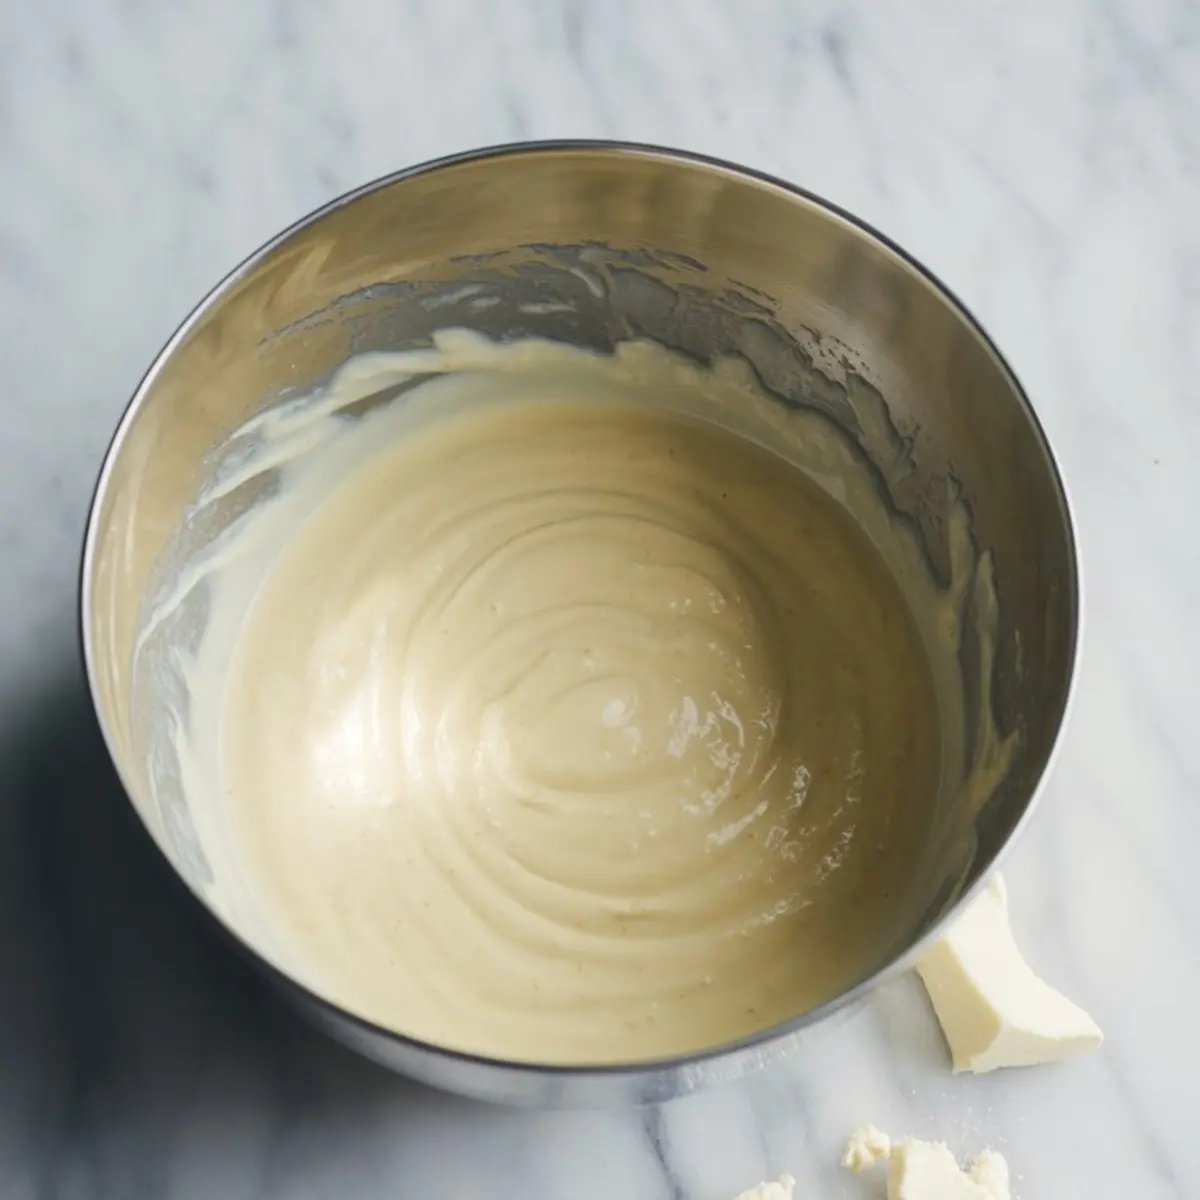
I always start with room-temperature cream cheese. Cold blocks fight back. Softened cream cheese folds in like silk. Sugar, vanilla, and just a touch of salt bring out the tang you want in a cheesecake filling. Mix slow once the eggs go in.
Too much air, and your cheesecake will puff like a souffle then collapse. You don’t want that. Stir the sour cream in by hand at the end. Gentle. No rush here.
Pour it over the cooled crust, smooth the top with a spatula, and it’s ready for the bath.
Baking the Cheesecake Without Cracks or Sinking
Water baths sound fussy, but they work. Wrap the springform pan tightly with foil. Place it in a roasting pan. Add hot water until it reaches halfway up the sides.
Bake low and slow, 325°F, until the edges look firm but the center wobbles. That jiggle is key. Turn off the oven, crack the door, and let the cheesecake cool in there. This gradual cool-down prevents sinking.
Once it’s out of the oven, let it rest on the counter. Then refrigerate. At least six hours. I usually leave it overnight. The filling sets to a smooth firmness that slices cleanly. Like in my favorite cheesecake recipes, chilling gives the structure time to form.
The Bloody Raspberry Topping: Making the Halloween Statement
Start with frozen raspberries. Let them simmer with water, lemon, sugar, and cornstarch. Stir until it thickens. Strain it through a fine sieve, and press well. You want every last drop of that ruby liquid.
Now, here’s where the surprise comes in. The ingredient that gives the topping its lacquered finish. Corn syrup. Just a tablespoon or two brings the gloss without dulling the color. In my Pin Notebook, I mark it with a star. It doesn’t change the flavor much, but it does change the look.
Add your red gel food coloring gradually. You’re looking for deep, bloodlike red—something that makes people do a double take. Let it cool fully before pouring.
Assembling the Cheesecake for Maximum Drama
Once the cheesecake is cold and firm, pour the cooled sauce slowly over the center. Use a spoon to encourage drips over the sides. A few uneven trails add character.
Chill again to let the topping set. At least thirty minutes. The sauce will form a glossy layer you can slice through without sticking. Serve it cold. The contrast between the creamy filling and that tart fruit glaze gives each bite balance.
This kind of treat fits right beside your other spooky desserts. It holds its own on a Halloween dessert table lined with Halloween brownies and gummy worms.
Whiskers Tried to Lick the Foil: True Story
While I was cooling this cheesecake on the counter, my cat Whiskers decided to investigate. He knocked a spoon off the edge and nearly unwrapped the foil. He’s sly. Loves butter. Probably thought there was cream cheese in it for him too.
He’s tried this before. Once got his nose dusted in cocoa powder. I never leave cheesecake unattended anymore. He’s fast when he wants to be.
Save This One for Halloween and Beyond
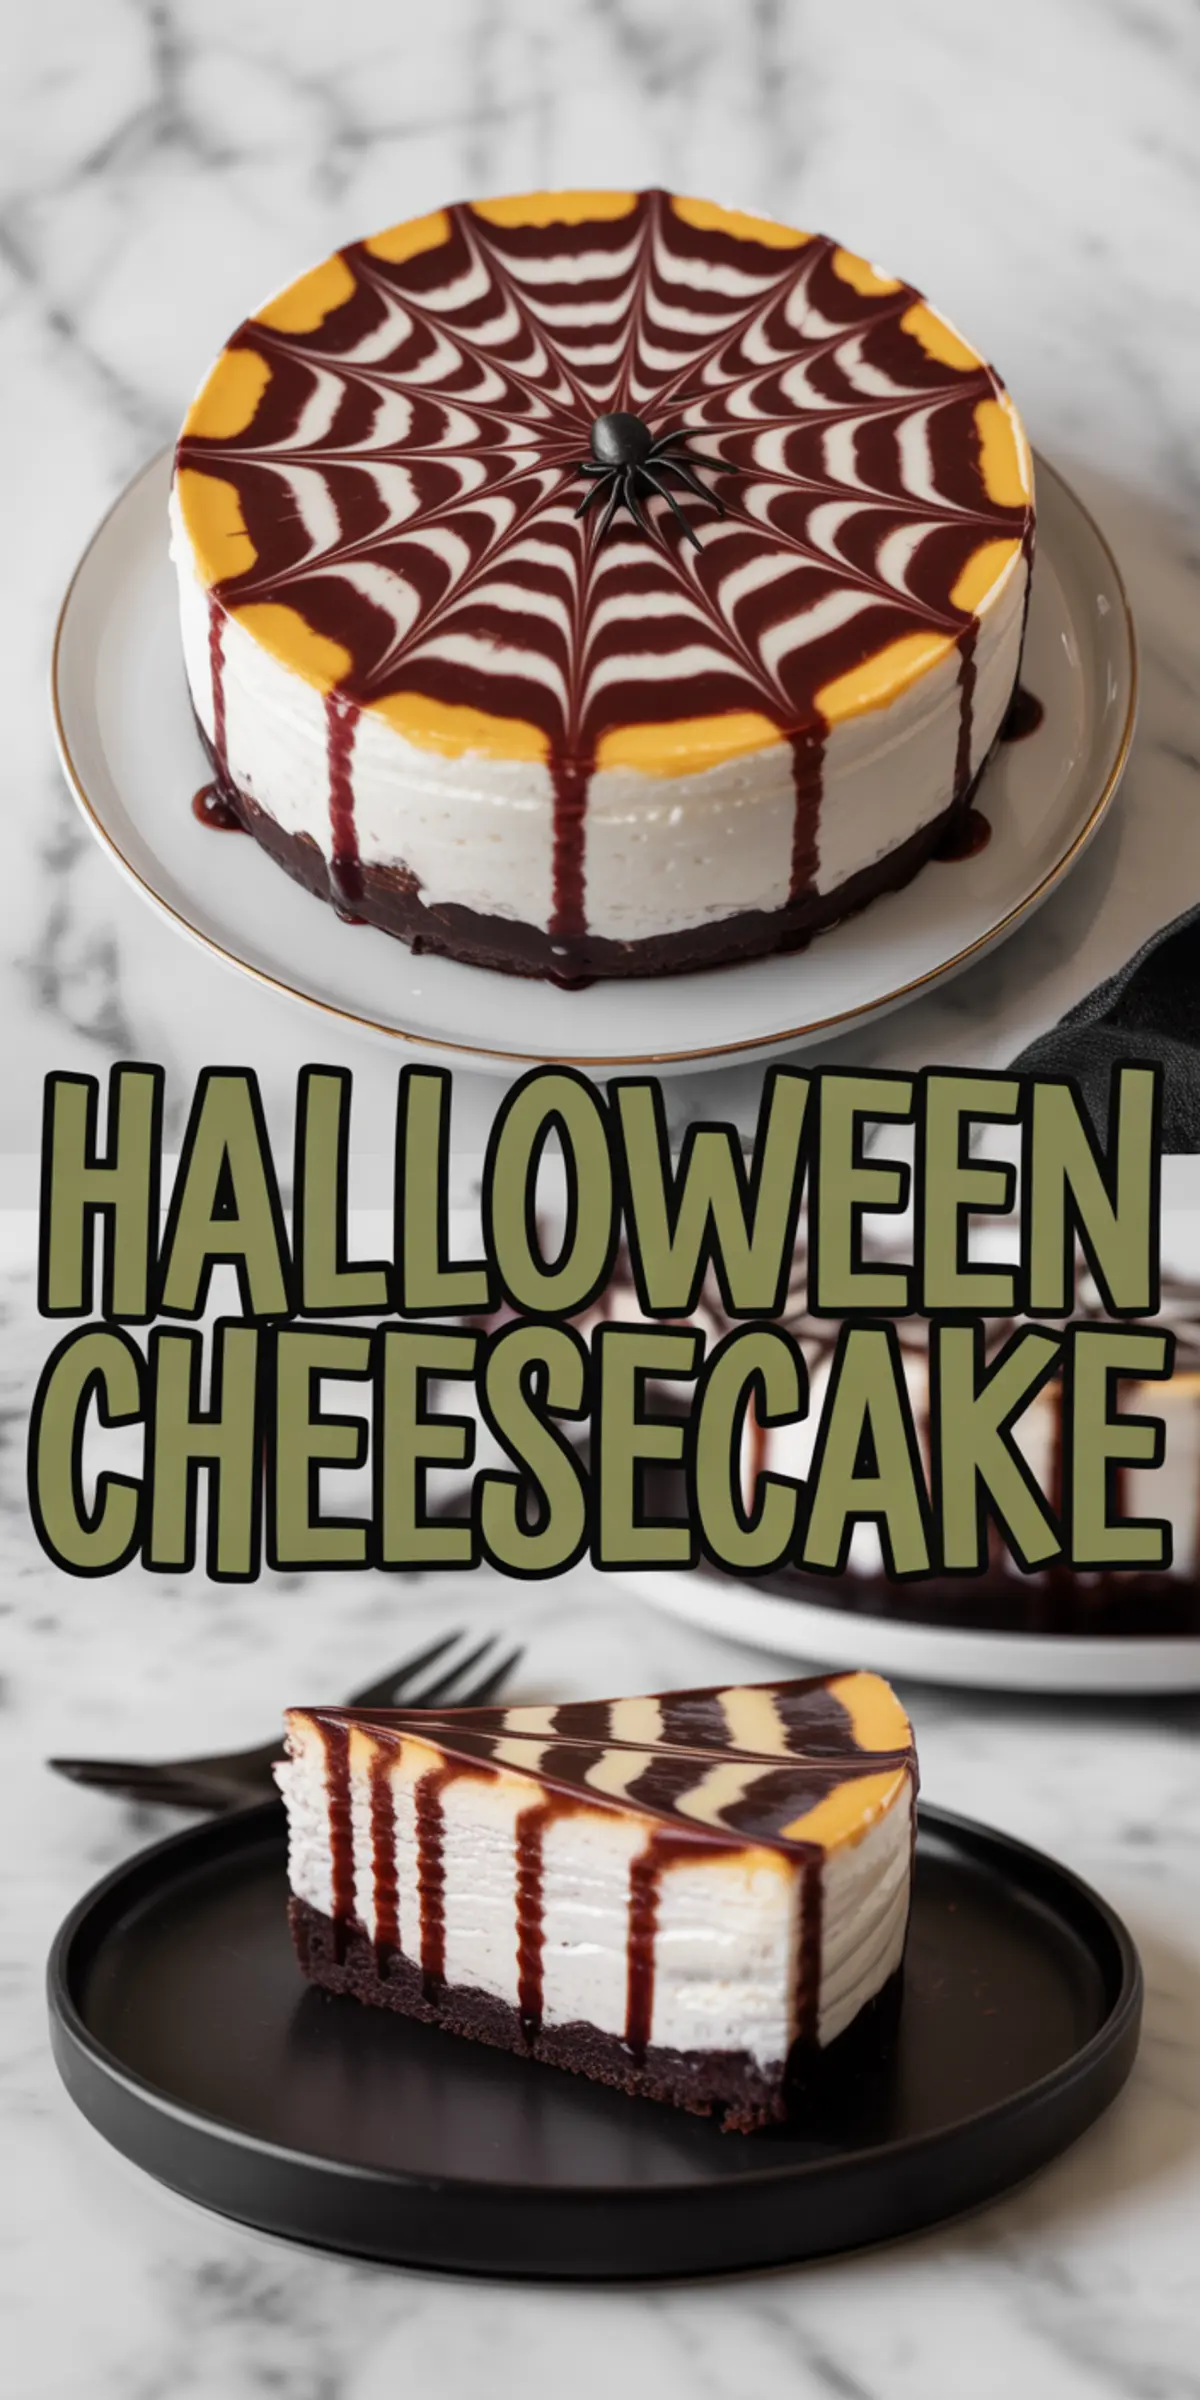
This bloody cheesecake draws eyes and holds attention. Whether you’re baking ahead for a spooky dinner or need a dramatic showstopper for your Halloween party, this dessert delivers structure, flavor, and finish.
I’d pin it to your Halloween board now so you don’t forget. You can find a spot between your coffin cake plans and Halloween cheesecake ideas. And when you make it, come back and tell me how it went. I’m curious did your sauce drip just right? Did someone gasp at the first slice?
Leave a comment. Ask questions. We can swap notes, just like I do in my Pin Notebook.
Bloody Halloween Cheesecake Recipe
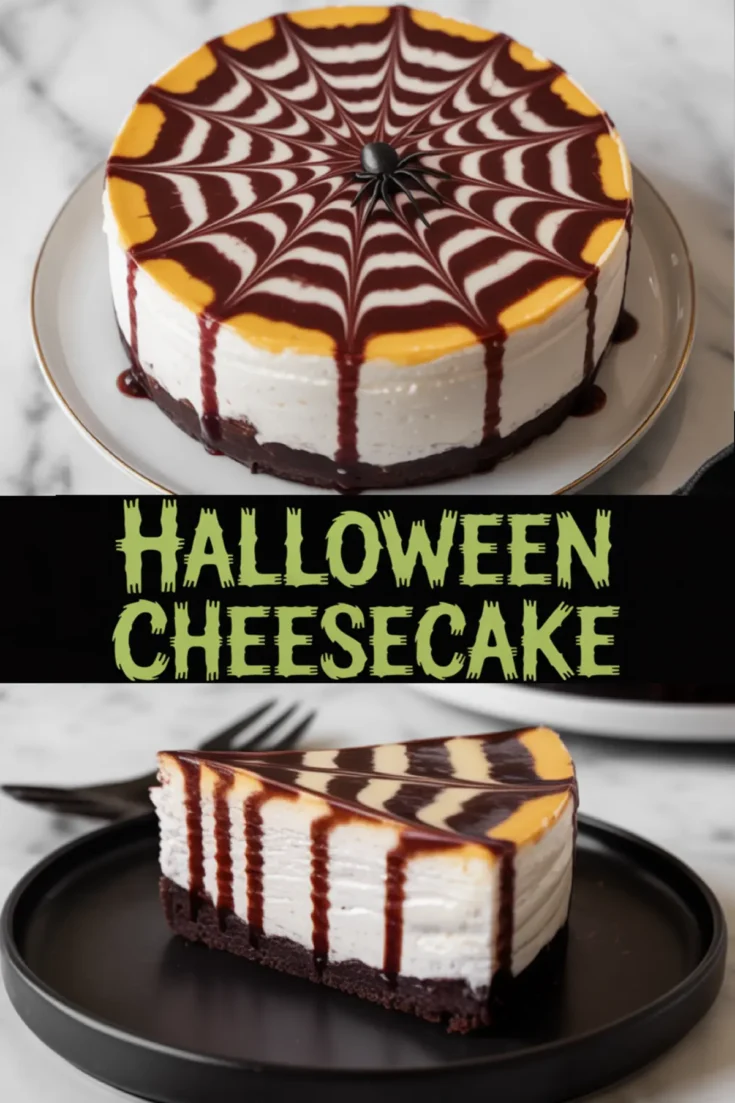
Halloween cheesecake is one of those spooky desserts that looks dramatic but is easy to make. I bake a creamy cheesecake, then top it with chocolate to create a spider web pattern that makes it perfect for Halloween parties. Some call it spooky cheesecake, others list it under cheesecake recipes Halloween style, but no matter the name it always stands out. I’ve seen Halloween cheesecake ideas decorated with candy, coffin cake designs, and even cheesecake Halloween brownies, but the web topping is my favorite. Among Halloween themed desserts, this spooky cheesecake is simple, striking, and delicious enough to serve alongside Halloween cake pops or other festive treats.
Ingredients
- FOR THE CRUST
- 24 chocolate sandwich cookies (Oreos), finely crushed
- 5 tablespoons unsalted butter, melted
- FOR THE FILLING
- 24 oz cream cheese (3 blocks), softened
- 1 cup granulated sugar
- 1 teaspoon vanilla extract
- Pinch of salt
- 3 large eggs, room temperature
- 2/3 cup sour cream
- FOR THE BLOODY TOPPING
- 1/2 cup frozen raspberries (for flavor only)
- 1/4 cup water
- 2 tablespoons lemon juice
- 1/3 cup sugar
- 2 tablespoons corn syrup (for shine)
- 1 tablespoon cornstarch
- Red gel food coloring (start with 1/2 teaspoon and add until deep crimson)
Instructions
- PREPARE THE PAN: Heat the oven to 325°F. Line a 9-inch springform pan with parchment paper on the bottom and wrap the outside tightly in foil to prepare for a water bath.
- MAKE THE CRUST: Combine the crushed Oreo cookies and melted butter in a bowl and stir until evenly moistened. Press the mixture firmly into the bottom of the prepared pan using the bottom of a flat measuring cup or glass. Bake for 10 minutes, then remove and let cool while you prepare the filling.
- MAKE THE FILLING: In a large mixing bowl, beat the softened cream cheese until completely smooth and no lumps remain. Add the sugar, vanilla extract, and salt and beat again until well combined. Add the eggs one at a time, mixing on low speed after each addition just until incorporated. Stir in the sour cream by hand to avoid overmixing. Pour the filling over the cooled crust and smooth the top evenly.
- BAKE THE CHEESECAKE: Place the springform pan into a larger roasting pan. Pour hot water into the roasting pan until it reaches halfway up the sides of the springform pan. Bake for 55 to 65 minutes, or until the edges are set and the center has a slight wobble when gently shaken. Turn off the oven, crack the door open, and leave the cheesecake inside for 1 hour to cool gradually.
- CHILL THE CHEESECAKE: Remove the cheesecake from the water bath and discard the foil. Let it cool to room temperature, then refrigerate for at least 6 hours or overnight for best texture and flavor.
- MAKE THE BLOODY SAUCE: In a small saucepan, combine frozen raspberries, water, lemon juice, sugar, and cornstarch. Bring to a simmer over medium heat and cook until slightly thickened, about 3 to 5 minutes. Strain through a fine mesh sieve to remove seeds, pressing with a spoon to extract as much liquid as possible. Stir in the corn syrup and red gel food coloring, starting with 1/2 teaspoon and adding more until the sauce reaches a deep crimson shade. Let the sauce cool completely.
- ASSEMBLE THE CHEESECAKE: Pour the cooled blood sauce over the chilled cheesecake, letting it drip naturally over the edges. Use a spoon to control the flow if needed for a more dramatic effect. Return the cheesecake to the refrigerator and chill for an additional 30 minutes to set the topping before slicing and serving.
Notes
To test the sauce consistency, spoon a small amount onto a cold plate and tilt. It should flow slowly and coat the surface without running off too quickly. Adjust thickness with a bit more cornstarch slurry if needed.
Nutrition Information:
Yield:
12Serving Size:
1Amount Per Serving: Calories: 488Total Fat: 33gSaturated Fat: 19gTrans Fat: 0gUnsaturated Fat: 11gCholesterol: 127mgSodium: 258mgCarbohydrates: 43gFiber: 1gSugar: 36gProtein: 7g
