

I saw a bunny-shaped dessert at one of my aunt’s gathering. She had prepared something that brought immediate joy to every face in the room. That memory stayed in my mind, and years later, I decided to create my own version of an Easter Bunny Cake.
One day, I stood in my kitchen and pictured a fluffy and moist cake that would evoke that same sense of delight. I gathered the essentials, set out to experiment, and realized there was a little twist that could make it shine. That unexpected element deserves some suspense, so hold that thought until later.

Ingredients You Need for Your Easter Bunny Cake
The cake calls for a blend of all-purpose flour, baking powder, and salt to produce a moist, well-risen foundation. Softened unsalted butter and granulated sugar bring richness, while large eggs help build structure in each slice. Vanilla extract adds warmth and fragrance to the crumb, and whole milk smooths the batter into a creamy mixture.
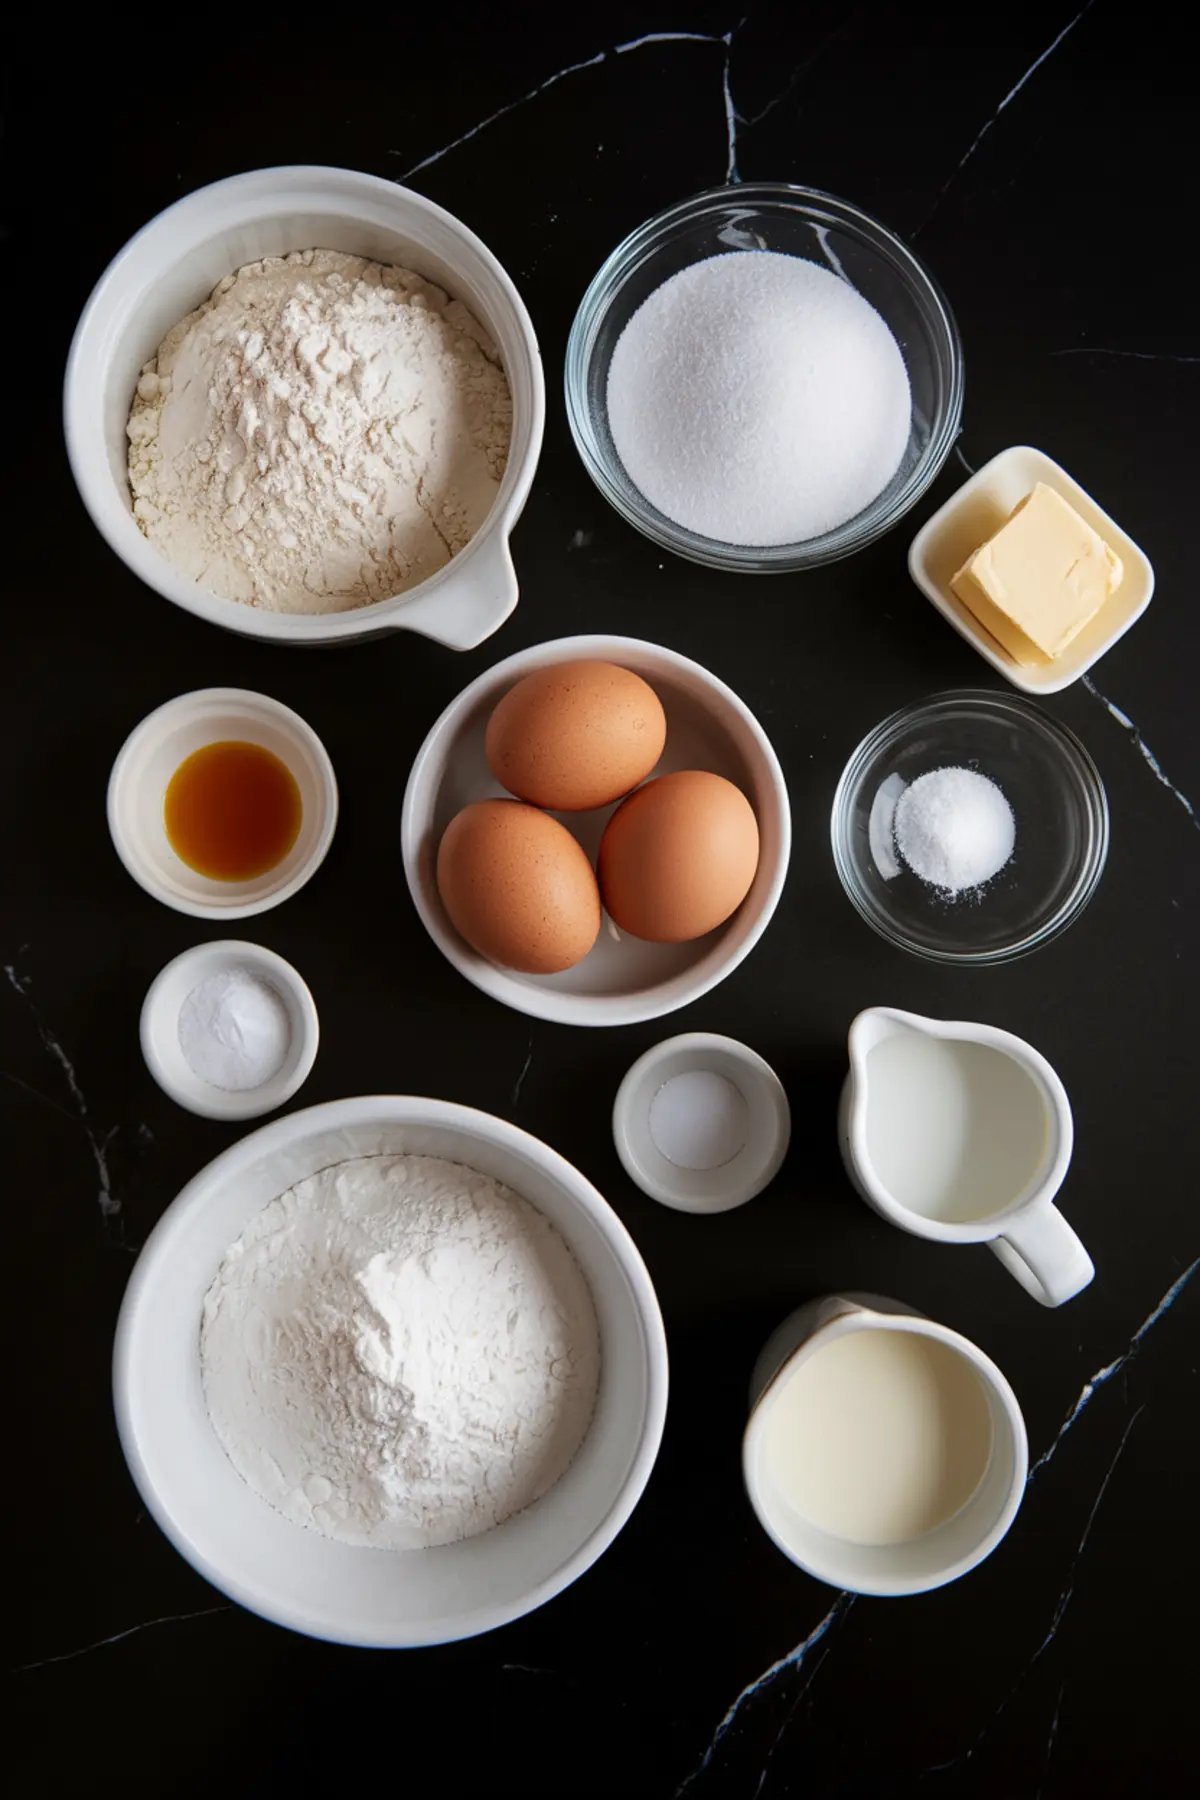
The frosting portion depends on unsalted butter and powdered sugar, whipped together until airy. Another dash of vanilla extract contributes a pleasant aroma, and heavy cream loosens the consistency for easier piping. The decorations require chocolate buttons for expressive eyes, pink fondant for a sweet nose and ear accents, plus black licorice sticks for whiskers.
Pink or white fondant shapes can be transformed into bunny ears, then attached to skewers for secure placement. A piping bag with a star tip is vital for creating those tufts of buttercream fur. Some prefer cardboard-backed ears, but a sturdier fondant version works well if it dries fully.
Steps To Bake And Assemble This Adorable Bunny Cake
A warm oven at 350°F (175°C) prepares the scene. Two nine-inch pans, greased and lined with parchment, await the batter. Flour, baking powder, and salt unite in a bowl, while butter and sugar transform in another until they achieve a pale, fluffy consistency.
Eggs then join the party one at a time, followed by a swirl of vanilla extract that teases the senses. The dry mixture enters in segments, alternating with splashes of milk, ensuring the batter maintains a smooth texture. The resulting cake layers emerge from the oven golden and aromatic after about 30 to 35 minutes, then cool on racks to prevent overbaking.
Assembling Your Easter Bunny Cake
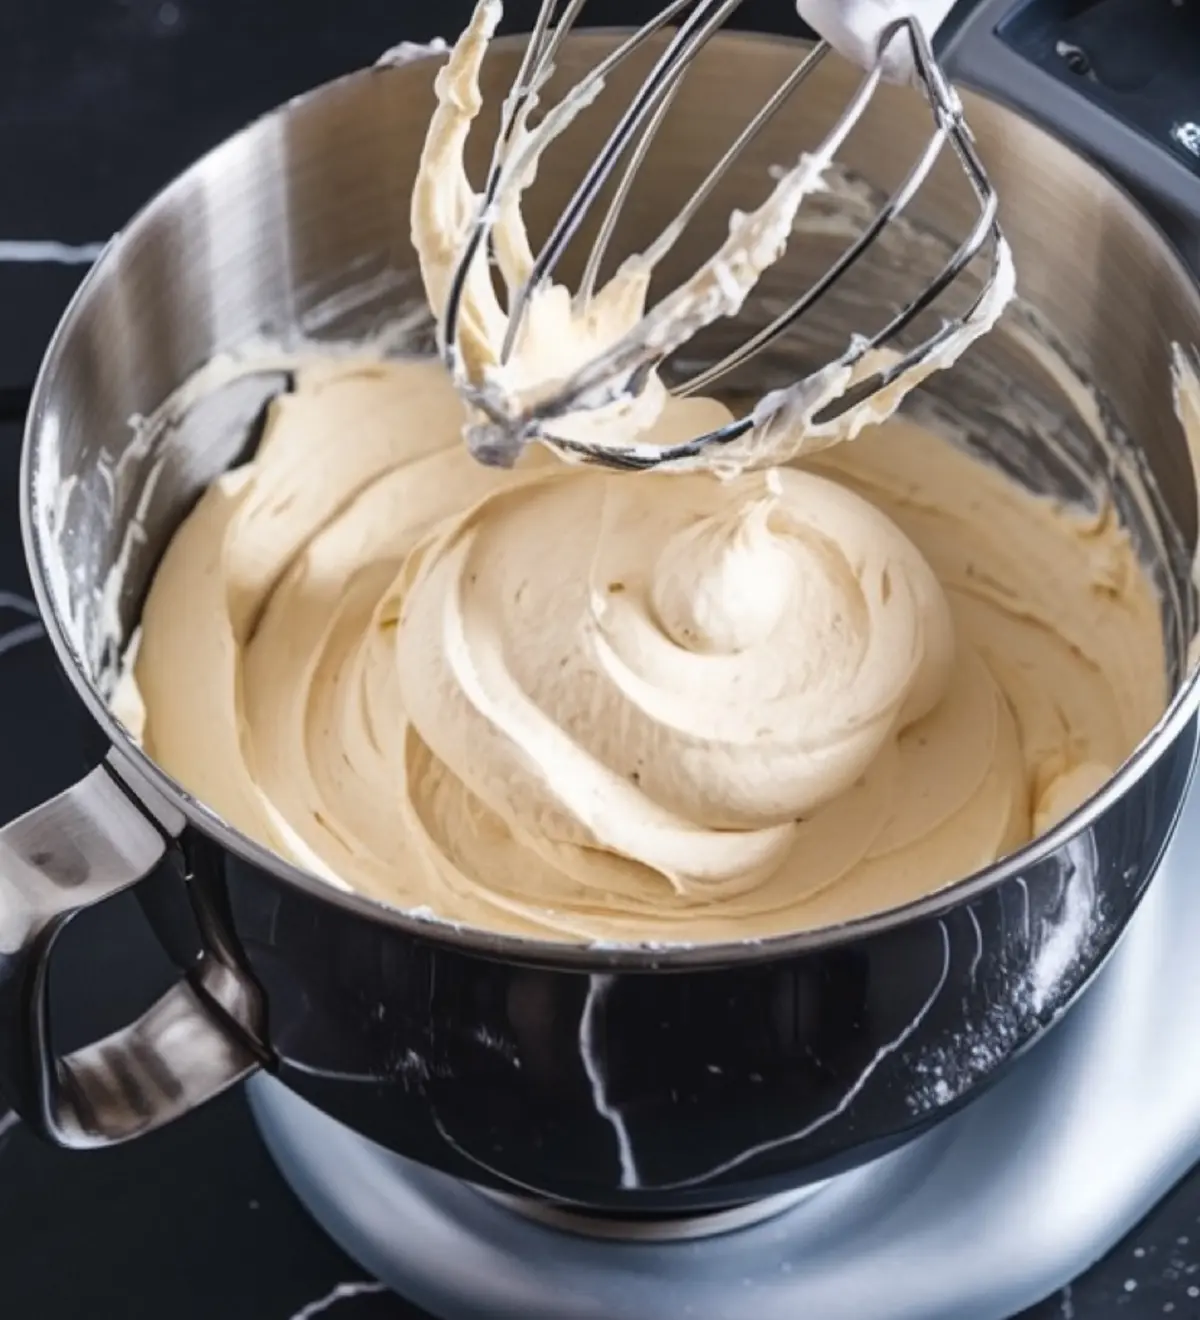
Buttercream frosting begins with butter beaten until it turns creamy. Powdered sugar enters in gradual shifts, followed by more vanilla, then heavy cream to give the mixture a velvety finish. One cake layer sits on a plate, crowned with a spread of frosting, before meeting the second layer.
A quick crumb coat locks in stray cake bits, followed by a brief chill in the fridge. Star-tipped piping swirls around every surface, creating fur that pleases the eye. Fondant ears, attached to skewers with melted chocolate or icing, stand tall on top, supported by a gentle push into the cake and reinforced by extra frosting near the base.
Chocolate buttons and pink fondant form the bunny face, complemented by black licorice whiskers. The entire creation stands proud and cheerful, waiting for the final reveal of that special ingredient. The process so far has brought us to this point, yet there is a secret that takes this cake to another level.
The next step could be skipping straight to slicing, but I once added a subtle infusion that changed everything. My cat, Whiskers, perched on the counter with a curious tilt of his head. He seemed to sense that I had introduced a small spoonful of almond extract to the final batter, and I recorded that adjustment in my Pin Notebook with a smile.
Revealing The Secret Ingredient
Almond extract might look ordinary, but it adds a gentle flavor that glides through every crumb. A single teaspoon goes into the batter alongside the vanilla. My Golden Spoon, inherited from Aunt Marian, made its appearance at that stage, measuring out the drops with steady precision.
This detail might sound small, yet I have noticed that people pause after the first bite, trying to figure out what makes the taste so pleasant. Those who have tasted my early trials sometimes mention a mild, nutty note that they can’t quite name. That tiny addition remains the dash of magic.
More Delightful Easter Desserts You’ll Love
Curious about other celebrations that feature creative desserts? I made a Blueberry Babka once, which delighted everyone at a family brunch. Friends have also raved about this Honey Pistachio Baklava Cheesecake that features sweet layers and crunchy toppings. A final festive suggestion is the Easter Basket Cake for those who appreciate whimsical spring designs.
Easter time deserves cheer and brightness, and a Bunny Cake can enhance any table display. I reach for my Pin Notebook whenever I adjust ingredient ratios, decorate with new piping patterns, or try a fresh theme. Many recipes in that notebook started as ideas that seemed daring, yet turned into traditions over time.
Eager bakers sometimes worry about assembling fondant ears or piping fur evenly. Confidence often grows after the first attempt. The shape might look wobbly at first, but a calm approach and a steady swirl from the piping bag usually solve that problem.
This cake suits gatherings with friends, children’s parties, and festive brunches. The bunny face design appeals to anyone who smiles at sweet details. Eyes shaped with chocolate buttons help anchor the expression, while a pink fondant nose brings a playful vibe.
My cat, Whiskers, often lounges by the window and watches me carefully. He seems intrigued by the bustle of activity whenever I test a new dessert. That’s part of the joy, having a comforting presence nearby while frosting bright ears and whiskers.
Tips For Decorating Your Easter Bunny Cake Like A Pro
A pause for reflection often reveals ways to refine the design. A slight tilt to the ears or a sprinkle of colored sugar can shift the cake’s entire mood. My Pin Notebook preserves these small modifications, encouraging improvements over time.
I prefer to work in short bursts, chilling the cake in between frosting steps. That approach prevents melting and maintains a polished look. Some lines of piped fur might overlap, but the overall effect remains inviting.
One friend once noticed the Golden Spoon as I measured buttercream ingredients. She laughed at the notion of a “lucky spoon,” but I believe that passing cherished utensils through generations brings a gentle comfort. Familiar objects can infuse an extra layer of love into home baking.
Whiskers sometimes meows at the sweet scents, though he never tastes them. That quiet presence reminds me of shared traditions, like Aunt Marian’s battered mixing bowls or my aunt’s well-worn apron. Baking has a way of carrying those memories forward.
Share Your Experience And Pin For Later

I love hearing about readers who try this bunny-themed cake and transform it with personal touches. Save this post to your pin board for a quick reference next time, or share it with friends who adore springtime desserts. Share in the comments if you decide to create this Easter Bunny Cake, and feel free to ask questions or compare notes with others who have baked it.
Easter Bunny Cake
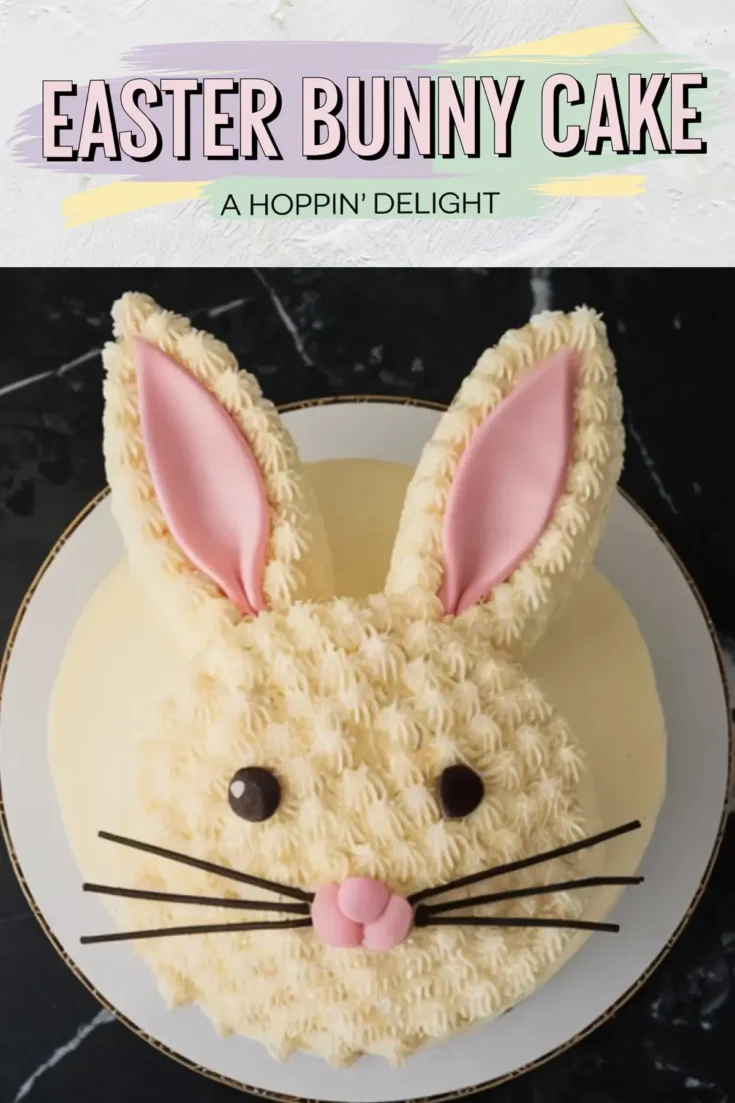
This Easter Bunny Cake is soft, buttery, and frosted with fluffy vanilla buttercream. The cake is shaped into a charming bunny face, complete with piped fur, chocolate eyes, and fondant ears. Sturdy skewers help the ears stay upright, making the design both adorable and easy to assemble.
Ingredients
- FOR THE CAKE:
- 2 ½ cups all-purpose flour
- 2 ½ teaspoons baking powder
- ½ teaspoon salt
- 1 cup unsalted butter, softened
- 2 cups granulated sugar
- 4 large eggs
- 1 tablespoon vanilla extract
- 1 cup whole milk
- FOR THE BUTTERCREAM FROSTING:
- 1 ½ cups unsalted butter, softened
- 4 cups powdered sugar
- 2 teaspoons vanilla extract
- 3 tablespoons heavy cream
- FOR DECORATION:
- 2 large chocolate buttons (for eyes)
- Pink fondant (for nose and inner ears)
- Black licorice sticks (for whiskers)
- Wooden skewers (for ears)
Instructions
- PREPARE THE CAKE BATTER: Preheat the oven to 350°F (175°C). Grease and line two 9-inch round cake pans with parchment paper. In a medium bowl, whisk together the flour, baking powder, and salt. Set aside.
- CREAM THE BUTTER AND SUGAR: In a large mixing bowl, beat the butter and sugar until light and fluffy, about 3 minutes.
- ADD EGGS AND VANILLA: Add the eggs one at a time, mixing well after each addition. Stir in the vanilla extract.
- INCORPORATE DRY INGREDIENTS AND MILK: Alternate adding the dry ingredients and milk, starting and ending with the flour mixture. Mix until just combined.
- BAKE THE CAKES: Divide the batter evenly between the prepared cake pans. Bake for 30–35 minutes, or until a toothpick inserted in the center comes out clean. Let the cakes cool in the pans for 10 minutes before transferring them to a wire rack to cool completely.
- MAKE THE BUTTERCREAM FROSTING: Beat the butter until smooth and creamy, about 2 minutes. Gradually add the powdered sugar, beating well after each addition. Mix in the vanilla and heavy cream, whipping until fluffy.
- ASSEMBLE THE CAKE: Place one cake layer on a serving plate and spread a layer of buttercream on top. Place the second cake layer on top and coat the entire cake with a thin crumb coat. Chill for 15 minutes.
- PIPE THE BUNNY'S FUR: Using a piping bag fitted with a star tip, pipe small buttercream “fur” all over the cake.
- MAKE THE BUNNY EARS: Cut two large ear shapes out of sturdy cardboard or thick white fondant, about 5 inches long and tapered at the top. Roll out pink fondant and cut two smaller ear shapes to fit inside the larger ones. Attach them with a little water or edible glue.
- SECURE THE EARS: Flip the ears over and attach a wooden skewer to the back of each one using melted white chocolate or royal icing. Allow them to set completely.
- ATTACH THE EARS: Insert the skewers firmly into the top of the cake at a slight angle. If they feel loose, reinforce them with extra buttercream at the base.
- DECORATE THE FACE: Place the chocolate buttons for eyes, a small piece of pink fondant for the nose, and black licorice sticks for the whiskers.
Notes
For best results, allow the cakes to cool completely before frosting to prevent the buttercream from melting. Chilling the assembled cake for 15–20 minutes before adding the final piped frosting helps create a smoother surface and makes decorating easier.
If using fondant for the bunny ears, roll it slightly thicker to provide more stability. Let the fondant ears dry overnight to firm up before attaching them to the cake. If using cardboard for the ears, cover it with white fondant or a thin layer of buttercream to blend with the cake’s design.
When inserting the skewers into the cake for the ears, press them in gently but firmly. If the ears feel unsteady, apply a small amount of extra buttercream at the base to help secure them. Chilling the cake again after inserting the ears can provide additional support.
For a clean and professional look, use a piping bag fitted with a small star tip to create the bunny’s fur texture. Start from the bottom of the cake and work your way up to maintain an even pattern. If the buttercream becomes too soft while piping, refrigerate it for a few minutes before continuing.
Store the cake in an airtight container in the refrigerator for up to three days. Allow it to sit at room temperature for about 30 minutes before serving for the best texture and flavor.
Nutrition Information:
Yield:
12Serving Size:
1Amount Per Serving: Calories: 790Total Fat: 43gSaturated Fat: 26gTrans Fat: 0gUnsaturated Fat: 14gCholesterol: 172mgSodium: 234mgCarbohydrates: 97gFiber: 1gSugar: 75gProtein: 6g
