

I remember the first time I tasted these bright cookies at a small gathering in my aunt’s kitchen. She had organized a spring celebration for the family, and these treats stole my attention with their pastel colors and that tiny chocolate piece resting on top. I spent weeks trying to recapture that sensation, tasting every crumb in my memory and wondering how to replicate that light texture.
I asked neighbors, rifled through old cookbooks, and compared notes in local baking clubs. My cousin swore that the original recipe involved a dash of magic, and I believed her. Something about the vivid swirl of color and the warm cookie base felt like more than simple baking.
Friends kept hinting at an odd surprise ingredient, but nobody would give me a clear answer. I made it my mission to figure it out, because I wanted that same burst of flavor in my own version. Stick around, because I will share this unexpected detail soon. Does that make you wonder what it could be? Good.

Mixing the Dough for a Sunny Treat
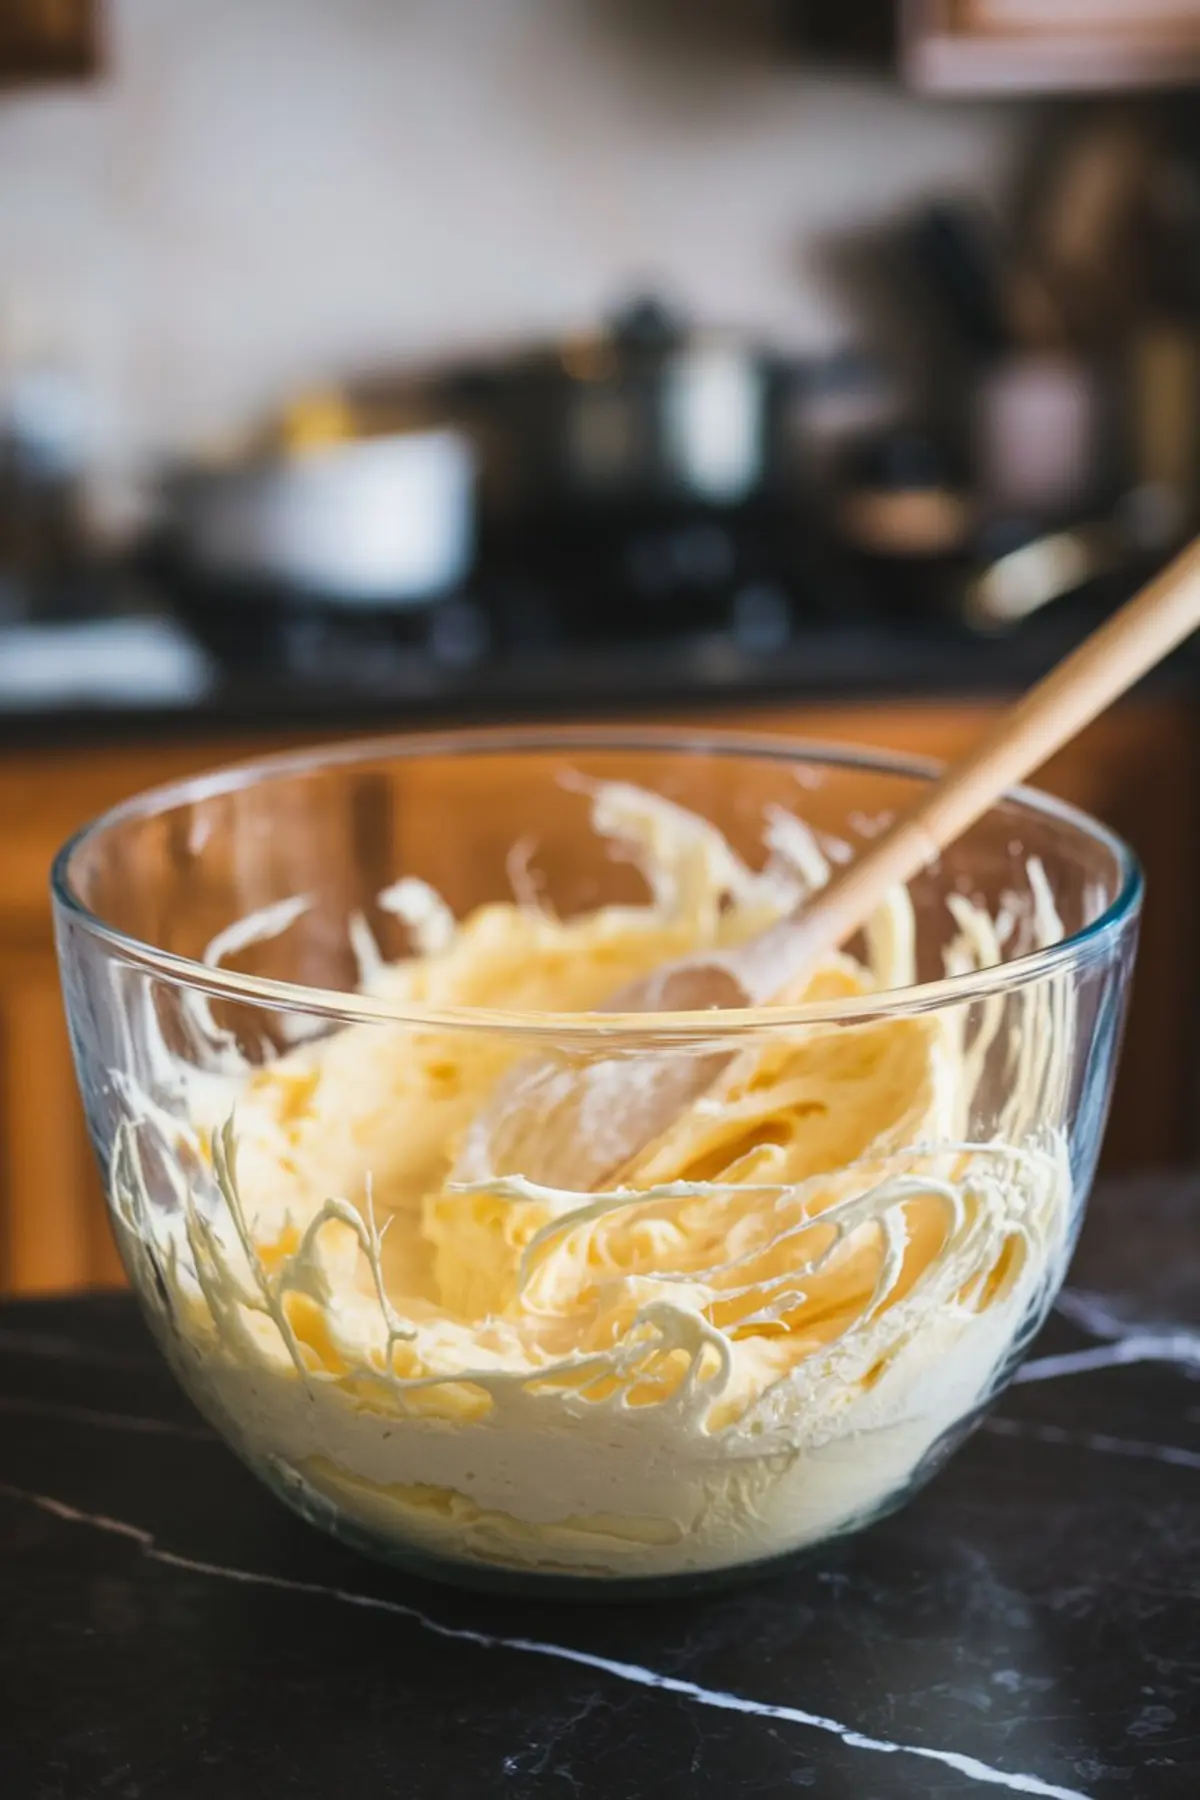
I start my process by creaming softened butter and sugar in a large bowl until everything looks fluffy and pale. A single egg and a measured spoon of vanilla follow, with constant stirring to keep the mixture smooth. The flour, baking powder, and salt come next, added bit by bit, until the dough forms a soft, pliable ball.

That dough holds my memories of bright spring afternoons. The moment it comes together, I sense the spirit of my grandmother’s cheerful kitchen. My cat, Whiskers, often sits nearby on the windowsill with an inquisitive gaze, wondering why I appear so focused.
I still jot details and adjustments in my Pin Notebook. It helps me remember subtle tweaks that make each batch unique. Even the slightest variation in oven heat or type of vanilla can lead to small improvements over time.
Adding Colorful Twists
The plain dough sets the stage, but the colors truly breathe life into these spring cookies. I separate a portion of the dough into smaller bits, drop in a few drops of pastel food coloring, then knead gently until each hue looks bright yet delicate. My main tip is to mix until the color is evenly distributed, but avoid overworking the dough.

Swirls emerge when I press contrasting shades together, almost like tie-dye from a sunny carnival. Each ball of dough reminds me of fresh blossoms in a spring garden. The process becomes a playful adventure, and it keeps me feeling like a kid who can’t wait to see how the pattern will turn out.
I sometimes experiment with more than one color in each cookie. My curiosity leads me to create different blends, from pink and yellow to green and blue. That variation keeps every batch exciting.
Shaping and Baking
Now the real transformation happens. I roll a small ball of plain dough, flatten it, then top it with a thinner disk of colored dough. Some bakers pinch all colors together into a swirl, but I prefer layering them for more control. An indentation in the center gets ready to hold the final chocolate touch.
My oven heats up to 350°F. I slide the sheet in and let the cookies bake until the edges look slightly golden. Timing usually lands around 10 to 12 minutes, though I keep a watchful eye.
A warm tray of these cookies fresh out of the oven sends sweet signals through the house. Whiskers often leaps off his windowsill to investigate the aroma, tail flicking as if he wants a piece for himself. I place chocolate kisses on top while the dough remains hot, letting them nestle gently in the center.
A Nod to My Golden Spoon
My aunt Marian’s Golden Spoon finds its way into almost every baking moment. She passed it to me with a warm smile and said I would know how to use it well. I rely on it for mixing flour, scooping sugar, and stirring color into dough.
That spoon has seen decades of celebrations, from simple weekday dinners to major holidays. Each swirl of batter feels connected to the past, yet it creates new stories every day. I treat it like a precious family member that passes along silent wisdom with every stir.
The tradition of using it reminds me that recipes evolve over generations. An object like this spoon holds small traces of every crumb it has touched, and that feels special.
Revealing the Surprise Addition
This next detail emerged only after I carefully tested multiple batches. The friend of a friend let me know that a small pinch of lemon zest works wonders in this recipe, even though it isn’t written in the standard list. I discovered that this single twist brightens the dough and creates a subtle citrus aroma.
I waited a long time to confirm if that was the rumored secret. It changes the taste in a way that your palate might not immediately recognize, yet it works so well with the sweetness and vanilla. That unexpected spark elevates these cookies and leaves you thinking about them long after the last crumb.
You might not believe how such a simple touch can create such a satisfying difference. Try it once, and see if you like the fresh note. I keep a tiny glass jar of grated lemon zest in the fridge just for these special spring desserts.
Exploring More Spring Cookie Ideas
Curious bakers often search for more sweet projects during this season. I advise them to check Easter Sugar Cookies for colorful inspiration. These shaped cookies offer a similar happy vibe, especially for a festive gathering.
Some also enjoy Italian Easter Cookies, which bring a classic flair and a distinct taste. The traditions of Italy open up a range of cookie possibilities, so I also recommend looking at other cookies. A bit of variety can help expand your spring baking horizons.
I collect plenty of holiday ideas in my Easter recipe collection. The options keep me experimenting through the spring weeks, so I never run out of ideas. Do you already have a favorite spring cookie to bake?
Closing Thoughts

Spring Kiss Cookies bring me the memory of bright mornings, gentle breezes, and playful family gatherings. I savor that moment when the chocolate melts slightly and the citrus sparkle lingers. The swirl of color always warms the heart and stirs childhood nostalgia.
Feel free to save this post as a pin, then come back anytime you want a refreshing cookie idea. Drop a note in the comments if you have questions or want to share your results. I love hearing creative spins, and others often learn from those tips too.
Spring Kiss Cookies Recipe

A soft vanilla cookie base with a colorful swirl topping, finished with a chocolate kiss in the center. These bright and festive cookies are perfect for springtime celebrations.
Ingredients
- FOR THE BASE COOKIE DOUGH
- 1 cup (2 sticks) unsalted butter, softened
- 1 cup granulated sugar
- 1 large egg
- 1 ½ teaspoons vanilla extract
- 2 ½ cups all-purpose flour
- 1 teaspoon baking powder
- ½ teaspoon salt
- FOR THE COLORFUL DOUGH
- 1 cup of the prepared cookie dough (from above)
- Food coloring (pink, yellow, blue, green, or any pastel colors)
- FOR FINISHING
- ½ cup sanding sugar
- 24 chocolate kisses, unwrapped
Instructions
- PREPARE THE COOKIE DOUGH: Preheat the oven to 350°F (175°C) and line a baking sheet with parchment paper. In a large bowl, beat the softened butter and granulated sugar until light and fluffy, about 2 minutes. Add the egg and vanilla extract, mixing until fully combined. In a separate bowl, whisk together the flour, baking powder, and salt. Gradually add the dry ingredients to the wet mixture, stirring until a soft dough forms.
- COLOR THE DOUGH: Remove 1 cup of the prepared dough and place it in a small bowl. Divide it into as many portions as the number of colors you want to use. Tint each portion with food coloring, kneading gently until the color is evenly distributed. For a marbled effect, press different colors together lightly without fully mixing.
- SHAPE THE COOKIES: Roll about 1 tablespoon of the plain dough into a ball and place it on the prepared baking sheet. Flatten slightly with your fingers. Take a small piece of the colored dough, flatten it between your hands, and place it on top of the plain dough. Press gently so the layers stick together. If using multiple colors, press small pieces together before flattening to create a swirl effect. Use your thumb or the back of a teaspoon to make a small indentation in the center of each cookie.
- BAKE AND ADD THE CHOCOLATE KISS: Bake for 10-12 minutes, until the edges are lightly golden but the centers remain soft. Immediately after removing the cookies from the oven, press a chocolate kiss into the center of each one. The warmth of the cookie will slightly soften the chocolate, helping it adhere. Let the cookies cool on the baking sheet for 5 minutes before transferring them to a wire rack to cool completely.
Notes
For a more vibrant color, add food coloring gradually until the desired shade is reached. To prevent the chocolate kisses from melting too much, place them in the freezer while the cookies bake. Store cookies in an airtight container at room temperature for up to 5 days.
Nutrition Information:
Yield:
24Serving Size:
1Amount Per Serving: Calories: 218Total Fat: 7gSaturated Fat: 3gTrans Fat: 0gUnsaturated Fat: 3gCholesterol: 11mgSodium: 149mgCarbohydrates: 37gFiber: 1gSugar: 19gProtein: 3g
