
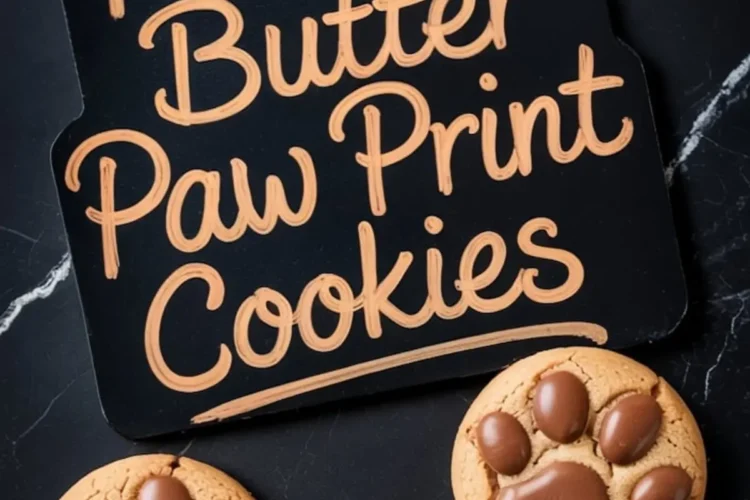
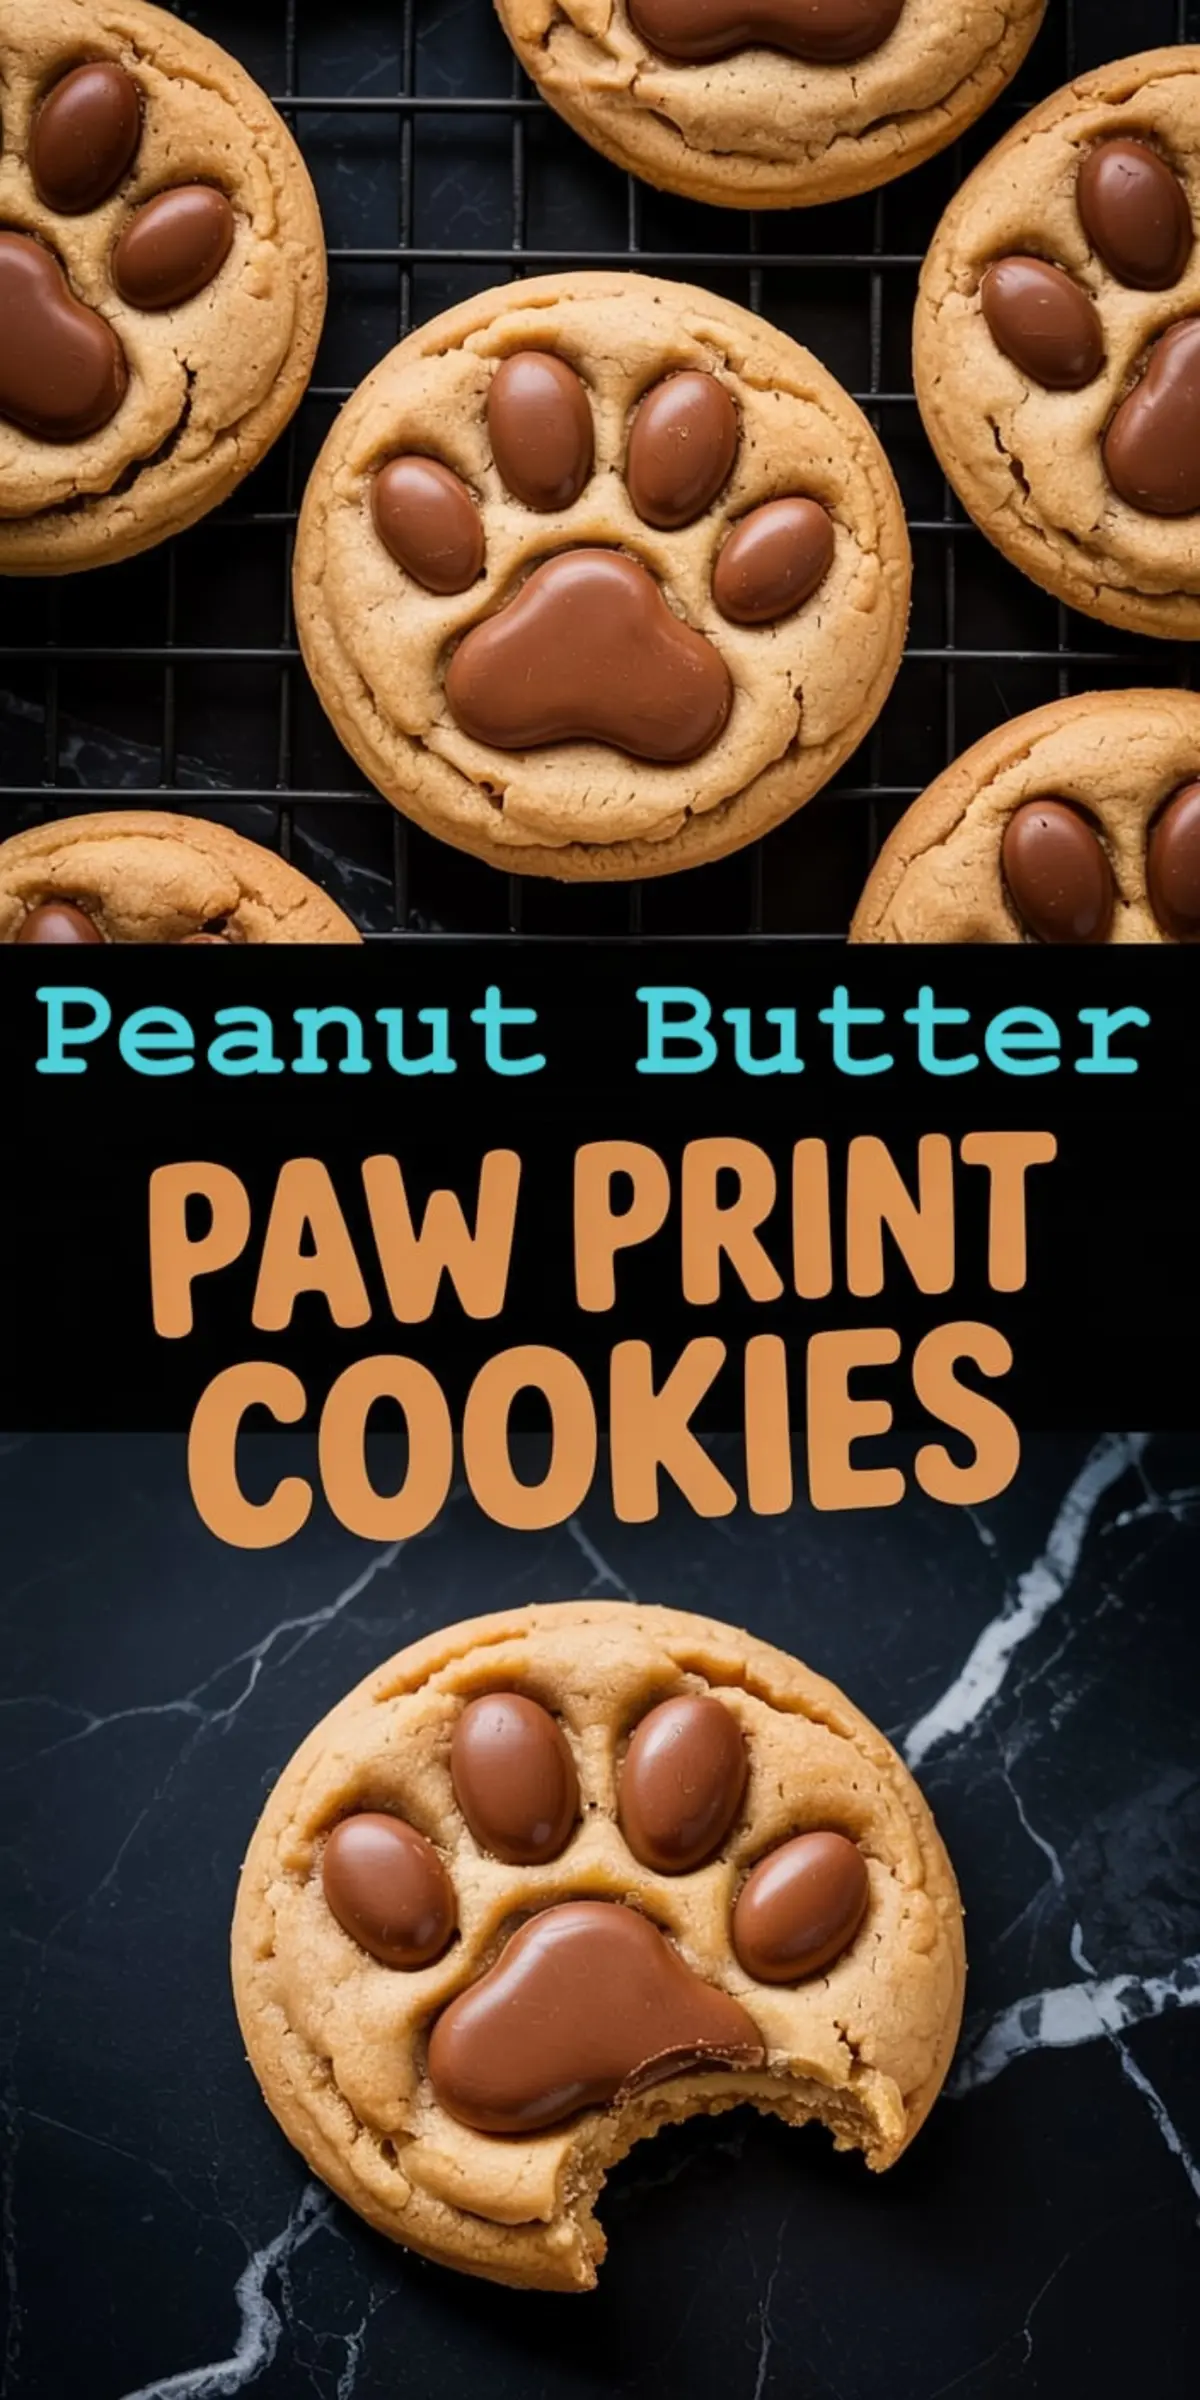
These Peanut Butter Paw Print Cookies are more than a gimmick. They bake with golden edges, soft centers, and just the right bite to carry either piped chocolate paws or molded ones.
You’ll figure how to make a peanut butter cookie that holds its shape without losing tenderness, the best chocolate choice for the paw design, and how a single tweak I keep in my Pin Notebook made all the difference in the texture.
And there’s a secret dash of something you’d never expect in a cookie like this. I’ll share that a little further down, it’s worth staying for.
Soft Peanut Butter Cookie Base That Doesn’t Fall Apart
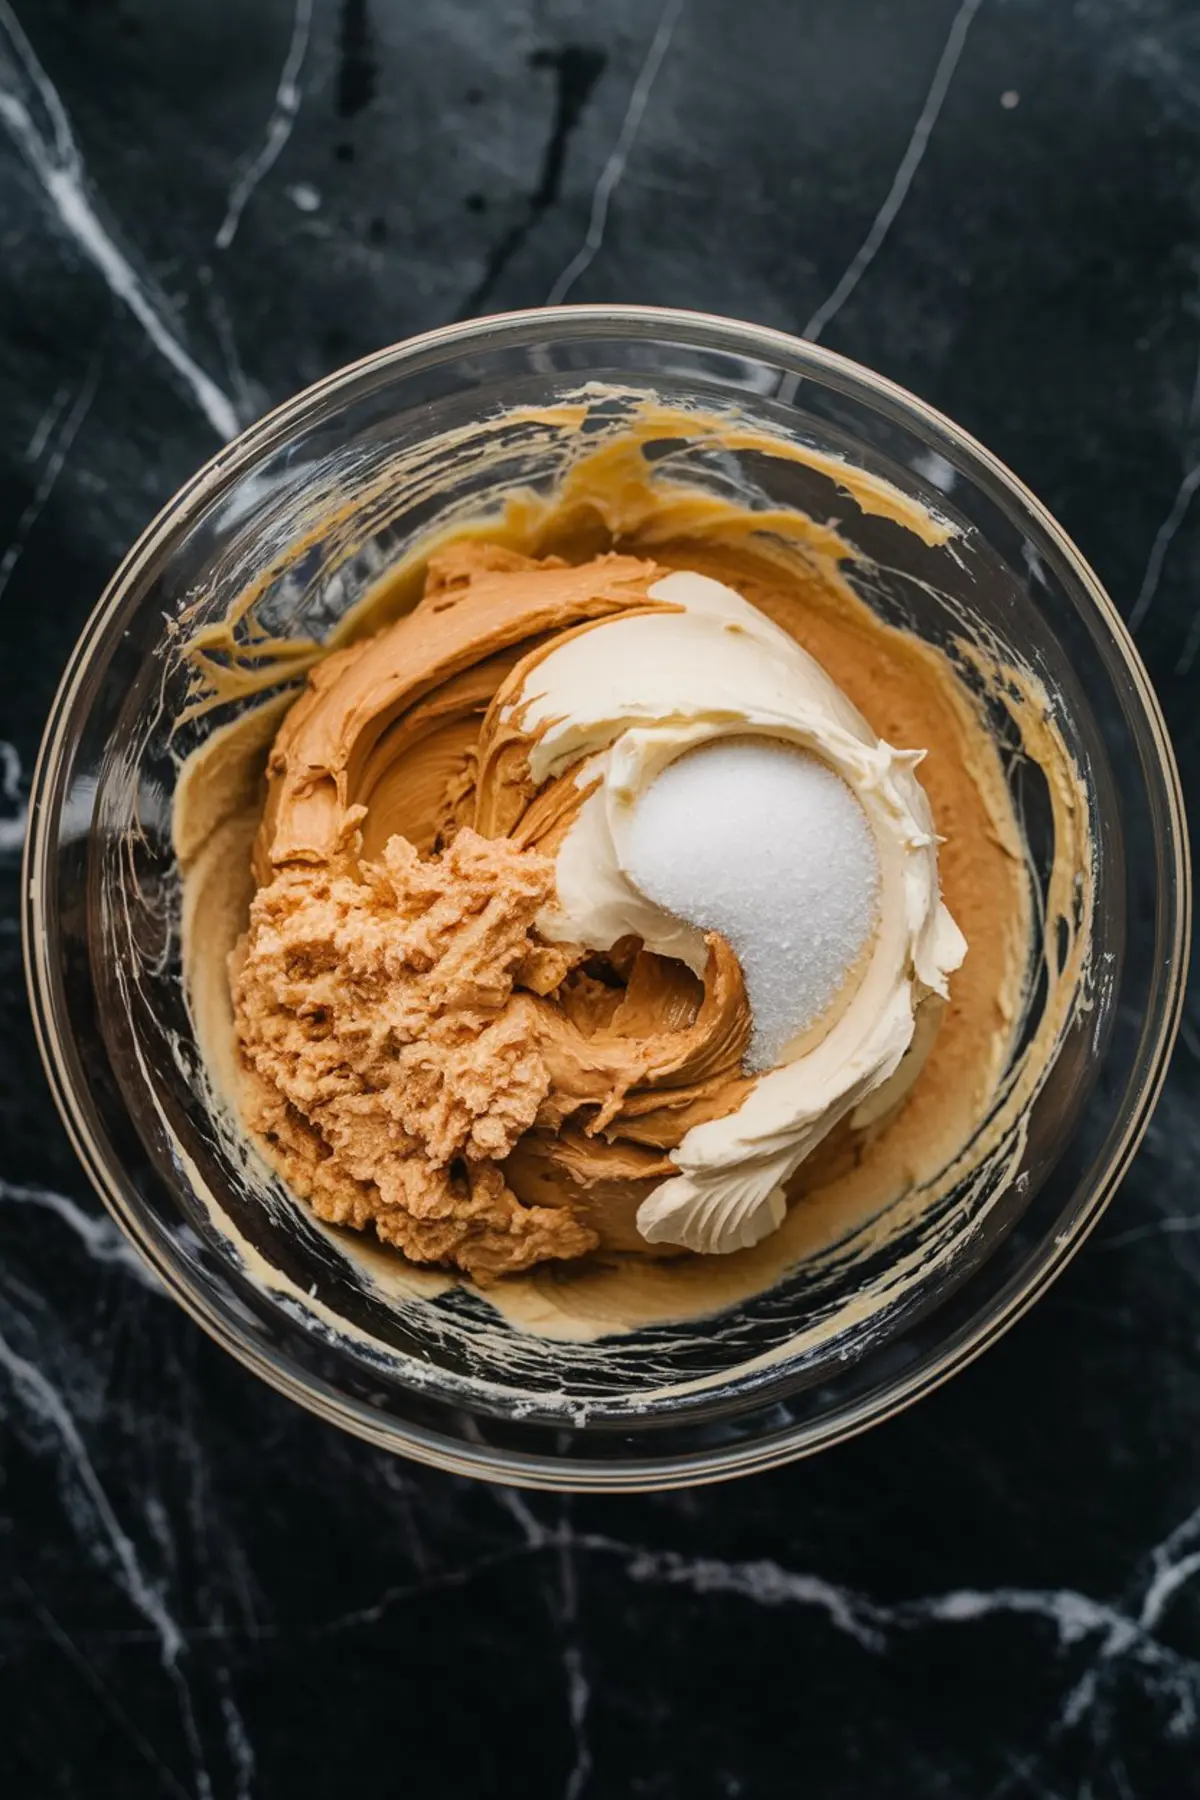
You’ll start by creaming butter with peanut butter and two sugars, brown for moisture and chew, and white for structure and slight crispness. I’ve tested versions with natural peanut butter, but they spread too much and leave the centers too soft.
Stick with a creamy, shelf-stable peanut butter. It matters.
This part sets the foundation. Use a hand mixer and stop once the mixture looks fluffy, pale, and smooth. The light brown sugar really does its job here, it gives these cookies that toasty edge that balances out the richness of the peanut butter.
Egg and vanilla come next. One egg is enough to bind without making the dough rubbery. Vanilla warms everything. Just a teaspoon pulls the sugars and butter together into a rounder, smoother taste.
The Dry Ingredients Make the Texture
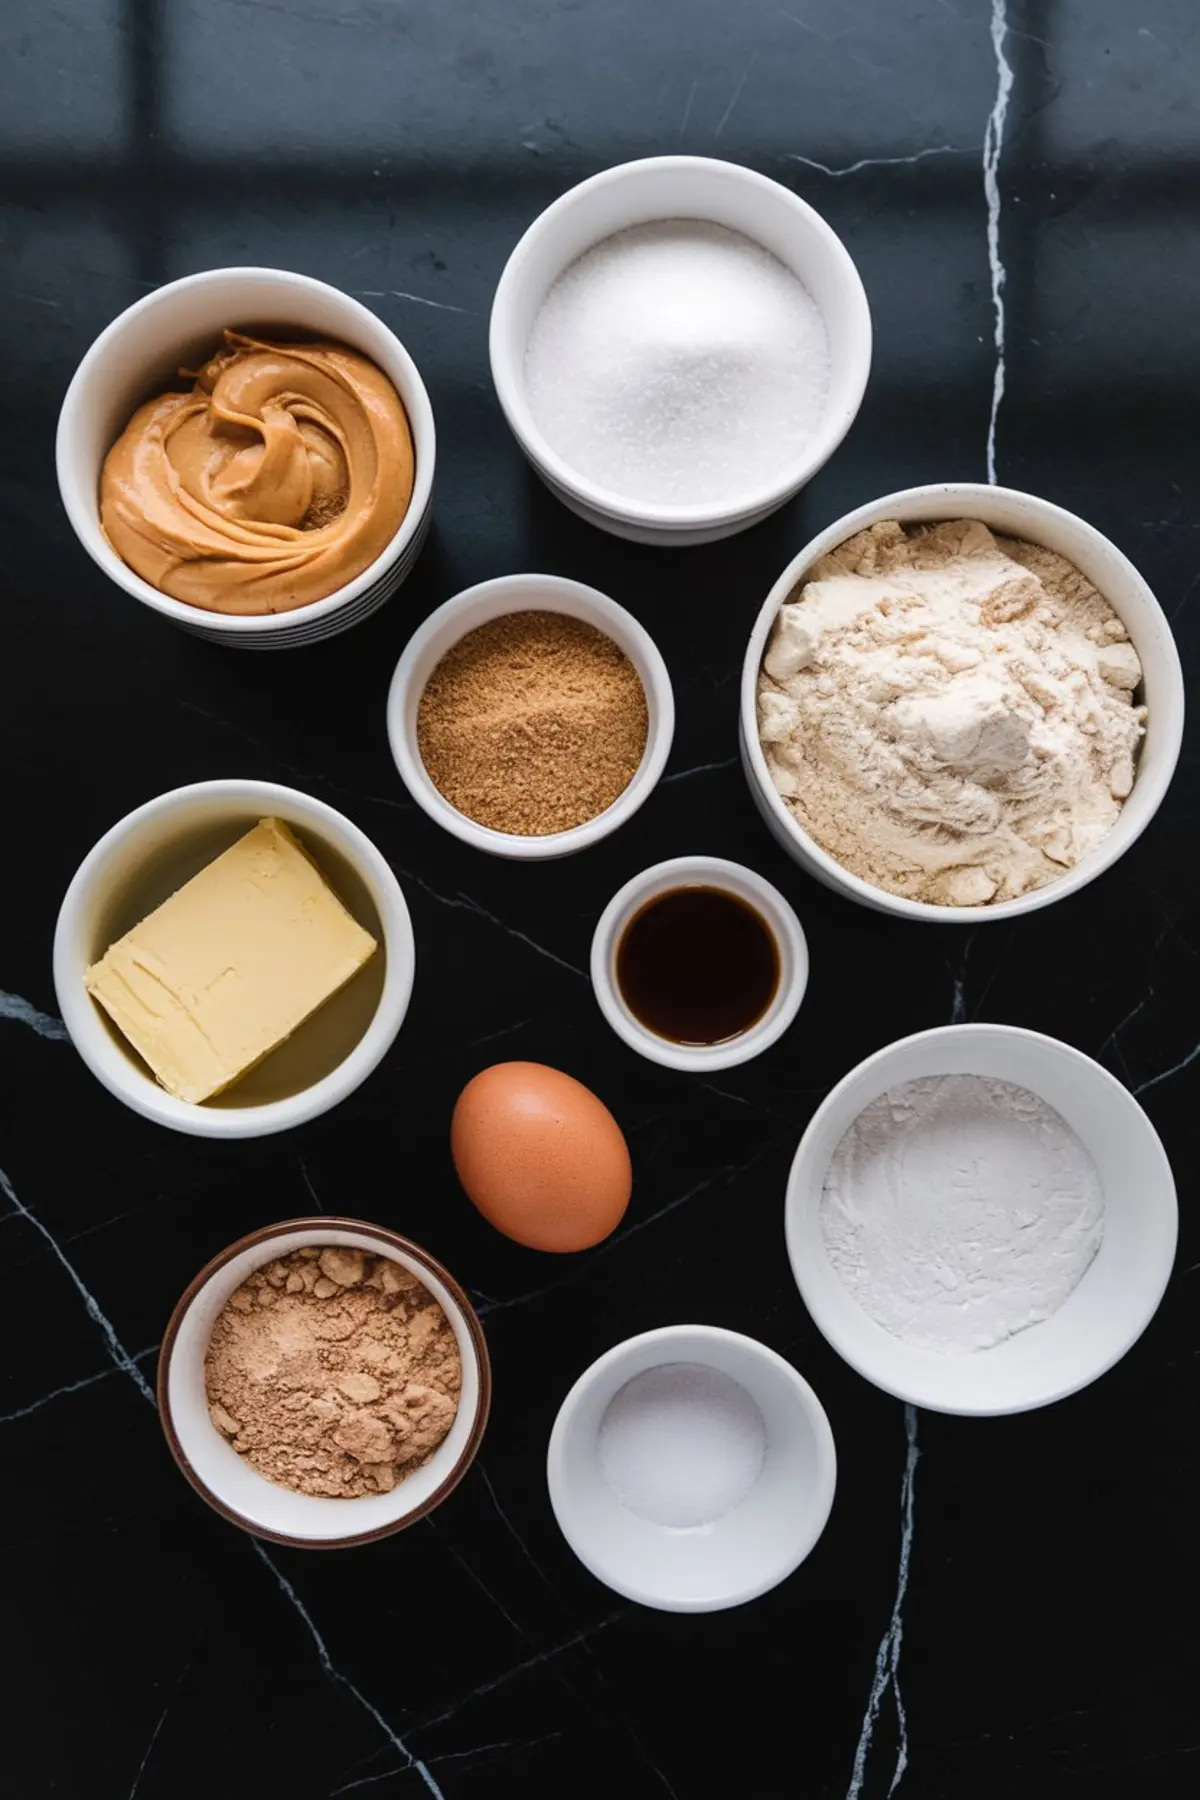
All-purpose flour joins the mix with baking soda and a touch of sea salt. Stir it in slowly. If you overmix, you’ll lose the soft middle we want.
I’ve written “stir just until no dry streaks remain” in bold letters in my Pin Notebook beside this recipe. It’s that easy to go too far here.
If you’re thinking of doubling the batch (and you probably should), don’t skimp on the salt. It sharpens the peanut butter in a way that’s easy to underestimate.
Shaping and Flattening Without Overworking

Scoop the dough and roll into small balls. I use a 1.5-tablespoon cookie scoop because it keeps the size consistent, and consistent size means even baking.
Place them spaced apart. These cookies do spread a bit, so don’t crowd them. Press them gently down not flat, just enough to give them a head start.
Use your palm, or the bottom of a glass if you like a smoother top. The warmth from your hand also slightly relaxes the dough, making the next step easier.
Baking Time Matters for Soft Centers
Bake them at 350°F for about 10 minutes. Check at 9, especially if your oven runs hot.
Look for set edges and soft centers. If the cookies feel a bit underbaked in the middle when you pull them out, good. That’s what you want.
Overbake, and you’ll lose the whole soft-chewy balance. I’ve done it more than once, especially when distracted by Whiskers trying to hop on the counter.
Let them rest for a minute or two before adding the paw prints. Warm cookies help the chocolate stick and soften just enough.
Piping vs. Molding: Which Chocolate Paw Print Wins?
Here’s where you get to choose.
You can either press a molded chocolate paw into the warm cookie, or pipe your own with melted chocolate. Both look charming, but here’s what I’ve found:
Molded chocolate paws give you a cleaner look and are best for gifting or transporting. You can make them ahead with silicone molds, and they pop in with zero mess.
Piped chocolate feels more handmade. You get that organic look. Plus, it’s a good option if you don’t have molds on hand or just love the rhythm of piping.
I’ve used both methods, and if you’re baking with kids or short on time, the molded candies win for ease. If you’re going for the homemade effect, piping is wonderfully satisfying.
If you’re feeling inspired, here’s another recipe where peanut butter meets chocolate beautifully: Peanut Butter Chocolate Chip Cookies
Cooling and Storing Without Smudging the Design
Let them cool completely before stacking. I’ve ruined a whole layer by rushing and smooshing warm chocolate designs. Don’t be me.
Use parchment between layers if you’re storing them in tins. And if it’s a warm day, keep them in a cooler room or refrigerate briefly after the chocolate sets.
They keep well for three days in an airtight container. But they rarely last that long here.
The Dash of Magic: What Changes the Cookie’s Scent Completely
Here’s the part I hinted at, something I learned from Lena, who swears by it in her handwritten notes.
She adds just a pinch of cinnamon to her peanut butter cookies.
It’s not enough to taste like a spice cookie, but the moment the cookies come out of the oven, the scent has a warmth that’s familiar and different all at once. I didn’t believe it would work until I tried it. Now I never make these without it.
I’ve added a half-teaspoon to the dry mix sometimes, but even a quarter makes a difference.
Give it a try. You might not go back.
Want More Peanut Butter Cookie Ideas?
Here’s what you’ll love if you like this one:
- Peanut Butter Thumbprint Cookies with Caramel – soft, filled, and rich
- Easy Peanut Butter Cookies with Crisscross Tops – simple, nostalgic, and quick
- Peanut Butter No Bake Cookies – stovetop and done in minutes
- Peanut Butter Blossom Cookies – a holiday staple with that signature kiss
Pin This for Later and Let Me Know How Yours Turned Out
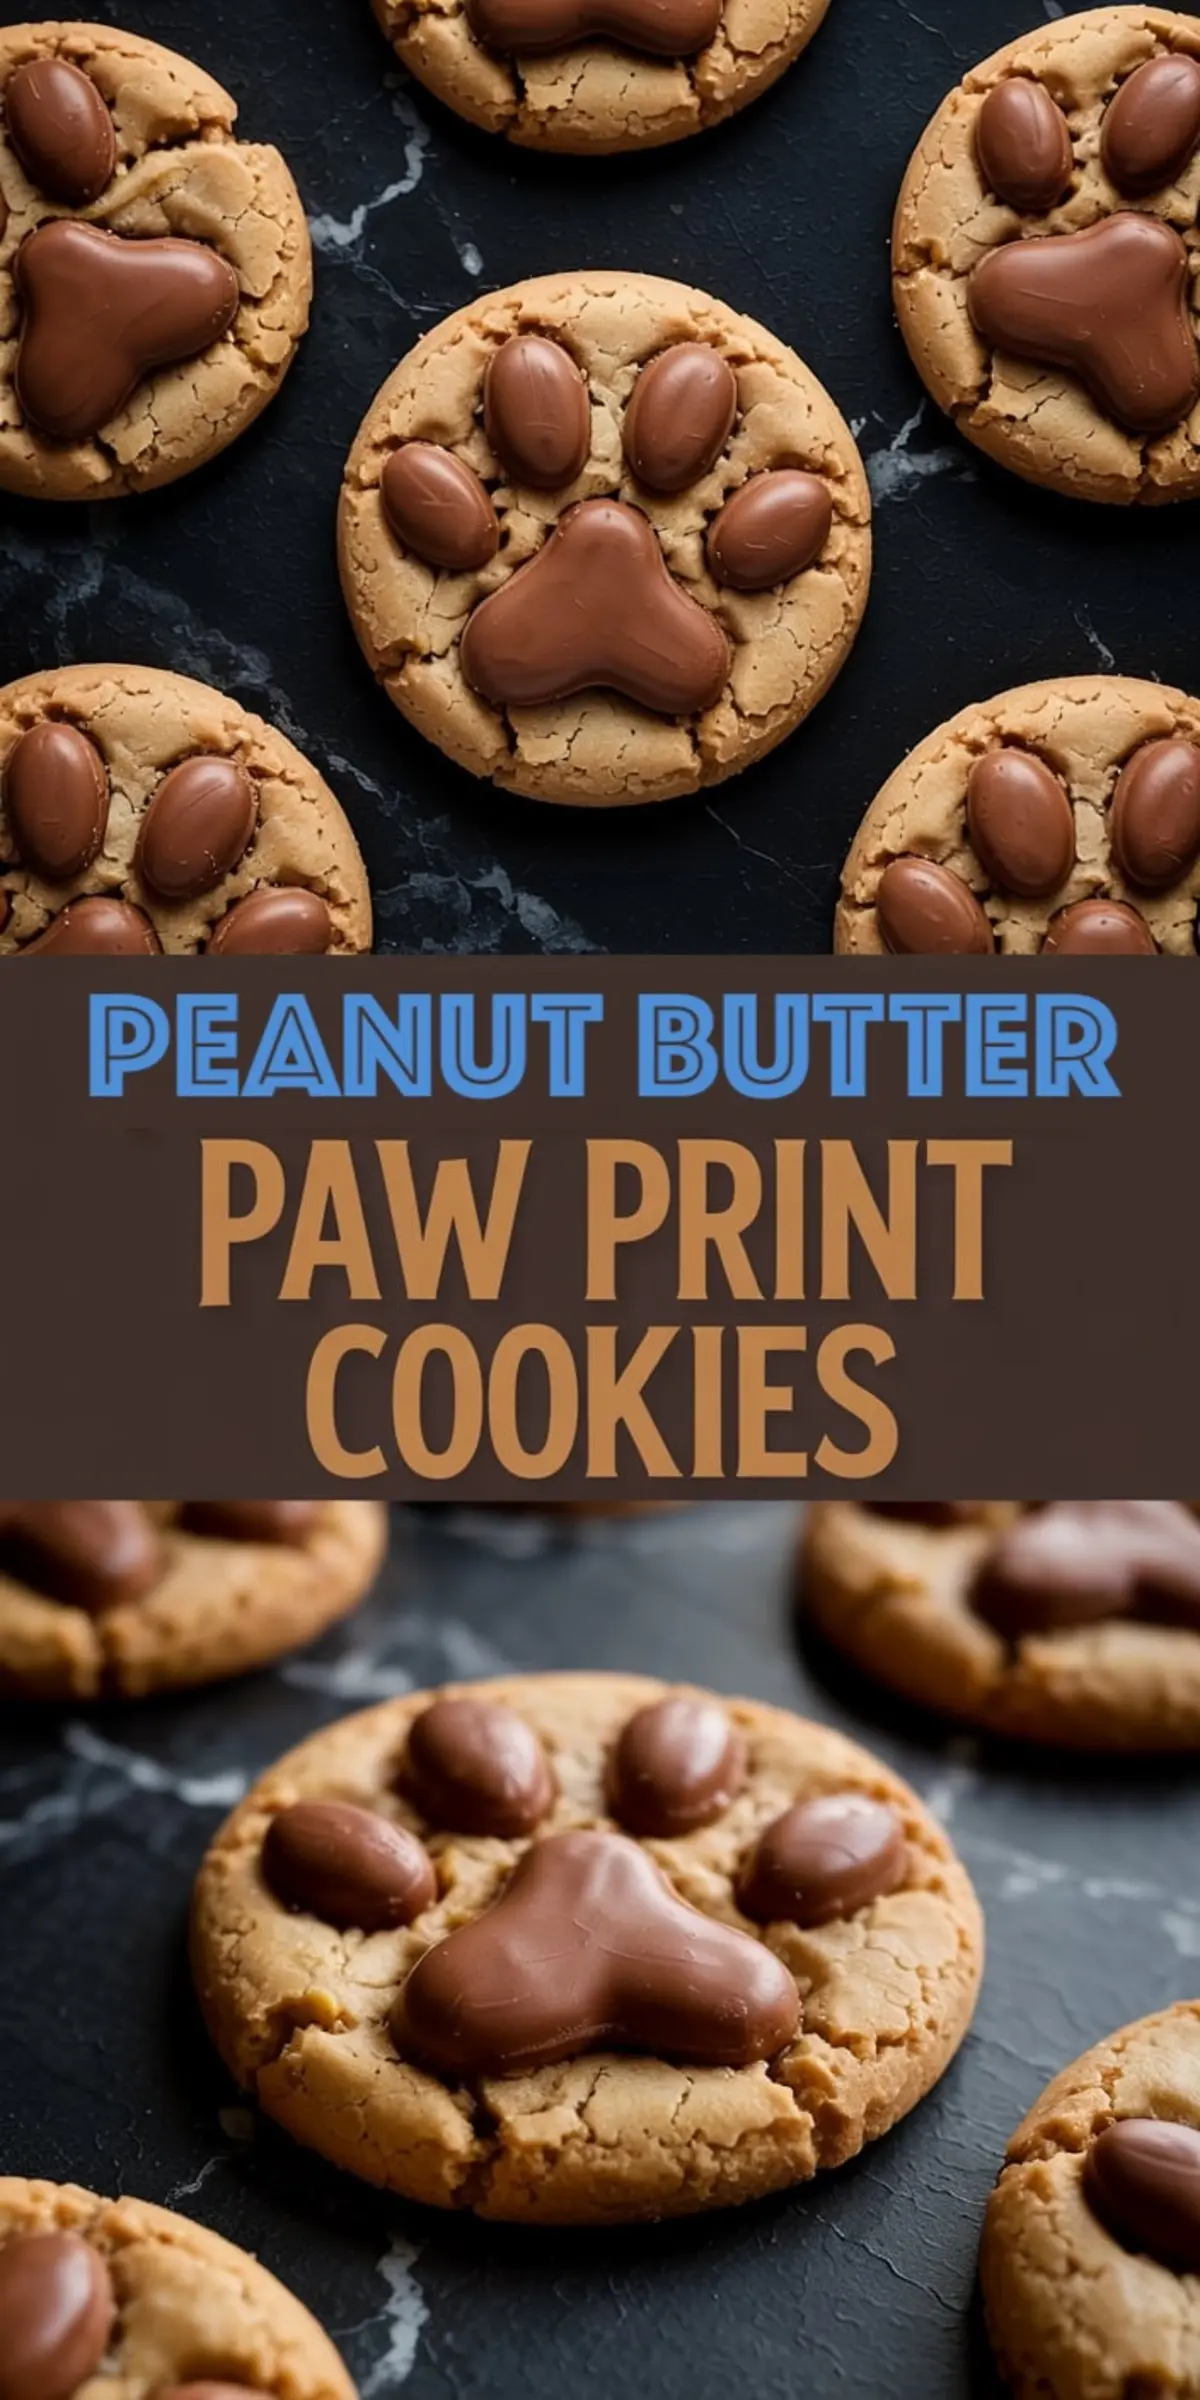
Save this recipe to your Peanut Butter Cookie Ideas or Cute Desserts for Kids board – it’s one of those recipes you’ll want again.
Tried it? Leave a comment. I’d love to hear how you styled your paw prints or if you added Lena’s cinnamon dash. Any questions? Let’s chat. That’s what this space is for.
See you in the comments.
Peanut Butter Paw Print Cookies
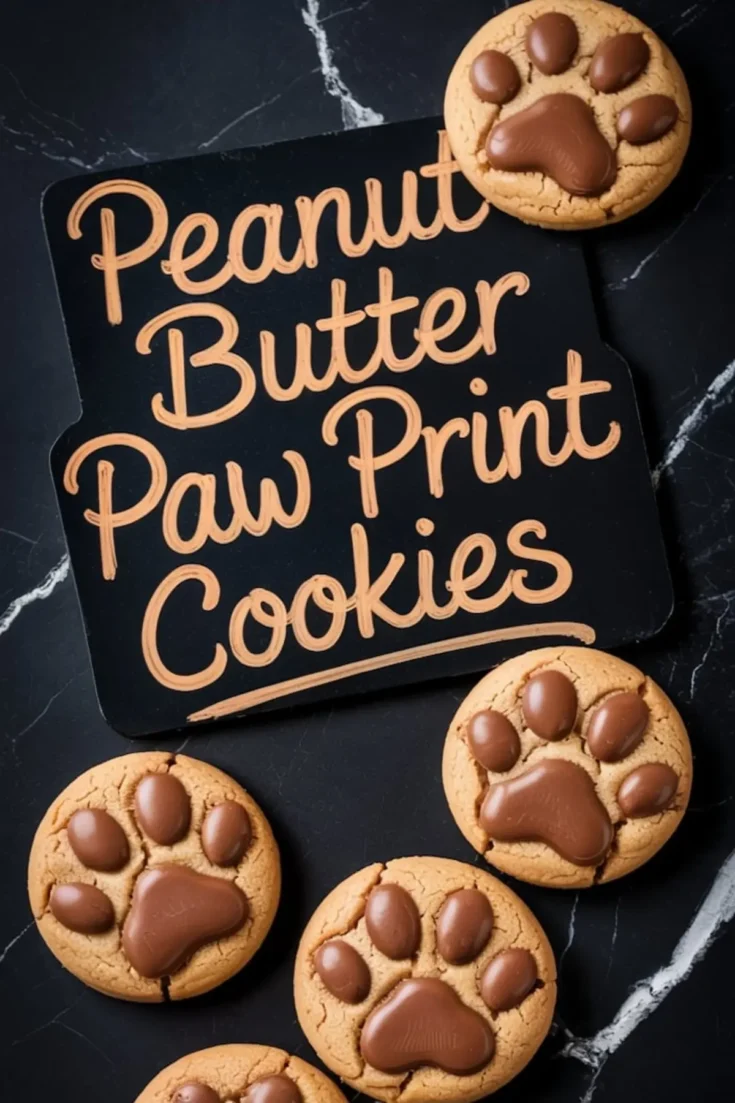
Soft peanut butter cookies with rich chocolate paw prints add charm and flavor to a simple classic. These cookies bake up with tender centers, golden edges, and just enough structure to hold playful chocolate designs. Perfect for homemade or molded chocolate paws.
Ingredients
- unsalted butter, softened – 1/2 cup (113 g)
- creamy peanut butter (not natural) – 1/2 cup (120 g)
- light brown sugar, packed – 1/2 cup (100 g)
- granulated sugar – 1/4 cup (50 g)
- large egg – 1
- vanilla extract – 1 teaspoon
- all-purpose flour – 1 1/4 cups (156 g)
- baking soda – 1/2 teaspoon
- fine sea salt – 1/4 teaspoon
- FOR THE PAW PRINTS
- melted chocolate (milk or dark) – 1/2 cup, for piping
- OR
- paw-shaped chocolate candies – 24 pieces (store-bought or homemade in molds)
Instructions
- CREAM THE FATS AND SUGARS: In a large bowl, cream the softened butter, peanut butter, brown sugar, and granulated sugar until the mixture is fluffy and well combined, about 2–3 minutes with a hand mixer on medium speed.
- ADD EGG AND VANILLA: Beat in the egg and vanilla extract until the mixture is smooth and cohesive.
- COMBINE DRY INGREDIENTS: In a separate bowl, whisk together the flour, baking soda, and salt.
- MIX THE DOUGH: Add the dry ingredients to the wet mixture and stir just until the dough forms and no dry streaks remain. Avoid overmixing to keep the cookies tender.
- FORM THE COOKIES: Scoop out dough using a 1.5-tablespoon cookie scoop or spoon, then roll each portion into a smooth ball with your hands. Place the balls 2 inches apart on a parchment-lined baking sheet.
- FLATTEN SLIGHTLY: Gently press each dough ball down to about 1/2-inch thickness using your palm or the bottom of a glass.
- BAKE: Bake in a preheated 350°F (175°C) oven for 9–11 minutes, or until the edges are set and just golden while the centers remain soft. Do not overbake.
- ADD PAW PRINTS – MOLDED OPTION: While the cookies are still warm, press one chocolate paw candy into the center of each cookie. Let them sit undisturbed to adhere as the chocolate softens slightly.
- ADD PAW PRINTS – PIPED OPTION: Melt the chocolate and transfer to a piping bag or zip-top bag with the corner snipped. Pipe one large pad in the center of each warm cookie, followed by four small toe dots above it. Let the chocolate set at room temperature or briefly chill to speed up.
- COOL COMPLETELY: Allow cookies to cool fully before storing or stacking to avoid smearing the chocolate decorations.
Notes
Use creamy peanut butter that holds its shape—natural varieties that separate will change the texture. If making piped paw prints, work quickly while the cookies are warm enough to help the chocolate set smoothly. Store cookies in a single layer or with parchment between layers to protect the decorations.
Nutrition Information:
Yield:
24Serving Size:
1Amount Per Serving: Calories: 136Total Fat: 8gSaturated Fat: 4gTrans Fat: 0gUnsaturated Fat: 3gCholesterol: 19mgSodium: 82mgCarbohydrates: 14gFiber: 1gSugar: 8gProtein: 2g
