
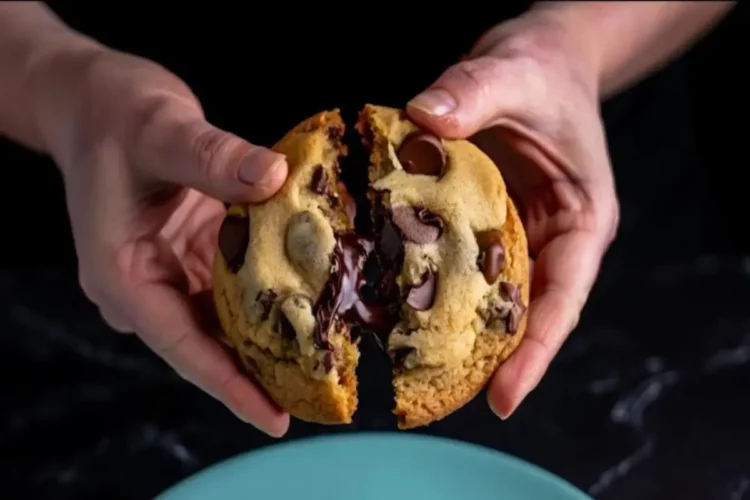
Most chocolate chip cookie recipes focus on the same thing—soft centers, crispy edges. But the truth is, anyone can say that. The real difference comes from intention. And this recipe? It was born from my decision to stop settling for flat, lifeless cookies that spread out into pancake territory. These are thick, tall, golden, and rich with depth. They taste like they came from a quiet bakery with a 60-year-old oven and a handwritten recipe taped to the wall.
Except—you made them.
You’ll learn exactly how to control spread. You’ll get chewy centers that don’t deflate after cooling. You’ll understand why chilling dough is not optional here. If you’ve ever asked yourself why your cookies puffed up beautifully in the oven and collapsed like sad soufflés, this will fix that.
And wait until I tell you what ingredient I sneak in for a chewy, brownie-like center. It’s subtle, but it changes the entire experience.
Let’s break it all down—clean and clear.

How to Cream the Butter and Sugars for Maximum Lift

Start with butter that’s soft enough to press but still cool to the touch. I always test by lightly poking with the back of a spoon. It should leave a dent, not melt.
Creaming together the brown sugar, granulated sugar, and butter takes a solid 3 to 4 minutes. Set a timer. Don’t cheat it. You’re not just mixing here—you’re aerating. That step creates the lift that gives these cookies their signature height.
The result should look pale and fluffy. If it’s shiny or greasy, your butter was too soft. Chill it slightly and try again.
Whiskers, my cat, always knows this is the creaming step because he gets one sniff of that butter-sugar mix and hops onto the counter, tail flicking in approval. He’s got a sixth sense for cookie time.
The Right Way to Add Eggs and Vanilla

Add eggs one at a time. No shortcuts here. You need each one fully incorporated before the next goes in. The goal is smooth and uniform, with no oily separation.
I once rushed through this step and ended up with greasy, cake-like cookies that spread out like lava. Never again.
After the eggs, stir in pure vanilla extract. Not essence. Not imitation. Real vanilla gives this cookie a warm, almost caramel note that doesn’t shout—it whispers. It lingers. That’s the flavor that makes people pause and ask, “Wait—what’s in this?”
Mixing Dry Ingredients Without Overworking the Dough
Whisk your flour, salt, baking soda, and the pinch of magic—cornstarch—in a separate bowl. Cornstarch is the quiet hero here. It helps lock moisture in the center and gives the cookie that brownie-chew bite we’re chasing.
Now, add your dry ingredients to the wet mixture in two or three stages. Mix slow. Stop as soon as the flour vanishes. Don’t push it. This isn’t bread dough. Overmixing here means tough, dry cookies.
The dough should look thick and hold its shape when you scoop it. If it’s sticky, that’s good. That’s what you want.
Folding in the Chocolate Like You Mean It
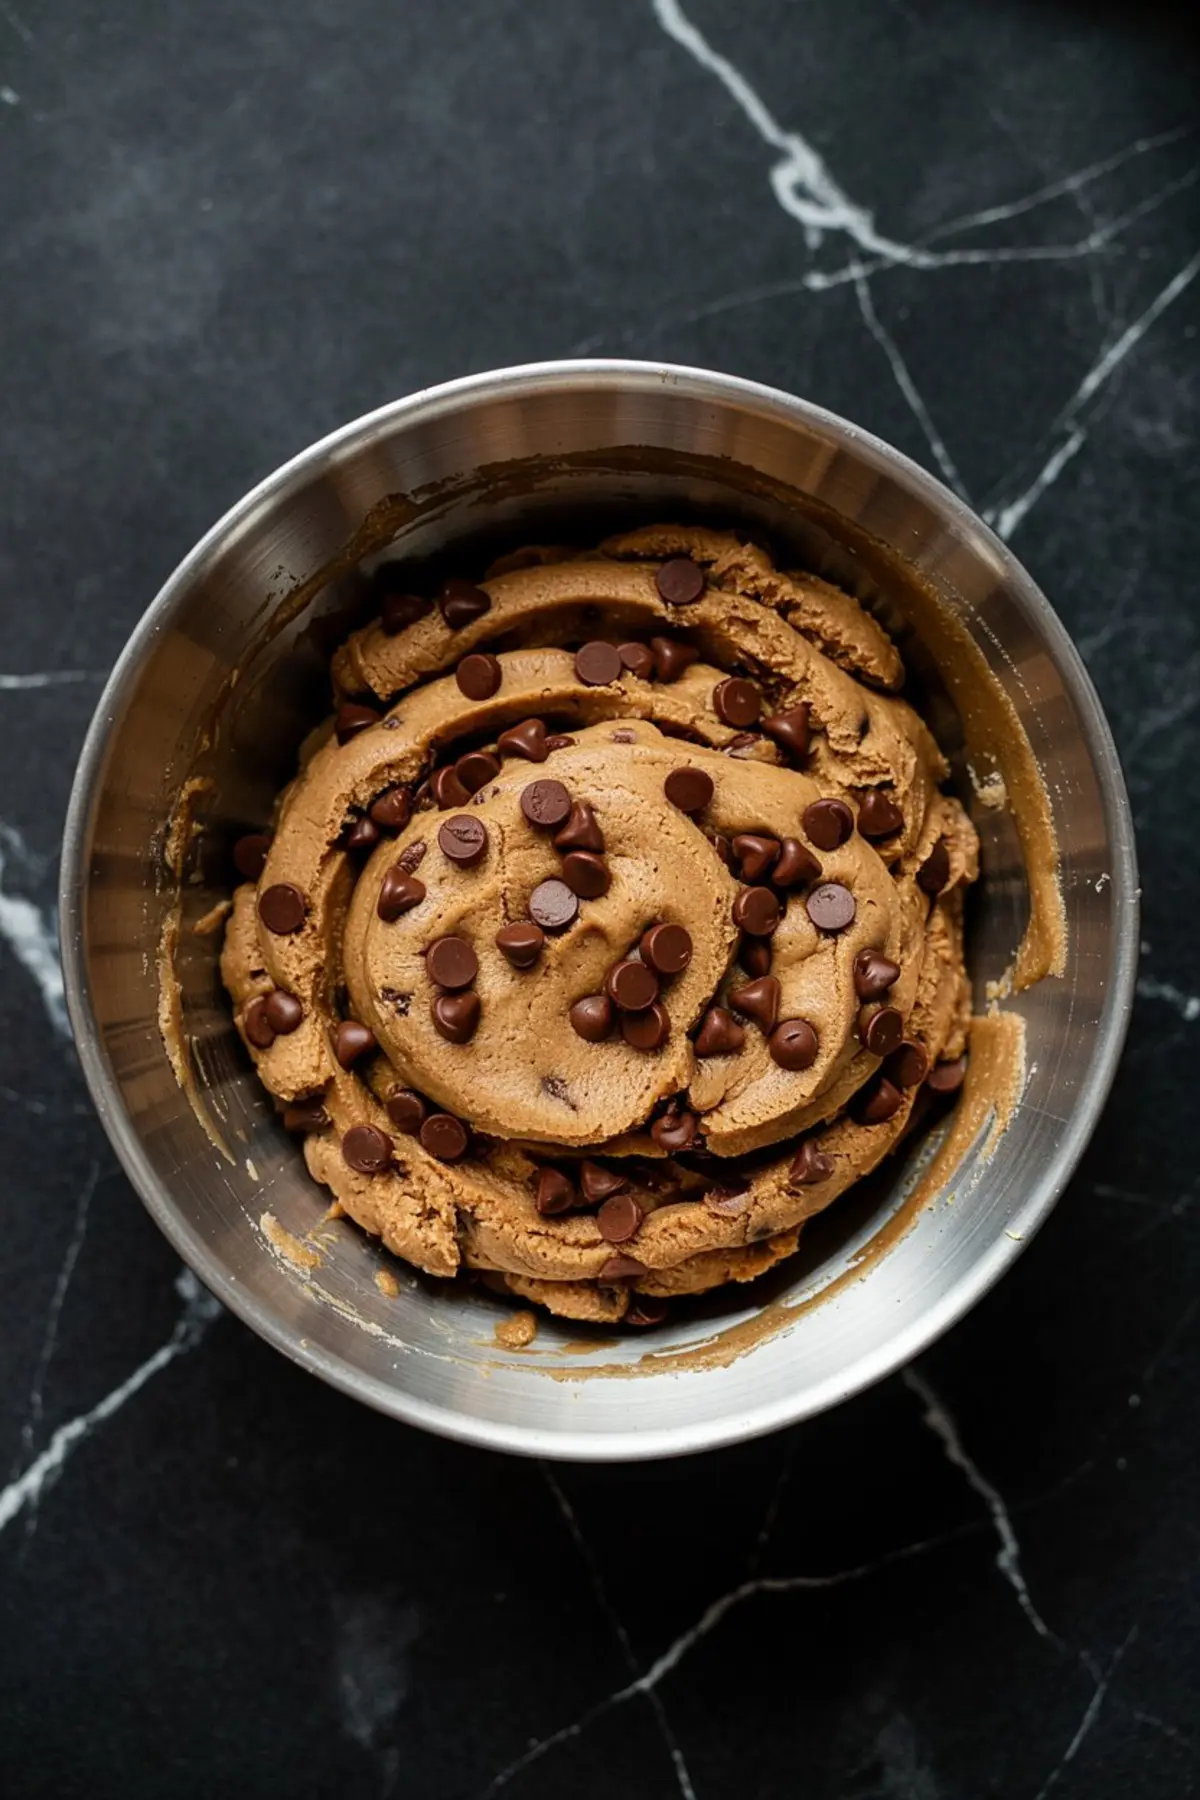
I use semi-sweet chocolate chips, but if you want to experiment with dark chunks or chopped bars, this recipe handles it well. Stir them in by hand. Gently.
Use a sturdy spatula or wooden spoon. Think of folding, not stirring. You’re coaxing the chocolate in, not smashing it around.
There’s something oddly satisfying about this part. I call it “the dough test”—if a chip sticks to the back of the spoon without sliding off, the dough is just right.
And yes, I always sneak one spoonful before chilling. I record these little texture cues in my Pin Notebook for next time.
Why Chilling the Dough Changes Everything

This isn’t a skip-it-if-you-feel-like-it step. It matters. Chilling does two important things: it firms the butter and lets the flour hydrate. That means the cookies won’t spread out too fast, and the texture stays chewy instead of cakey.
I chill mine for at least 2 hours. Overnight is better. You can even pre-scoop the dough into balls and let them chill in the fridge ready to go.
The next day, they’ll bake up thick, golden, and full of structure. They’ll also have more depth in flavor—the kind that reminds you of brown sugar fudge.
Baking for Texture Control—Edges Gold, Centers Soft
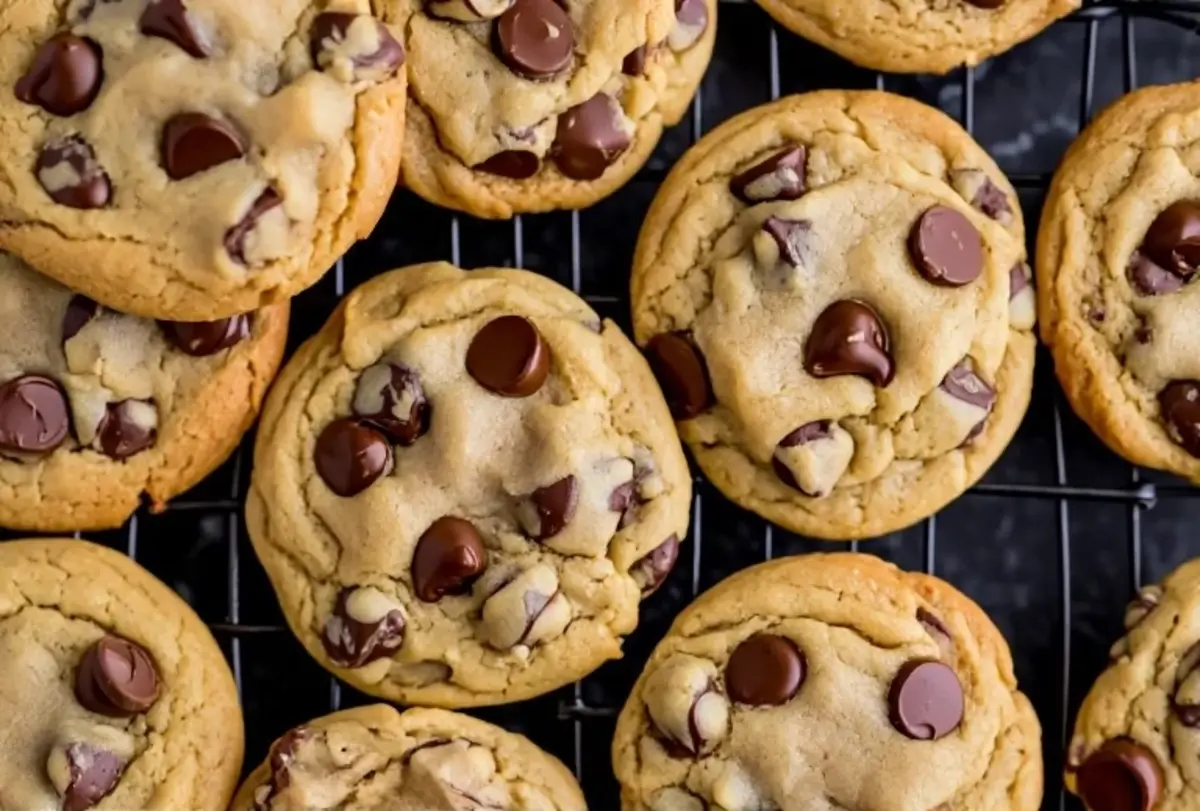
Preheat your oven to 350°F. Line your baking sheet with parchment. Don’t bake more than six at a time. These cookies need room to breathe.
Scoop about 3 tablespoons per cookie. Roll into balls. Space them well—3 inches apart.
Bake for 11 to 13 minutes. Remove them when the edges look golden but the centers are still pale. That underbaked center is key. They’ll finish baking from the residual heat as they rest on the hot sheet.
Let them sit for five minutes before moving to a cooling rack. That’s when they set up and develop that chewy texture inside.
I keep a small plate near the oven to catch the first one. Fresh out, warm, and gooey. That’s the baker’s reward.
The Secret Ingredient I Never Skip
Now for the part I hinted at earlier.
The secret twist is cornstarch. Just two teaspoons. It doesn’t make things powdery or dry. It holds the cookie’s shape while giving you that soft, fudge-like middle without being raw.
Cornstarch is what keeps these from turning cakey while giving them just enough bend. I discovered this trick during a late-night batch years ago. Wrote it down in my Pin Notebook and haven’t made them without it since.
Want More Thick and Chewy Cookies?
If you’re into soft centers and chocolate-rich bites, you’ll probably love these other recipes on the blog:
→ Brown Butter Chocolate Chip Cookies
→ Peanut Butter Chocolate Chip Cookies
→ Oatmeal Chocolate Chip Cookies
Each one has its own personality. But this one here? It’s the thickest and chewiest of them all.
Save This Recipe on Pinterest and Join the Conversation
Don’t let this one get buried in your bookmarks. Pin it now to your favorite cookie board so you can come back when the craving hits. These are the kind of cookies that become tradition.
And if you make them, I’d love to hear about it. Did you change up the chocolate? Did you sneak one before chilling? Leave a comment below and share your cookie moment. Let’s make this a space where dessert lovers can talk shop.
Whiskers will probably be reading over my shoulder.
Thick and Chewy Chocolate Chip Cookies
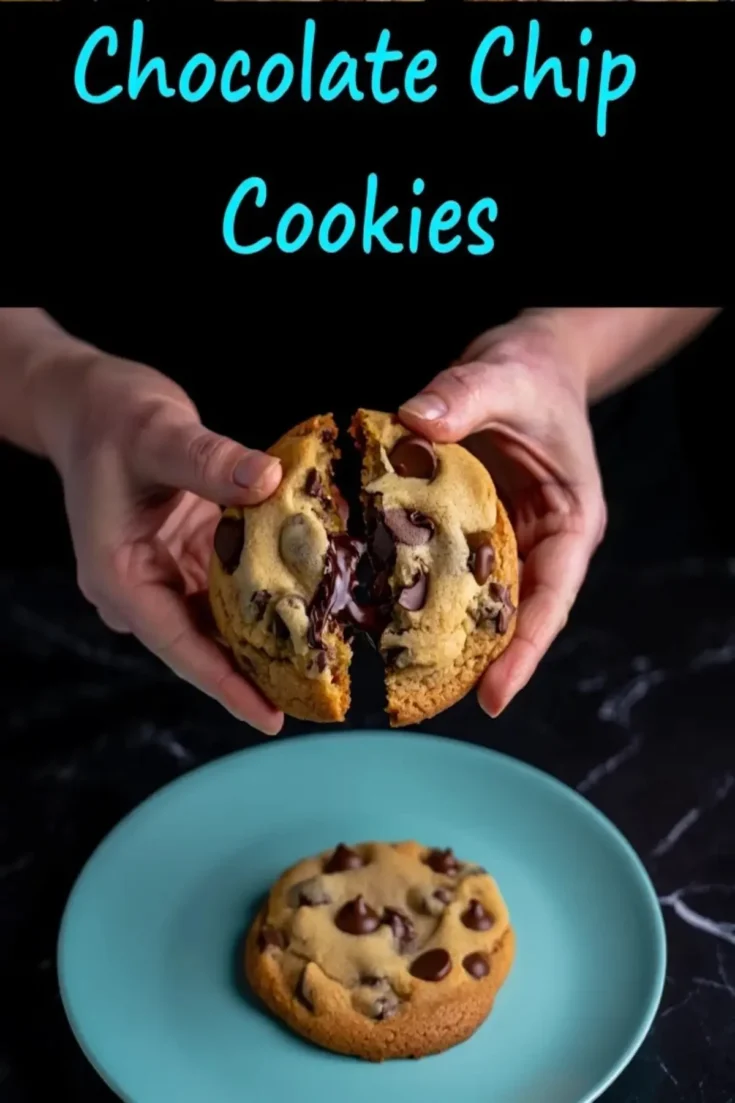
These chocolate chip cookies are thick, soft in the center, and full of rich chocolate flavor. Chilling the dough helps control spread and enhances the texture. Brown sugar and cornstarch keep the middle chewy while the edges stay lightly crisp. These cookies come together using pantry staples and a few simple techniques.
Ingredients
- 1 cup (226 g) unsalted butter, at room temperature
- 1 cup (200 g) packed light brown sugar
- 1/2 cup (100 g) granulated sugar
- 2 large eggs, at room temperature
- 2 teaspoons vanilla extract
- 3 cups (375 g) all-purpose flour
- 1 teaspoon baking soda
- 1 teaspoon salt
- 2 teaspoons cornstarch
- 2 cups (340 g) semi-sweet chocolate chips
Instructions
- CREAM THE BUTTER AND SUGARS: In a large mixing bowl, beat the softened butter, brown sugar, and granulated sugar together using a hand or stand mixer on medium speed until pale and fluffy, about 3–4 minutes.
- ADD THE EGGS AND VANILLA: Add the eggs one at a time, mixing well after each addition. Stir in the vanilla extract and mix until fully incorporated. The mixture should be smooth and fragrant.
- MIX THE DRY INGREDIENTS: In a separate bowl, whisk together the flour, baking soda, salt, and cornstarch until evenly combined.
- COMBINE WET AND DRY INGREDIENTS: Add the dry mixture to the wet ingredients in 2–3 additions, mixing on low speed after each addition just until the flour disappears. Do not overmix, as this can lead to tough cookies.
- FOLD IN THE CHOCOLATE CHIPS: Use a spatula or wooden spoon to gently fold in the chocolate chips until evenly distributed. The dough will be thick and slightly sticky.
- CHILL THE DOUGH: Cover the bowl with plastic wrap and refrigerate the dough for at least 2 hours. For best results, chill overnight to allow the flavors and texture to develop fully.
- PREHEAT THE OVEN: Preheat your oven to 350°F (175°C). Line baking sheets with parchment paper.
- PORTION THE DOUGH: Scoop out dough balls using about 3 tablespoons per cookie. Roll them into balls and place at least 3 inches apart on the prepared baking sheets. Bake only 6 at a time to allow space for spreading.
- BAKE: Bake for 11–13 minutes, or until the edges are lightly golden and the centers look slightly underbaked. The cookies will continue to cook as they rest on the baking sheet.
- COOL: Let the cookies sit on the hot baking sheet for 5 minutes, then transfer them to a wire rack to cool completely. They will firm up as they cool but stay soft in the center.
Notes
Use room temperature ingredients for best mixing results. Chilling the dough is essential for thick cookies with minimal spread. Reheat cookies in the microwave for 10 seconds to restore a soft center the next day.
Nutrition Information:
Yield:
18Serving Size:
1Amount Per Serving: Calories: 115Total Fat: 3gSaturated Fat: 1gTrans Fat: 0gUnsaturated Fat: 1gCholesterol: 22mgSodium: 201mgCarbohydrates: 20gFiber: 1gSugar: 3gProtein: 3g
