

I remember standing in my grandmother’s cozy kitchen with a smudge of flour across my cheek. My apron was too big for me, and the rolling pin felt heavy in my small hands. I watched her prepare a sweet dough that smelled like sugar and butter.
She turned it into a dessert I could hardly wait to taste, and she always kept a smile on her face when she pulled out that big pan. This recipe still reminds me of those moments, and it captures the same comforting aroma.
I enjoy the buttery base and the contrast of melted chocolate pockets. There is a small twist I add to this dough that grants an extra spark, though I will let you wait a bit before revealing it.

Gathering Ingredients for Chocolate Chunk Scones
A fresh bag of all-purpose flour and a generous cup of chocolate chunks set the stage for a treat that satisfies a craving for sweetness. Cold, cubed butter interacts with the flour mixture to create a crumbly texture that encourages flakiness.
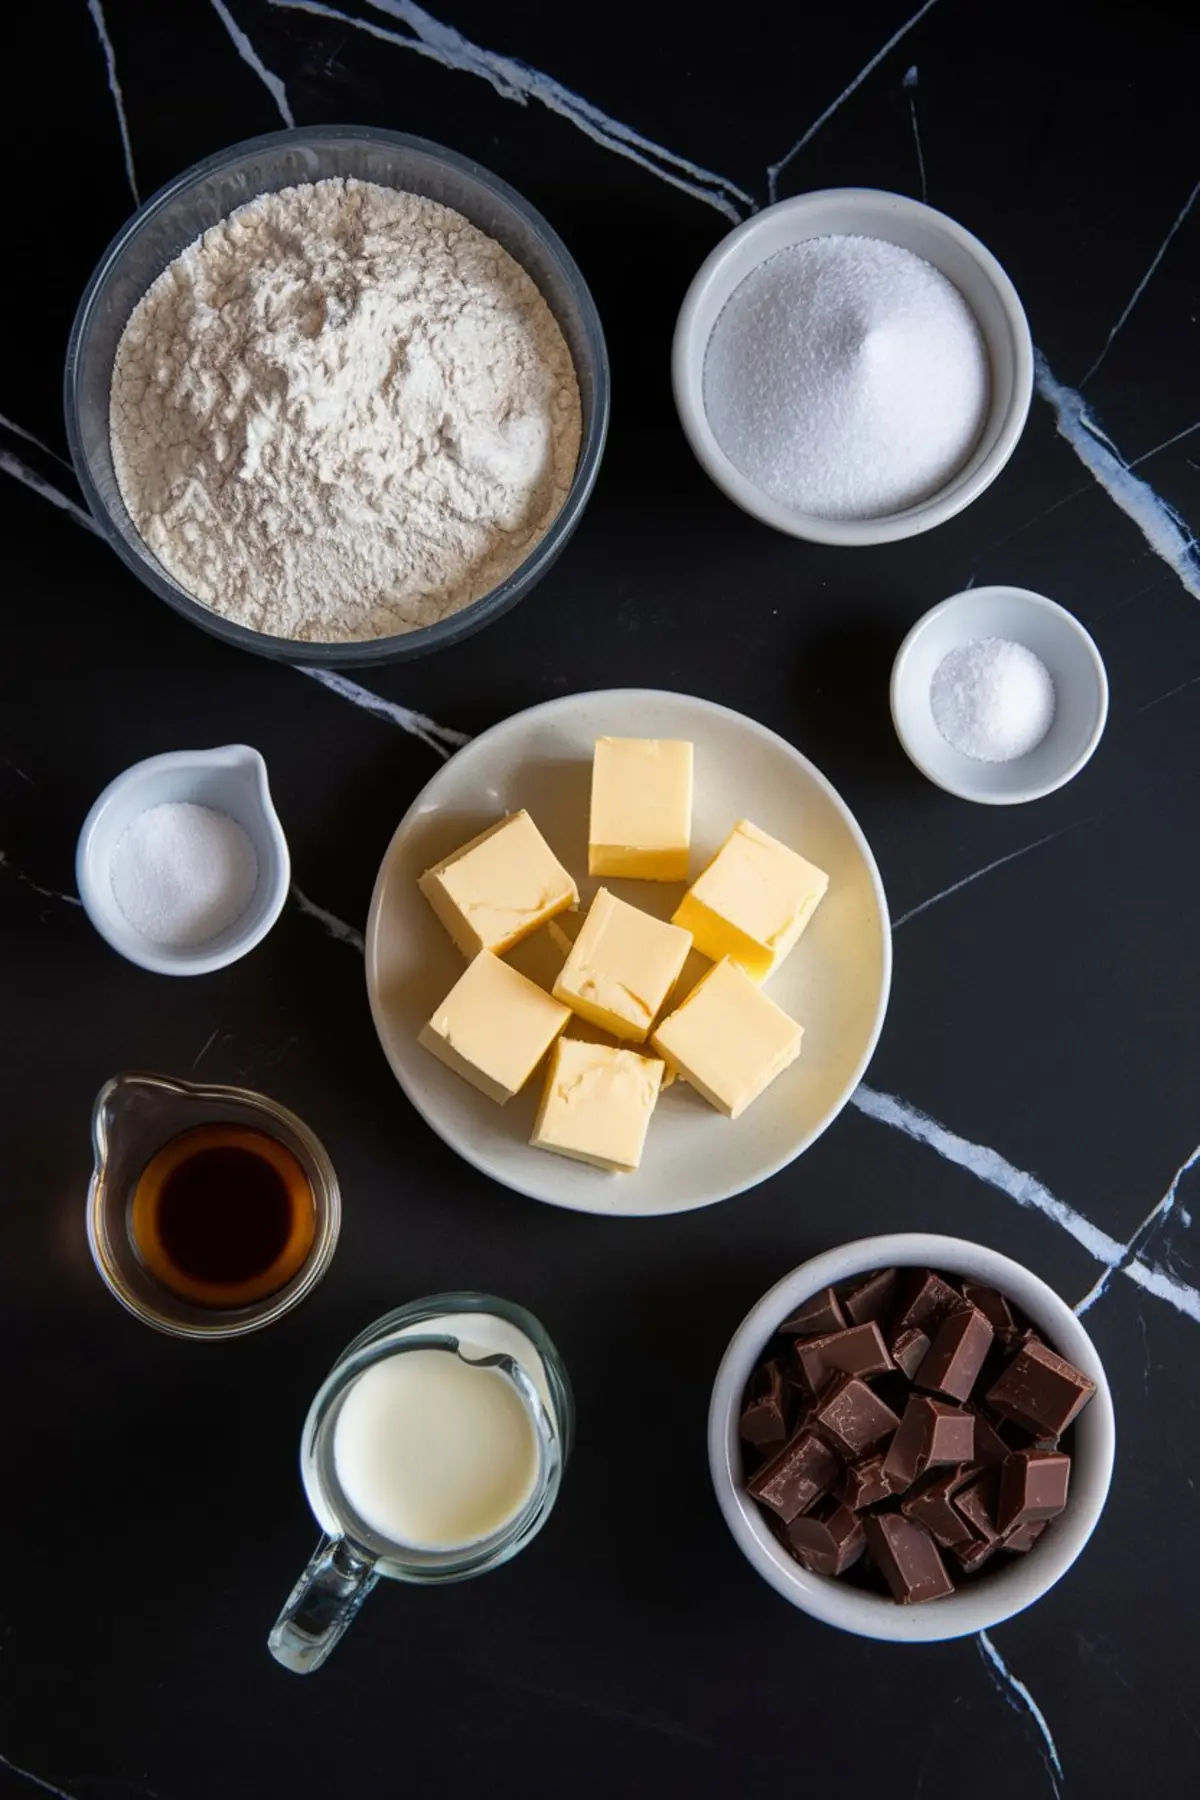
A small measure of sugar supports the balance, while a spoonful of baking powder promotes a good rise. A hint of salt finishes the basic foundation. Mixing thick cream and vanilla into these dry components changes the consistency from loose bits to a cohesive dough. These steps are straightforward, though each detail carries weight in the final result.
Mixing and Shaping the Dough
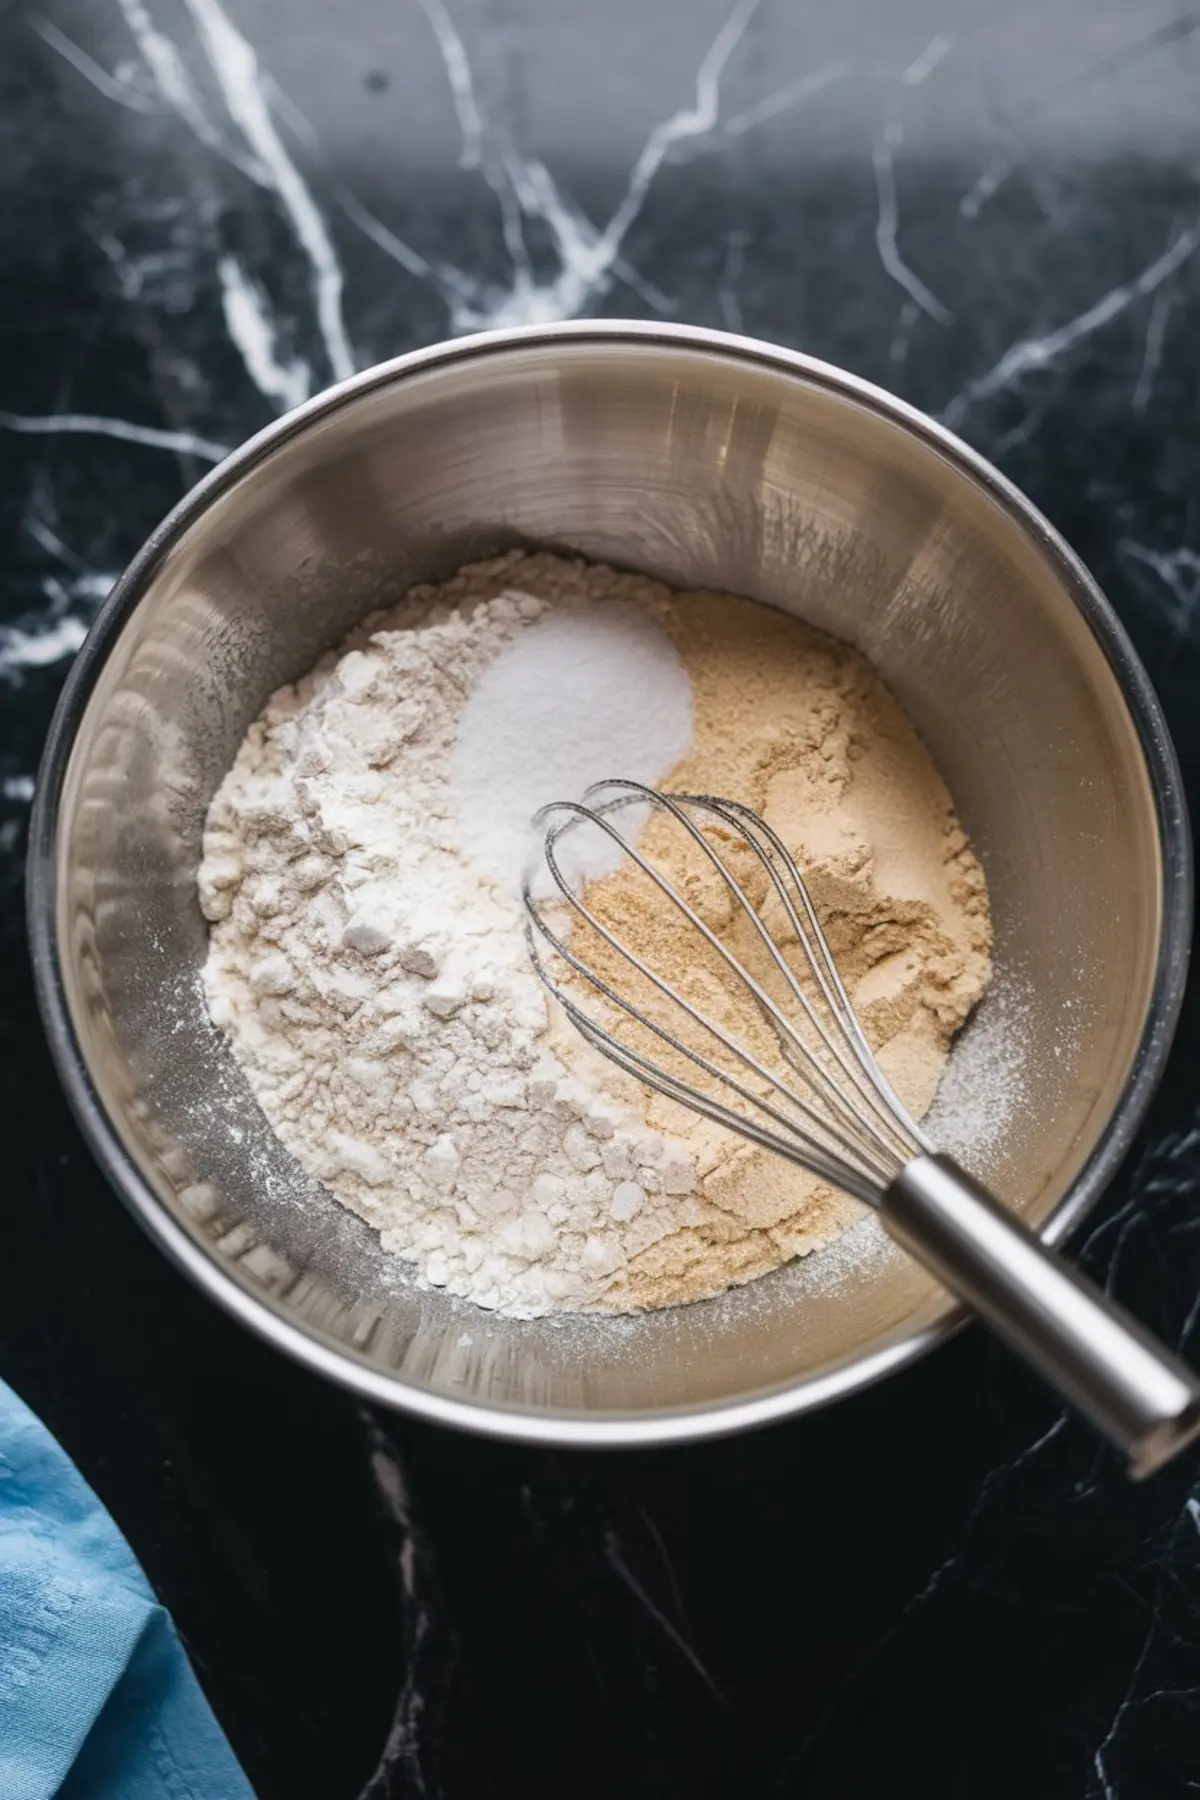
I rely on my favorite mixing bowl, then I measure and stir the flour, sugar, baking powder, and salt. I tuck in the cold butter gently, pressing it into small peas until it looks uneven but workable. This approach helps the butter hold its shape and melt in the oven rather than on the countertop.
My cat Whiskers sometimes appears at this point, drawn to the soft clinking of the bowl and the flutter of flour. He never eats any, but his curious stare makes me laugh. Once I add the cream and vanilla, the dough starts to clump. Light hands help keep those scones from turning tough. I pat the dough into a round disc on the counter, then section wedges like slicing a pie.
Arranging and Baking the Scones
The oven needs to reach the right heat, so I set it to 400°F (200°C). I arrange the wedges on a parchment-lined baking sheet, leaving gaps so the edges crisp and brown nicely. A gentle brush of cream over each top boosts the color.
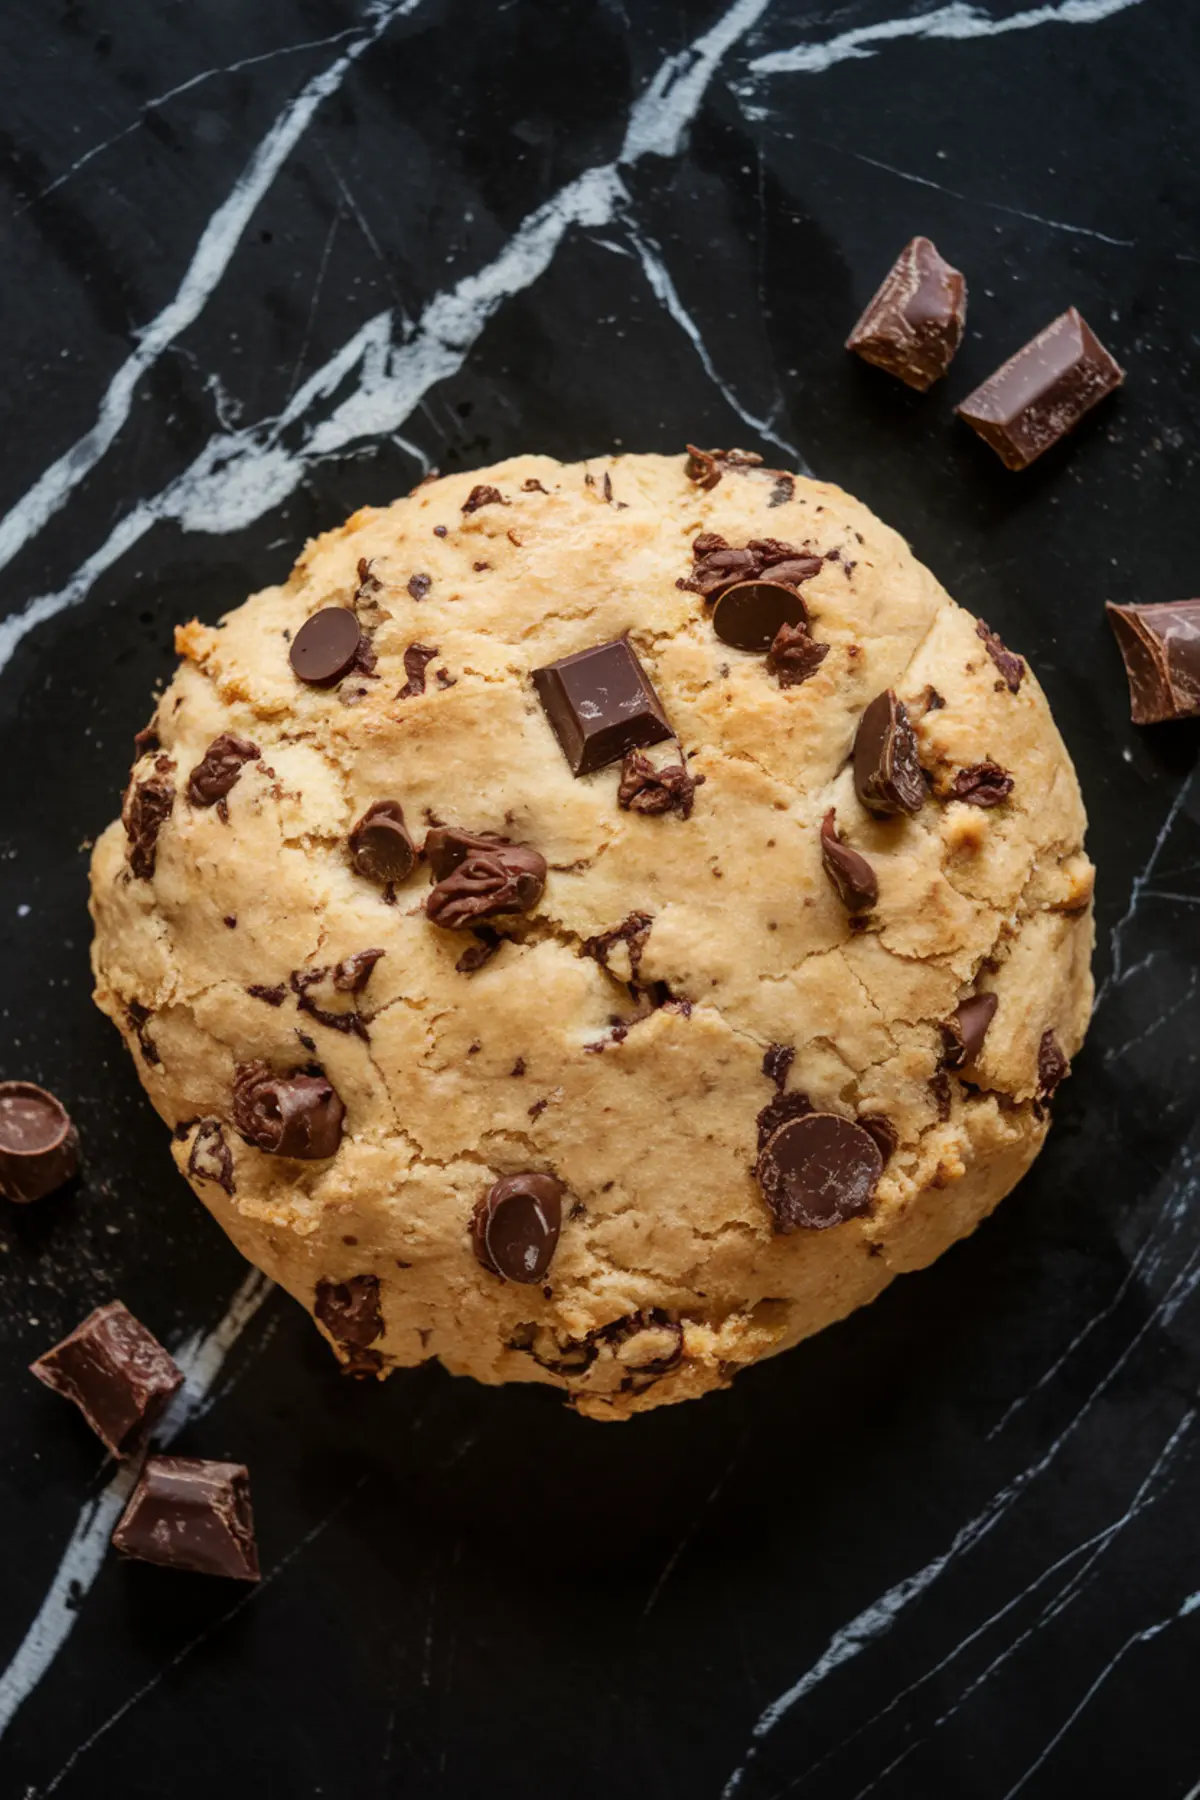
The chocolate chunks peek out, which looks inviting even before the dough rises. A short trip into the hot oven, and the scones transform into golden pastries with melted chocolate ribbons. My aunt Marian showed me this technique years ago, though she never stopped reminding me that exact timing matters.
Fifteen to eighteen minutes can change the color from blonde to deep gold. I pull them out at the right moment, then set them on a rack to cool.
What Makes These Scones Special
A distinct flavor emerges once you bite through that crisp exterior. Warm chocolate melts against the flaky crumb, and the subtle sweetness avoids overpowering the rich cocoa taste. I add a slight dusting of powdered sugar sometimes, but that is purely optional.
The texture remains tender even after they cool, which means you can enjoy them later if you have leftovers.
The Dash of Magic: A Secret Ingredient
I often teased you at the start about a tiny surprise hidden in this recipe. I discovered a small pinch of espresso powder can bring out the chocolate essence in a lovely way. That subtle coffee note never overpowers the scones.
It boosts the chocolate flavor and adds an extra layer of depth. I keep this detail in my Pin Notebook, where I record recipe tweaks and fresh ideas. My aunt’s Golden Spoon (inherited from her many years ago) stirs that espresso into the cream, and I believe it carries her spirit whenever I bake.
Chocolate Chunk Scones and More Sweet Inspiration
I find these scones stand on their own for breakfast or an afternoon snack. If you crave more treats, take a look at my Chocolate Blondie Sandwiches for a chewy bite with a layer of chocolate inside.
There is also a fun recipe for a No Bake Cheesecake that sets into a creamy dessert without heating the oven again.
A personal favorite is the White Chocolate Raspberry Cheesecake, which marries tangy fruit and smooth chocolate. These choices might complement a brunch table or a sweet-tooth craving.
Serving Tips and Storage
Fresh scones always taste best, so I like to serve them soon after they come out of the oven. A low oven temperature can warm them up later if you have leftovers the next day. Two days is the usual window for the best texture, but I freeze extra dough if I want a quick future batch.
I sometimes slice and freeze the wedges, then bake them straight from the freezer. That approach works well, and you just add a few minutes to the regular baking time.
Closing Thoughts: Pin and Share Your Experience

I appreciate the way these chocolate chunk scones bring smiles to my family and friends. Feel free to save this recipe as a pin for later on your Pinterest board. I would love to know how your batch turns out or if you have questions about your dough, oven time, or flavor tweaks. Share your stories in the comments, and let’s build a friendly baking community.
Chocolate Chunk Scones Recipe

A tender, buttery scone with rich chocolate chunks in every bite. Cold butter and a light mixing touch create a flaky texture, while a golden crust forms in the oven.
Ingredients
- 2 cups all-purpose flour
- 1/3 cup granulated sugar
- 1 tablespoon baking powder
- 1/2 teaspoon salt
- 1/2 cup unsalted butter, cold and cut into cubes
- 3/4 cup heavy cream, plus extra for brushing
- 1 teaspoon vanilla extract
- 1 cup dark chocolate chunks or chocolate chips
- Powdered sugar for dusting (optional)
Instructions
- PREHEAT THE OVEN: Set the oven to 400°F (200°C). Line a baking sheet with parchment paper to prevent sticking.
- MIX DRY INGREDIENTS: In a large bowl, whisk together the flour, sugar, baking powder, and salt until evenly combined.
- INCORPORATE BUTTER: Add the cold butter cubes to the dry mixture. Use a pastry cutter or your fingertips to blend until the butter is in pea-sized pieces, creating a crumbly texture.
- ADD WET INGREDIENTS: In a separate bowl, stir together the heavy cream and vanilla extract. Pour this mixture into the dry ingredients and mix gently until a shaggy dough forms. Avoid overmixing to keep the scones tender.
- FOLD IN CHOCOLATE: Gently fold in the chocolate chunks, distributing them evenly. The dough will be slightly sticky but manageable.
- SHAPE AND CUT: Transfer the dough to a lightly floured surface. Pat it into a circle about 1 inch thick, then cut into 8 equal wedges.
- ARRANGE AND BRUSH: Place the scones on the prepared baking sheet, leaving space between them. Lightly brush the tops with extra heavy cream to enhance browning.
- BAKE: Bake for 15-18 minutes, or until the scones are golden brown and the edges are crisp.
- COOL AND SERVE: Let the scones cool slightly before dusting with powdered sugar, if using. Serve warm or at room temperature.
Notes
For the best texture, keep the butter as cold as possible. If the dough starts to warm up, chill it in the refrigerator for 10 minutes before baking.
Dark chocolate chunks provide a rich flavor, but semisweet or milk chocolate can be used based on preference.
If the dough feels too dry, add a small splash of heavy cream until it comes together.
Scones are best enjoyed fresh but can be stored in an airtight container at room temperature for up to two days. Reheat in a low oven for a few minutes to restore texture.
To freeze, place unbaked scones on a baking sheet and freeze until firm, then transfer to a freezer bag. Bake from frozen, adding a few extra minutes to the baking time.
Nutrition Information:
Yield:
8Serving Size:
1Amount Per Serving: Calories: 564Total Fat: 30gSaturated Fat: 19gTrans Fat: 0gUnsaturated Fat: 10gCholesterol: 58mgSodium: 331mgCarbohydrates: 69gFiber: 3gSugar: 40gProtein: 6g
