

Some recipes build trust slowly. This one wins it in a single slice.
You’re about to learn how to make a high protein cheesecake that tastes indulgent but fits into a low carb lifestyle. It doesn’t crumble under diet expectations. It holds its own—creamy, structured, satisfying—and still works as a dessert you’ll crave midweek, not just on a birthday.
I keep returning to this recipe because it delivers what so many high protein desserts don’t: a dense, creamy bite with none of that rubbery after-chew. The texture mimics a classic cheesecake, but the ingredients do more for your body.
And here’s the part I never expected: a small twist in the crust that changed the way I make cheesecakes now. I’ll get to that later. Let’s start with the basics.

Building a Crust with Purpose: Oats, Almonds, and a Hint of Maple
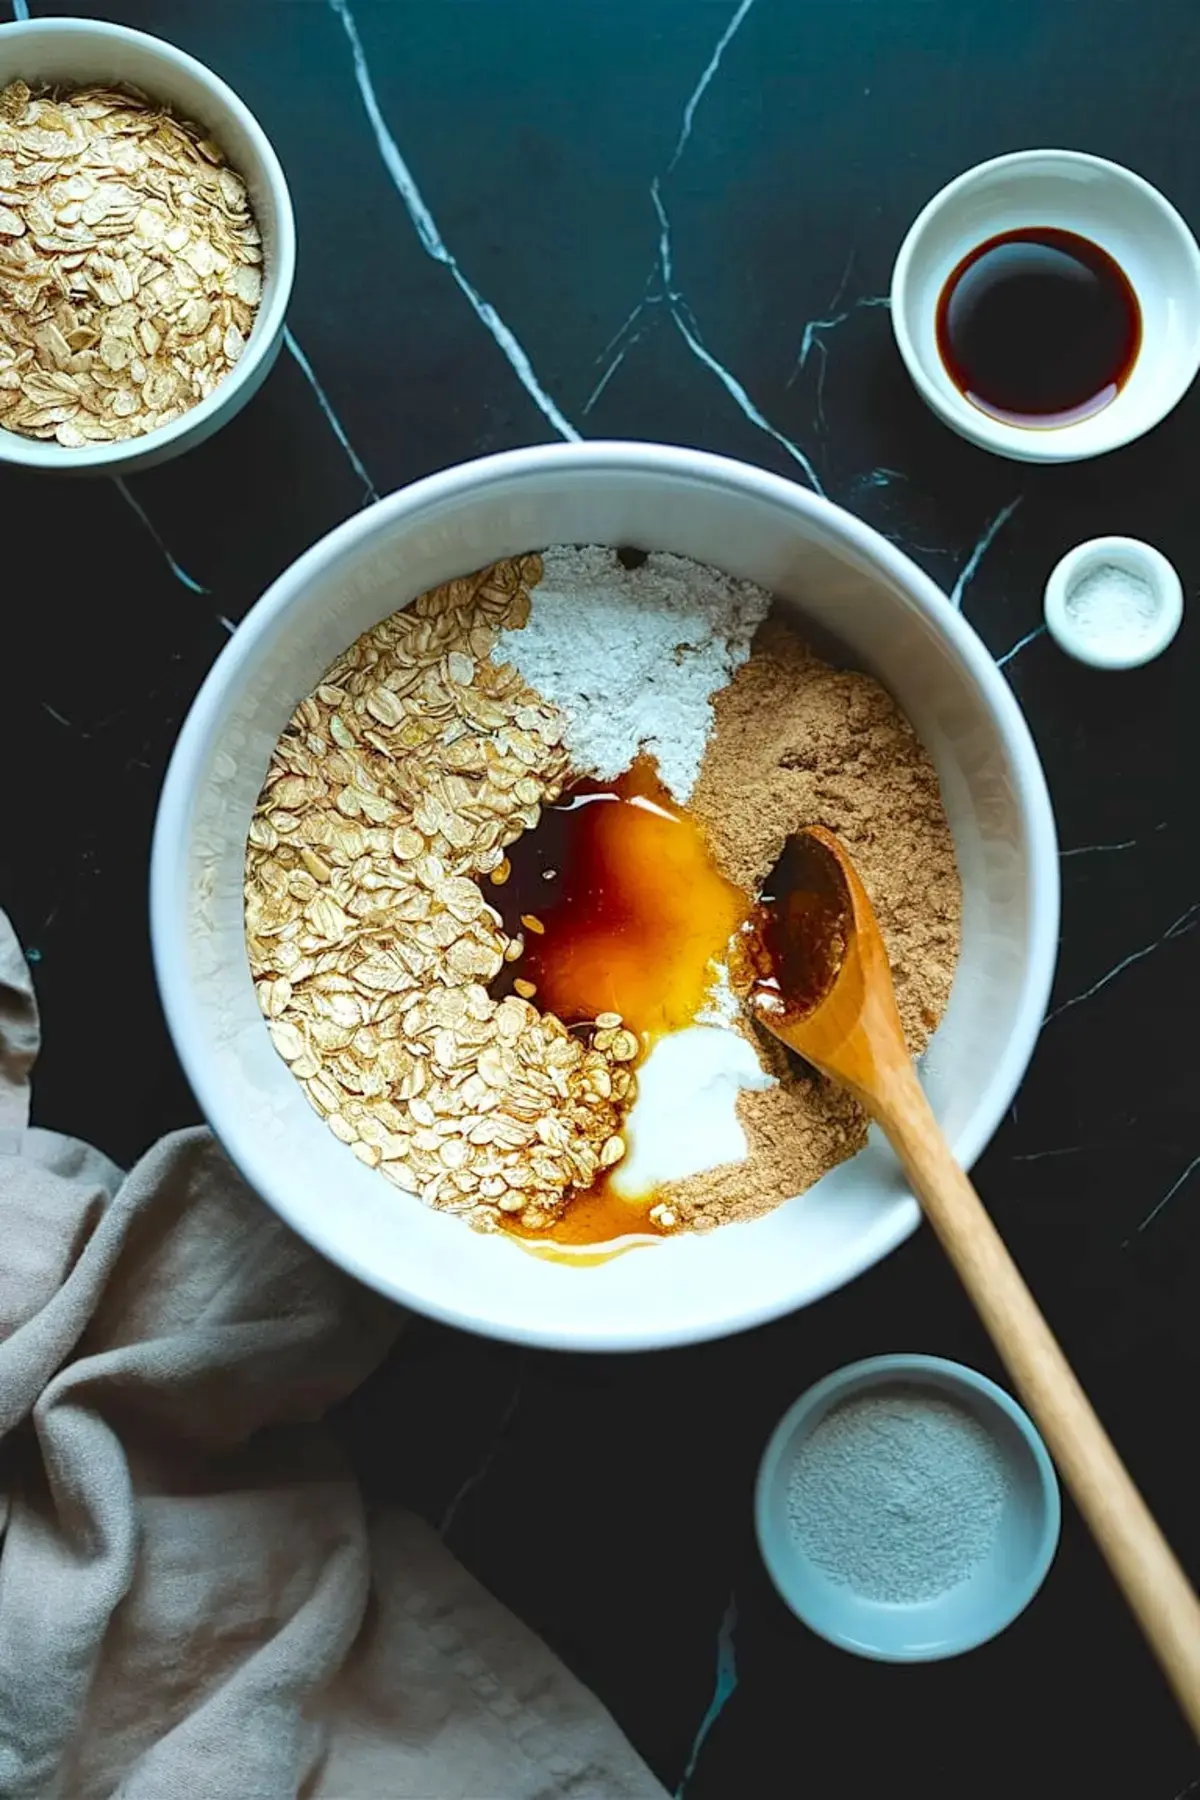
I used to believe low carb cheesecakes didn’t need a crust. Then I made this one.
This crust adds more than just structure. Rolled oats and almond flour give it a chewy bite. Maple syrup binds everything without over-sweetening, and coconut oil keeps the flavor clean and neutral. You could go crustless, sure—but you’d miss out on the balance.
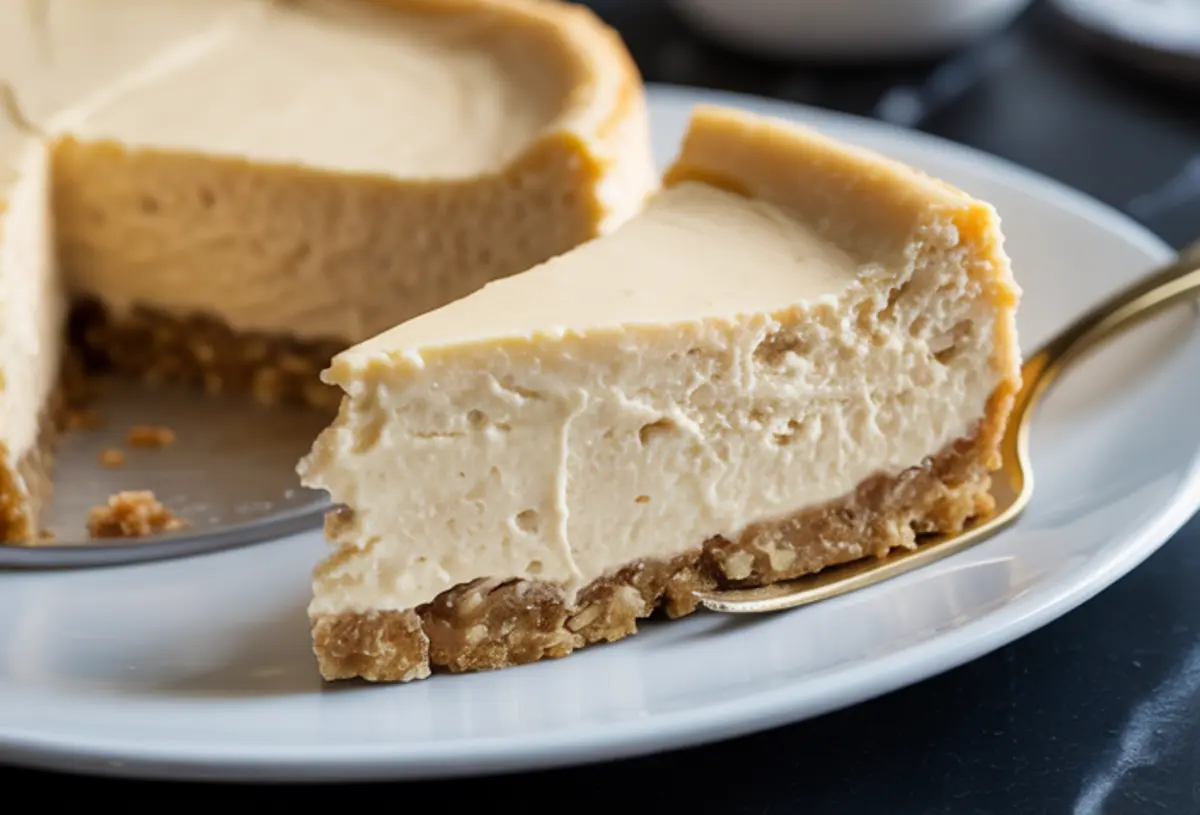
I’ve made versions with crushed nuts, but they lacked the softness I wanted under the dense filling. This one holds its shape when sliced, which means no more frustrating crumble across your plate.
Once pressed into the pan, the crust only needs 10 minutes in the oven. That brief bake is all it takes to deepen the flavor and create a barrier for the creamy layer.
Cream Cheese and Greek Yogurt: A Protein-Packed Filling That Feels Like Dessert

Most high protein cheesecake recipes lean heavily on protein powder or Greek yogurt alone. This one uses both, balanced by softened cream cheese. The result is dense but not stiff. Tangy but not sour. Sweet, but not aggressive.
I’ve tested this with both full-fat and low-fat yogurt. Full-fat gives the silkiest texture, but low-fat works just fine if you’re watching calories more than creaminess. I always use a hand mixer on low speed to avoid whipping in too much air. That’s how you get a smooth, even surface without the dreaded top crack.
You’ll taste the vanilla protein, but only gently. Maple syrup and stevia work together to round out the sweetness without spiking sugar levels.
If you’re looking for more flavor-forward twists, my Honey Lavender Cheesecake adds floral depth with a similar creamy base.
Bake Low and Slow: Why 325°F is the Sweet Spot
Many home bakers crank the oven up to rush things. But with cheesecake, speed ruins texture.
At 325°F, the edges set gently and the center stays just jiggly enough to finish setting in the fridge. Once baked, turn the oven off and crack the door open. That soft drop in temperature prevents the surface from splitting.
I always let mine sit for 20 minutes in the oven before cooling on the counter. Whiskers, my cat, often sits by the oven door during this part. I think he senses the patience in the process. Or maybe he just likes the smell.
Either way, cooling slowly is what locks in the creamy texture without turning rubbery.
Chill Time is Flavor Time: Why 4 Hours Changes Everything
After it cools, don’t skip the chill. Four hours in the fridge—minimum. Overnight if you can.
This is when the protein cheesecake settles into itself. The crust firms up, the center tightens, and the flavors mellow into something that doesn’t just taste healthy. It tastes complete.
I slice it with a clean, sharp knife and always wipe between cuts. That’s how you get those café-style slices, even at home.
For a fruity variation, try my Peach Cheesecake which adds juicy summer notes to the same base.
The Unexpected Magic: What I Add to the Crust (and Why You Should Too)
Here’s what I hinted at earlier.
A few drops of almond extract stirred into the crust mixture changed everything for me. It’s subtle, almost background music. But it lifts the crust just enough to make people stop and ask, “What is that flavor?”
You can skip it. But once you try it, you’ll never go back to plain.
A Quick Note on Protein Powder: Which One Works Best?

I’ve tested this with whey, casein, and plant-based blends. My notes show whey isolate works best if you’re aiming for a smooth finish without grit. Casein made the texture too dense, while plant-based powders sometimes added bitterness.
So if you’re choosing based on texture and flavor, go for vanilla whey isolate. It gives body without adding chalk.
Save, Bake, and Share: Let’s Make Cheesecake Routine Again

If this high protein cake taught me anything, it’s that dessert doesn’t have to sit on the sidelines of your nutrition plan. It can lead the charge.
This recipe is now part of my weekly meal prep rotation, and honestly, it never feels like I’m compromising. You can serve it at brunch, after dinner, or as a mid-afternoon break with coffee.
Want more cheesecake ideas to rotate in? Try this calming Honey Lavender Cheesecake or my summer favorite, Peach Cheesecake. For something deeper and chocolatey, the Tiramisu Cheesecake adds a bold twist. And if you’re feeling dramatic, the Black Forest Cheesecake layers fruit and chocolate like a showstopper.
Now it’s your turn.
Pin this recipe so it’s easy to find again later. And if you make it, tell me in the comments—what protein powder did you use? Did you add lemon zest or almond extract? I’d love to hear how it turned out.
Let’s keep sharing and baking together.
Protein Cheesecake Recipe

This protein cheesecake balances rich texture and clean ingredients for a satisfying dessert that fits into a healthy routine. Cream cheese and Greek yogurt create a dense, creamy base, while vanilla protein powder adds a nutritional boost. A lightly sweetened oat-almond crust adds structure and chew, making this cake suitable for everything from weekly meal prep to a casual celebration.
Ingredients
- FOR THE CRUST
- 1 cup rolled oats
- 1/2 cup almond flour
- 2 tablespoons coconut oil, melted
- 2 tablespoons maple syrup
- FOR THE FILLING
- 16 ounces cream cheese, softened
- 1 cup Greek yogurt (full-fat or low-fat)
- 1/2 cup vanilla protein powder
- 2 large eggs
- 1/4 cup maple syrup
- Several drops liquid stevia (adjust to taste)
- 1 teaspoon vanilla extract
- Pinch of salt
Instructions
- PREHEAT AND PREPARE CRUST: Preheat oven to 325°F (165°C). In a bowl, mix rolled oats, almond flour, melted coconut oil, and maple syrup until combined. Press the mixture into the bottom of a greased 9-inch springform pan. Bake for 10 minutes, then remove and let cool.
- MAKE FILLING BASE: In a large mixing bowl, blend softened cream cheese and Greek yogurt using a hand mixer on low speed until smooth. Avoid over-mixing to reduce air bubbles.
- ADD DRY AND WET INGREDIENTS: Add vanilla protein powder, eggs, maple syrup, liquid stevia, vanilla extract, and a pinch of salt. Mix just until fully combined, scraping down the sides of the bowl as needed.
- POUR AND SMOOTH: Pour the filling over the cooled crust. Tap the pan gently on the counter to release air bubbles for a smooth surface.
- BAKE: Bake at 325°F (165°C) for 35 to 40 minutes. The edges should appear set while the center remains slightly jiggly.
- COOL GRADUALLY: Turn off the oven, crack the oven door open, and let the cheesecake sit inside for 20 minutes. Then transfer to a wire rack and cool to room temperature.
- CHILL: Cover and refrigerate for at least 4 hours or overnight until fully set.
- SLICE AND SERVE: Use a sharp knife, wiping it clean between cuts, to slice and serve neatly.
Notes
For a crustless version, skip the crust ingredients and pour the filling directly into a greased pan. The flavor will still be rich and satisfying. Optional additions include lemon zest or almond extract for extra depth.
Nutrition Information:
Yield:
12Serving Size:
1Amount Per Serving: Calories: 270Total Fat: 19gSaturated Fat: 10gTrans Fat: 0gUnsaturated Fat: 7gCholesterol: 71mgSodium: 156mgCarbohydrates: 16gFiber: 1gSugar: 8gProtein: 10g
