
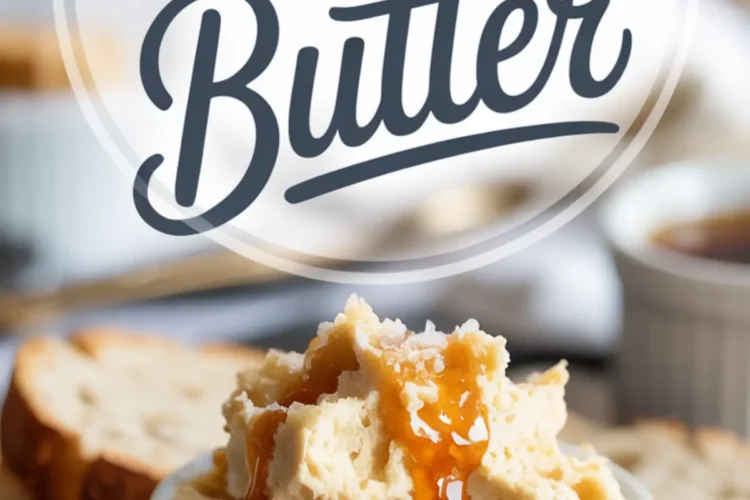
Every kitchen deserves a recipe that feels like comfort poured into a jar. This maple butter does exactly that. You will learn how to make a creamy spread that transforms simple bread or pancakes into something memorable. The steps are easy, the ingredients are few, and the reward is a jar that makes mornings brighter and snacks more satisfying.
The reason I return to this recipe again and again is the way it brings warmth to even the plainest slice of bread. There is also a small twist you will discover later in this article, one that I always keep in my notes. It gives the butter a finish that guests never expect.

Maple Butter Ingredients You Will Need
The heart of this spread rests on quality butter and pure maple syrup. I use two sticks of unsalted butter softened to the right temperature. The butter should hold its shape yet yield easily to the touch. If it feels too firm, I warm it in the microwave in short bursts until spreadable. Into this base comes half a cup of pure maple syrup. The choice of syrup matters, as darker grades carry a richer depth of flavor that pairs beautifully with the butter.
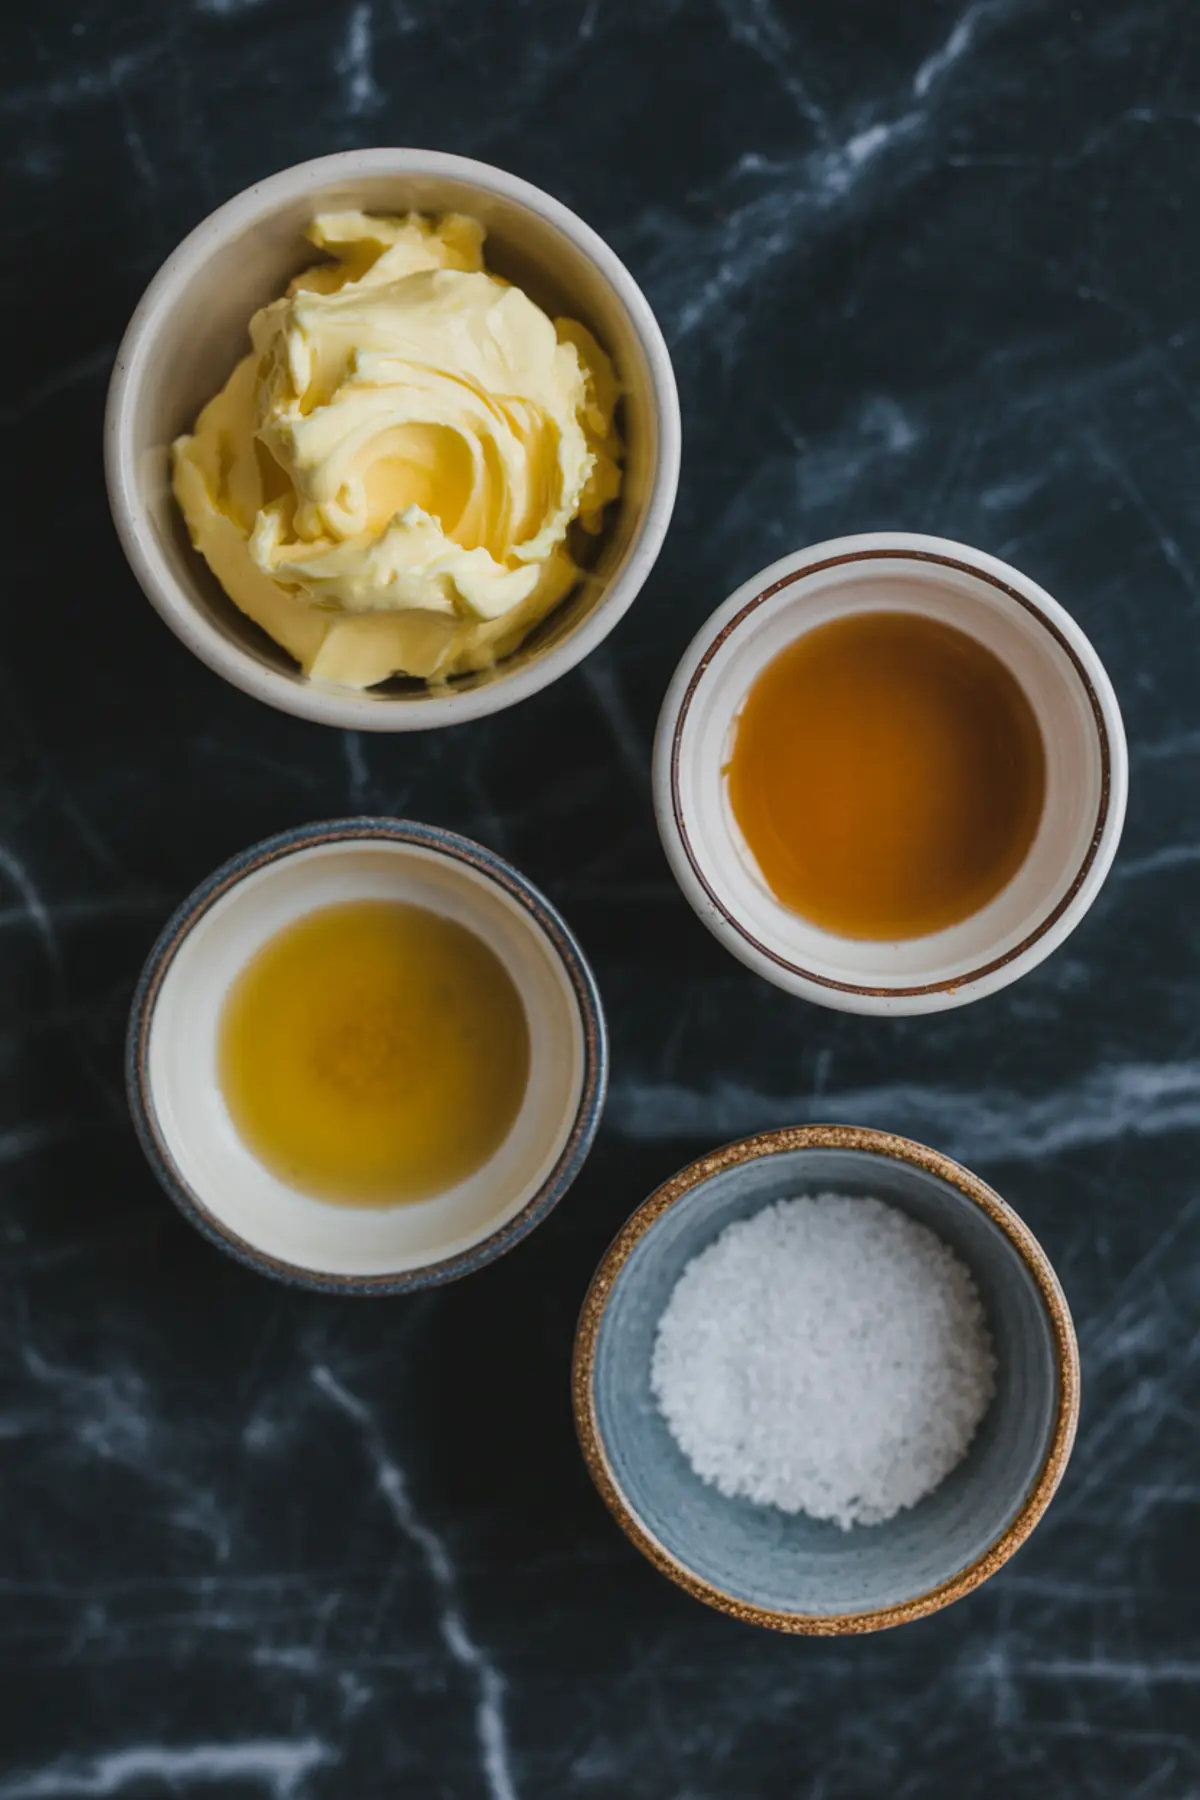
A pinch of flaky sea salt completes the trio. Do not skip it. The salt draws out the sweetness of the syrup and keeps the flavor balanced. I sometimes add a sprinkle more on top for a bit of texture. Recipes like Maple Fudge show how a touch of salt can highlight the natural maple taste.
Step by Step to Creamy Maple Butter
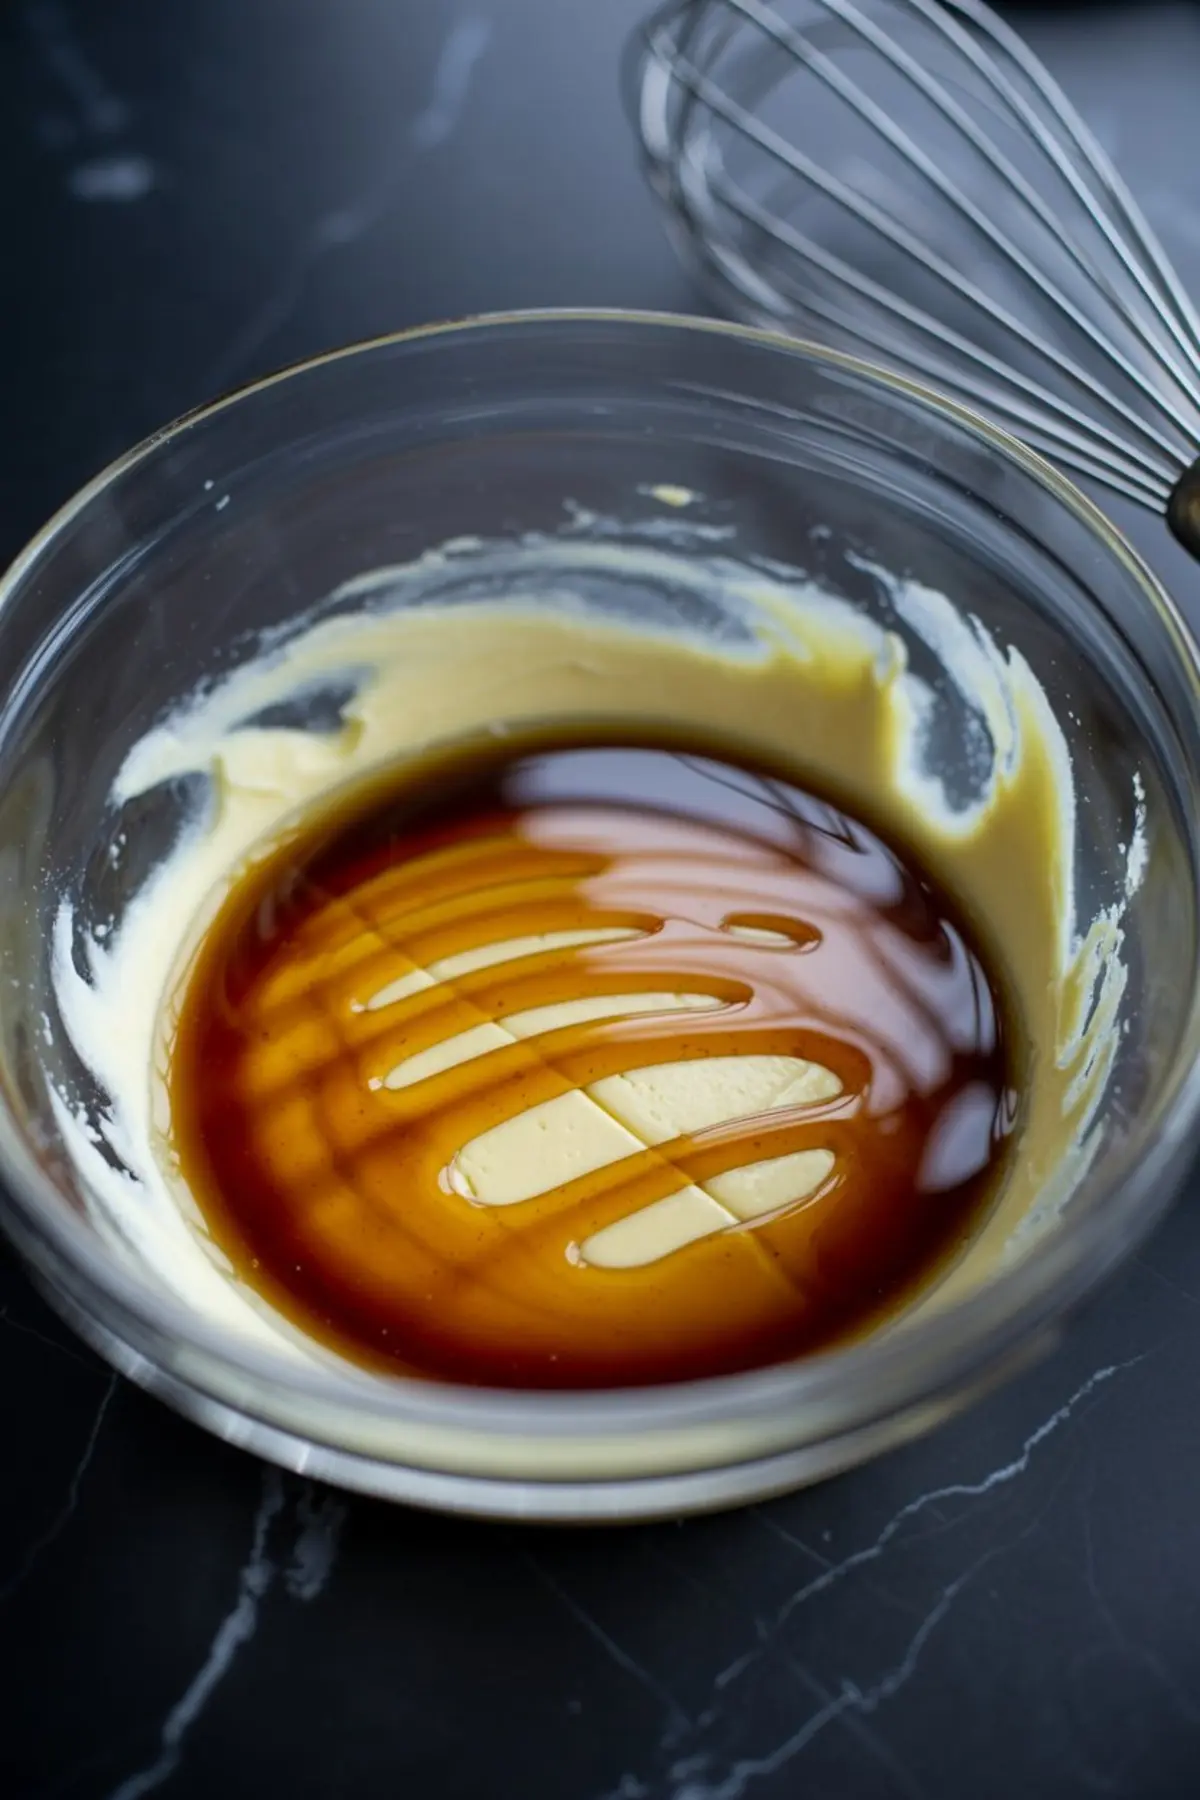
The process begins by whipping the softened butter until pale and fluffy. I let my stand mixer do the work for two or three minutes. If you do not have a stand mixer, a hand mixer works just as well. The goal is a base that feels light, almost airy.
Once the butter has reached that stage, I slowly drizzle in the maple syrup while the mixer runs on low. Adding the syrup too quickly risks separation, so patience pays off. As soon as all the syrup is in, I raise the speed and whip again. The texture thickens slightly and turns silky.
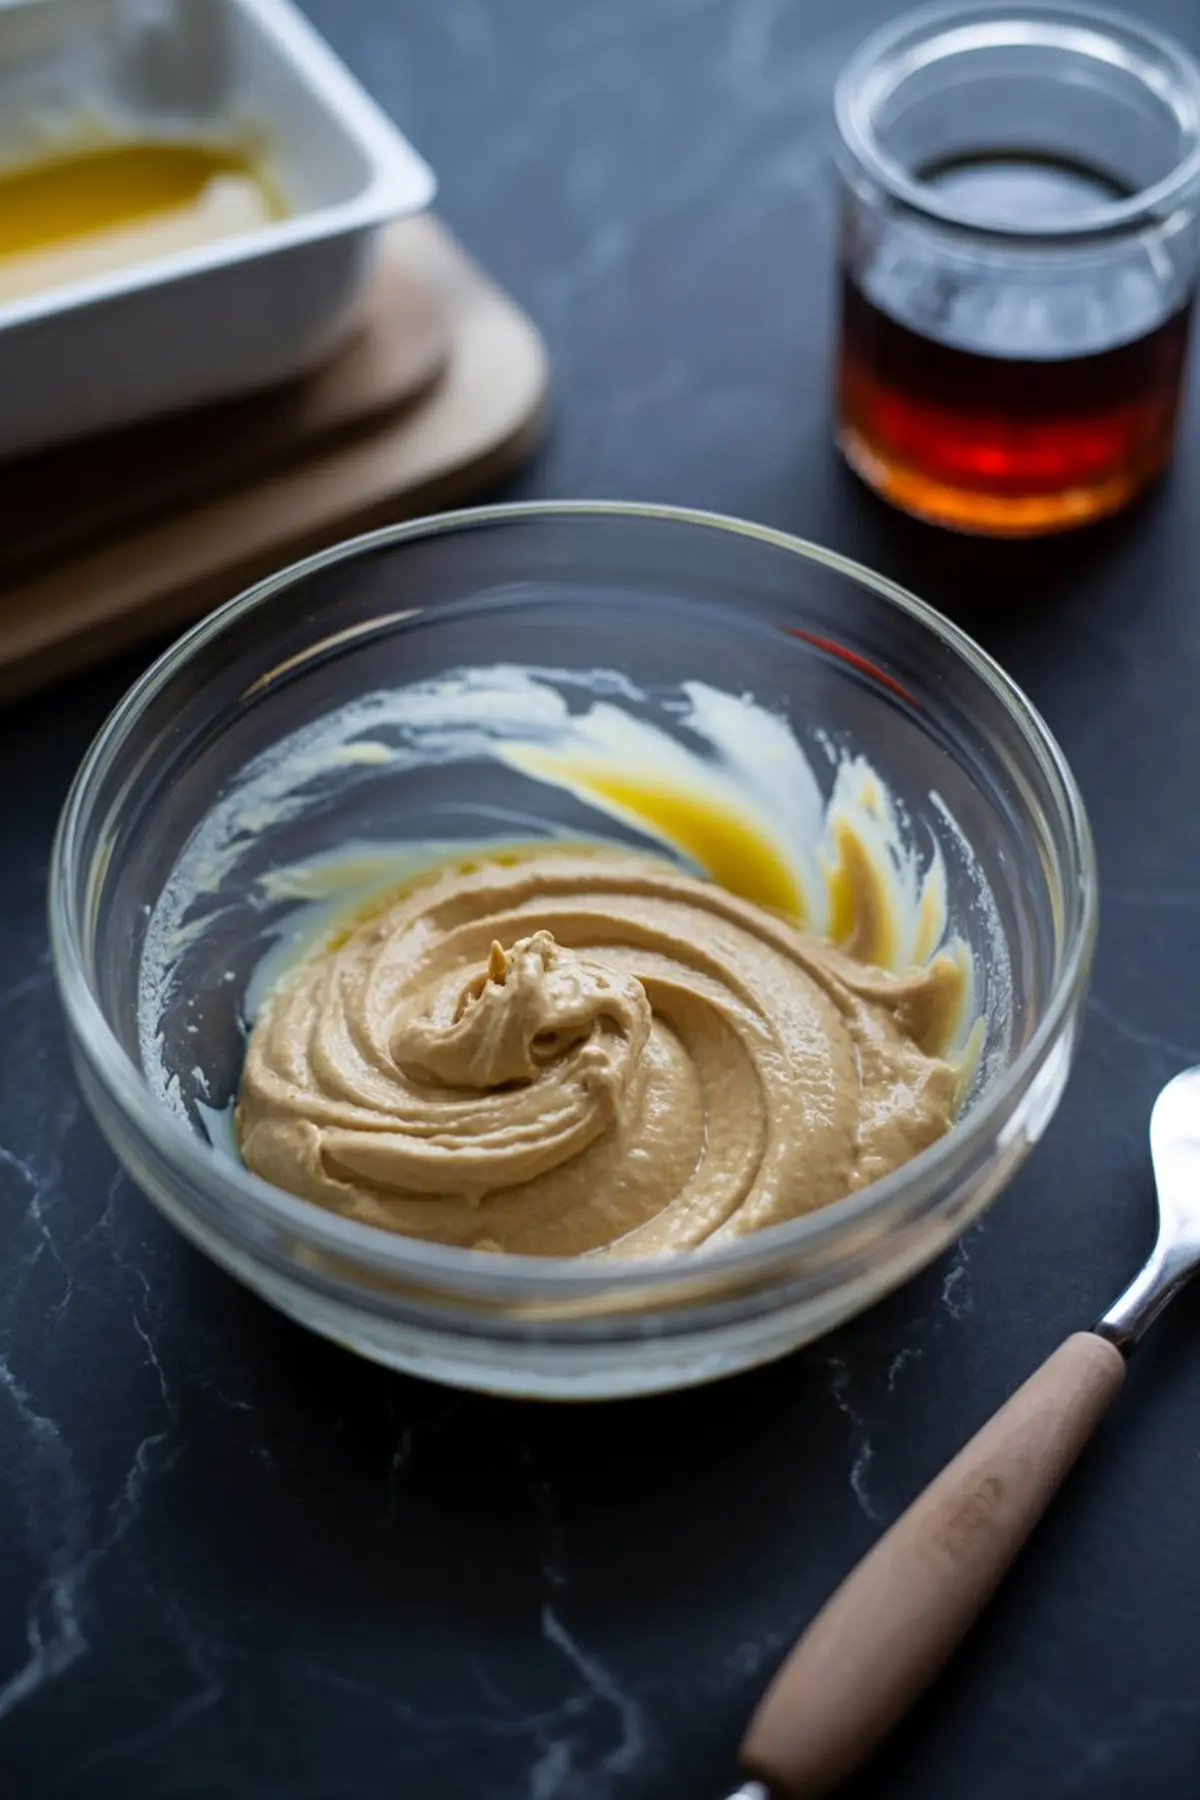
The final step calls for sprinkling in the flaky sea salt. I give it a quick mix, then taste. Some days I like a little more syrup for extra sweetness. Other days I add more salt for a bolder flavor. This flexibility makes the recipe your own. If you love fall spreads, you might also enjoy Maple Brown Sugar Oatmeal, where the same balance of sweet and salty shines through.
Butter Softness Versus Melted Butter
Here is a detail many overlook. The butter should be soft, not melted. I once tried making this with melted butter, thinking it might blend more easily. The result was disappointing. The maple syrup refused to combine properly, and the texture turned greasy. Soft butter holds air when whipped, which gives the spread its creamy feel. Melted butter cannot do that. This small choice changes everything. I keep that note at the top of my Pin Notebook.
You may compare it to choosing between a crisp Pear Salad Recipe and one made with fruit that sat out too long. Both may carry the same flavors, but only one delivers the freshness you want.
Serving and Storing Maple Butter
Once mixed, I transfer the butter into a small glass jar. A quick swirl with the back of a spoon across the top gives it a finished look. Sometimes I drizzle a bit more syrup over the surface. This little touch makes it look as inviting as it tastes.
You can keep the butter covered in the refrigerator for up to a week. If you plan to serve it with breakfast, let it sit out for ten minutes before spreading. The texture softens quickly. I especially love it on warm sticky buns fresh from the oven. The maple butter melts into every fold, making each bite richer.
And here is the secret I hinted at earlier. A tiny dusting of maple sugar on top before serving changes the experience entirely. It adds a light crunch and deepens the maple flavor. Guests always ask what makes it taste so special.
Save This Maple Dessert for Later
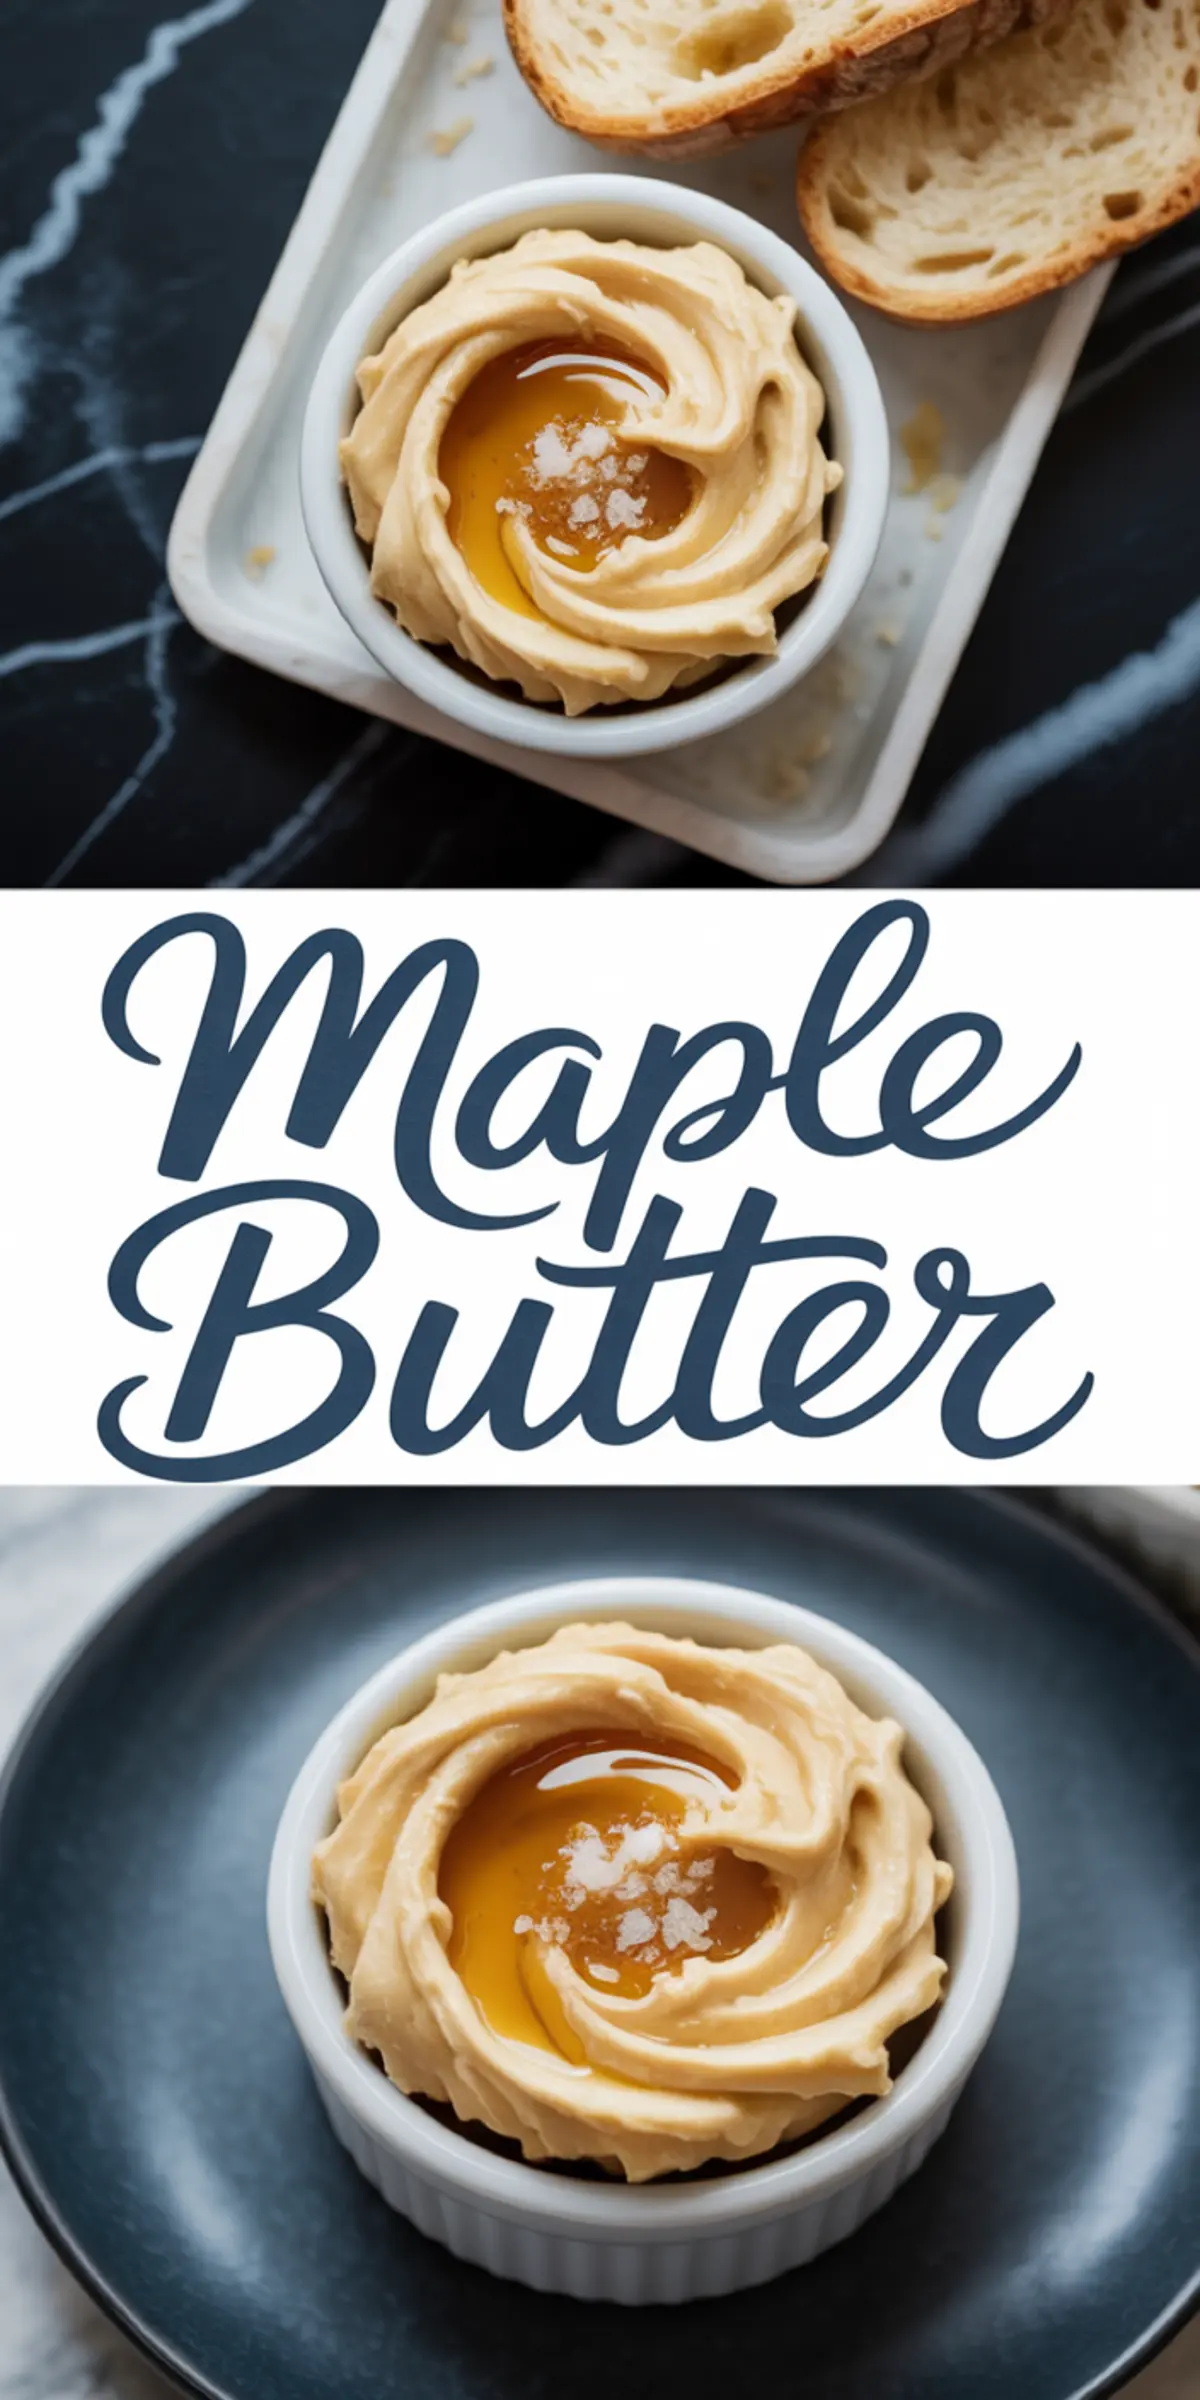
Maple butter belongs in your fall kitchen. Its creamy texture and balanced sweetness fit anywhere from a slice of toast to a batch of pancakes. It is also an easy way to bring a seasonal touch to the table without much effort.
I would love to hear how your maple butter turns out. Share your results in the comments, or ask me any questions you have. And do not forget to save this recipe on Pinterest, so you can return to it whenever the craving strikes.
Maple Butter Recipe

Maple butter is a simple, creamy spread made with just three ingredients. Softened butter is whipped until light and fluffy, then blended with pure maple syrup and a touch of sea salt for balance. It adds a warm, sweet flavor to bread, pancakes, biscuits, or baked goods.
Ingredients
- 1 cup (2 sticks) unsalted butter, softened
- ½ cup pure maple syrup
- ¼ teaspoon flaky sea salt (plus more for garnish, if desired)
Instructions
WHIP THE BUTTER: Place the softened butter in a medium mixing bowl. Using a stand mixer with the whisk attachment or a hand mixer, whip the butter for 2 to 3 minutes until pale and fluffy.
ADD THE MAPLE SYRUP: With the mixer on low speed, slowly drizzle in the maple syrup to prevent separation. Once fully added, increase the speed to medium-high and whip for 2 to 3 minutes until the mixture looks silky and slightly thickened.
SEASON AND ADJUST: Sprinkle in the flaky sea salt and mix briefly to combine. Taste and adjust with a little more syrup for sweetness or a touch more salt for balance, if desired.
SERVE OR STORE: Transfer the maple butter to a serving dish or glass jar with a lid. For presentation, swirl the top with the back of a spoon and drizzle a little extra maple syrup over the surface.
Notes
The butter should be soft but not melted before starting. If needed, microwave it in 5-second bursts until spreadable.
Nutrition Information:
Yield:
2Serving Size:
1Amount Per Serving: Calories: 261Total Fat: 6gSaturated Fat: 4gTrans Fat: 0gUnsaturated Fat: 2gCholesterol: 15mgSodium: 320mgCarbohydrates: 54gFiber: 0gSugar: 49gProtein: 0g
