

The best fudge recipes do more than satisfy a sweet tooth. They create small squares of comfort that feel both nostalgic and new. This maple fudge recipe delivers a soft, creamy texture paired with the unmistakable depth of pure maple syrup.
You’ll learn how to make a fudge that holds together beautifully, with a flavor that lingers warmly. My own experience with maple desserts taught me that a single detail can change everything. There’s one touch in this recipe you might not expect, and it makes the difference between good fudge and one that you’ll proudly share. I’ll reveal that secret a little later.

Why This Maple Fudge Recipe Stands Out
Real maple syrup forms the heart of this recipe. Its richness creates a depth that other sweeteners can’t match. I once tried using pancake syrup out of curiosity, and the result lacked the deep, natural flavor I wanted. It’s a small choice, but it matters.
Recipes like Maple Brown Sugar Cookies remind me that pure maple syrup brings a unique warmth, one that always sets desserts apart. The same applies here, making this fudge a reliable treat for holidays, gatherings, or a quiet evening.
Preparing the Ingredients for Maple Fudge

Pure maple syrup blends with granulated sugar and heavy cream to form a base that cooks into a smooth, rich texture. Butter and vanilla add softness and aroma, while optional flaky salt or toasted pecans give each square a balanced finish. This mix creates a fudge that rivals classics like a traditional Pumpkin Fudge.
In my Pin Notebook, I noted that adding nuts not only brings crunch but also highlights the maple flavor, giving the squares a more layered bite. Without them, the fudge feels more traditional and smooth, which works beautifully too. It depends on whether you prefer contrast in texture or a melt-away experience.
The Cooking Process for Creamy Maple Fudge

The base begins by gently combining the syrup, sugar, and cream in a heavy-bottomed pan. Heat slowly and stir until the sugar dissolves. Once it simmers, leave it untouched as the thermometer climbs to 236°F. That still moment in the kitchen often feels the longest, but it rewards your patience.
Afterward, butter and vanilla slip into the mixture. Resting it for ten minutes lets the fudge thicken slightly. Then comes the steady beating. I use a wooden spoon, just like my grandmother did. She always said the wood kept the mixture calm, and I believe her. The gloss fades, the fudge thickens, and that’s when you know it’s ready to pour.
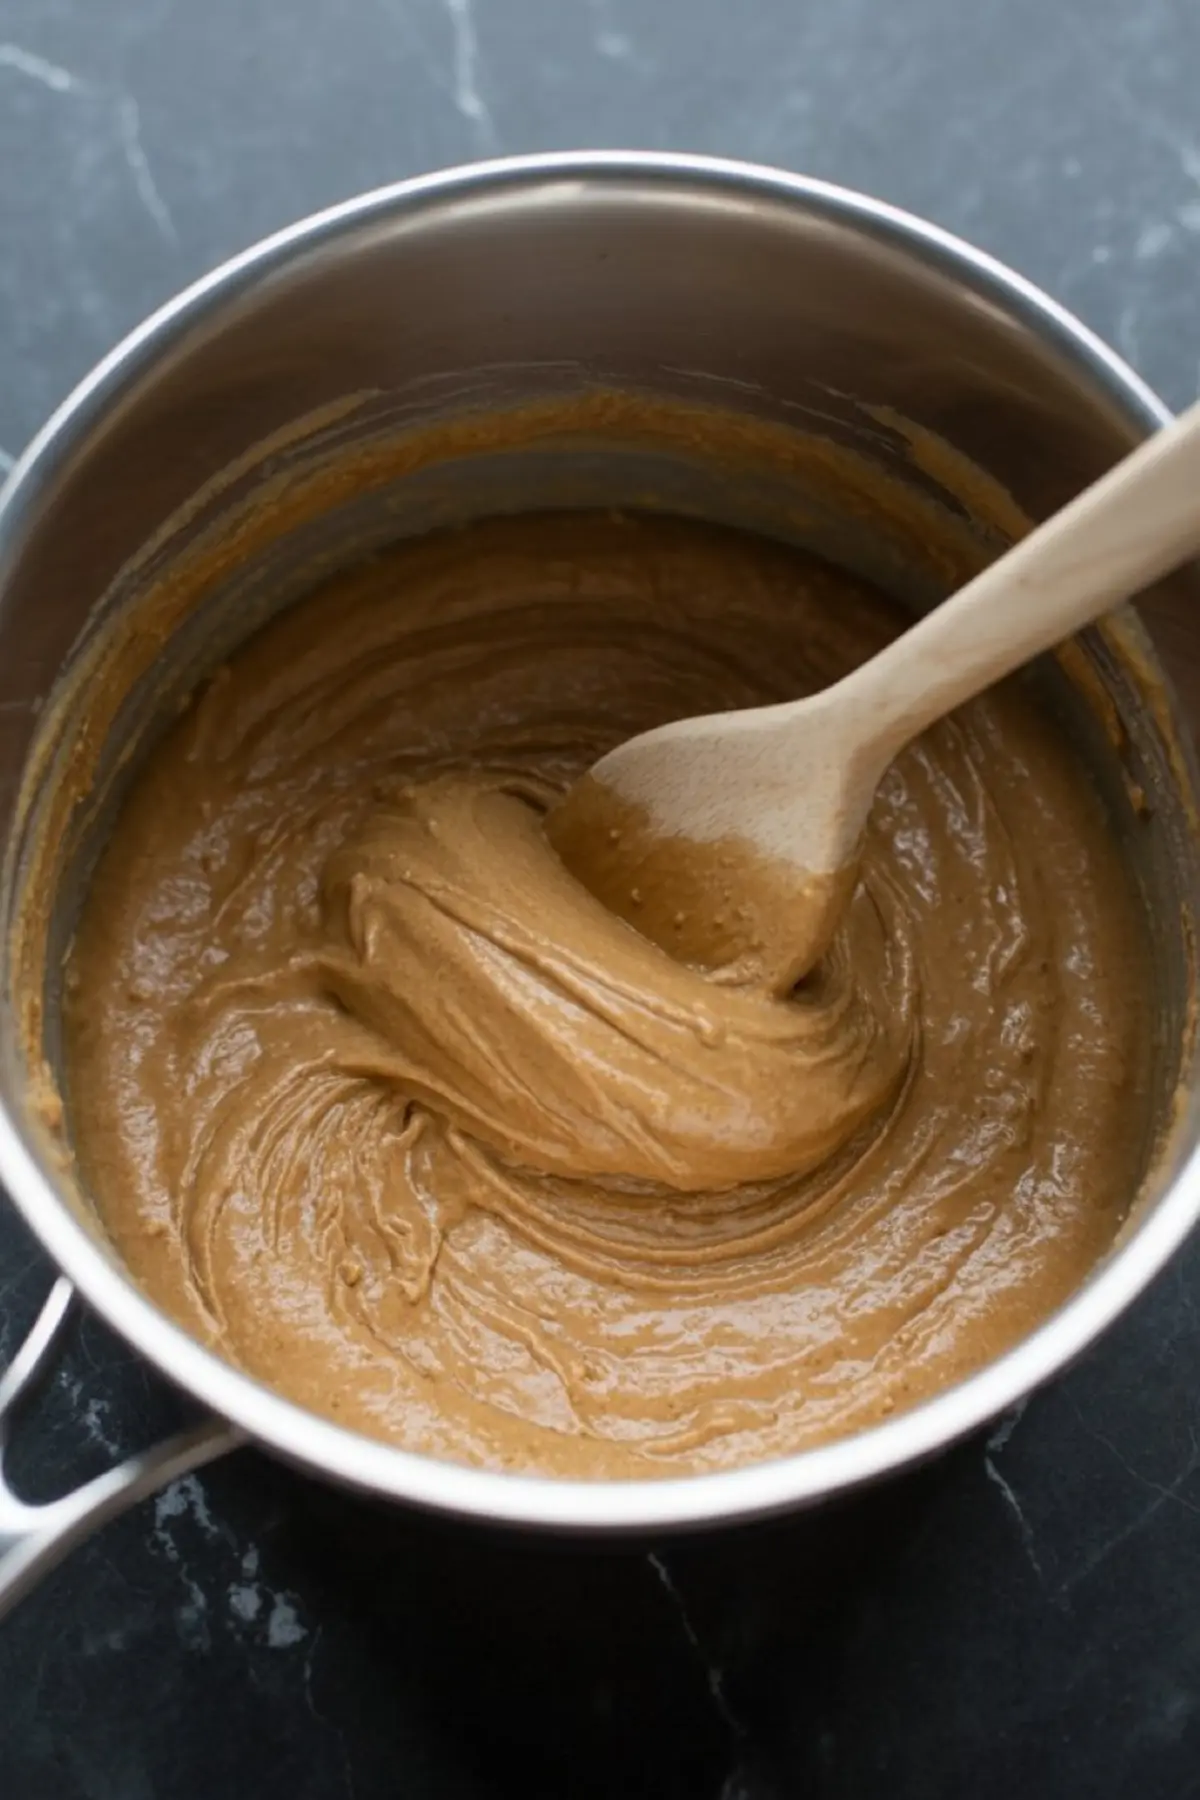
Recipes such as Maple Bourbon Pecan Pie Bars show how important texture is in maple desserts. The same principle applies here: the right stirring brings the creamy consistency we crave.
Maple Fudge With a Simple but Important Choice

Through testing, I discovered a helpful comparison. I once made a batch with light cream instead of heavy cream, thinking it would lighten the result. Instead, the fudge set too soft and lost its silky firmness. Heavy cream creates the body this recipe needs, while lighter options take away its strength. If you’ve wondered about the choice, stick with heavy cream.
The Secret Touch That Elevates This Fudge
Earlier I mentioned a small detail that changes everything. Sprinkling just a pinch of flaky sea salt on top right before the fudge sets balances the sweetness and sharpens the maple flavor. It’s a step many overlook, but it transforms each bite into something memorable.
In my own batches, I’ve tried both plain and salted versions. Guests always reach for the salted pieces first. That touch of contrast draws them in and keeps the squares from tasting overly sweet.
Serving and Sharing Your Maple Fudge
After resting for two to three hours, the fudge lifts easily from the pan and cuts into tidy squares. Store them at room temperature or refrigerate for a firmer texture. They make a thoughtful homemade gift, and they pair beautifully with coffee or tea. Some people say this Maple Candy Recipe works as a quicker fix, but this fudge feels more generous and satisfying.
Every holiday season, I prepare a plate of these squares next to other treats like Butterscotch Fudge and a Caramel Fudge Recipe. The maple always disappears first.
Save This Maple Fudge Recipe for Later

If this maple fudge finds a spot on your table, I’d love to hear about it. Share in the comments how it turned out for you, or ask if you have questions before making it. Save this recipe to your Pinterest boards so it’s waiting when the craving strikes.
Maple Fudge Recipe

Creamy maple fudge brings together the deep sweetness of real maple syrup with a smooth, melt-in-your-mouth texture. This recipe uses just a few simple ingredients and creates soft squares that make a beautiful homemade treat for sharing during the holiday season or anytime you want a touch of comfort.
Ingredients
- 2 cups pure maple syrup
- 1 cup granulated sugar
- 1 cup heavy cream
- 2 tablespoons unsalted butter
- 1 teaspoon vanilla extract
- Optional: flaky sea salt or chopped toasted pecans for topping
Instructions
PREPARE THE PAN: Grease and line an 8x8-inch baking pan with parchment paper, leaving some overhang for easy removal later.
COOK THE BASE: In a heavy-bottomed saucepan, combine the maple syrup, granulated sugar, and heavy cream. Place over medium heat and stir gently until the sugar dissolves.
REACH SOFT-BALL STAGE: Once the mixture begins to simmer, clip a candy thermometer to the side of the pan. Allow it to cook without stirring until it reaches 236°F.
ADD FLAVORINGS: Remove the pan from heat immediately and stir in the butter and vanilla extract. Do not mix further after combining.
COOL THE MIXTURE: Let the mixture rest for about 10 minutes undisturbed so it can begin to thicken slightly.
BEAT UNTIL THICKENED: Using a wooden spoon, beat the mixture until it loses its glossy shine and becomes thicker. This may take several minutes and requires steady stirring.
POUR INTO PAN: Quickly transfer the mixture to the prepared pan and smooth the top evenly. If desired, sprinkle with flaky sea salt or chopped pecans before it sets.
SET AND SLICE: Allow the fudge to rest at room temperature for 2 to 3 hours, or until fully firm. Lift it out using the parchment overhang, cut into 25 squares, and serve.
Notes
Use only pure maple syrup for the best flavor.
Avoid stirring the syrup mixture once it begins to boil, as this can cause crystals to form and make the fudge grainy.
If the fudge sets too soft, refrigerate for about 30 minutes before slicing.
A wooden spoon works best for beating because it provides better control and prevents the fudge from cooling too quickly.
Adding flaky salt or toasted pecans enhances flavor and balances sweetness.
