

Some things keep better than others. Caramel popcorn holds its crunch if you store it well, and I’ve found that a tin on the counter can last up to seven days if nobody walks by and sneaks a handful. Of all the popcorn recipes I’ve collected in my handwritten card box over the years, this caramel corn is the one I reach for most often.
It starts crisp. It finishes crisp. Unlike other popcorn recipes, caramel keeps its bite. The mixture isn’t chewy. It’s firm but light, with a buttery crackle that doesn’t stick to your teeth.
This isn’t microwave popcorn with sugar sprinkled over top. It’s baked, slow and gentle, and the results are tidy enough to pack as gifts or scoop into little bowls for a weekend movie. Among popcorn recipes caramel coated like this, I’ve tested dozens. My notes always lead me back here.
You can call it homemade caramel popcorn. You can call it caramel corn. Either way, this one is calm to make and easy to share.

What I Look for in a Good Caramel Corn Recipe
A good caramel corn starts with plain popcorn. I use an air-popper, but a heavy pot with oil works just as well. I don’t use microwave bags. Those come salted, buttered, and sometimes carry a tang that turns the caramel bitter.

Brown sugar, butter, light corn syrup, and a pinch of salt do most of the work. The baking soda foams it all up, and the vanilla rounds it out. You don’t need much of anything, but every measure matters.
This batch makes enough to fill two trays. I bake it low and slow, stirring every fifteen minutes. It always feels like the old days, the kind of baking that lets you wash a few dishes, check the laundry, and sit down for a moment before the timer rings.
A Note About Baking Soda vs No Baking Soda
Over the years, I’ve tried this both with and without baking soda. The difference shows up right away in the texture.
With baking soda, the caramel foams slightly as it reacts with the sugar. That makes the coating lighter and easier to spread. Without it, the caramel lays on thick and tends to clump.
I’ve written both versions in my notebook. The one with baking soda coats more evenly and bakes into gentle clusters. The one without can turn sharp if the sugar hardens too fast. I recommend using it, even if you’re tempted to skip.
Making the Sauce Without Rushing
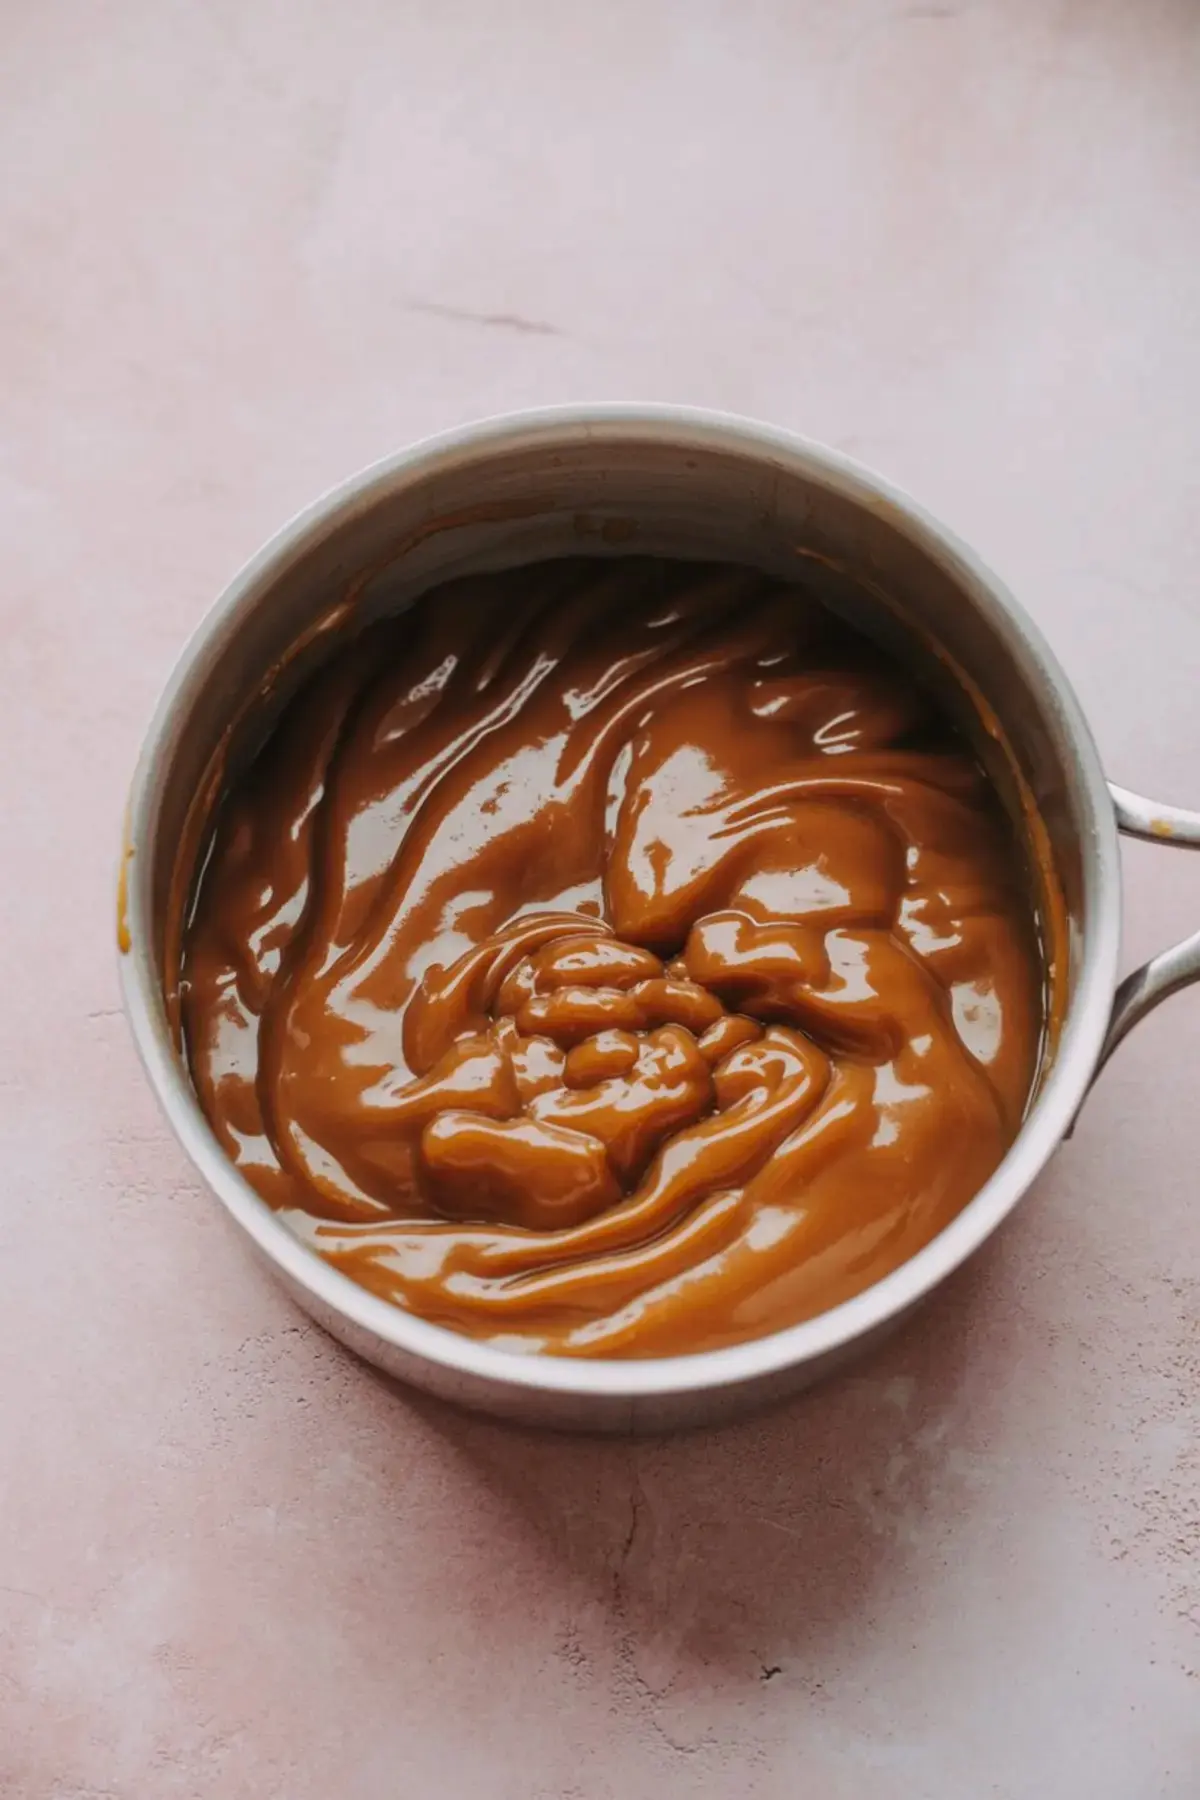
Butter needs to melt fully before you stir in the brown sugar, corn syrup, and salt. I keep my heat on medium and stir often with a wooden spoon. It’s important to wait until the caramel turns glossy and thick before adding the vanilla and baking soda.
This part happens quickly. The baking soda makes the caramel puff up like it’s breathing. If you’re holding the spoon, you’ll feel it lighten in your hand.
If it bubbles a little too much, don’t worry. That air gives the popcorn its crunch later.
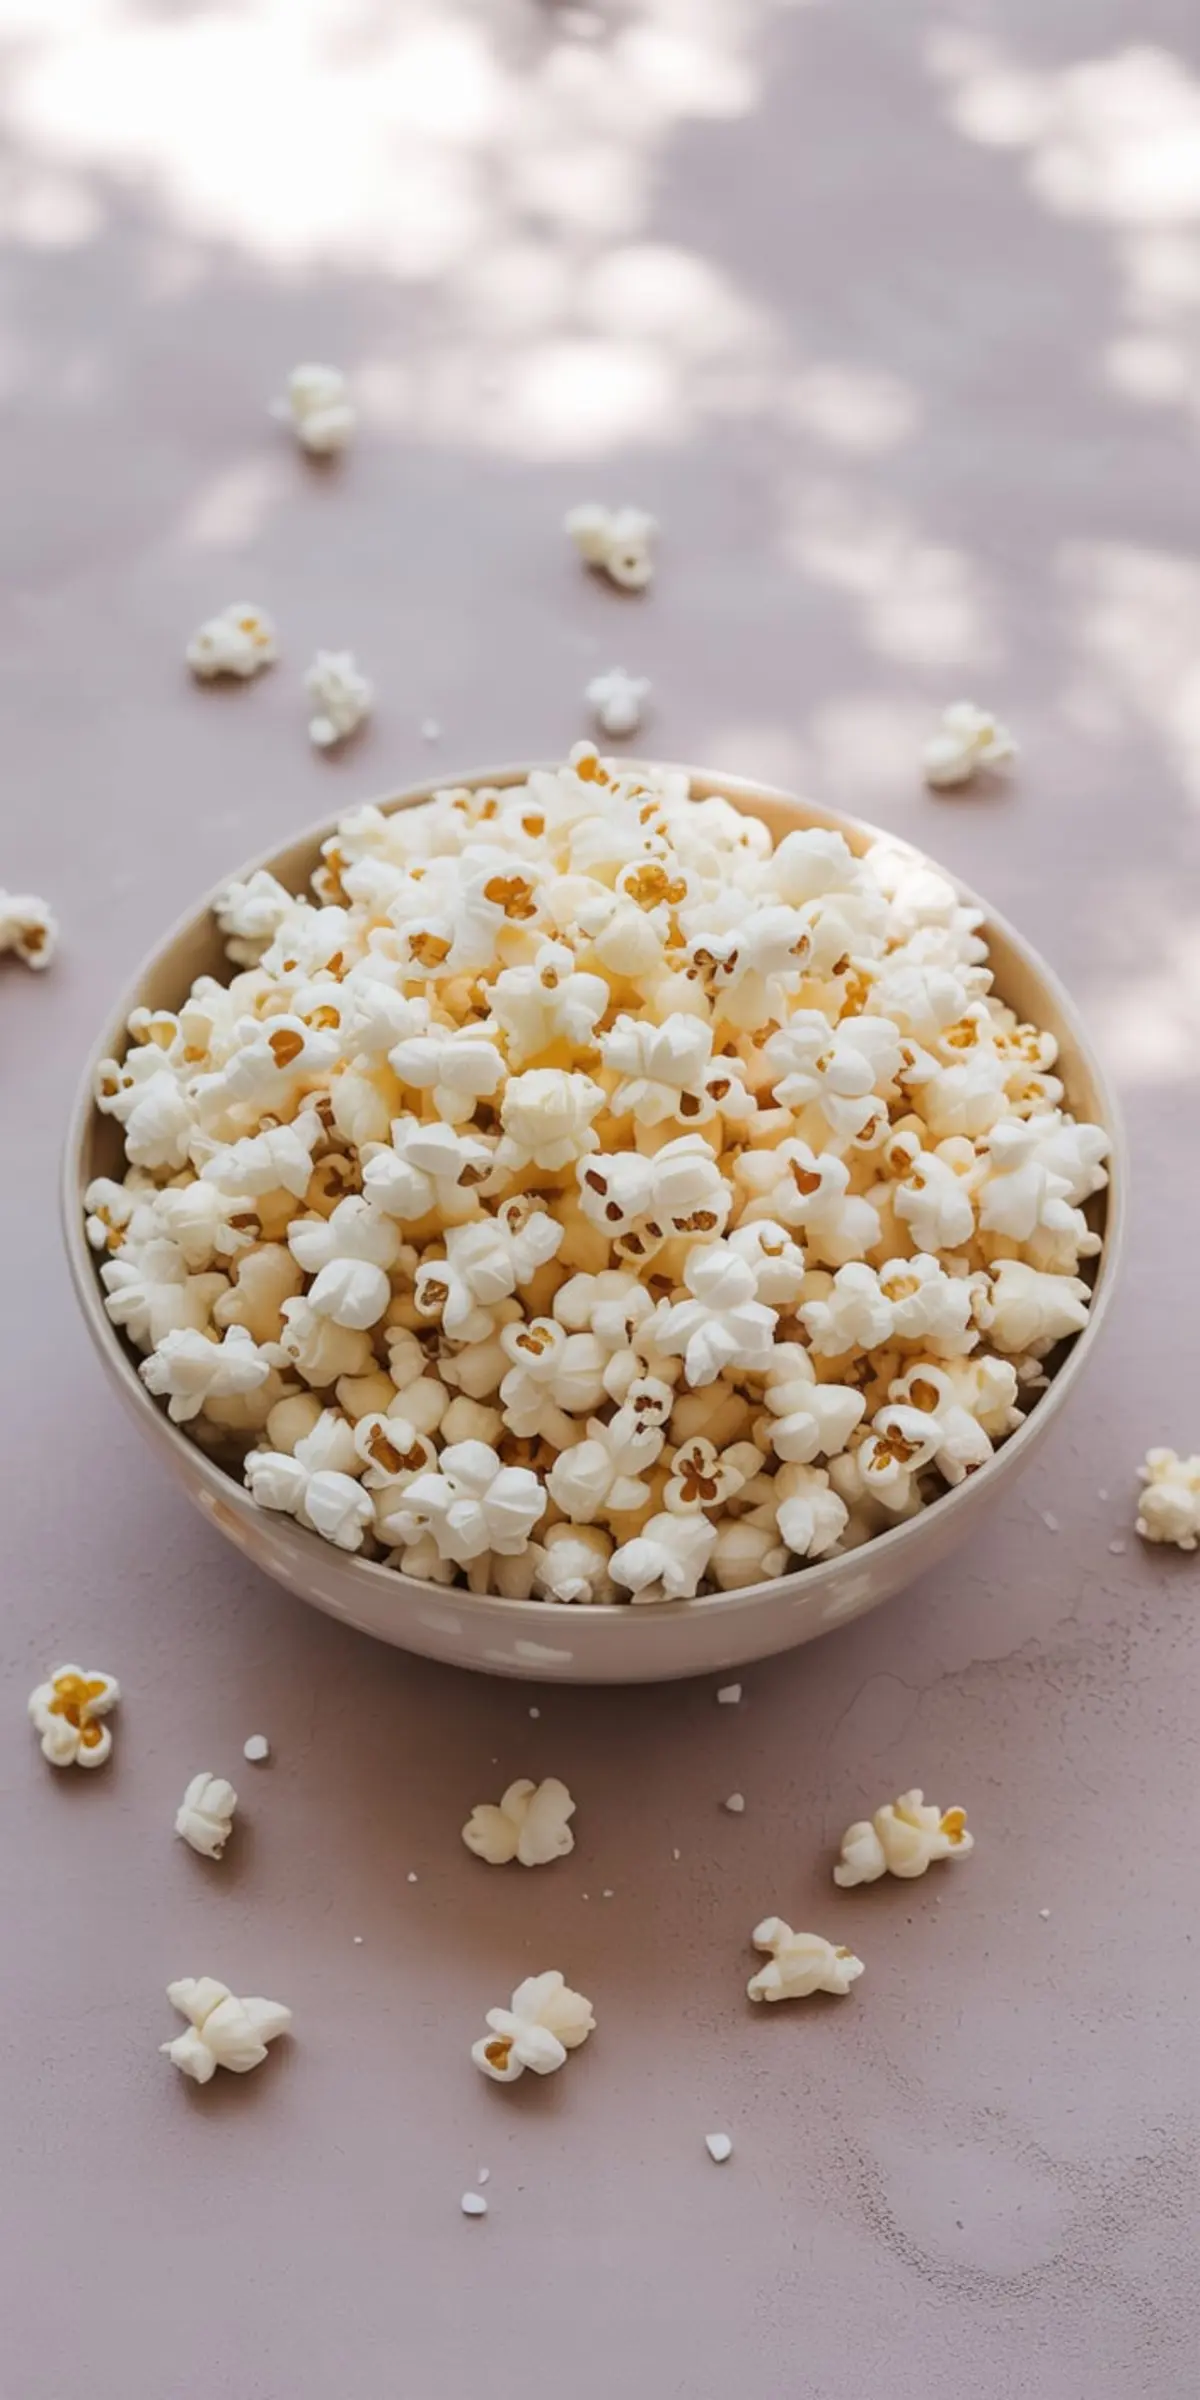
How to Coat the Popcorn Without Stress
I always pour the hot caramel over the popcorn in a wide bowl. My largest mixing bowl is old steel, and it works well. A heat-safe spatula helps move the caramel through without crushing the popcorn.
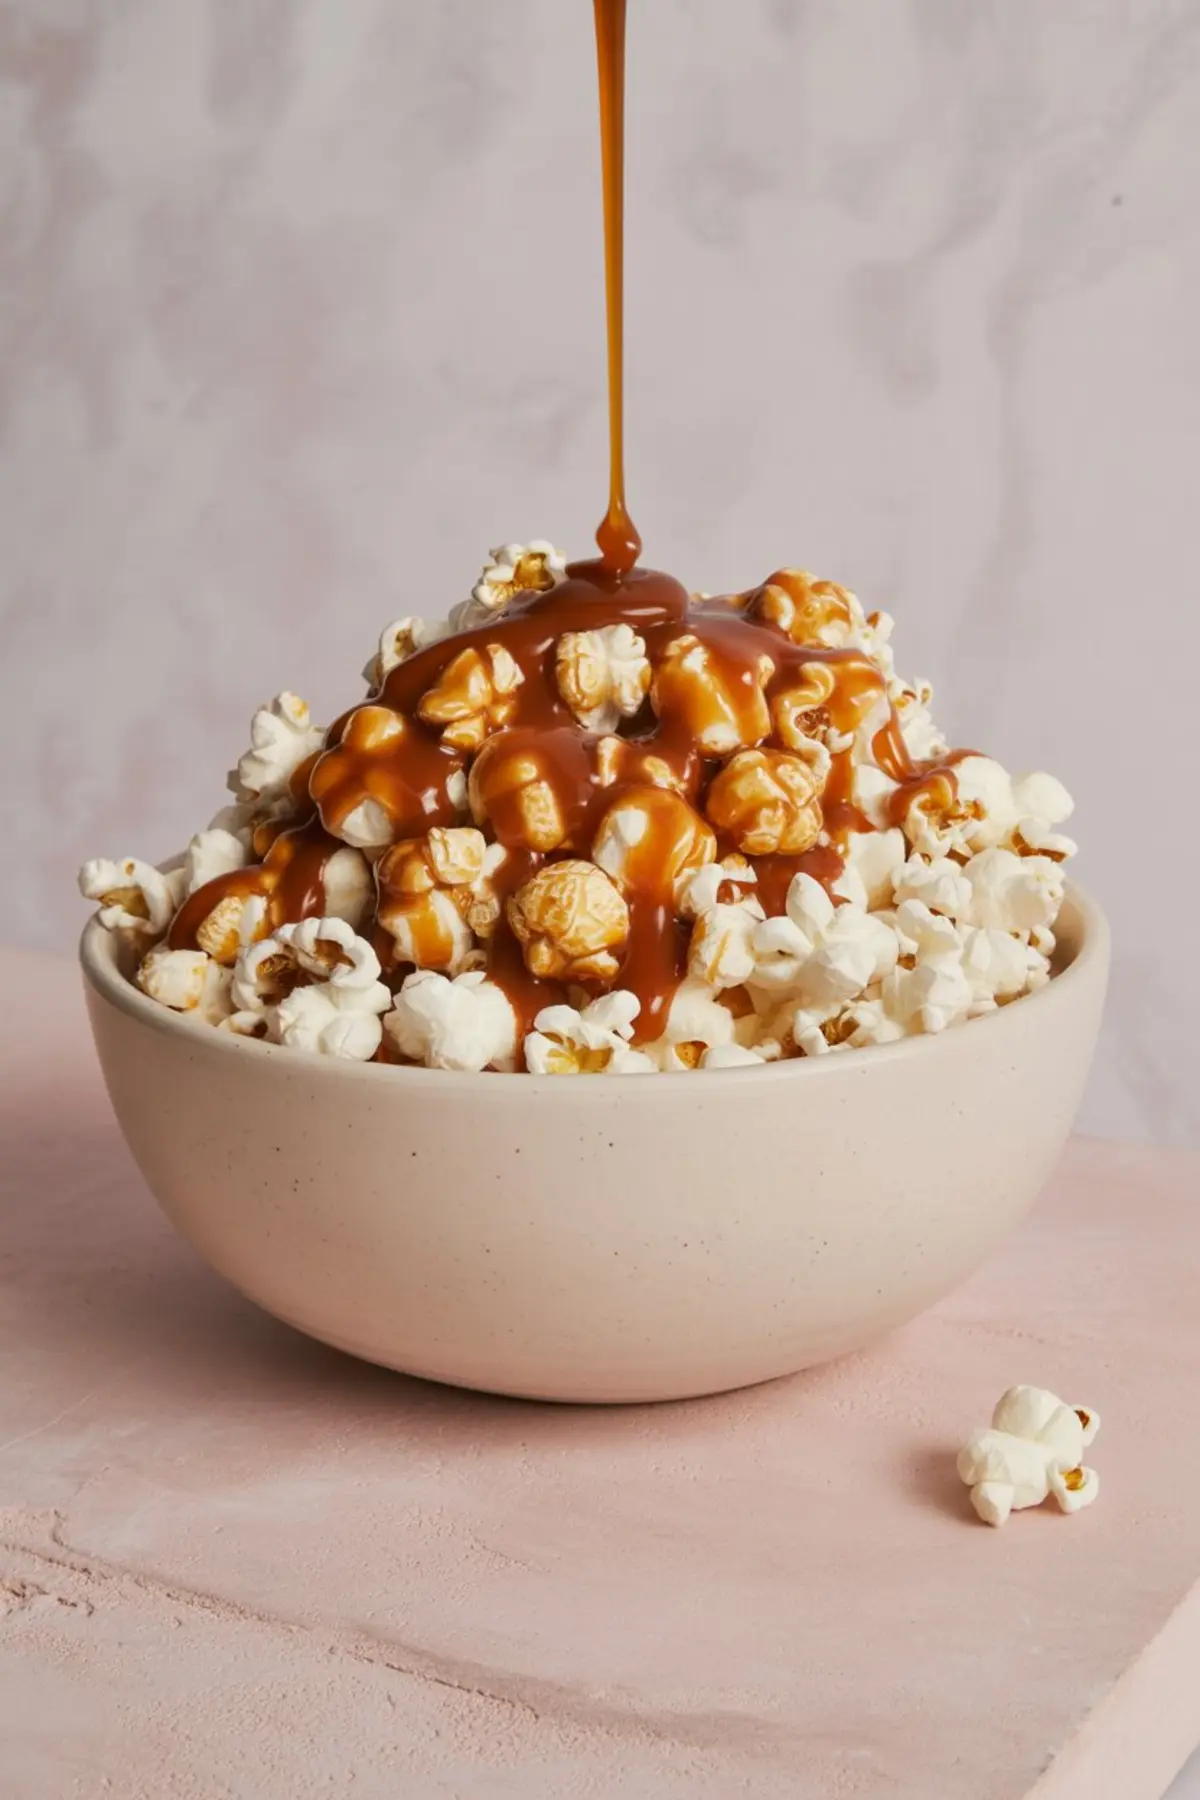
You’ll likely see a few spots that don’t get coated. That’s fine. The caramel finds its way during the bake. I used to fuss over every kernel, but I’ve learned to stop. If some pieces stay white, let them. They’ll roast up golden later.
I remember telling Chloe that the first time she made it for a fall bake sale. She had her spoon deep in the bowl and looked up with that furrowed brow. I told her, “If it clumps or cracks, don’t worry. It still tastes like October.”
Why I Always Bake My Caramel Popcorn
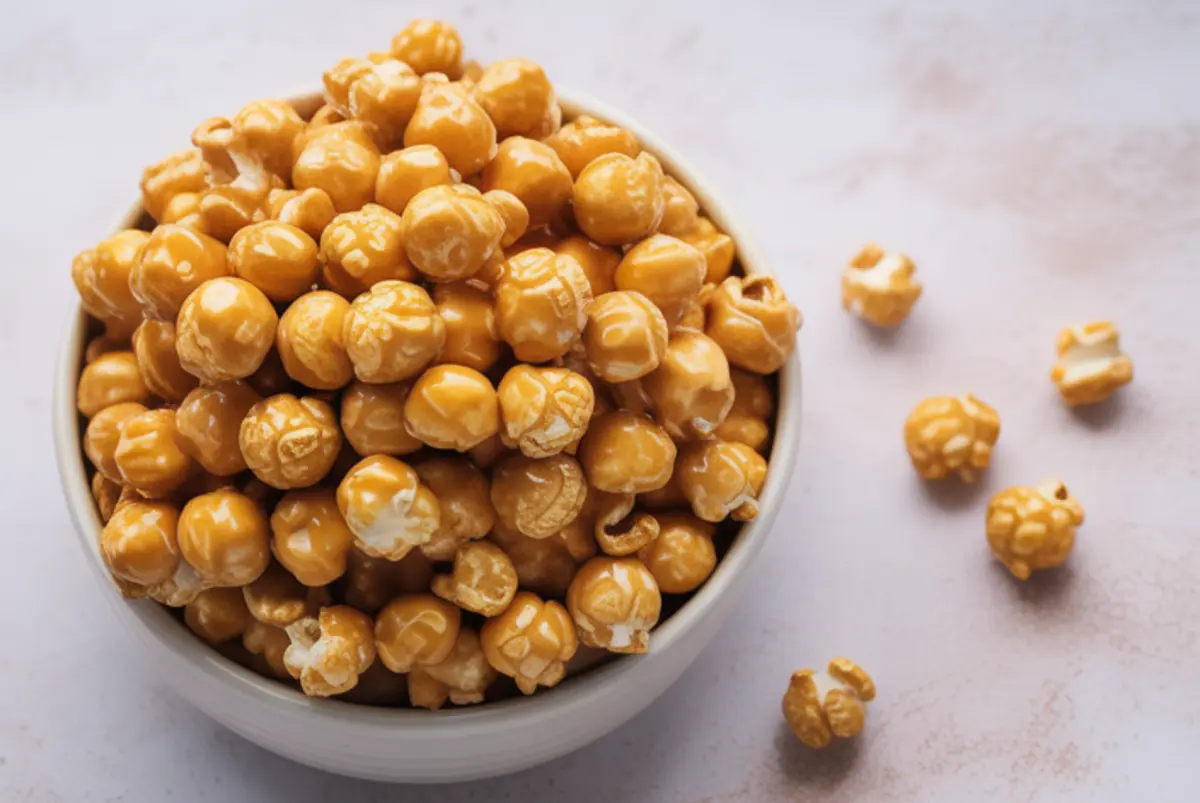
Some popcorn recipes skip the baking step and go straight from saucepan to bowl. That method works for soft caramel popcorn, but it won’t keep. It turns sticky by the next day, especially in warm kitchens.
Baking at 250°F dries the caramel into a shell that holds its shape. I stir every 15 minutes to keep it light. You don’t want the caramel pooling. A quick flip with a spatula is enough. I don’t press it down. Air needs to move through.
Once it’s out of the oven, I let it cool on the tray. That last half hour is quiet. No need to touch it. You’ll hear the change in sound as it cools, a gentle tap instead of a soft thud when you lift a piece.
I usually break it apart into little clusters and fill jars or bags. They make simple gifts for neighbors, or you can place a bowl on the table beside a plate of apple fritters. The contrast between soft fritters and crisp caramel corn always pleases.
A Few Other Autumn Sweets That Pair Well
Caramel popcorn carries that golden flavor of fall. It sits nicely alongside warm fruit desserts like pear cake or flaky apple dumplings. On cool mornings, I’ve served it beside sweet potato waffles as a little crunchy treat.
It doesn’t take much. A handful beside something warm, and the kitchen feels like autumn from top to bottom.
Final Thoughts
This recipe has been with me for decades. I’ve passed it along to friends, and now to you. If you write it down, keep it close. Butter smudges and sugar stains on the card will make it your own over time.
I hope you try it, and when you do, let me know. Save this recipe to your Pinterest board so you’ll always have it when the craving comes. Leave a comment and tell me how it turned out in your kitchen. Your stories matter as much as the recipe itself.
Homemade Caramel Popcorn

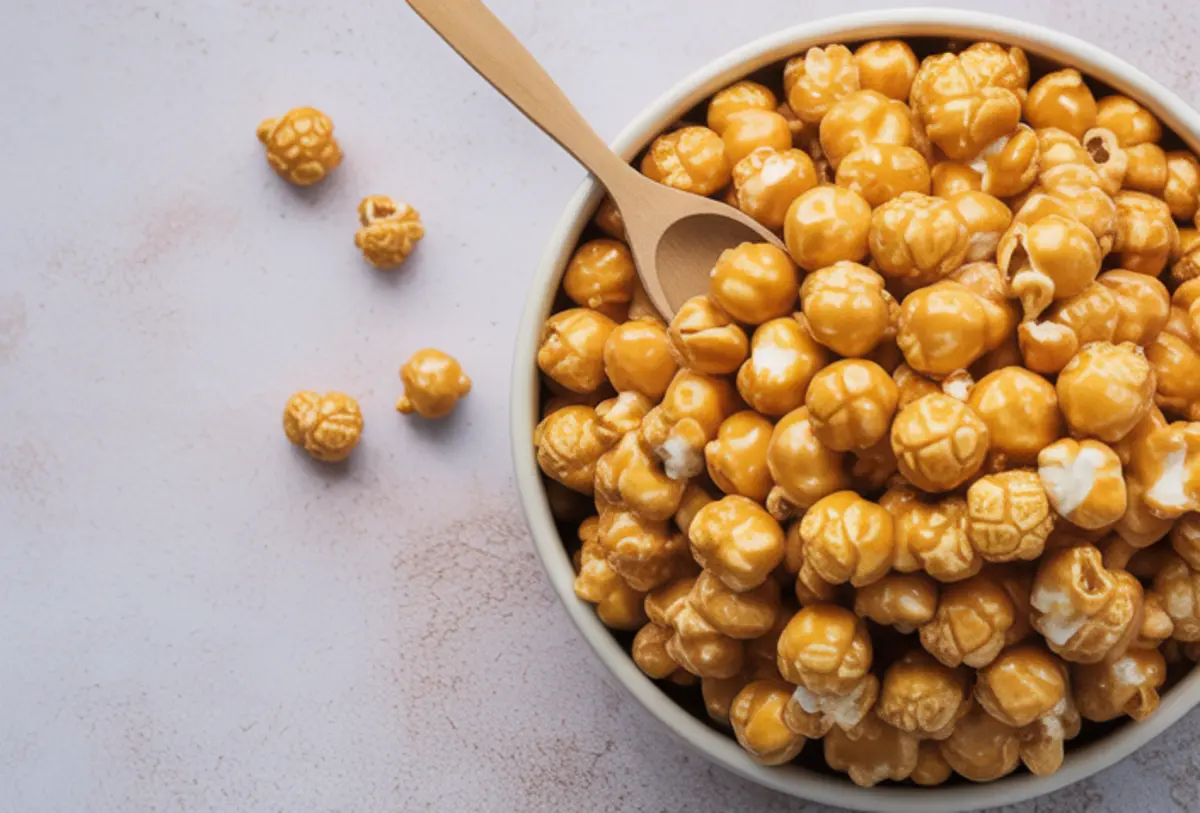
Caramel popcorn is a classic sweet snack that’s crisp, buttery, and easy to make at home. I coat fresh popcorn in a rich caramel sauce, bake it until golden, and break it into clusters for the perfect crunch. Some call it homemade caramel popcorn, others caramel corn, but either way it’s one of the most popular popcorn recipes. I’ve tried popcorn recipes caramel coated with extra nuts, quick caramel corn recipes, and even popcorn recipes easy for weeknights, and each one works beautifully. Among popcorn recipes, caramel corn is my go-to because it keeps well, tastes festive, and doubles as a homemade gift or party snack.
Ingredients
- 0 cups plain popped popcorn (air-popped or oil-popped, not microwave bags)
- 1 cup packed brown sugar
- ½ cup (1 stick) unsalted butter
- ¼ cup light corn syrup
- ¼ teaspoon salt
- ½ teaspoon baking soda
- 1 teaspoon vanilla extract
Instructions
- PREHEAT THE OVEN: Set your oven to 250°F (120°C) and line one or two large baking sheets with parchment paper or silicone baking mats.
- PREPARE THE POPCORN: Place the popped popcorn into a very large mixing bowl, making sure to remove any unpopped kernels. Set it aside while you prepare the caramel.
- MAKE THE CARAMEL: In a heavy-bottomed saucepan over medium heat, melt the butter. Once melted, stir in the brown sugar, corn syrup, and salt. Stir constantly as the mixture comes to a boil, then continue stirring and simmering for 4 to 5 minutes until the mixture thickens slightly and becomes glossy.
- ADD VANILLA AND BAKING SODA: Remove the saucepan from heat and immediately stir in the vanilla extract and baking soda. The mixture will foam and expand—this is expected and helps the caramel coat the popcorn more evenly.
- COAT THE POPCORN: Working quickly, pour the hot caramel over the popcorn. Use a heat-safe spatula or wooden spoon to stir and fold the caramel through the popcorn, making sure to coat as much as possible. Some uneven spots are fine.
- SPREAD ON BAKING SHEETS: Divide the coated popcorn between the prepared baking sheets, spreading it out into an even layer to avoid overcrowding.
- BAKE THE POPCORN: Place the sheets in the preheated oven and bake for 45 minutes, stirring every 15 minutes. Use a spatula to gently flip and move the popcorn around so it bakes and dries evenly without compressing it.
- COOL AND BREAK APART: Remove the trays from the oven and let the popcorn cool completely on the pans. It will firm up and become crunchy as it cools. Once cool, break into clusters and store in an airtight container.
Notes
To add extra texture, mix in 1 cup of toasted nuts before baking. For a sweet finish, drizzle with melted chocolate after cooling. Store in a sealed container at room temperature for up to 1 week.
