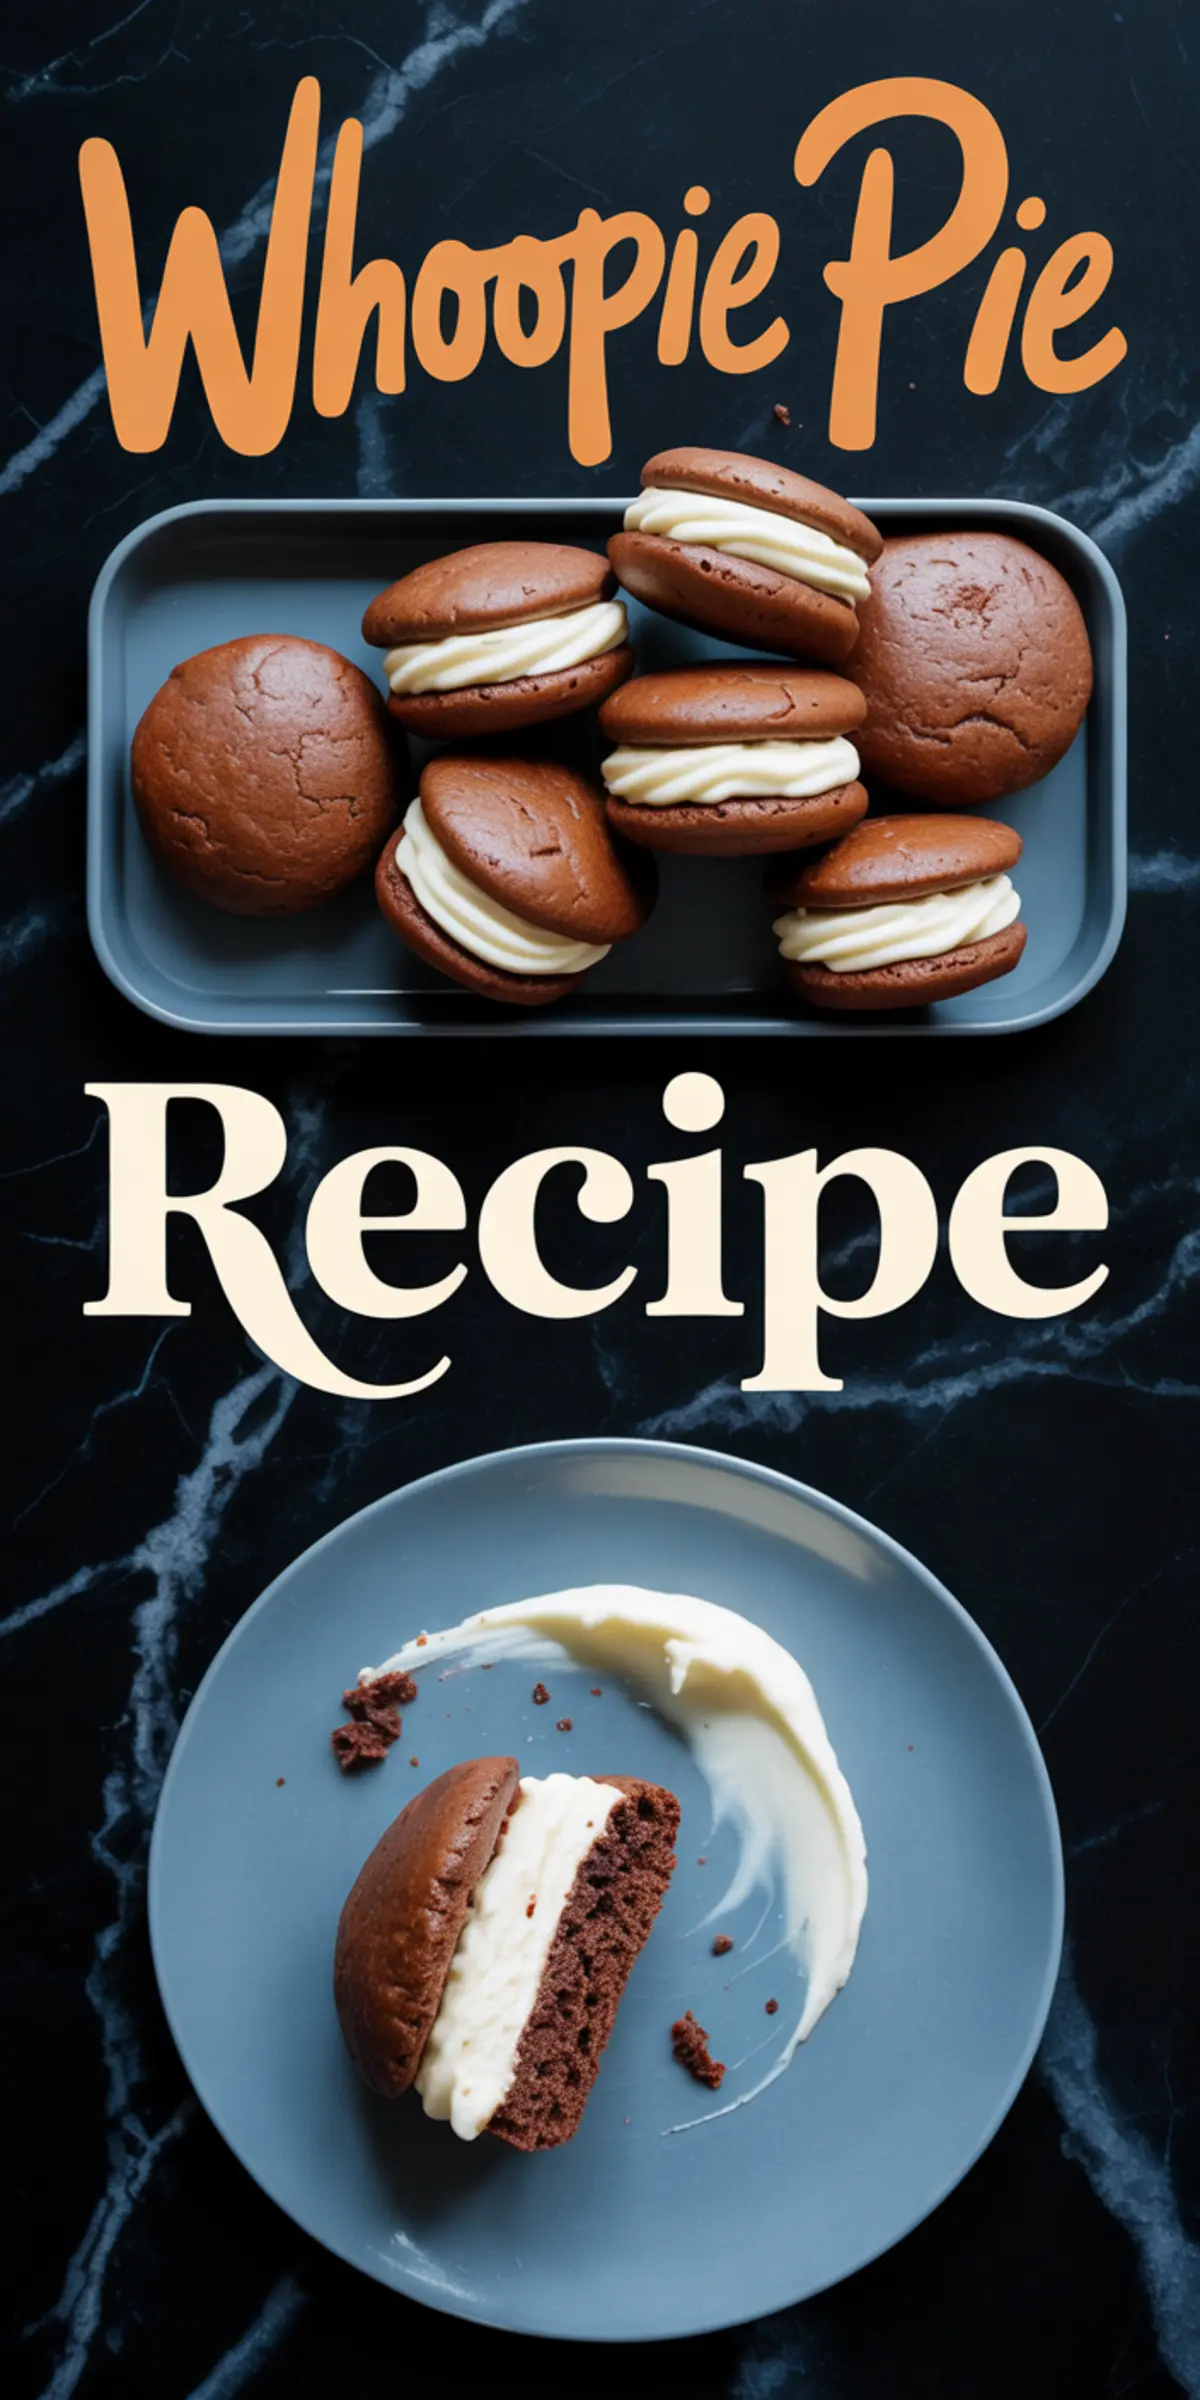
Some desserts don’t need occasion. Chocolate whoopie pies fall squarely in that camp.
The soft, cocoa-rich cakes press gently around a creamy marshmallow filling. The texture walks that middle line between cookie and cake. The bite lands soft, then melts. And if you’ve ever wondered how to make whoopie pies with chocolate chips or debated the appeal of Alice’s old-fashioned whoopie pies, this version brings all of that memory back, with something more.
This post shows you exactly how to make chocolate whoopie pies from scratch. You’ll learn what gives them that signature puff. You’ll understand the balance between richness and lift. And by the end, you’ll know why one small pinch of a pantry staple changes everything.

Making the Chocolate Cake Rounds
The base of a good whoopie pie is a soft cake round that doesn’t dry out. I use all-purpose flour, Dutch-processed cocoa powder, and a good measure of baking soda for lift. The Dutch-process gives depth. You’ll taste the difference.
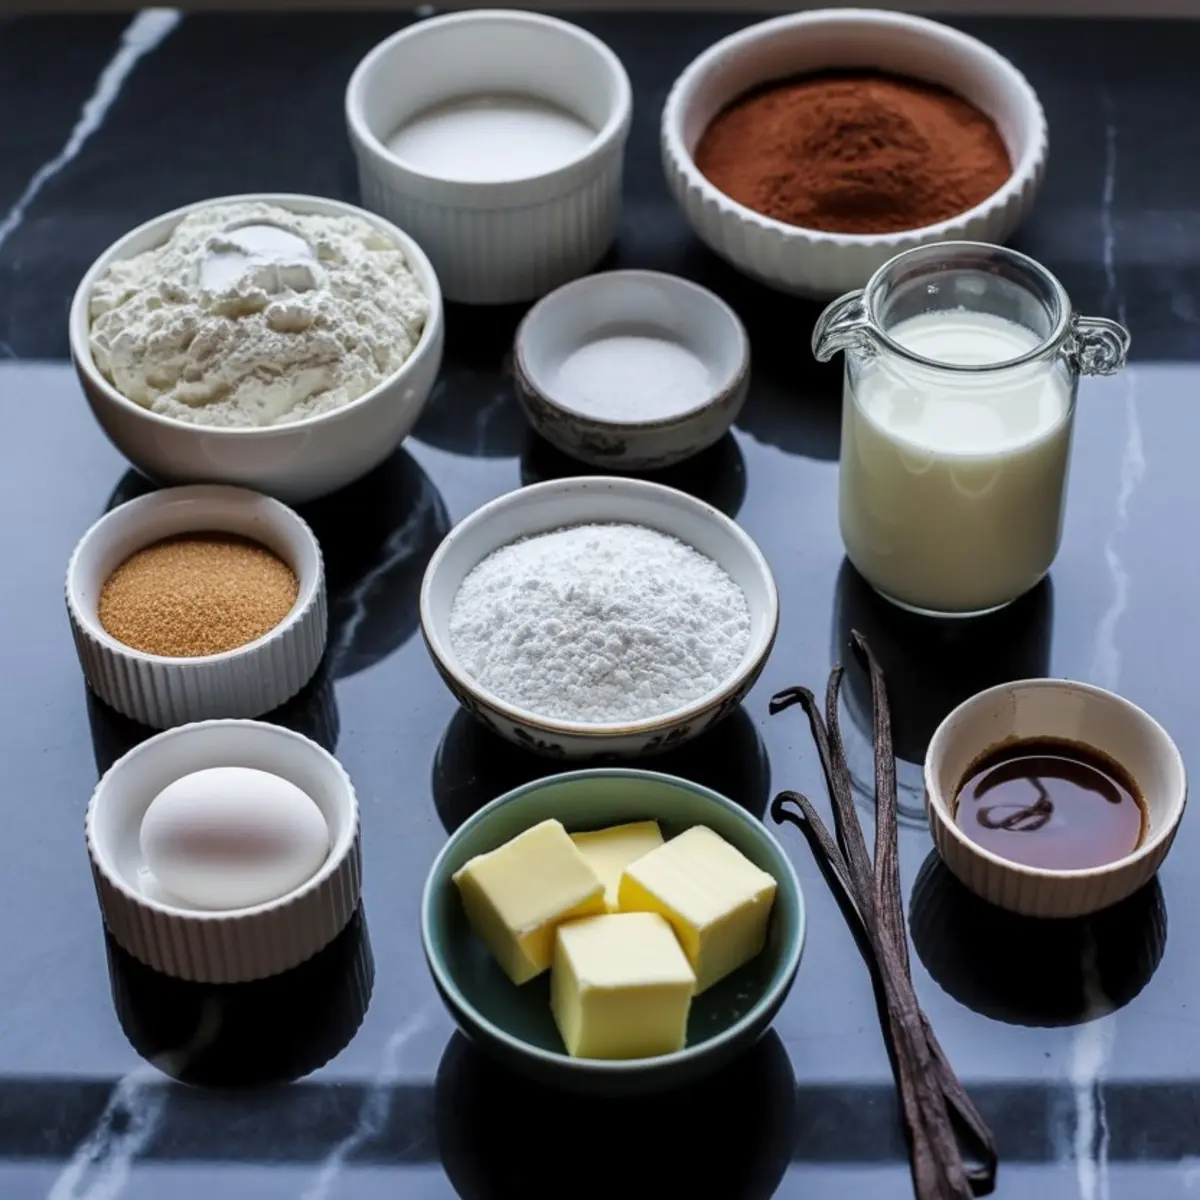
In my Pin Notebook, I’ve noted that natural cocoa makes the texture a little grittier, almost like a soft brownie edge. But the Dutch cocoa version spreads more evenly. That, paired with brown sugar and buttermilk, gives the cakes moisture without being dense.

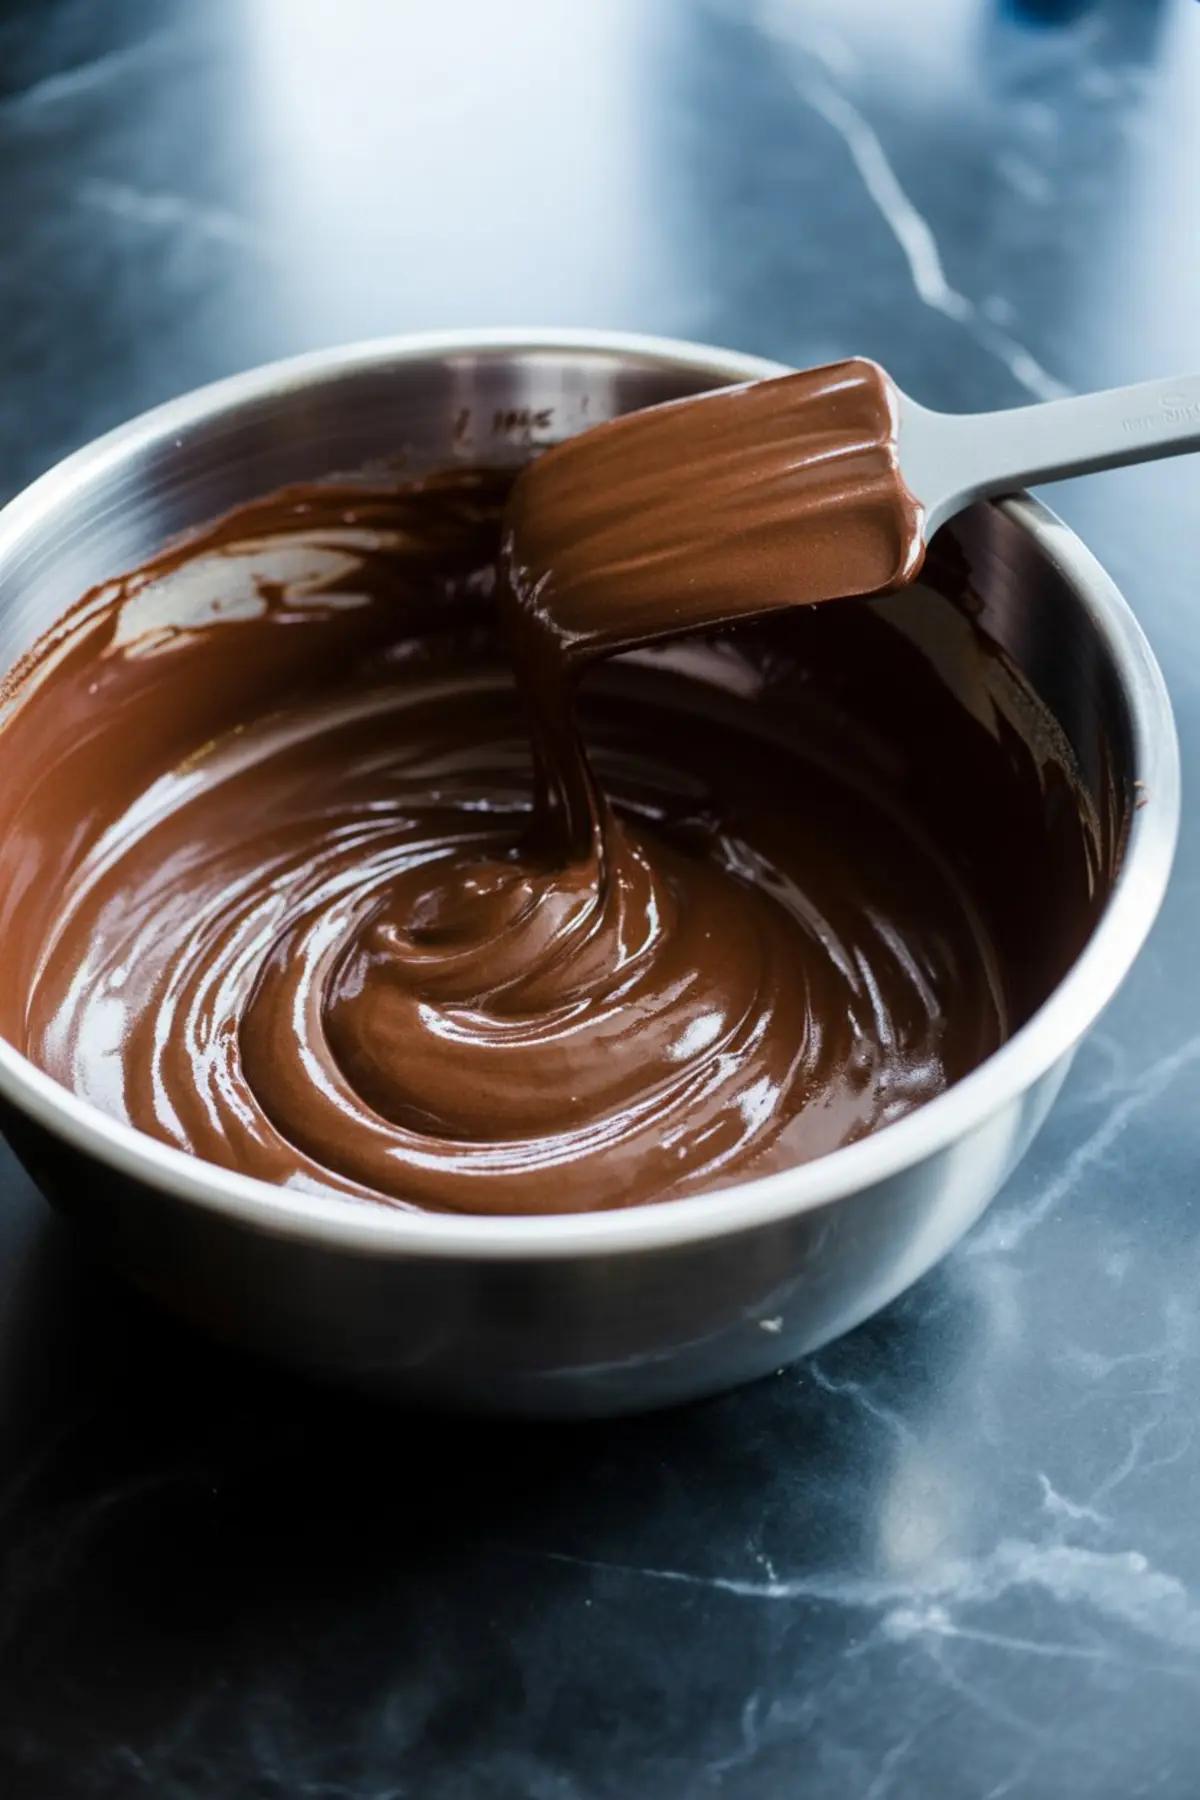
I cream the butter and sugar until fluffy, then add the egg and vanilla. The buttermilk and dry ingredients go in stages. If you’ve made Hot Cocoa Cookies, the method is nearly identical. Watch for a batter that feels like thick mousse.
Shaping and Baking the Cake Rounds
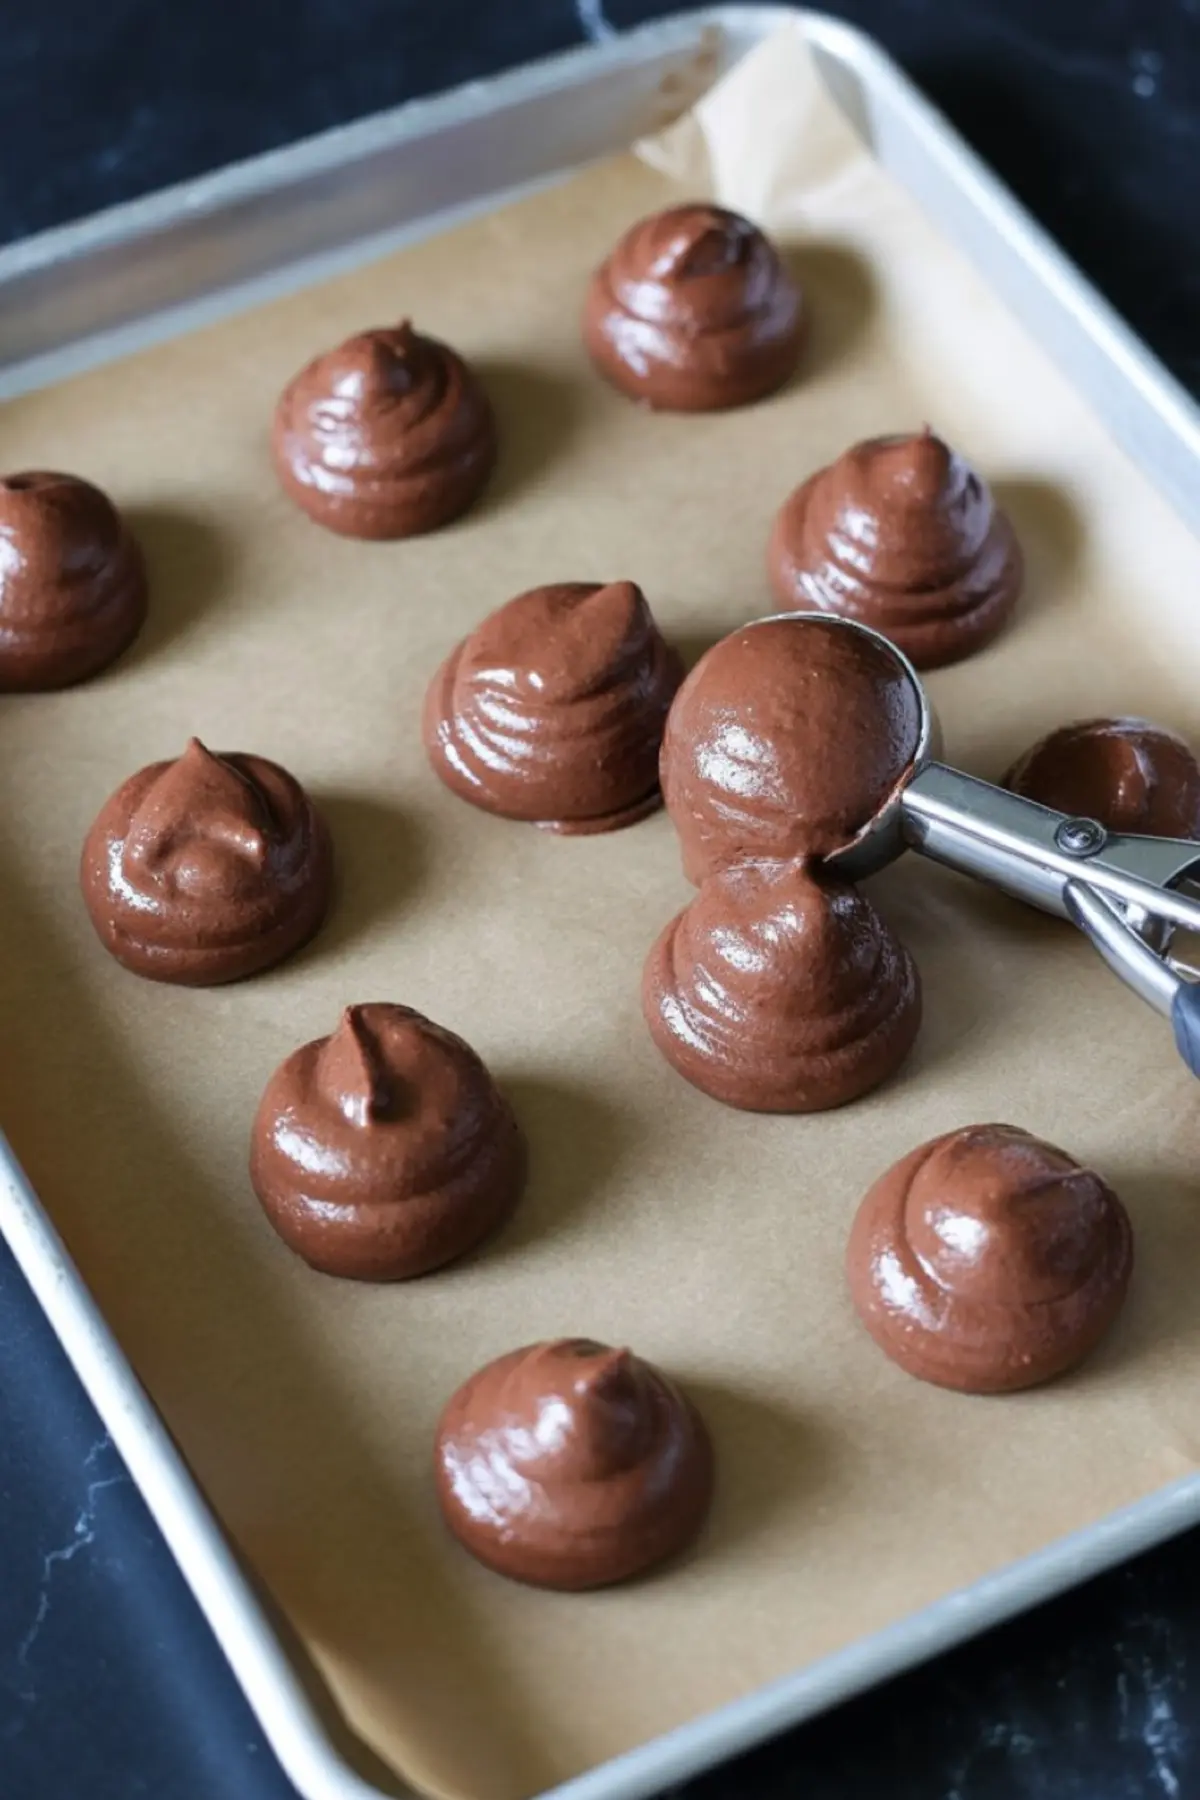
Use a cookie scoop or spoon for even dollops. That spacing matters. These cakes do spread a little.
They bake quickly. Keep your eye on them after 10 minutes. The top should bounce gently under your finger. Let them cool completely on a rack, or you’ll risk melting your filling later.
And here’s where the comparison comes in. I’ve tested both parchment paper and silicone mats under these. Parchment gives a slightly crisper base. Silicone yields softer edges. For a cake-like bite, parchment is my go-to.
Preparing the Marshmallow Filling
The filling makes the sandwich. Softened butter meets marshmallow creme, powdered sugar, a splash of vanilla, and salt. It’s smooth and light but structured enough to hold.
This isn’t your standard buttercream. It’s more delicate, almost like whipped frosting. You might recognize the texture from making Peanut Butter Blossom Cookies if you’ve whipped that frosting too long and it starts to billow.
After blending, I chill the filling for twenty minutes. It firms just enough to pipe but doesn’t go stiff.
Assembly and Storage Notes
Once the cakes cool and the filling chills, pair them up by size. Flip one round over, spoon or pipe the filling, then sandwich.
The whoopie pies keep well in an airtight container. If you store them at room temperature, they stay soft for two days. Refrigerated, they last five. Let them sit out before eating so the filling softens again.
If you love Halloween Whoopie Pies with tinted filling, this same base works beautifully. Just change the food coloring.
A Note on Cake Mix Versions
Yes, there are whoopie pies with cake mix simple methods. I’ve tried a few. They deliver speed, but lose nuance. The homemade version gives you control over flavor depth, moisture, and size.
If you’re experimenting with how to make whoopie pies with chocolate chips, fold them into the batter before scooping. Mini chips work best. They distribute evenly and melt just slightly without making the cakes crack.
The Dash That Changes Everything
Now for the unexpected ingredient I hinted at.
The filling tastes balanced because of the salt. Just a pinch. I’ve left it out before, and something always felt missing. The salt lifts the sweetness, gives the marshmallow clarity, and brings the vanilla forward.
It’s a small thing. But you’ll taste it.
Why I Return to These Again and Again
There are dozens of whoopie pie variations. Some go the Peanut Butter Chocolate Chip Cookies route with peanut butter fillings. Others lean into graham cracker crumbs for s’mores whoopie pies. But for me, this chocolate version with marshmallow stands tallest.
Maybe because it reminds me of the ones I ate as a kid at church bake sales. Maybe because the texture holds. Or maybe it’s just the way that one bite delivers both richness and lightness.
Whatever the reason, they stay in my rotation.
Save This Whoopie Pie Recipe for Later

Pin this recipe to your board so you can find it easily next time.
And if you try these chocolate whoopie pies, leave a comment below. I’d love to hear what filling you used or if you gave it your own twist. Did you try s’mores whoopie pies? Did you go for a classic Alice’s old-fashioned whoopie pie version? Let’s swap notes.
Chocolate Whoopie Pies Recipe
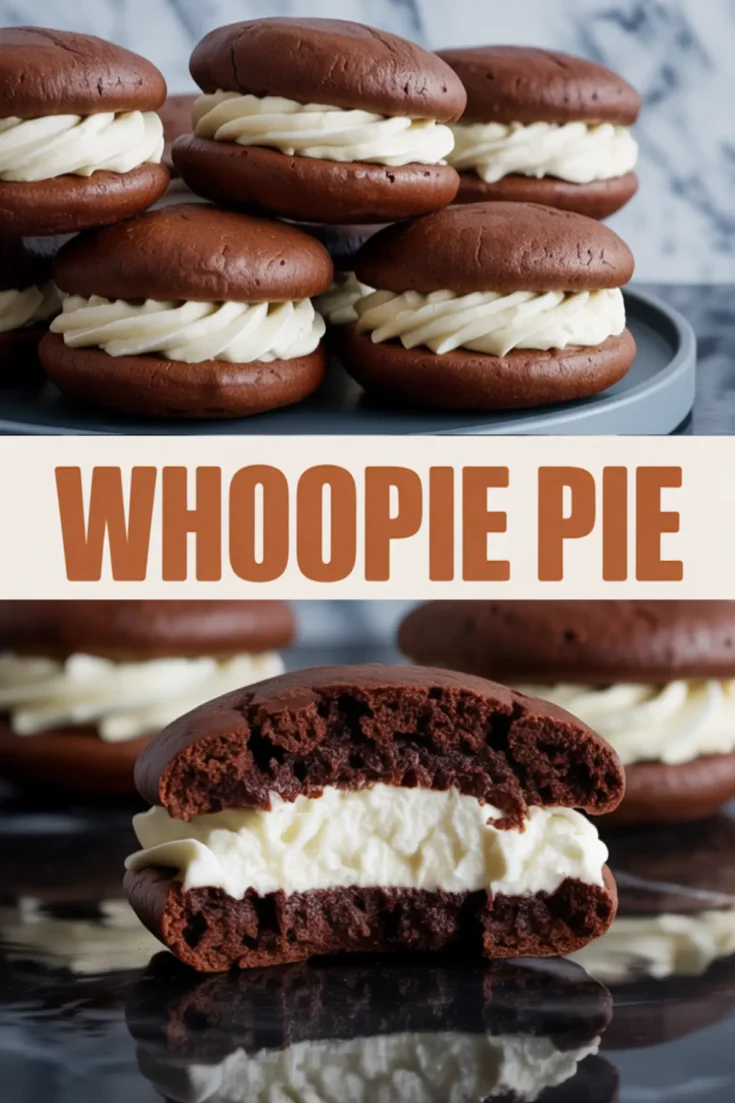
Chocolate whoopie pies are a nostalgic treat made with soft cake-like rounds sandwiched around a creamy whoopie pie filling. Some call them Alice’s old-fashioned whoopie pies, others just whoopie pies with cake mix simple, but either way they’re rich, fluffy, and easy to make. I’ve baked classic whoopie pie recipe versions from scratch, experimented with whoopie pies with chocolate chips, and even tried s’mores whoopie pies with marshmallow filling, but chocolate whoopie pies remain my favorite. Among whoopie pies, this recipe stands out for its deep cocoa flavor and smooth filling that always gets rave reviews. Perfect for anyone who loves learning how to make whoopie pies at home.
Ingredients
- FOR THE CHOCOLATE CAKES
- 1¾ cups all-purpose flour
- ¾ cup unsweetened cocoa powder (Dutch-processed preferred)
- 1½ teaspoons baking soda
- ½ teaspoon fine sea salt
- ½ cup unsalted butter, softened
- 1 cup packed light brown sugar
- 1 large egg
- 1 teaspoon vanilla extract
- 1 cup buttermilk
- FOR THE VANILLA MARSHMALLOW FILLING
- ½ cup unsalted butter, softened
- 1½ cups marshmallow creme (such as Marshmallow Fluff)
- 1 cup powdered sugar
- ½ teaspoon vanilla extract
- Pinch of salt
Instructions
- PREHEAT THE OVEN: Set the oven to 350°F and line two baking sheets with parchment paper to prevent sticking and ensure even baking.
- MIX THE DRY INGREDIENTS: In a medium bowl, sift together the flour, cocoa powder, baking soda, and salt to remove any clumps and ensure a uniform texture.
- CREAM THE BUTTER AND SUGAR: In a large mixing bowl, beat the softened butter and brown sugar together until light and fluffy, about 2–3 minutes using a hand or stand mixer.
- ADD EGG AND VANILLA: Mix in the egg and vanilla extract, beating just until combined and smooth.
- COMBINE WET AND DRY INGREDIENTS: Add the dry ingredients to the butter mixture in three additions, alternating with the buttermilk in two additions, beginning and ending with the dry ingredients. Mix until just combined without overbeating.
- PORTION THE BATTER: Use a small cookie scoop or tablespoon to place evenly sized dollops of batter onto the prepared baking sheets, leaving about 2 inches between each one to allow for spreading.
- BAKE THE CAKES: Bake for 10 to 12 minutes, or until the tops spring back lightly when pressed. Remove from the oven and let the cakes cool completely on a wire rack before filling.
- MAKE THE FILLING: In a clean bowl, beat the softened butter until smooth and creamy. Add the marshmallow creme and powdered sugar, and beat until light and fluffy, about 2–3 minutes. Mix in the vanilla and a pinch of salt until fully incorporated.
- CHILL THE FILLING: Transfer the filling to the refrigerator and chill for about 20 minutes to help it set and hold its shape during assembly.
- ASSEMBLE THE WHOOPIE PIES: Once the cakes are completely cool, flip half of them upside down. Pipe or spoon a generous amount of chilled filling onto the flat side, then gently press a second cake on top to form a sandwich. Repeat with the remaining cakes and filling.
Notes
Make sure the butter for both the cake and filling is fully softened to room temperature for smooth mixing. Use a cookie scoop to keep portions even and prevent spreading issues. Store finished whoopie pies in an airtight container at room temperature for up to 2 days or refrigerated for up to 5 days. Let them come to room temperature before serving for best texture.