
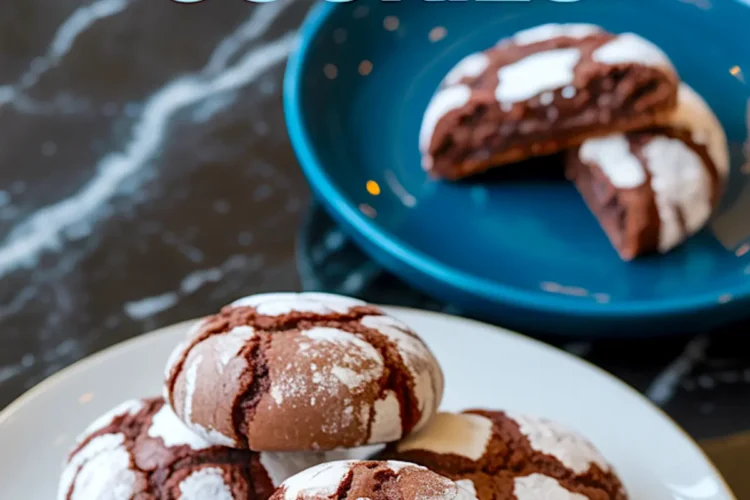
I have lost count of how many times I’ve baked brownie crinkle cookies. They seem simple. Yet, the glossy tops often disappoint many bakers. You expect bold cracks and bright powdered sugar, but instead, you get dull patches and faded designs. I’ve been there too.
You will not face that problem today. You will learn exactly how to get those crisp, bright, snowy tops. You will also walk away with a recipe that delivers deep chocolate flavor, rich fudgy centers, and a little molten surprise inside each cookie. And yes, I’ll reveal my unexpected secret ingredient that makes this work every time. But first, let’s get you grounded with confidence. You can absolutely master these.
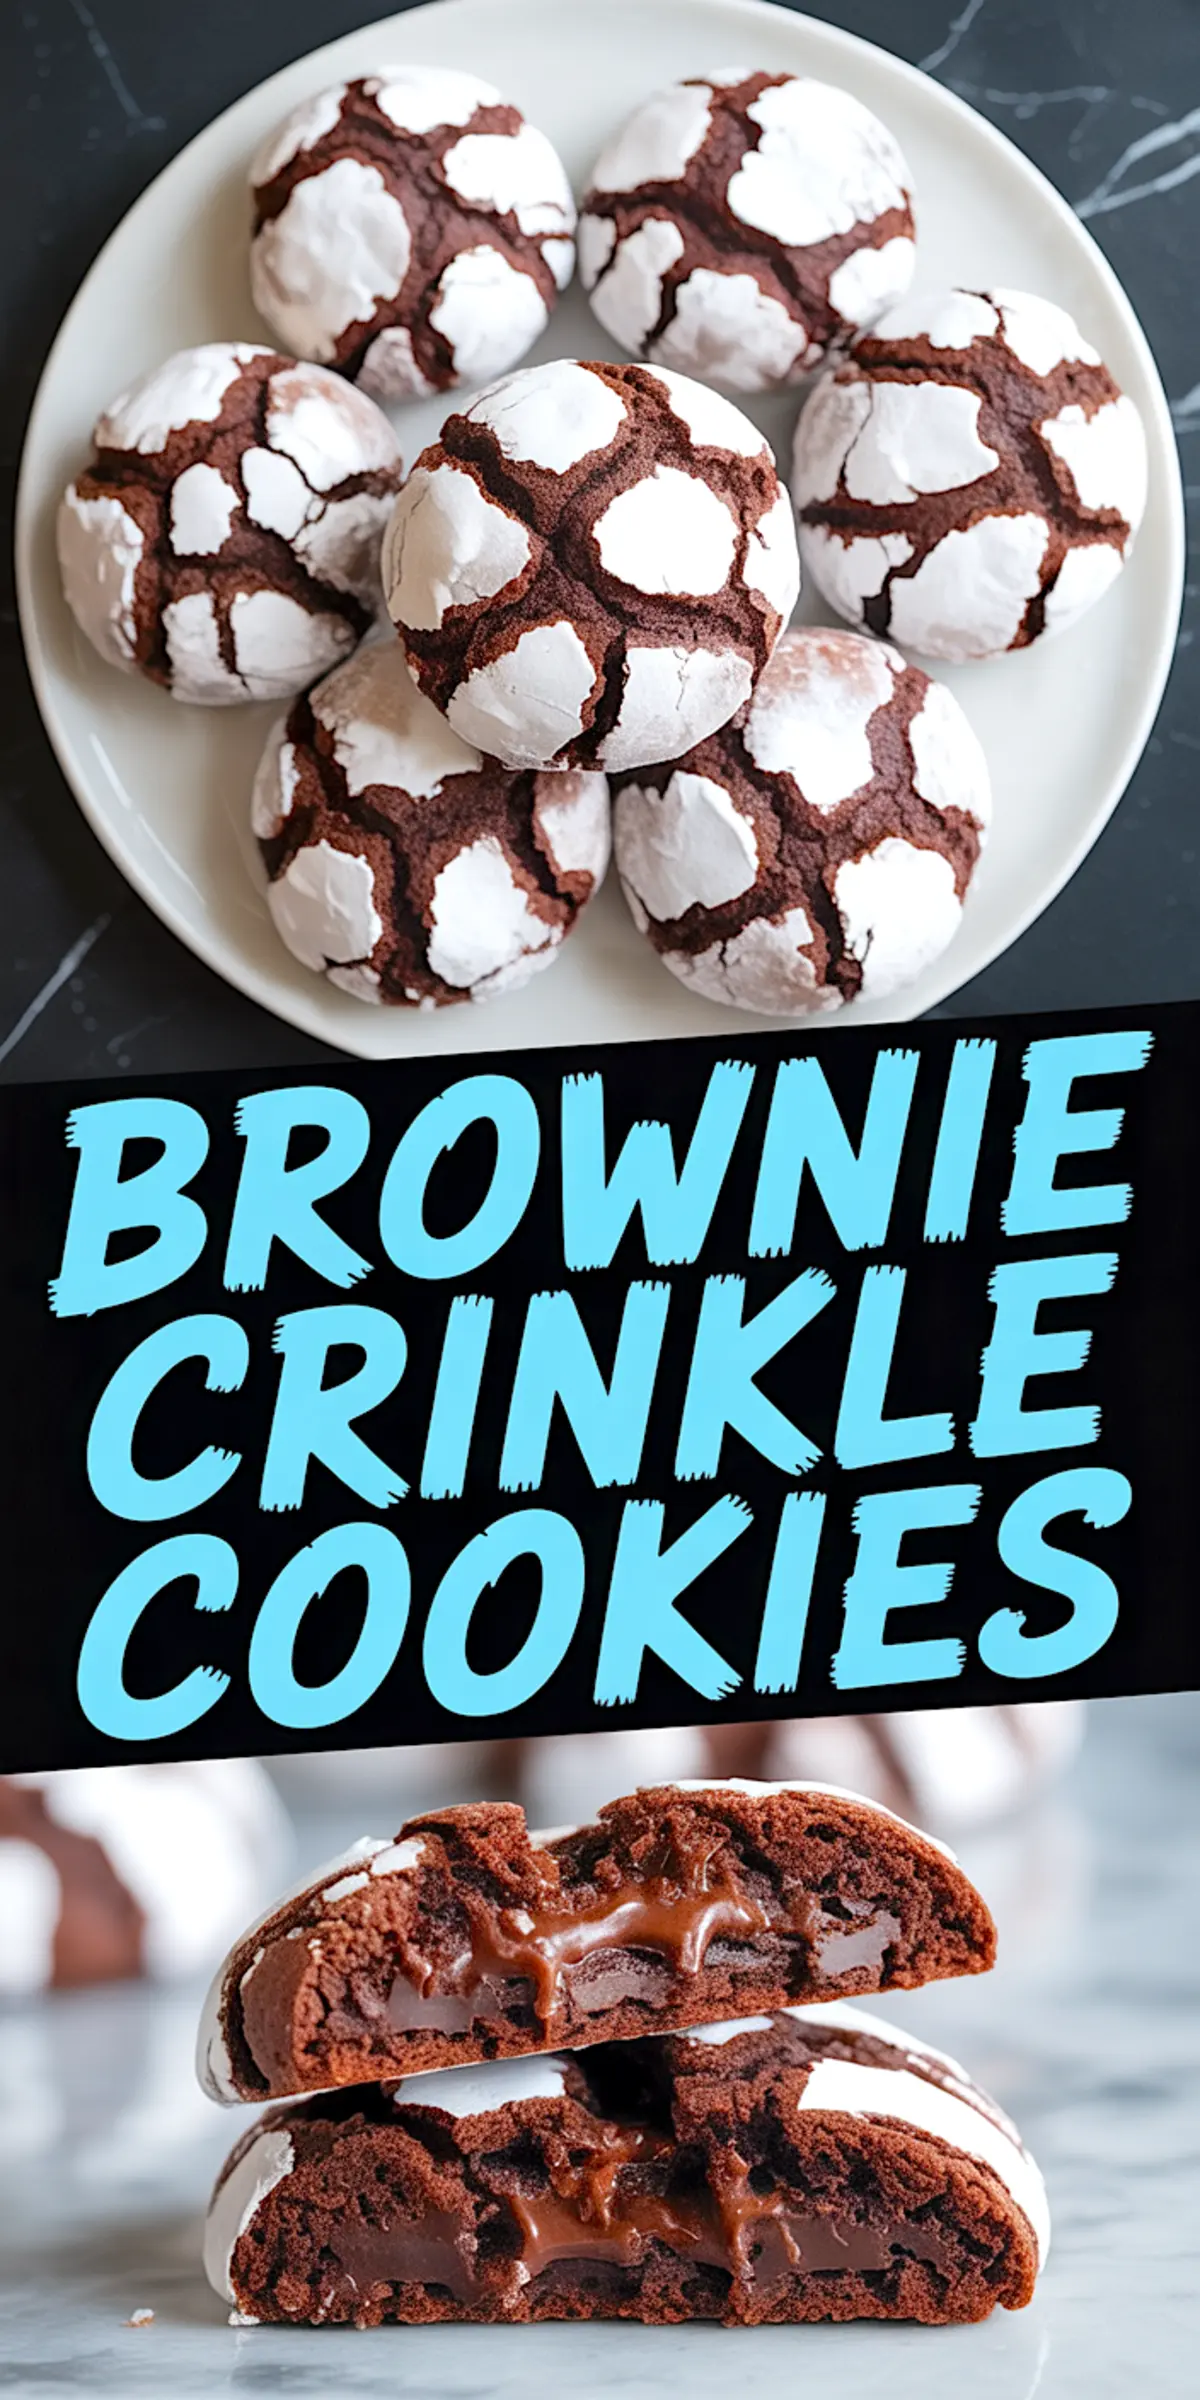
These cookies bridge brownies and chocolate crackle cookies. They give you that shiny, crackled surface but with a chewy, rich center that feels more like biting into a molten brownie. That’s where this recipe stands apart.
Now, about that little trick I mentioned earlier. We’ll get there shortly.
This Brownie Crinkle Cookies Recipe Works Well
Brownie cookies from scratch require balance. The melted bittersweet chocolate creates depth, while butter and sugar build the structure. The eggs hold everything together and help achieve that glossy surface as they bake.
Dutch-process cocoa boosts the chocolate profile even more. You get that smooth, full-bodied chocolate flavor that lingers without being sharp. I’ve tried natural cocoa before, but it lacks the richness here. My notes clearly favor Dutch-process for crinkle cookies.
The real standout comes from the filling step. Folding semi-sweet chocolate chips inside each dough ball gives you that gooey center even after baking. Each bite surprises you with a little extra molten chocolate.
The Key Ingredient Comparison: Dutch-Process vs Natural Cocoa
Let me pause here because this part matters.
I’ve tested both types of cocoa powder while chasing the best texture and color. Natural cocoa tends to create a lighter brown color and a sharper, sometimes sour edge. It can overpower the subtle sweetness of the cookie.
Dutch-process cocoa, with its neutral pH, produces a deeper, darker color and smoother taste. In my Pin Notebook, every successful batch listed Dutch-process cocoa in the margin. If you want that deep chocolate finish without bitterness, Dutch-process wins every time for crinkle cookies.
How I Prepare The Brownie Crinkle Cookie Dough
I begin by melting the bittersweet chocolate and letting it cool just enough so it blends smoothly into the butter mixture without seizing.
In my stand mixer, I cream softened butter with granulated sugar until pale and fluffy. This step introduces air that helps the cookie rise and crack during baking. Then I add eggs one at a time. I never rush this part. Each egg needs full incorporation before the next enters the bowl.
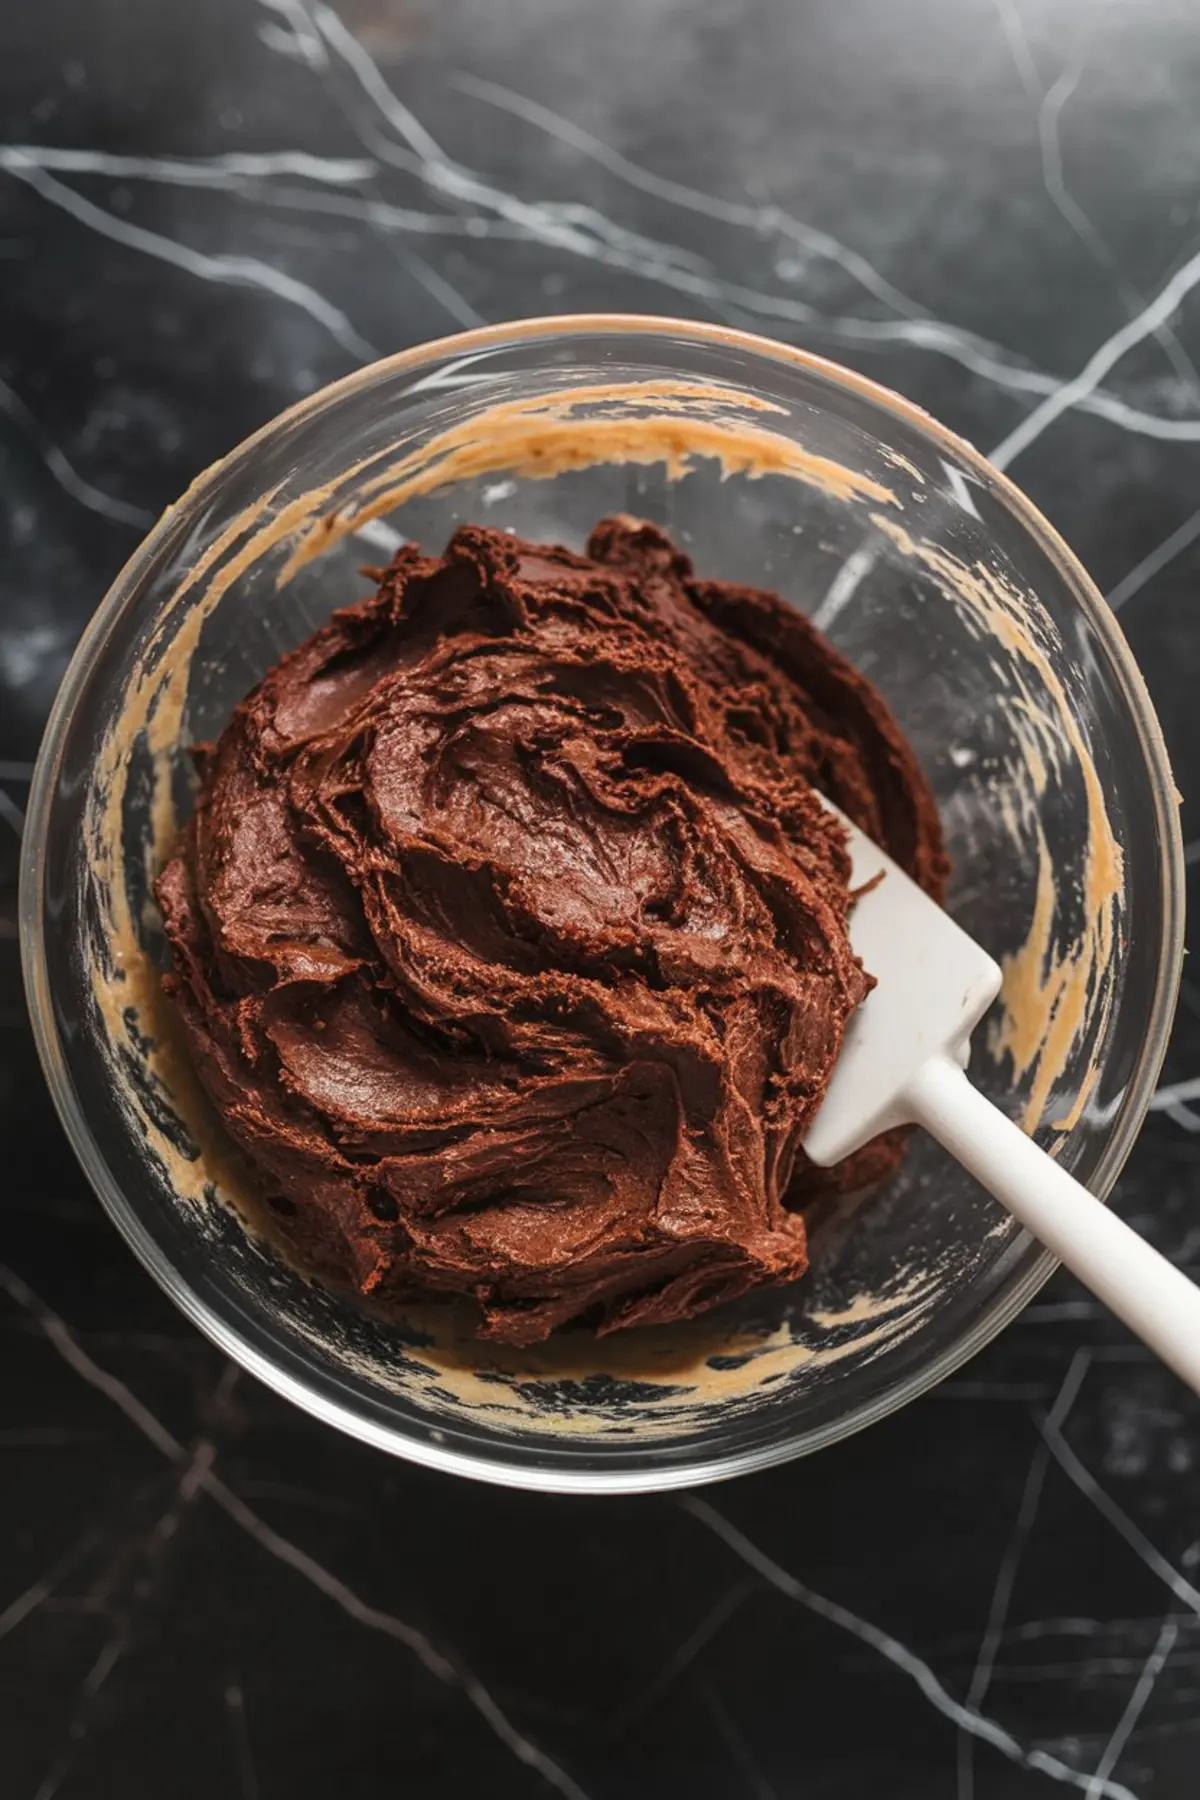
Next comes vanilla extract, followed by the cooled melted chocolate. As soon as the chocolate blends fully into the mix, the batter takes on its glossy, dark tone.
Separately, I whisk together all-purpose flour, Dutch-process cocoa, baking powder, and salt. These dry ingredients gradually fold into the wet mixture. The dough becomes sticky, thick, and resembles a dense brownie batter. This consistency helps form that signature crinkle.
Why Chilling The Dough Is Non-Negotiable
I cover the bowl with plastic wrap and refrigerate the dough for at least three hours. Often, I leave it overnight if time allows. Chilling serves two purposes. First, it firms up the dough so you can shape it without mess. Second, it limits spreading in the oven, allowing those beautiful cracks to form on top.
Whiskers, my cat, knows this step well. He usually parks himself next to the fridge and waits, hoping I drop a stray chocolate chip. He hasn’t succeeded yet, but the ritual continues.
Shaping The Cookies With The Molten Surprise
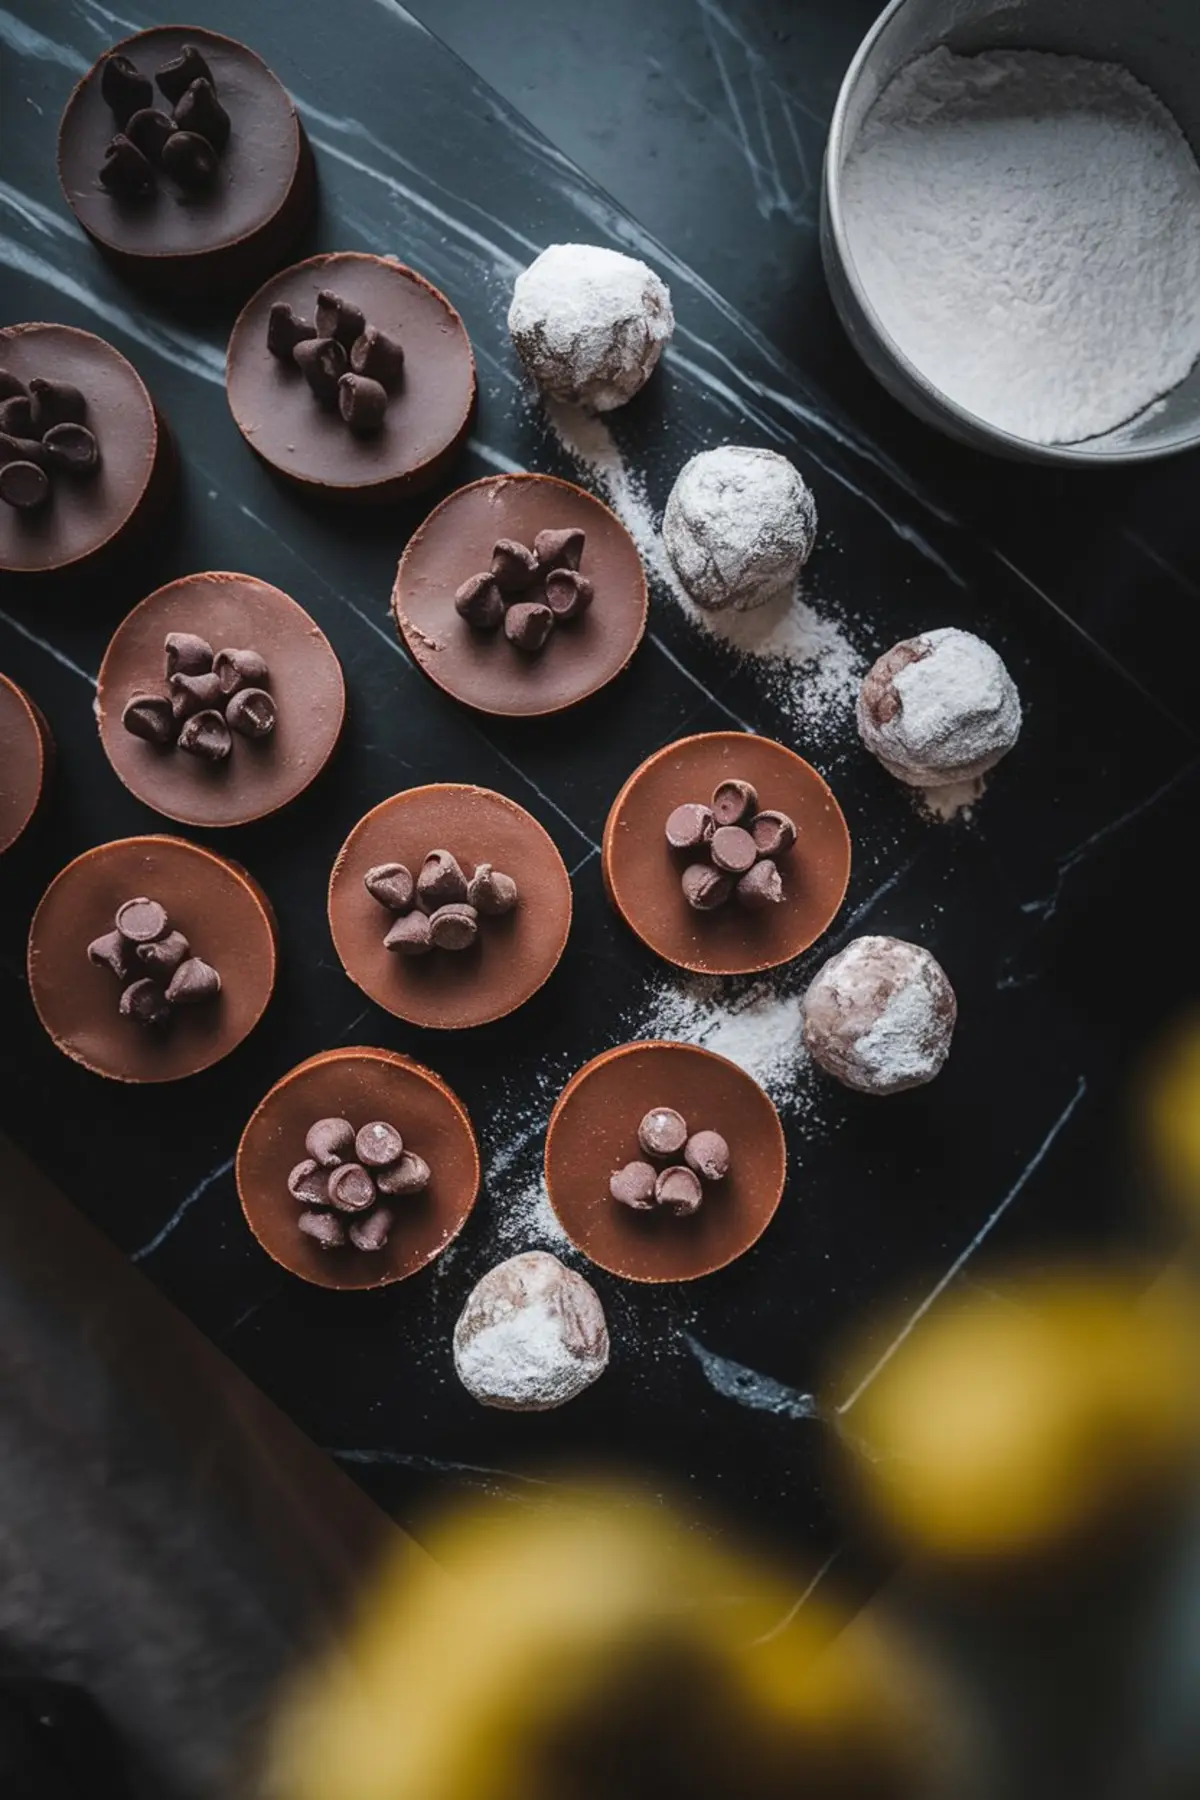
Once chilled, I scoop out a tablespoon of dough, flatten it slightly in my palm, and place a few semi-sweet chocolate chips in the center. Then I carefully fold the dough around the filling and roll it into a smooth ball, sealing the chocolate inside.
This filling step transforms these into chocolate crumble cookies with a molten twist.
The Double Coating That Guarantees Snowy Cracks
Here’s where many bakers stumble. The powdered sugar often melts into the cookie, leaving spotty tops. My solution? A double coating.
I first roll each dough ball in granulated sugar. This layer creates a barrier, slowing moisture absorption into the powdered sugar.
Then I roll each ball generously in powdered sugar. You want full coverage here. If you can find non-melting powdered sugar, use it. The results are even more consistent and stay bright after baking.
Baking The Brownie Crinkle Cookies To Fudge Perfection
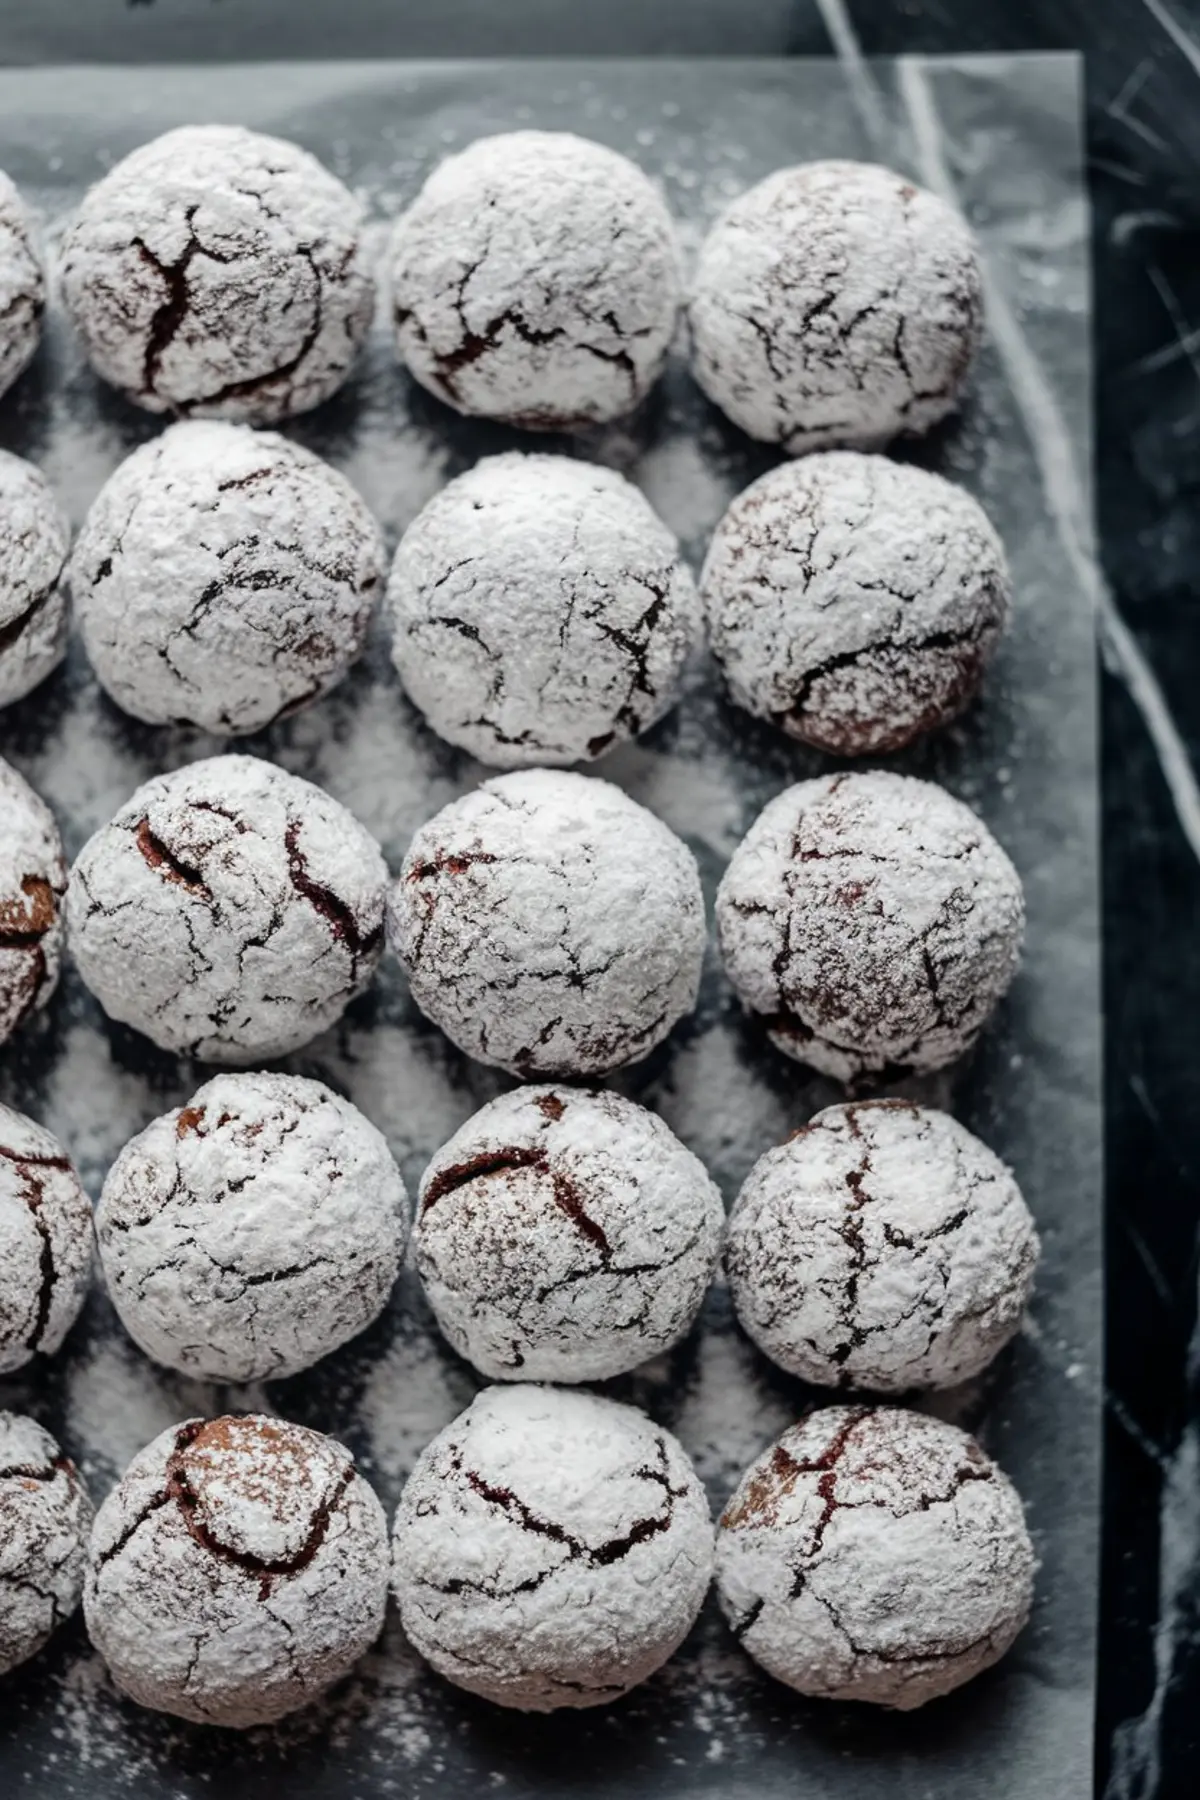
I space the coated balls on parchment-lined baking sheets and bake at 350°F for exactly ten minutes. Not a minute more. Overbaking dries out the center. At ten minutes, you get beautiful cracks on top while the interior stays molten and chewy.
Once out of the oven, I let them cool on the sheet for five minutes before transferring to a wire rack.
The result delivers everything you expect from homemade chocolate crinkle cookies: bold, glossy cracks, deep chocolate flavor, and soft centers.
My Unexpected Secret Ingredient: Temperature Control
Now I can reveal the quiet hero behind these results.
The temperature of each component makes all the difference. Letting the melted chocolate cool properly prevents seizing. Using room temperature eggs ensures smooth blending. Chilling the dough locks structure. And baking at exactly 350°F keeps the molten center intact.
I’ve baked dozens of versions for my friends, my family, and even my neighbor, who still calls these my “brownie crackle cookies.” She has a standing request whenever Whiskers and I visit.
Related Crinkle Cookie Recipes You’ll Love
If you enjoy this brownie crinkle version, you might also try my Gingerbread Crinkle Cookies Recipe for a spiced holiday take.
Or experiment with color and flavor by making my Ube Crinkle Sandwich Cookies and Pistachio Crinkle Cookies, each offering their own unique spin while still using my double-coating method for flawless tops.
Save This Recipe And Share Your Experience
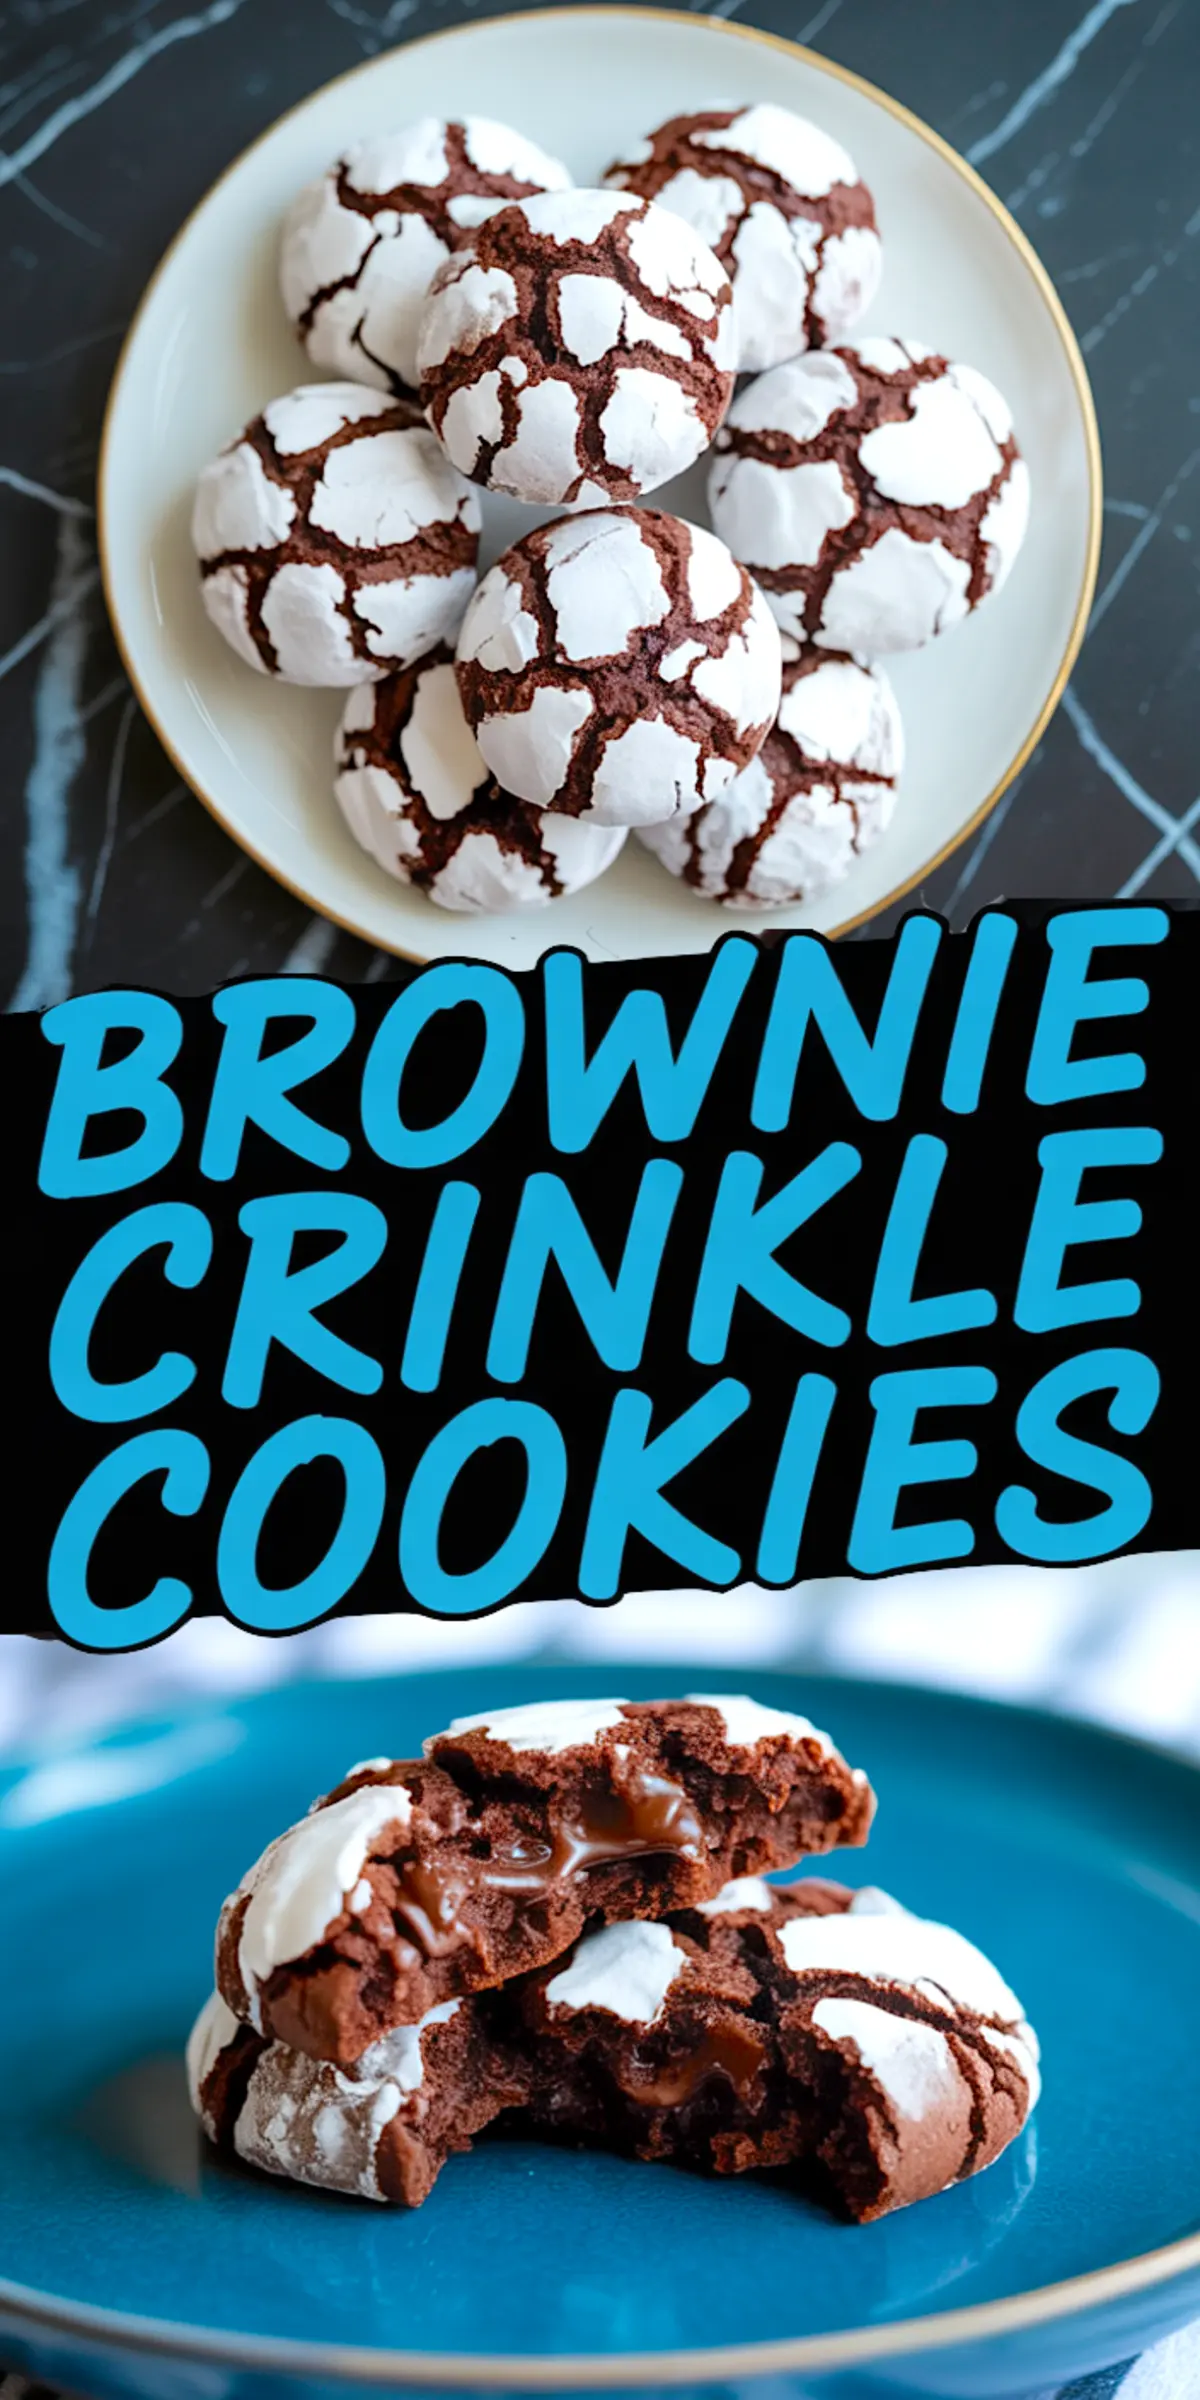
Pin this recipe to your chocolate or cookie boards so you always have it on hand when cravings strike. Brownie crinkle cookies deliver every time when you use these steps.
If you bake them, I would love to hear how they turned out. Drop your questions or results in the comments below. Let’s share tips and keep perfecting these beautiful cookies together.
Brownie Crinkle Cookies Recipe
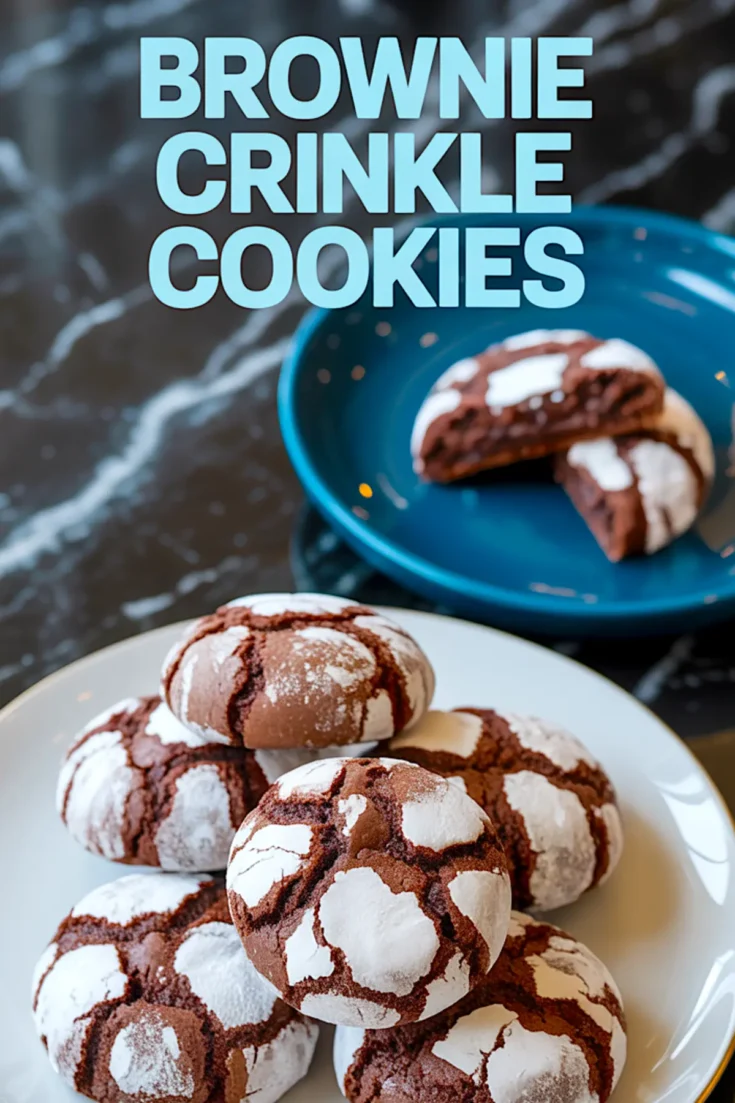
These brownie crinkle cookies feature fudgy centers and perfectly cracked snowy white tops. A double coating technique keeps the powdered sugar bright and beautiful even after baking. The molten chocolate center adds a rich texture that contrasts the soft, chewy cookie.
Ingredients
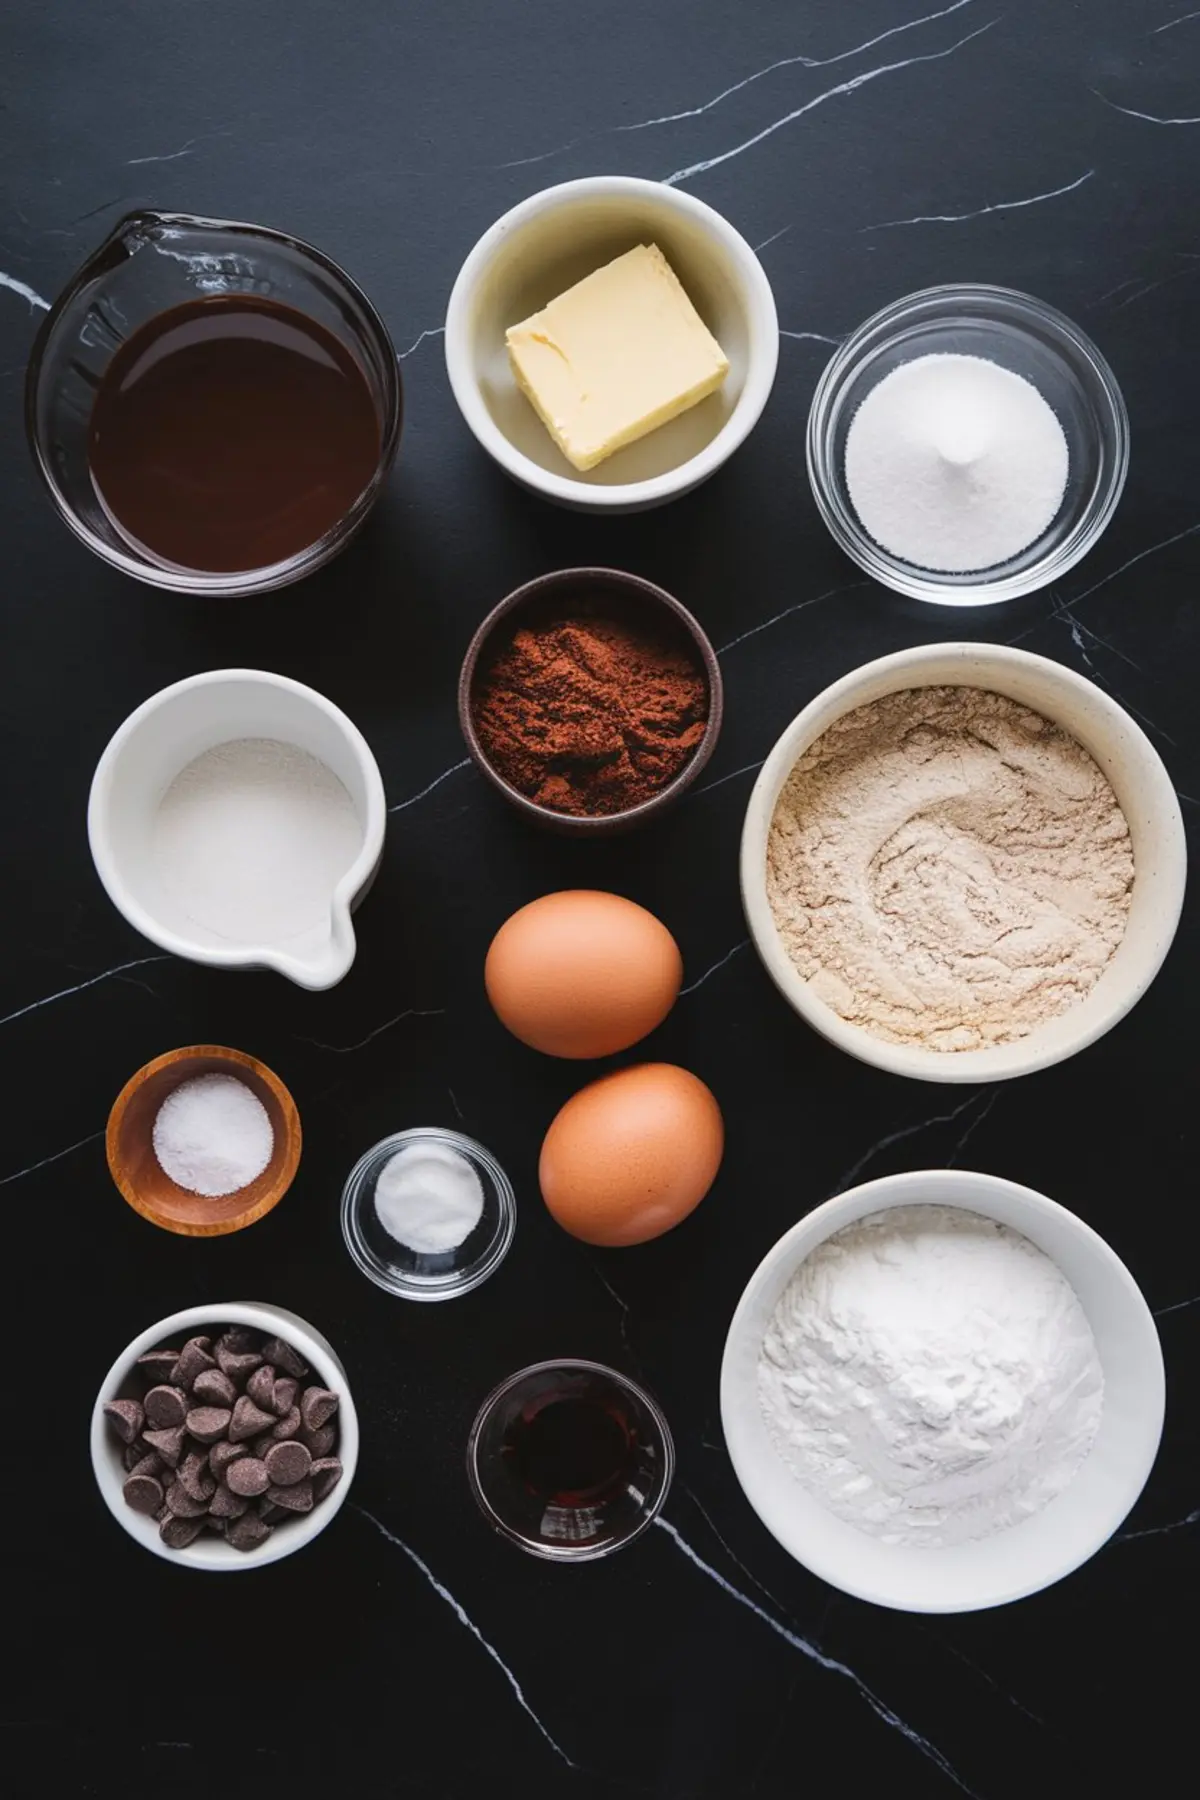
- 200g bittersweet chocolate (70% cacao), melted and cooled
- 100g unsalted butter, softened
- 200g granulated sugar
- 2 large eggs, room temperature
- 1 teaspoon vanilla extract
- 130g all-purpose flour
- 30g unsweetened Dutch-process cocoa powder
- 1 teaspoon baking powder
- 1/4 teaspoon salt
- 100g semi-sweet chocolate chips or chunks (for molten center)
- granulated sugar (for pre-coating)
- powdered sugar or non-melting powdered sugar (for final coating)
Instructions
PREPARE THE DOUGH: Melt the bittersweet chocolate and let it cool slightly. In a bowl, cream the softened butter and granulated sugar until pale and fluffy. Beat in the eggs one at a time, ensuring each is fully incorporated before adding the next. Stir in the vanilla extract. Slowly pour in the cooled melted chocolate and mix until smooth and fully blended.
ADD DRY INGREDIENTS: In a separate bowl, whisk together the flour, Dutch-process cocoa powder, baking powder, and salt. Gradually fold the dry ingredients into the wet mixture using a spatula or wooden spoon. Mix until just combined. The dough will have a sticky, brownie-like consistency.
CHILL: Cover the bowl tightly with plastic wrap and refrigerate for at least 3 hours or overnight. This step allows the dough to firm up, making it easier to handle and helping to control spreading during baking.
SHAPE AND FILL: Preheat the oven to 350°F (175°C). Line baking sheets with parchment paper. Scoop approximately 1 tablespoon of chilled dough, flatten it slightly in your hand, and place 3 to 4 semi-sweet chocolate chips or chunks in the center. Carefully fold the dough around the chocolate and roll it into a smooth ball, ensuring the filling is fully enclosed.
DOUBLE COATING FOR THE SNOWY TOP: Roll each dough ball lightly in granulated sugar to create a barrier that helps preserve the powdered sugar coating. Next, roll the ball generously in powdered sugar or non-melting powdered sugar. Ensure a thick, even layer for the snowy appearance.
BAKE: Arrange the coated dough balls on the prepared baking sheets, leaving space between each cookie. Bake for exactly 10 minutes. The tops will crack beautifully, revealing the dark chocolate beneath, while the centers remain molten.
COOL: Allow the cookies to cool on the baking sheet for 5 minutes before transferring them to a wire rack. The molten center will firm slightly but remain soft and fudgy inside.
Notes
For the most consistent snowy top, non-melting powdered sugar is recommended. If unavailable, using granulated sugar followed by regular powdered sugar still produces excellent results.
Nutrition Information:
Yield:
20Serving Size:
1Amount Per Serving: Calories: 248Total Fat: 11gSaturated Fat: 7gTrans Fat: 0gUnsaturated Fat: 4gCholesterol: 30mgSodium: 62mgCarbohydrates: 34gFiber: 2gSugar: 25gProtein: 3g
