
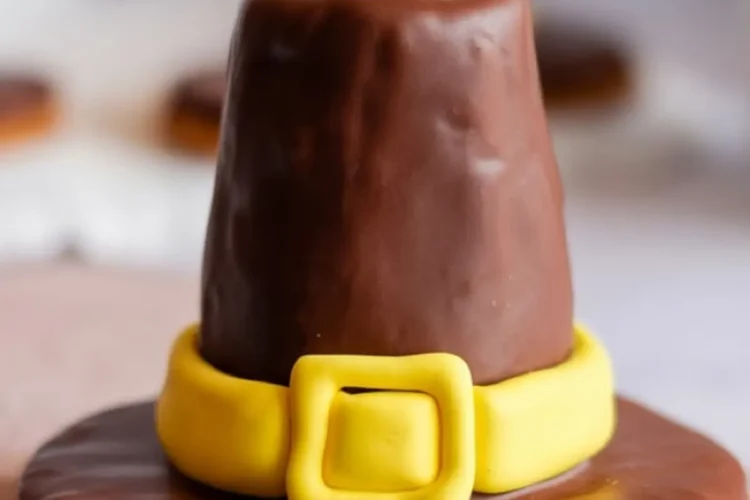
Some desserts ask for patience. Others ask only for a warm hand and a steady table. These Pilgrim Hat Cookies belong to the second kind. They’re humble, quick to shape, and cheerful in a way that reminds me of handmade place cards and construction paper turkeys taped to the wall.
These cookies count among the easiest Thanksgiving treats I’ve written into my notebook over the years. They sit somewhere between snack and centerpiece, and they have a way of getting both children and adults to pause, grin, and reach for more. I’ve seen Chloe make them with her niece, fingers sticky with chocolate, both of them laughing as if time didn’t matter. I’ve written and re-written this recipe in my notes, usually on the back of an old shopping list, always with a reminder: Let the chocolate pool a little at the base. It makes all the difference.
You won’t need a mixer. You won’t need a timer. Just a few steady motions and a little care.

Why These Cookies Belong on Your Thanksgiving Table
Thanksgiving snacks often lean savory, but this recipe brings something playful to the spread without calling too much attention to itself. The base is a fudge stripe cookie, turned upside down so the chocolate surface can hold the marshmallow in place. A generous dip in melted chocolate gives the hat its glossy shape, and a strip of yellow fondant or candy melts becomes the buckle.

This is one of those Thanksgiving dessert recipes that doubles as decoration. I’ve tucked them around a pie plate, added them to treat boxes, and even used them as name tags by piping initials onto the brim. Every time, someone asks how they’re made. Every time, I say the same thing: “It’s just a cookie, a marshmallow, and a little patience.”
If you’re gathering Thanksgiving cookies for a dessert tray or looking for pilgrim themed treats that children can help assemble, these belong on your list.
A Note on Chocolate: Melting Chips vs Melting Wafers
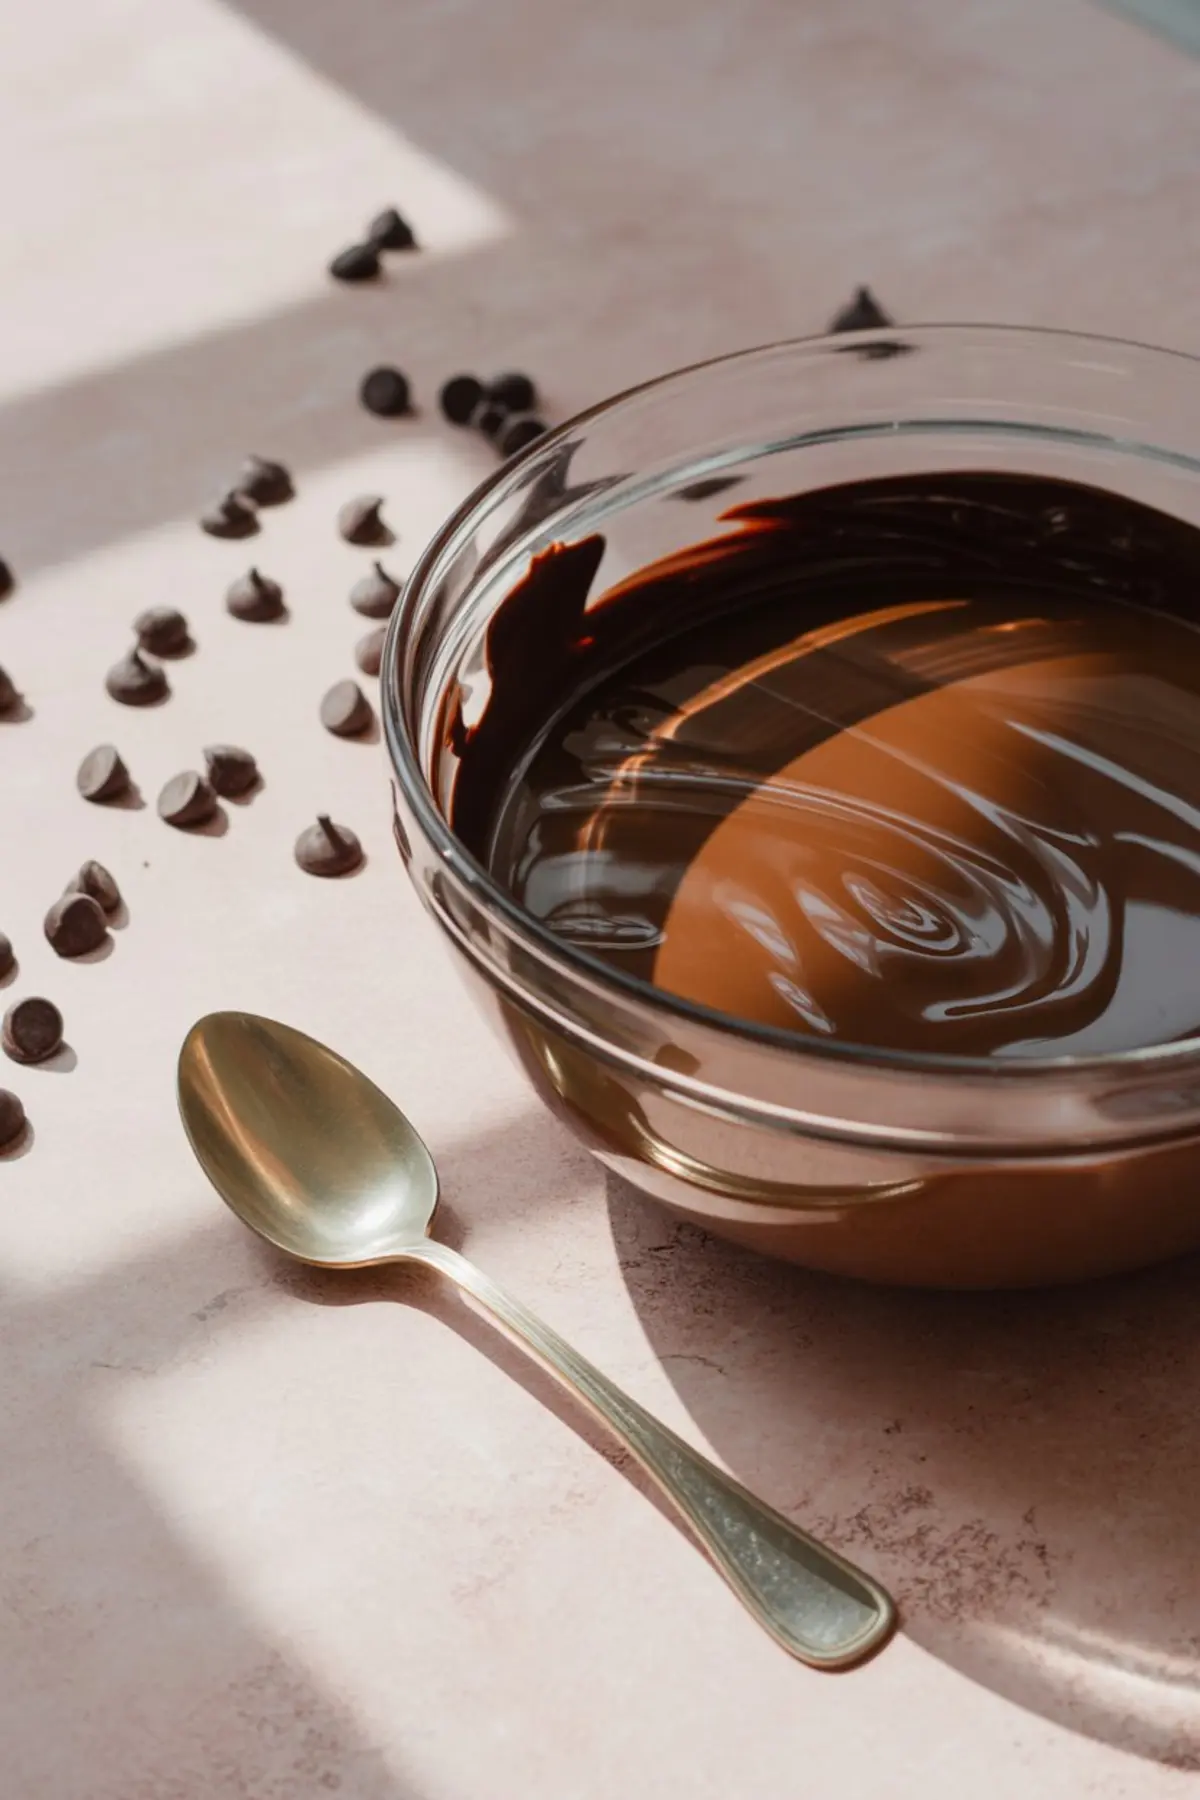
I’ve tried both, more than once. Chocolate chips give you a deeper flavor but sometimes need a touch of shortening to smooth out. Melting wafers, on the other hand, behave better under heat. They coat evenly and stay shiny once set. In my notes, I’ve underlined this: If you’re in a hurry, use melting wafers. If you’re serving adults who care about taste, use chocolate chips with a spoonful of shortening.
Either choice works, but it’s worth thinking about the audience.
Preparing the Fudge Stripe Cookie Base
Arrange the cookies chocolate-side up on a tray lined with parchment. The smooth chocolate side helps the marshmallow stay in place. I always set mine out in rows of six. It helps me keep track and keeps little hands from reaching before I’m ready.
This step doesn’t take long, but it helps to clear your surface and have everything nearby. These cookies come together fast once the chocolate is melted.
While you’re setting up, you might want to peek at these Turkey Cupcakes. They’re playful like these hats and use the same kind of chocolate coating.
Melting and Dipping: Let the Chocolate Speak
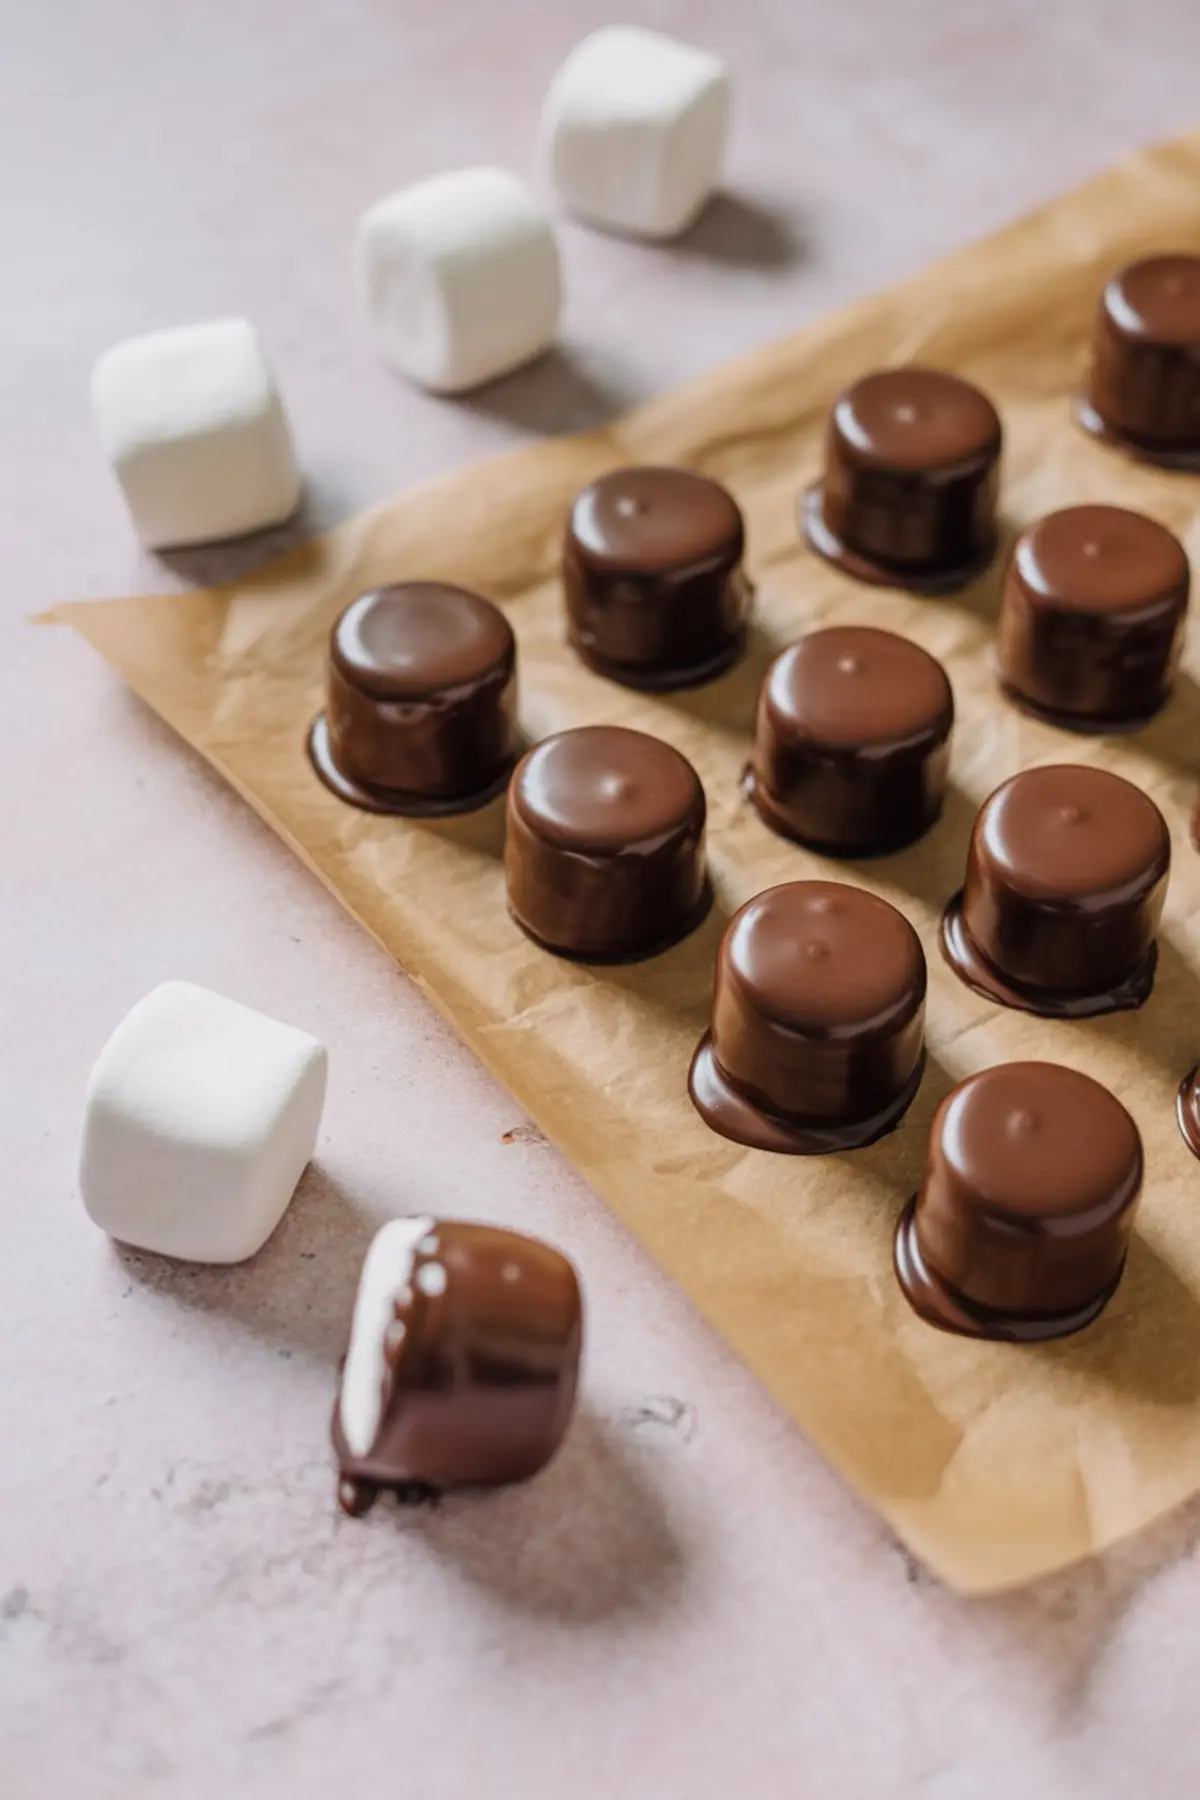
Melt your chocolate in short bursts in the microwave. Stir after every 30 seconds. When it runs off the spoon in a ribbon, it’s ready. Use a fork or skewer to dip the marshmallows completely. Don’t tap off too much. Let some chocolate settle at the base. That soft pool forms a rim once it cools.
If it spreads unevenly, don’t worry. If it drips down the sides, it’s still fine. I’ve made these with children in my classroom, and I’ve made them alone late at night. They’ve never come out the same way twice. That’s part of the charm.
If your hands are already messy and you have a bit of time, take a look at these Chocolate Covered Strawberry Turkeys. They use similar steps and are easy to pair on a tray with the hats.
Adding the Band and Buckle: A Simple Finish
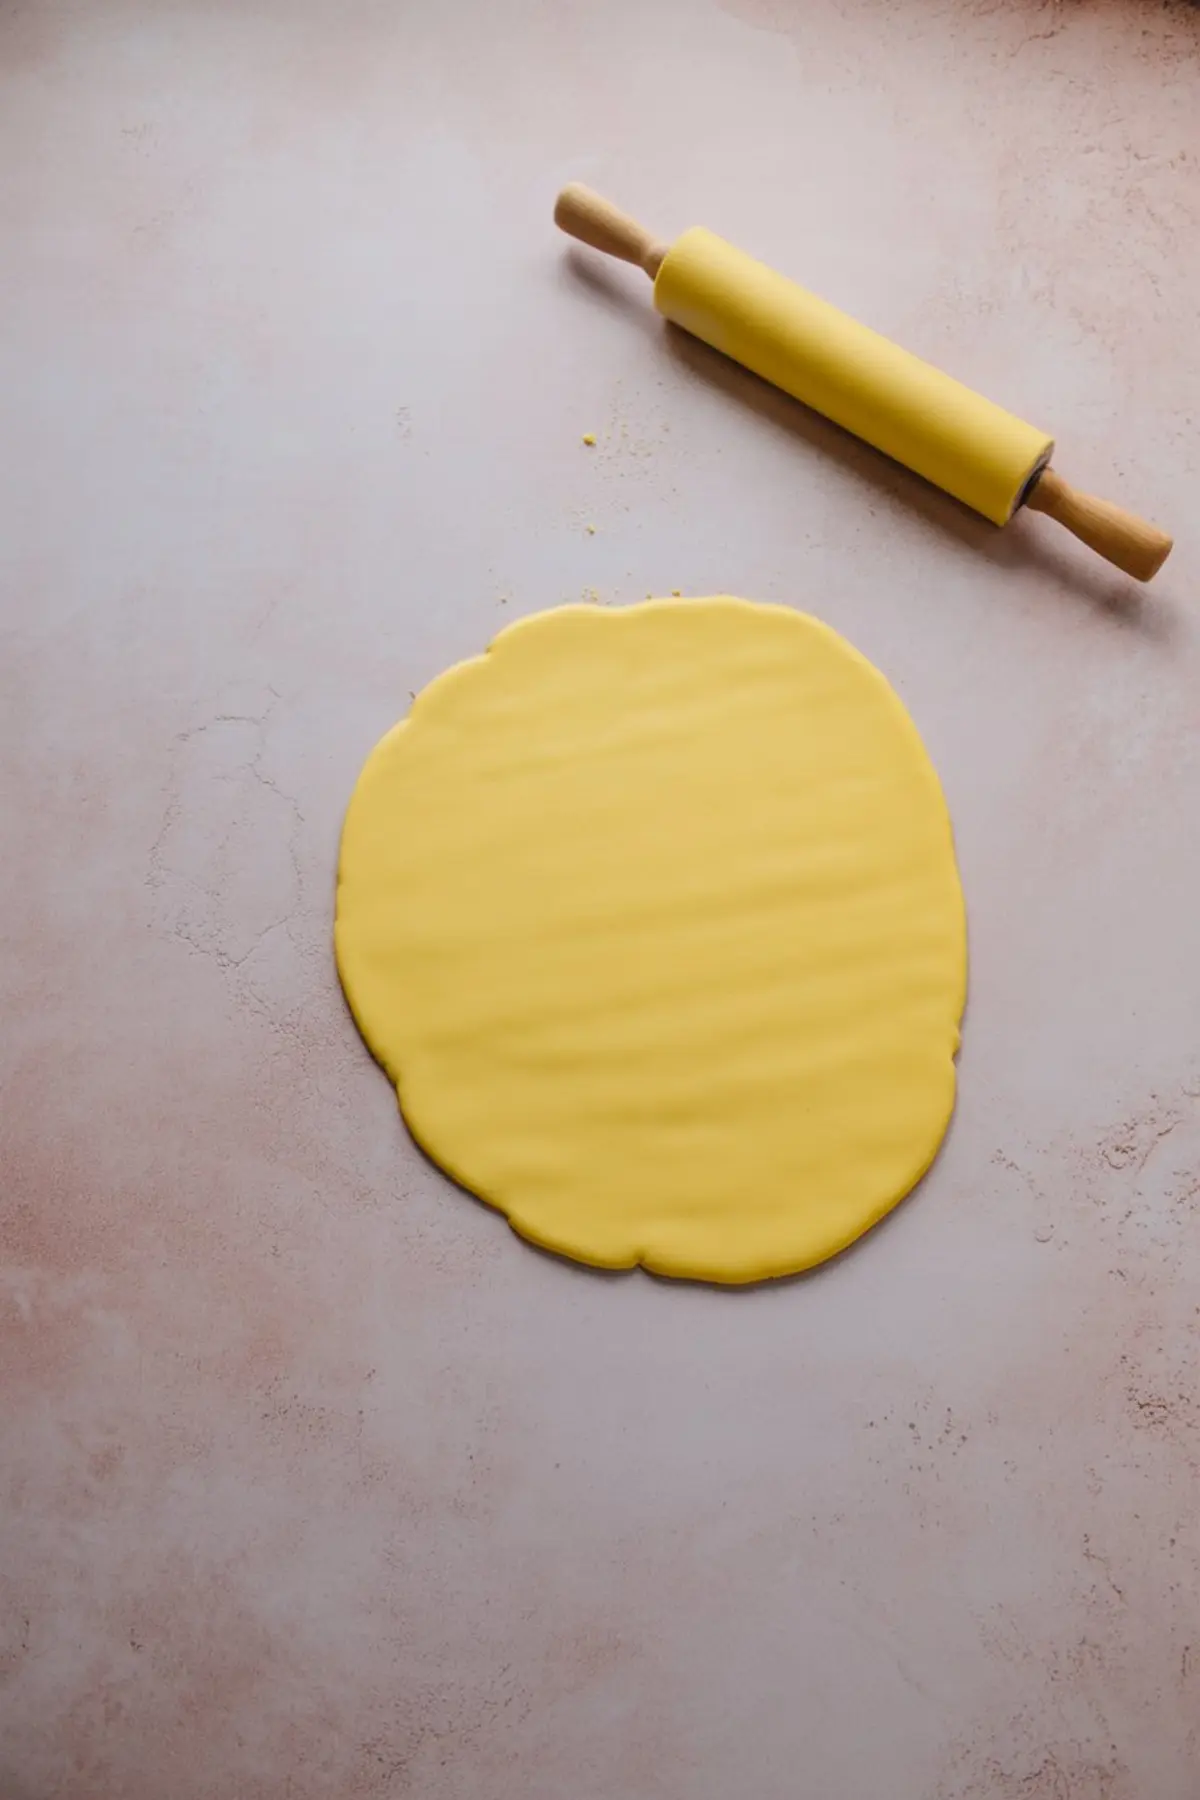
The chocolate sets quickly in a cold kitchen. Once firm, it’s time to add the bands. I cut narrow strips of fondant with a paring knife. Sometimes I use black for contrast, but yellow feels brighter.
The buckle can be made from candy melts or piped chocolate. I’ve done both. In the summer, I use candy melts to avoid reheating chocolate. In November, when my kitchen stays cool, I stick to melted white chocolate tinted with gel coloring.
If your buckle doesn’t line up, or the fondant slips, press gently and breathe. If it tilts a little, don’t worry. I’ve never had anyone complain. Most people just ask for another.
For something sweet but more layered, you might enjoy the Cranberry Bliss Bars. They’re a bit more involved but sit beautifully beside these on a platter.
Storing and Serving Thanksgiving Fun

Once finished, I let them rest for about twenty minutes. If your kitchen runs warm, pop the tray in the fridge. That helps the bands stay firm and the buckles stay bright. These cookies hold well in a tin overnight, though I usually keep a bit of wax paper between the layers.
They travel well, too. I’ve brought them to church bake sales, school Thanksgiving parties, and quiet suppers with friends. They always go quickly. Some people don’t even eat them. They just smile and keep one near their plate until dessert.
If you’ve been looking for Thanksgiving fun that doesn’t take over your day, this is a recipe you can make with your hands and your heart. And if it makes a mess along the way, that’s part of the memory too.
Leave a Note Before You Go

If you make these Pilgrim Hat Cookies, I’d love to hear how they turned out. Let me know if your buckle slipped, or if a child made one that looked like a wizard hat. Save this recipe to your Thanksgiving treats board so you don’t lose it in the busy weeks ahead. Or print it out, tuck it in your own notebook, and write your own notes in the margin.
There’s room for both of us on the page.
Pilgrim Hat Cookies Recipe

Pilgrim hat cookies use fudge stripe cookies, marshmallows, and melted chocolate to make a quick no bake treat that kids can actually help with. I call them Thanksgiving snacks, but they double as table decorations and conversation starters. The base is a fudge stripe cookie flipped upside down, topped with a chocolate-dipped marshmallow and a buckle of frosting. Pilgrim hat cookies easy enough for school parties but cute enough for the Thanksgiving desserts table. I’ve made a batch in under 30 minutes and watched them vanish faster than the pie. Great for Thanksgiving fun, easy Thanksgiving treats, or adding something playful to your spread. Pilgrim themed treats don’t get simpler than this.
Ingredients
- 24 round fudge-striped cookies (chocolate-coated side up)
- 24 large marshmallows
- 1 to 1½ cups semisweet chocolate chips or melting chocolate
- Yellow fondant or yellow candy melts (for the buckle)
- Corn syrup or melted chocolate (to use as edible glue)
- Optional: thin strip of fondant or black licorice for the hat band
Instructions
- PREPARE THE COOKIE BASE: Arrange the fudge-striped cookies chocolate-side up on a parchment-lined tray. These will form the brims of the hats. Make sure the smooth side is facing up to help the marshmallows adhere properly.
- MELT THE CHOCOLATE: Place the chocolate chips or melting chocolate in a microwave-safe bowl and heat in 30-second intervals, stirring between each round until smooth. If the mixture is too thick, stir in 1 teaspoon of vegetable shortening to thin it slightly.
- DIP THE MARSHMALLOWS GENEROUSLY: Using a fork or skewer, dip each marshmallow completely into the melted chocolate, turning it to coat evenly. Allow some chocolate to pool at the base rather than tapping off the excess.
- CREATE THE THICKENED BASE LOOK: While the chocolate is still wet, place each coated marshmallow upright in the center of a cookie. Press gently to allow a small amount of chocolate to spread around the base, forming a thick, clean ring that gives the hat a finished appearance.
- LET THEM SET: Refrigerate the assembled cookies for about 15 minutes until the chocolate firms up. The pooled chocolate will set into a smooth, rounded base that holds its shape.
- ADD THE HAT BAND: Cut a narrow strip of yellow fondant (or use black for a traditional look) and wrap it around each marshmallow just above the base ring. Use corn syrup or melted chocolate to help it stick if needed.
- MAKE AND ATTACH THE BUCKLES: Cut small squares of yellow fondant or candy melts to form buckles. Alternatively, pipe melted yellow chocolate onto parchment to create buckle shapes. Once firm, attach one to each hat band using a small dab of edible glue or melted chocolate.
- FINISH AND SERVE: Let the completed cookies sit at room temperature for 20 minutes before serving. If your kitchen is warm, refrigerate briefly to keep the decorations in place.
Notes
To ensure a clean appearance, avoid letting too much chocolate drip down the sides when placing the marshmallows. For best results, work in small batches to keep the chocolate warm and workable.
Nutrition Information:
Yield:
24Serving Size:
1Amount Per Serving: Calories: 204Total Fat: 8gSaturated Fat: 4gTrans Fat: 0gUnsaturated Fat: 3gCholesterol: 4mgSodium: 27mgCarbohydrates: 34gFiber: 1gSugar: 30gProtein: 2g

