
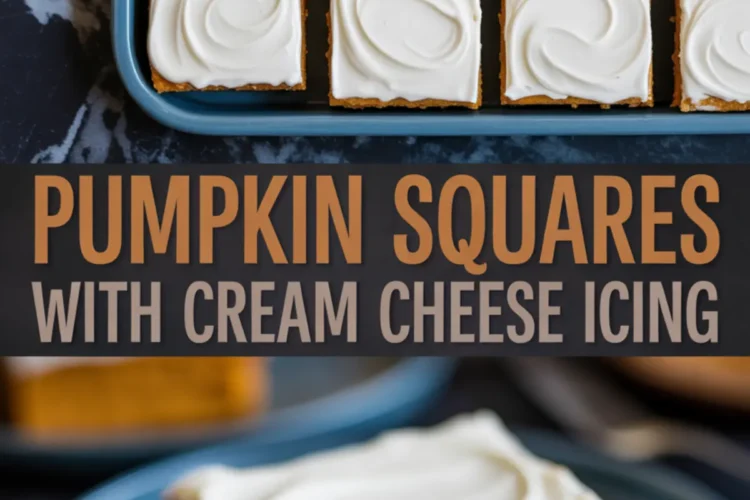
There are pumpkin desserts you bake once and forget, and then there are pumpkin squares that become part of your fall tradition. This recipe falls into the second group.
The warm spices, the tender crumb, and the thick cream cheese icing give it a balance that satisfies.
You’ll learn exactly how to bake these moist pumpkin bars without the common pitfalls. The recipe works beautifully for gatherings, Thanksgiving spreads, or a quiet evening when you want a square with your coffee.
I’ll also share a little detail from my Pin Notebook that gives these pumpkin squares their dash of magic. That secret comes later, so keep reading.

Pumpkin Squares With Cream Cheese Icing That Stay Moist
The base uses pumpkin puree, which gives a golden hue and keeps the crumb soft for days. The texture is closer to a soft cake than a bar cookie, making it more appealing than some other easy pumpkin desserts. The icing on top adds tang and creaminess, lifting the flavor of the pumpkin beneath it.
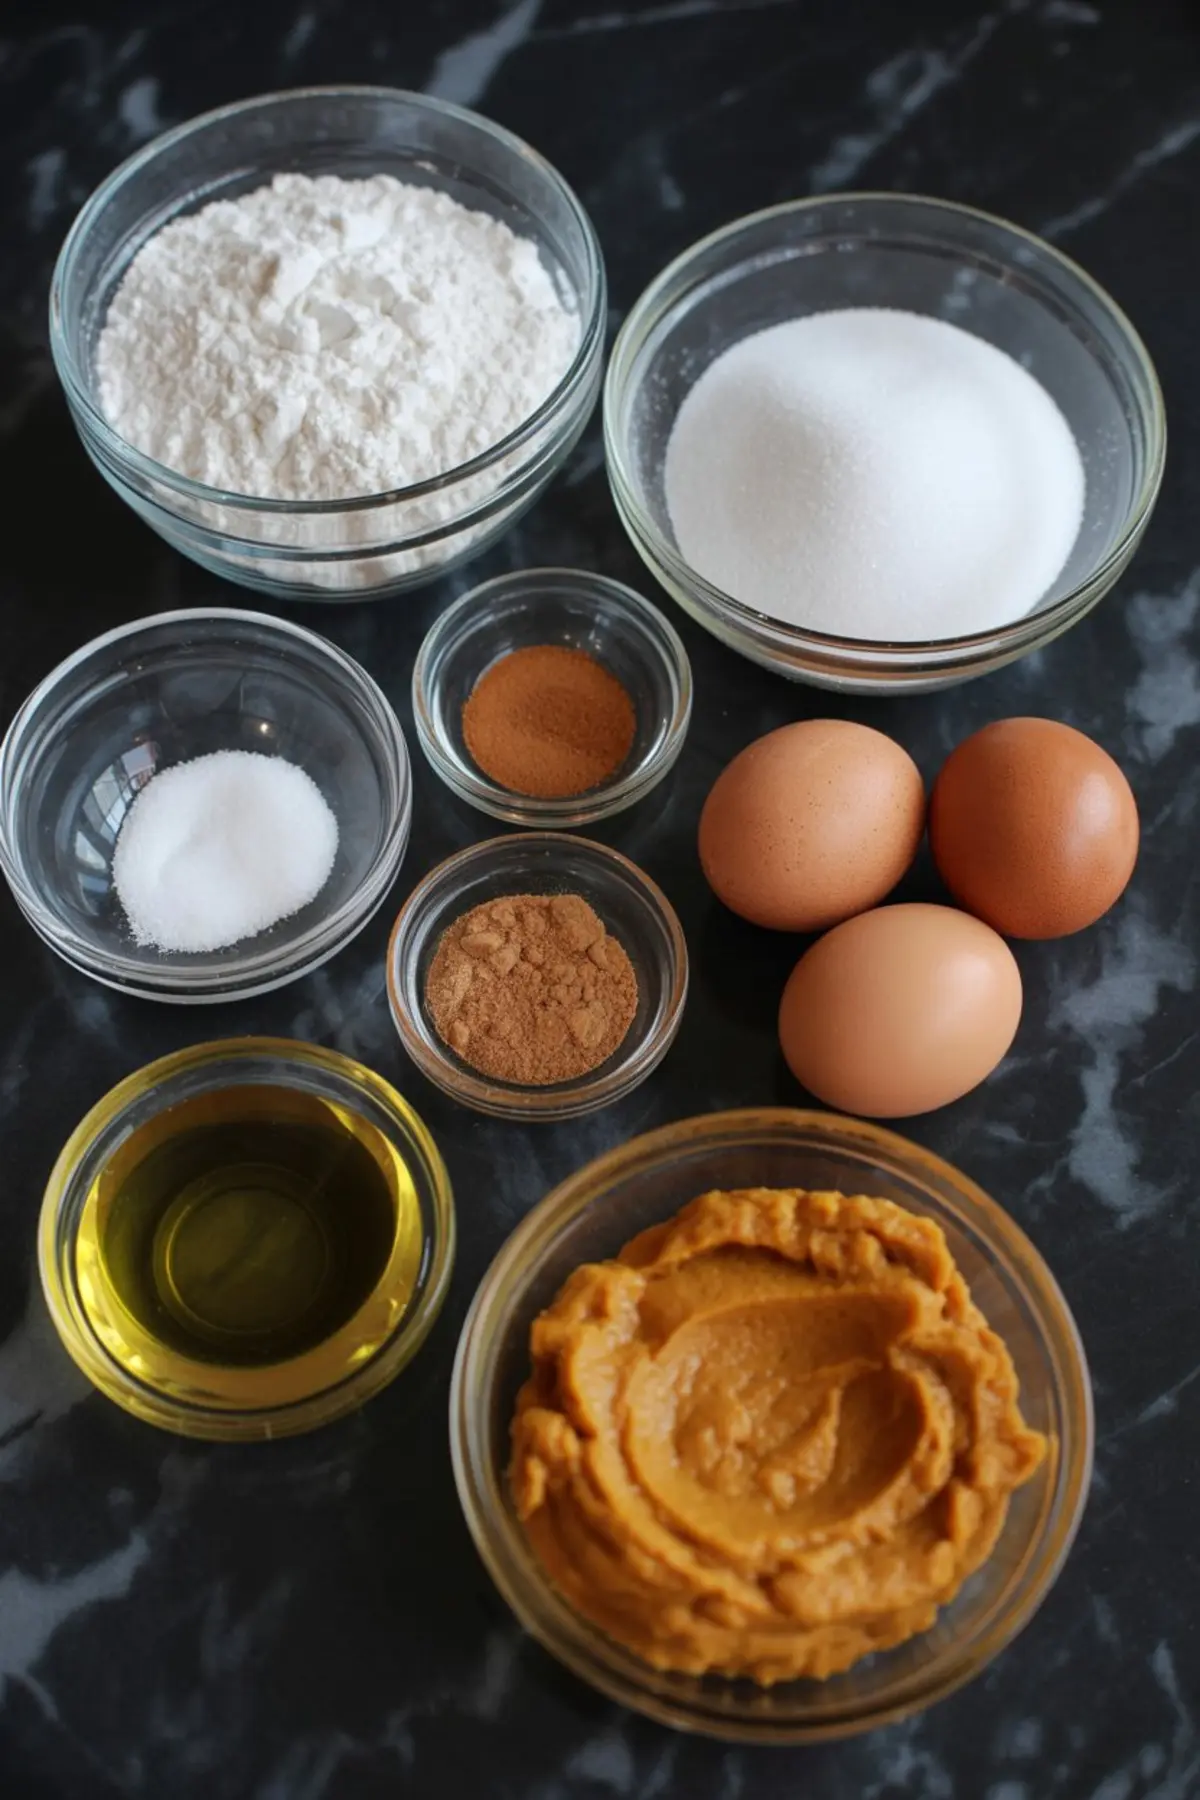
I’ve baked these for years and often compare them to my Pumpkin Cake with Cream Cheese Frosting. The cake is taller and fluffier, while the squares slice neatly into bars for sharing.
If you’re torn between the two, ask yourself whether you need clean slices for a gathering. If yes, go with these pumpkin squares.
Pumpkin desserts bring out the best of fall spices. Cinnamon and nutmeg blend into the batter, giving it warmth without being heavy. The cream cheese frosting cools the spice with a touch of sweetness, striking the right balance.
Preparing the Pumpkin Base
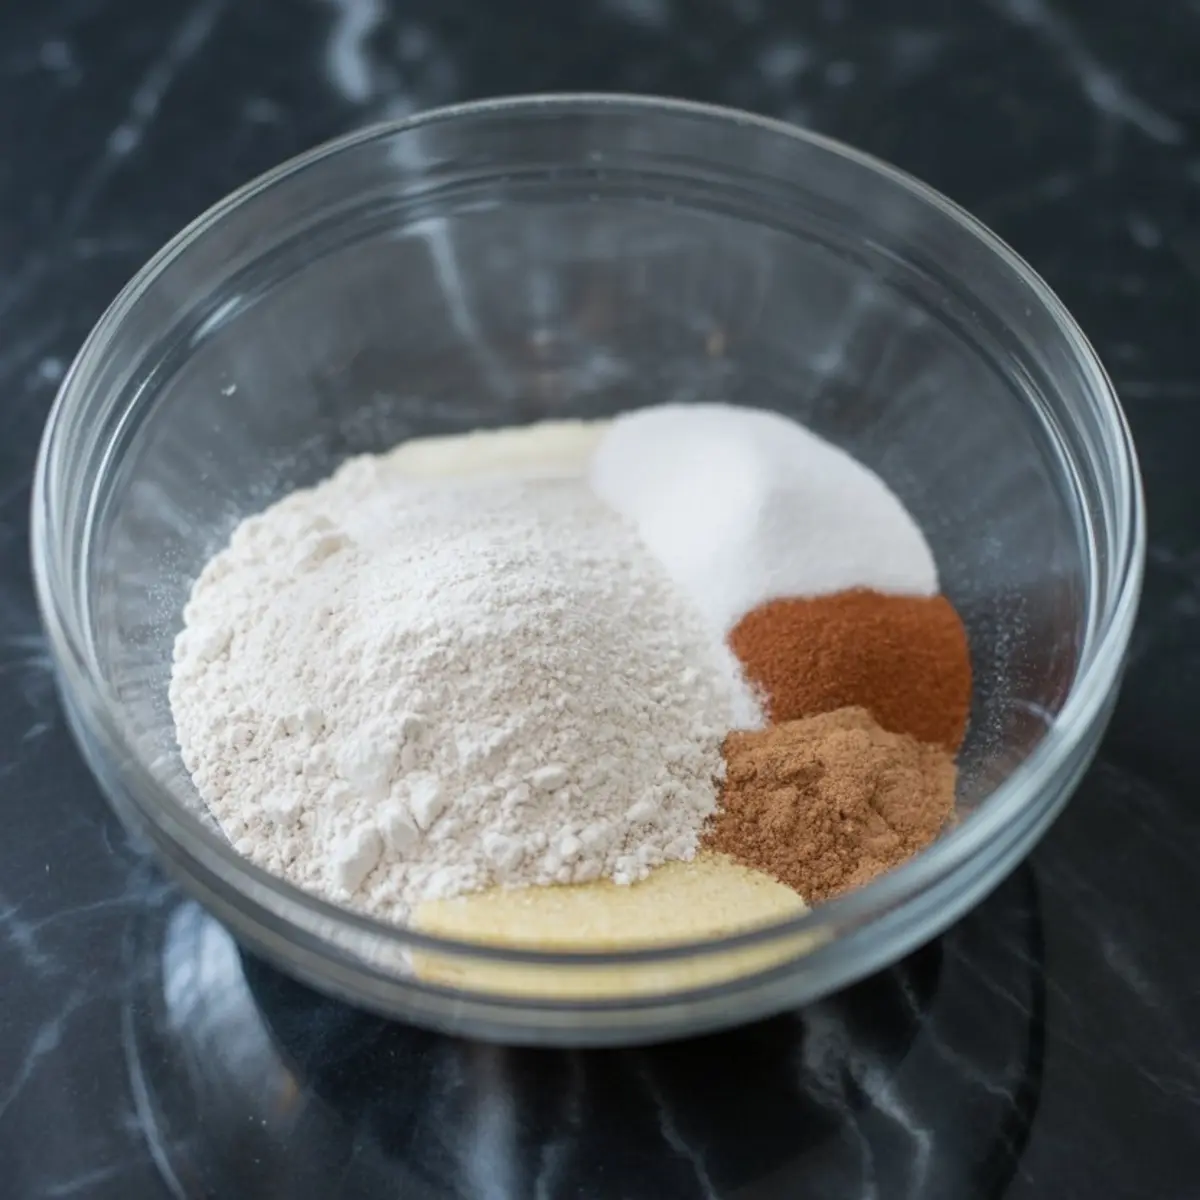
The batter starts with whisked eggs that bring structure and lightness. Adding sugar and oil creates a smooth base, and the pumpkin puree blends in to form a thick, velvety batter. The bright orange color already hints at the flavor waiting for you after baking.
The dry ingredients — flour, baking soda, salt, cinnamon, and nutmeg — come together separately before joining the pumpkin mixture.
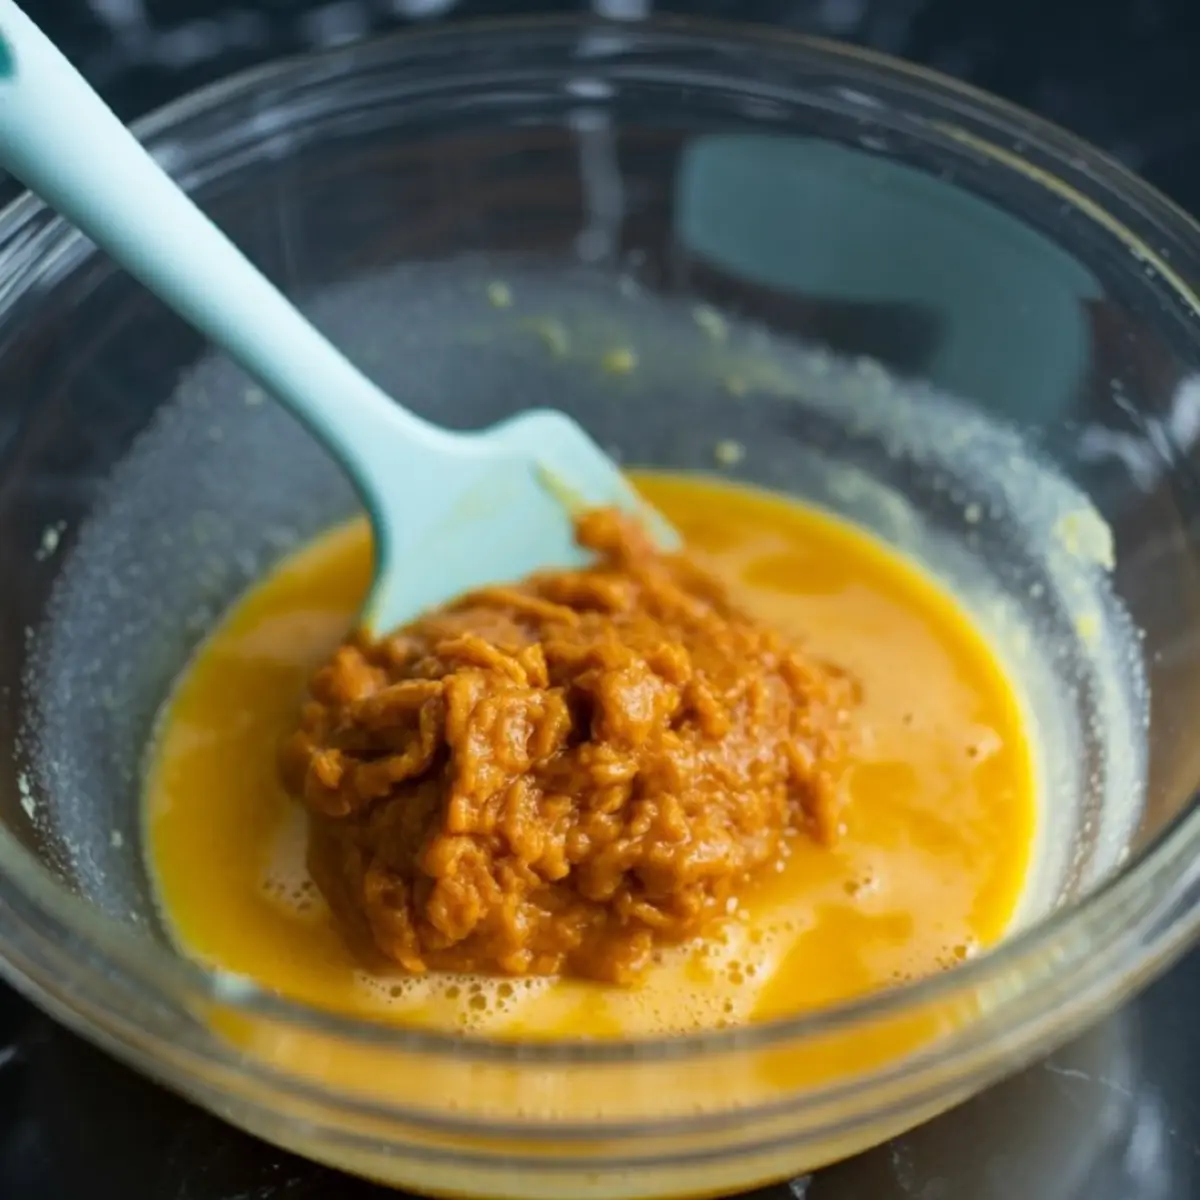
Mixing them apart first keeps the spices distributed evenly. In my notes, I always remind myself not to overmix at this step. A gentle fold is all you need to keep the crumb tender.
When you pour the batter into the pan, smooth the surface and give the pan a light tap. That small motion releases air bubbles and helps the squares bake evenly.
Baking and Cooling the Pumpkin Squares
The oven does its work in about half an hour. A toothpick test tells you when the pumpkin bars are ready. You want it clean, without wet crumbs. The top should look golden, and the edges just start to pull back from the pan.
Let the cake cool completely before thinking about frosting. I learned that the hard way years ago when I spread cream cheese icing on a still-warm base and watched it slide off the surface. A little patience here saves you the trouble later.
These pumpkin squares remind me of my Pumpkin Tres Leches Cake, which also benefits from a slow cooling time. The texture sets as it cools, giving you clean, neat slices.
Making the Cream Cheese Icing
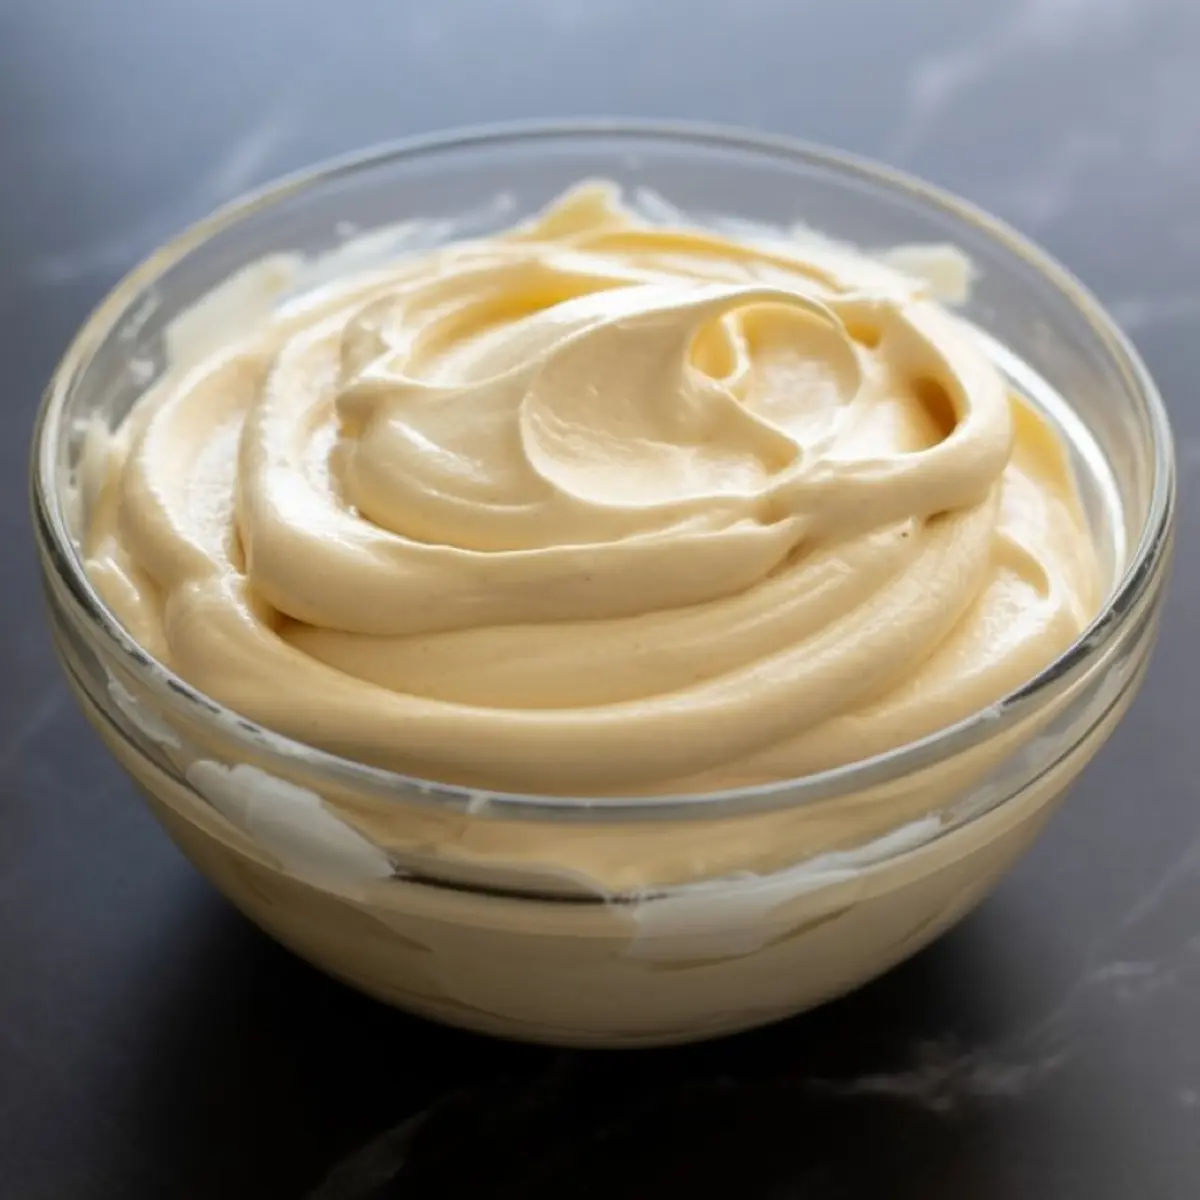
Softened cream cheese and butter whip into a smooth base. Vanilla brings a mellow flavor, while powdered sugar adds sweetness without any grain. A pinch of salt sharpens the taste and balances the richness.
The icing should spread easily across the cooled pumpkin layer. Use an offset spatula if you have one. If not, the back of a large spoon works just fine. Spread it thick enough so each square gets a generous layer.
I keep a note in my Pin Notebook about the butter. Using salted butter once changed the flavor, and I found it far less balanced. Stick with unsalted for better control.
The Dash of Magic in These Pumpkin Bars
Here’s the secret I promised. A small grate of fresh nutmeg, instead of pre-ground, changes everything. The aroma hits the moment you cut the pumpkin squares, and the flavor stays bright even after a few days in the fridge.
It’s a small step, but the difference is striking. I’ve made these both ways, and the fresh nutmeg always wins. It’s like the difference between canned whipped cream and homemade — both are fine, but one lingers in memory.
If you enjoy trying small but meaningful tweaks, these pumpkin squares belong in your collection of No Bake Pumpkin Cheesecake Balls and Pumpkin Spice Cake. Each recipe adds a touch of creativity to a familiar fall dessert.
Serving and Storing Pumpkin Squares
Cut the frosted cake into neat squares once the icing has set. The pieces keep their shape, making them easy to serve on platters or pack into containers for sharing.
They keep well in the fridge for up to four days. Let them sit at room temperature before serving so the icing softens slightly.
These pumpkin squares fit into the same category as Pumpkin Pie Squares and Pumpkin Cookie Bars. The difference is in the texture. The soft crumb and generous icing make them stand out when set next to drier bars or cookies.
I sometimes add a light dusting of cinnamon on top of the icing before cutting. It looks pretty, and the scent is wonderful when you bring the tray to the table.
Save This Pumpkin Squares Recipe for Later

If you want to keep this recipe handy for your fall baking, save it to your Pinterest board so you can find it quickly next time.
I’d love to hear from you once you bake these pumpkin squares. Share in the comments how they turned out or whether you tried the fresh nutmeg twist. Little exchanges like that turn a recipe into a shared kitchen story.
Pumpkin Squares Recipe
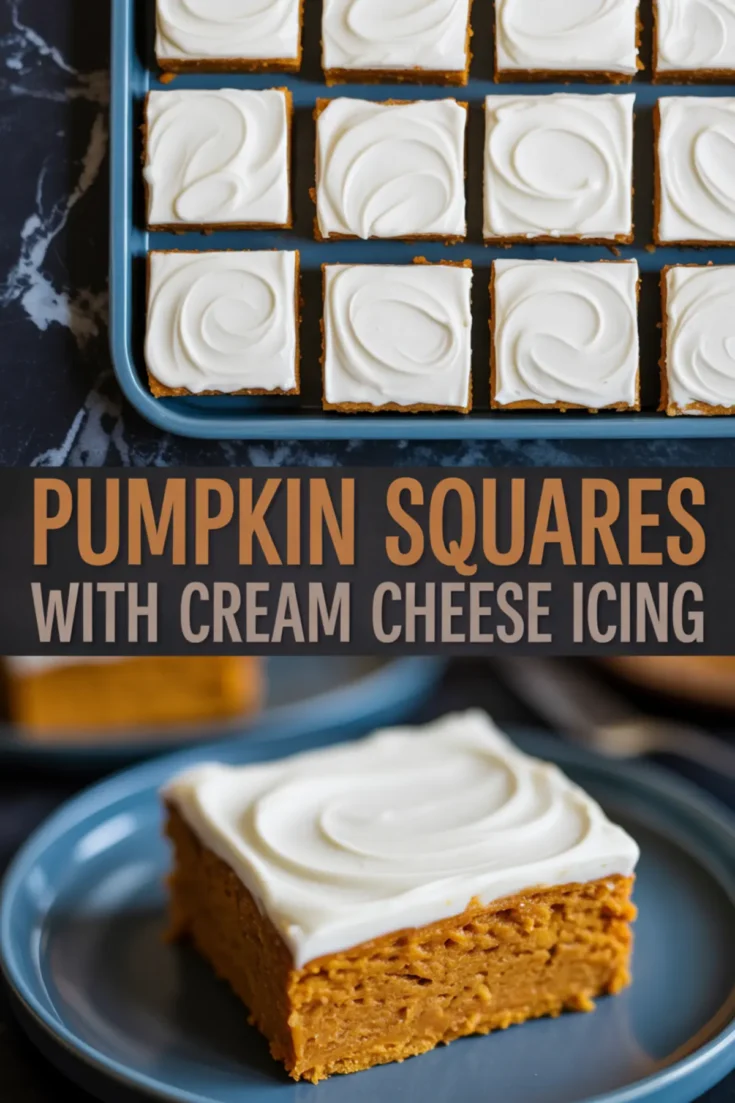
A soft, spiced pumpkin cake forms the base of these easy-to-make dessert bars, topped with a thick layer of tangy cream cheese icing. The crumb stays moist for days, and the balance of warm spices and sweet frosting makes them a favorite for fall baking.
Ingredients
- FOR THE PUMPKIN BASE
- 1 2/3 cups all-purpose flour
- 1 cup granulated sugar
- 1 teaspoon baking soda
- 1/2 teaspoon salt
- 1 teaspoon ground cinnamon
- 1/2 teaspoon ground nutmeg (freshly grated, if possible)
- 2 large eggs
- 1/2 cup vegetable oil (canola or sunflower recommended)
- 1 cup pure pumpkin puree (not pumpkin pie mix)
- FOR THE CREAM CHEESE ICING
- 8 ounces full-fat cream cheese, softened
- 1/4 cup unsalted butter, softened
- 1 teaspoon vanilla extract
- 2 cups powdered sugar
- Pinch of salt
Instructions
- PREHEAT THE OVEN: Set your oven to 350°F (175°C). Grease a 9x13-inch baking pan and line with parchment paper if desired for easier removal.
- BEAT THE EGGS: In a large mixing bowl, whisk the eggs until light and frothy, about 1 minute.
- ADD SUGAR AND OIL: Pour in the sugar and oil, and beat until the mixture is smooth and fully combined.
- ADD PUMPKIN PUREE: Stir in the pumpkin puree until evenly incorporated. The batter will appear thick and smooth with a deep orange hue.
- MIX THE DRY INGREDIENTS: In a separate bowl, combine the flour, baking soda, salt, cinnamon, and nutmeg. Whisk to distribute the spices evenly.
- COMBINE WET AND DRY: Gently fold the dry mixture into the pumpkin mixture using a spatula or wooden spoon. Mix just until no streaks of flour remain. Do not overmix.
- BAKE THE BATTER: Pour the batter into the prepared pan and smooth the top. Tap the pan once on the counter to release any trapped air bubbles.
- COOK UNTIL SET: Bake for 28 to 32 minutes, or until a toothpick inserted into the center comes out clean. The top should be golden and set.
- COOL COMPLETELY: Let the cake cool fully in the pan on a wire rack. Do not frost until the cake is completely cool to avoid melting the icing.
- MAKE THE ICING: In a medium bowl, beat the softened cream cheese and butter together until smooth and light, about 2 to 3 minutes.
- ADD FLAVOR AND SUGAR: Mix in the vanilla, then gradually add the powdered sugar. Beat well after each addition and scrape down the sides of the bowl as needed.
- FINISH THE ICING: Add a pinch of salt and beat until the icing is creamy and spreadable.
- FROST THE CAKE: Spread the cream cheese icing evenly over the cooled cake using an offset spatula or the back of a spoon.
- SLICE AND SERVE: Cut into 12 large squares or 16 smaller portions. Serve at room temperature.
Notes
For best texture, allow the cream cheese and butter to sit at room temperature for 30 to 60 minutes before making the icing. Store leftovers in an airtight container in the refrigerator for up to 4 days. Let slices come to room temperature before serving.
Nutrition Information:
Yield:
16Serving Size:
1Amount Per Serving: Calories: 312Total Fat: 16gSaturated Fat: 6gTrans Fat: 0gUnsaturated Fat: 9gCholesterol: 45mgSodium: 212mgCarbohydrates: 41gFiber: 1gSugar: 29gProtein: 3g
