
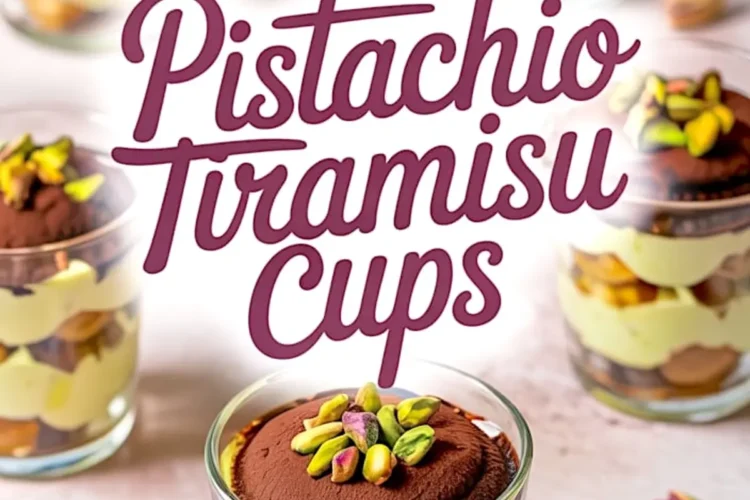
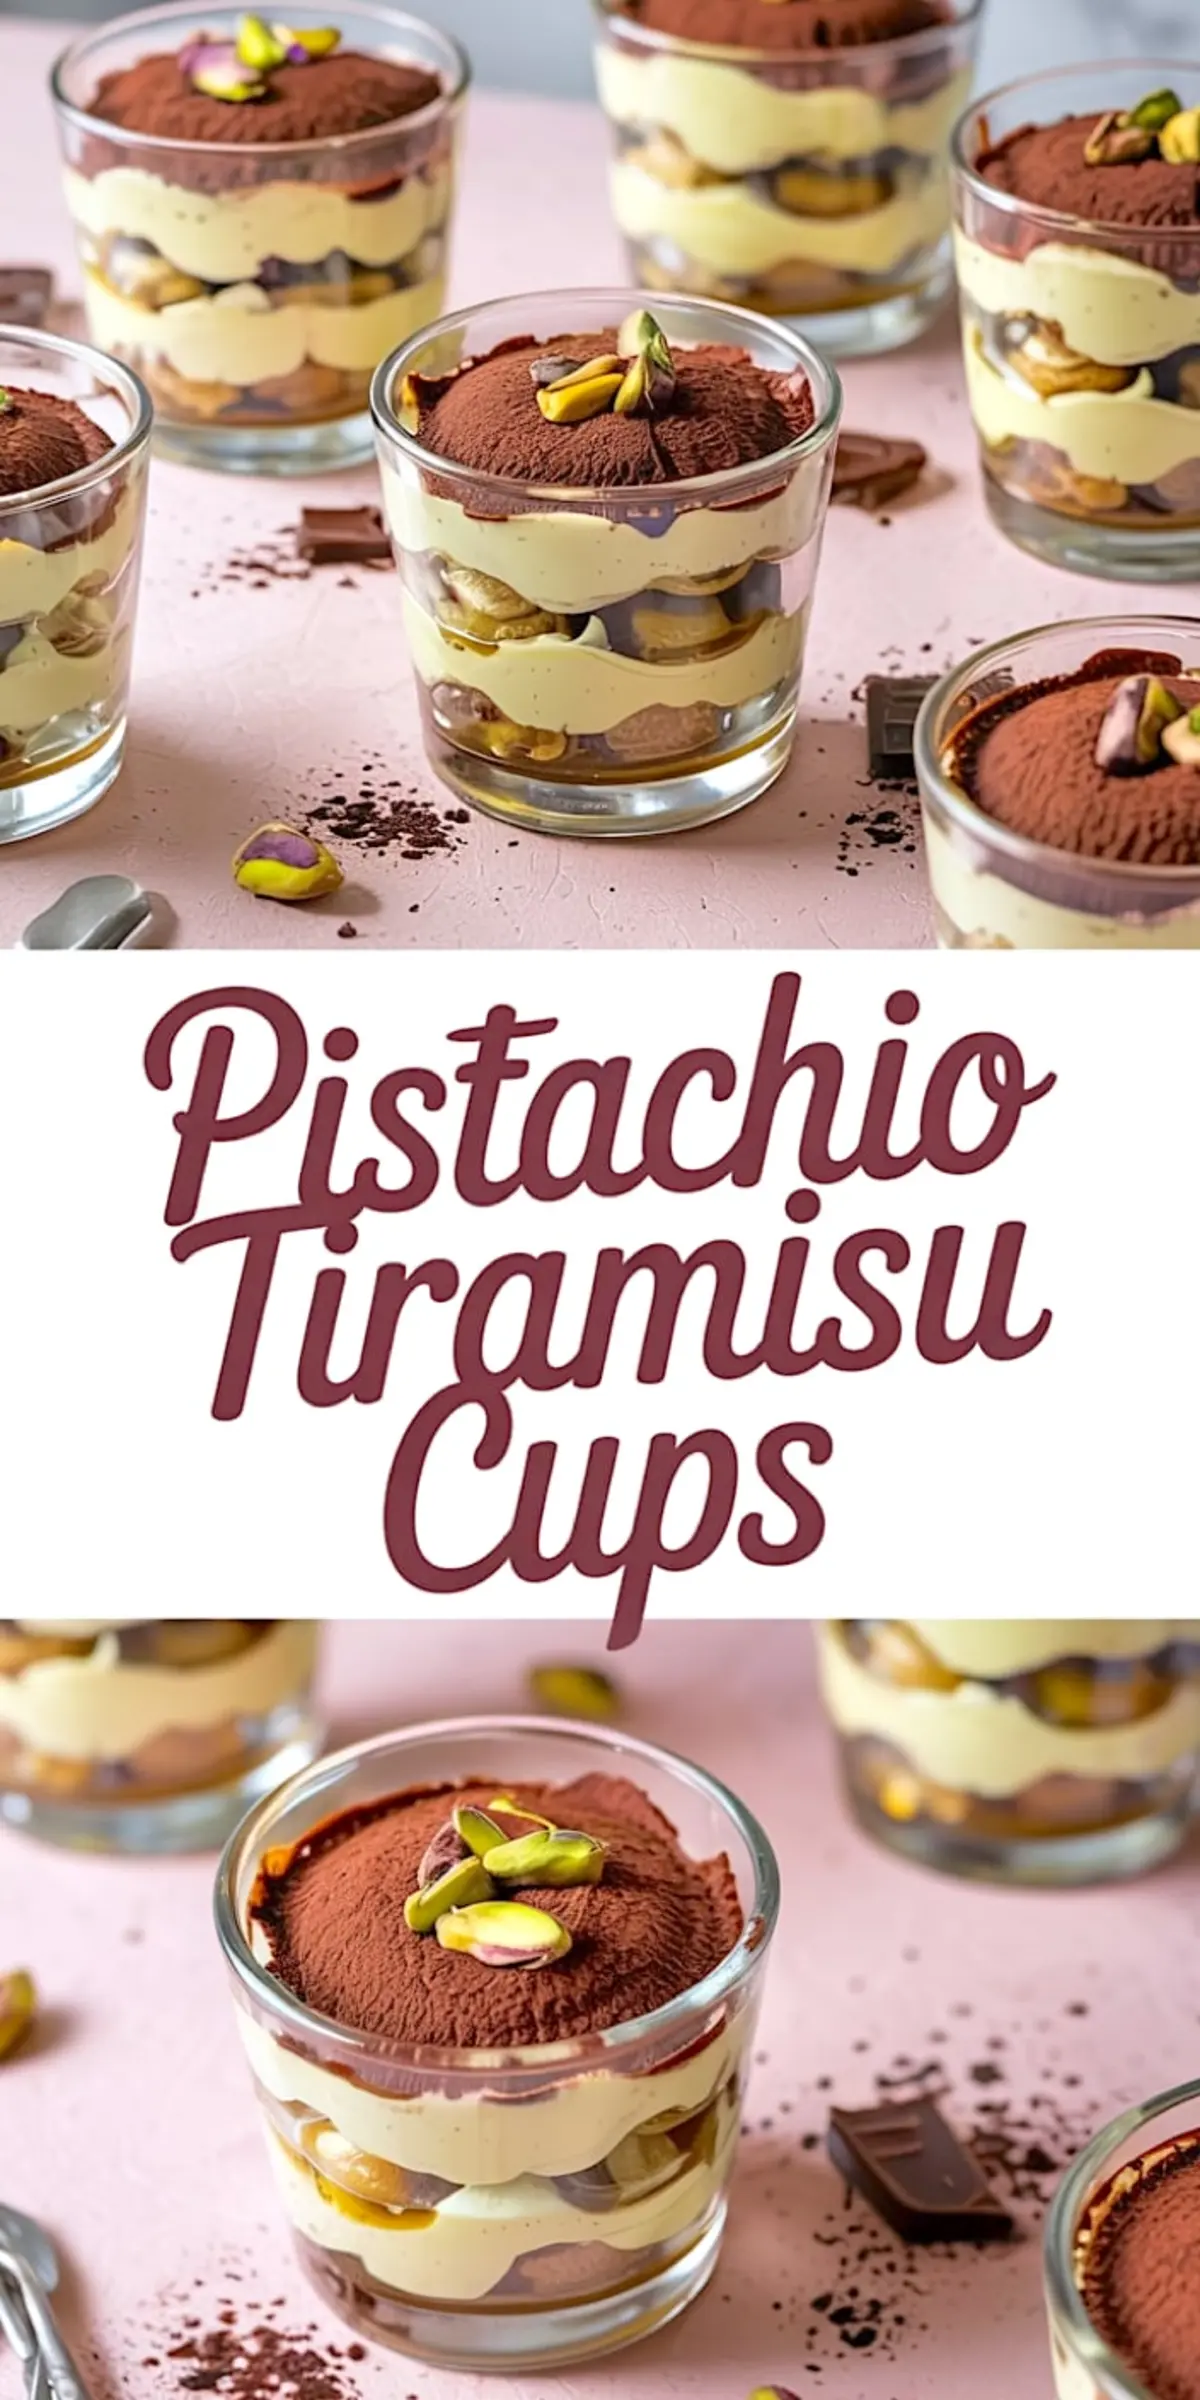
There’s something steady about tiramisu. Even with all the variations people try, the rhythm of the layers stays the same. Cream, biscuit, cream again. The process never rushes you, and the reward comes only after you’ve let time do its part. These pistachio tiramisu cups follow that same rhythm, but with a quieter flavor—soft, nutty, and more restful on the tongue than the sharpness of cocoa alone.
If you’re looking for a dessert that feels calm to prepare and gentle to serve, this is a good place to begin. There’s no baking involved. Just careful folding, slow dipping, and a little patience while the layers rest and settle. In the end, you’ll have something smooth and cool, with a dusting of cocoa and a scattering of chopped pistachios that give the surface just enough character.
The Comfort of Mascarpone and Pistachio
This cream begins with cold mascarpone and softly whipped cream. I always chill the bowl first—an old habit from warm days without air conditioning. You’ll want to stop whipping when the peaks of the cream hold their shape but still look relaxed. If you go too far, the texture turns stiff and dry.
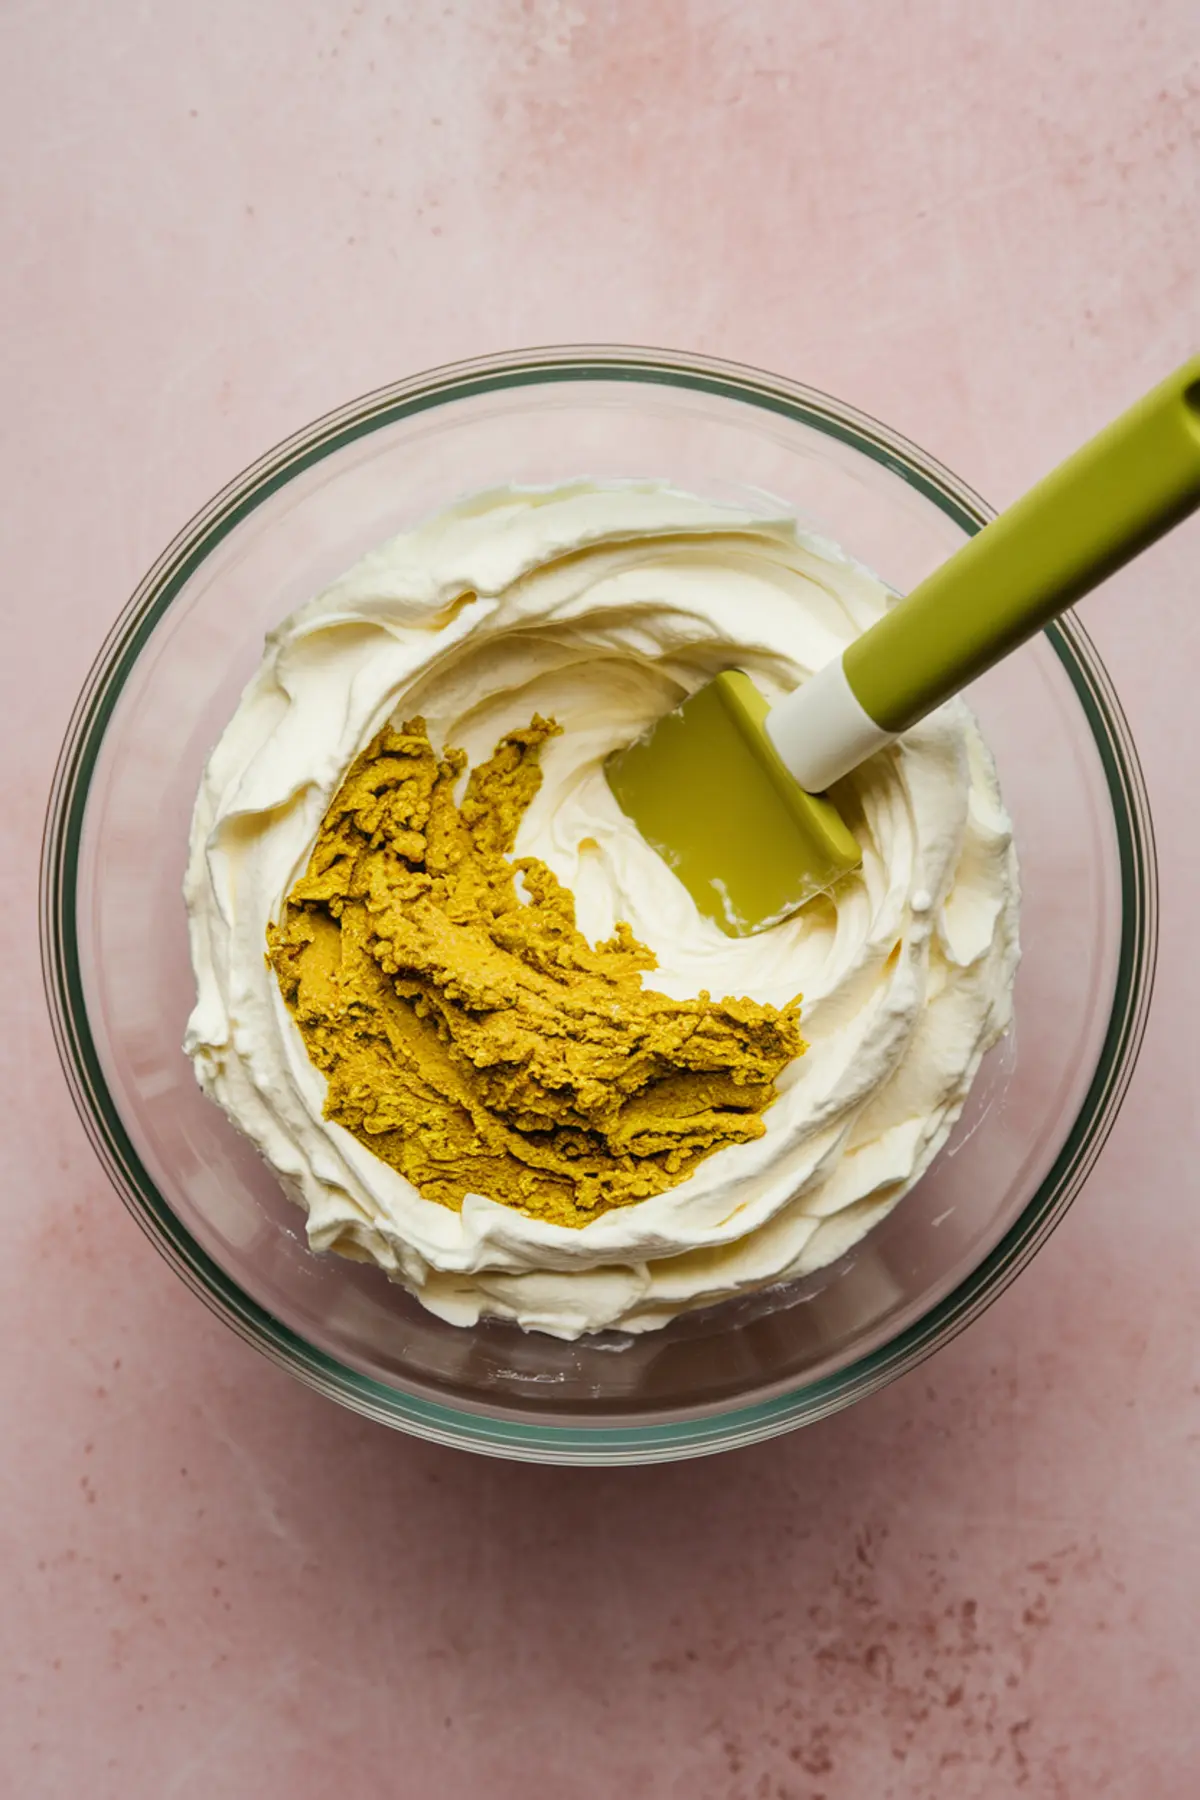
The pistachio paste brings a subtle sweetness. It doesn’t shout. It whispers into the cream. If you’re used to store-bought pistachio flavorings, this might surprise you. Real pistachios have warmth and a kind of earthiness, especially when you grind them yourself. I make my paste with raw, unsalted pistachios, just a spoonful of sugar, and a splash of water. You don’t want it too smooth. A little grain gives it body.
A Practical Note: Homemade vs. Store-Bought Paste
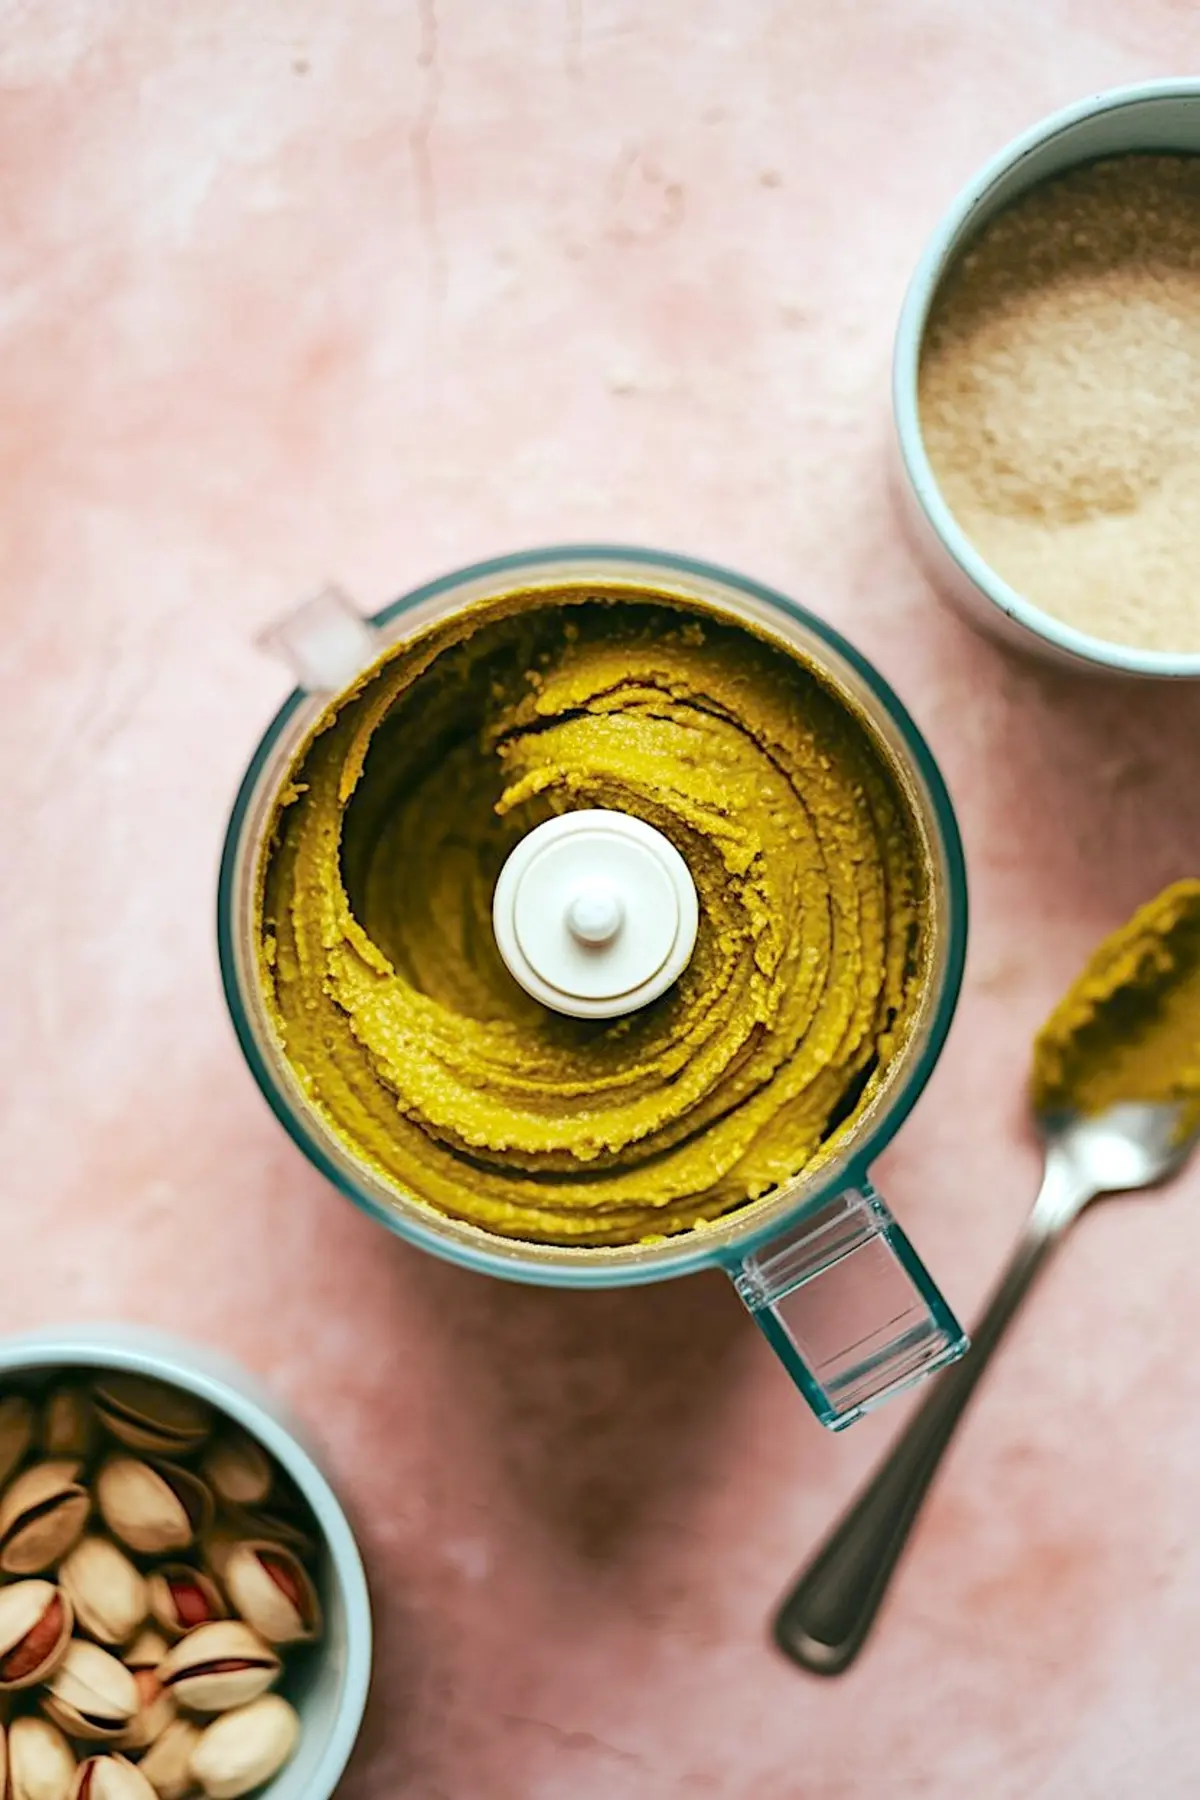
I’ve tried both. Homemade pistachio paste carries more character. It’s less sweet and more textured, which works better with the cream. But if time is short, a good store-bought version will do. Just look at the ingredients. If sugar comes first, it will overpower the mascarpone. For these cups, I always go back to my own paste. The smell alone, as it grinds, reminds me of the soft green pages in my old recipe notebook—so many pistachio notes scribbled between the lines.
How to Soften the Ladyfingers Just Right
When you dip the ladyfingers into espresso, don’t wait. One or two seconds is enough. You want the biscuits to soften, not fall apart. A quick dip keeps their spine, so they hold the cream above without sinking.
Some recipes call for soaking, but I find the texture too wet. I’ve written in my notebook, next to a smudged coffee stain: “dip, don’t dunk.” It’s a note I still follow.
Layering and Letting It Set
Start with a biscuit base. Add the pistachio cream. Then repeat. You can layer in small glasses or ramekins. I prefer little jars with lids. They remind me of old pudding cups from my childhood, and they make storing easier.
When you reach the top, dust gently with cocoa powder. Let it fall like fine ash. Then add chopped pistachios. Some fall to the edges, some stay at the center. It doesn’t need to be neat. I always say, if the top looks a little uneven, all the better. It shows your hand was there.
Cover the cups and let them sit in the fridge. Six hours is the minimum, but overnight is better. The cream will firm up. The flavors will find each other.
Don’t Worry If the Tops Crack
If you uncover your tiramisu and see little lines across the surface, don’t worry. Cream shifts as it chills. That’s just time leaving its mark. Give it a stir with the back of your spoon before serving if you like, or leave it as is. Nothing needs to be perfect to taste good.
Why I Love the Green Without the Dye
Sometimes I add a drop or two of food coloring, especially if I’m making these for a spring table. But more often, I leave the cream pale. The pistachio shows up in the flavor, not in the brightness. I always trust my tongue more than the color.
If you prefer something more vibrant, add the color near the end. One drop at a time. Stir gently. I write “be patient” in the margins of this step each year I remake it.
Other Pistachio Recipes You Might Enjoy
If you have leftover pistachios or just a fondness for them, you might enjoy the Pistachio Crinkle Cookies. Their edges crackle in the oven, and I find them soothing to make in the colder months. Chloe makes a lovely Pistachio Chocolate Lava Cake as well. She brought one by last winter—so proud, and rightly so.
You could also try Pistachio Coconut Macarons if you’re feeling patient, or Pistachio Muffins for something simpler on a weekday morning.
From My Kitchen to Yours
This recipe sits near the back of my dessert notebook, just before the holiday pages. I make it when I want something cool and quiet. Something that doesn’t need a big fuss but feels special in a way only pistachio can.
If you try these pistachio tiramisu cups, I hope they bring you calm in the making and quiet joy in the eating.
If you have a question, I’m always happy to help. Leave a comment or share how yours turned out. Chloe tells me some of you like to pin these recipes—I think that’s a lovely way to keep them close.
Pistachio Tiramisu Cups
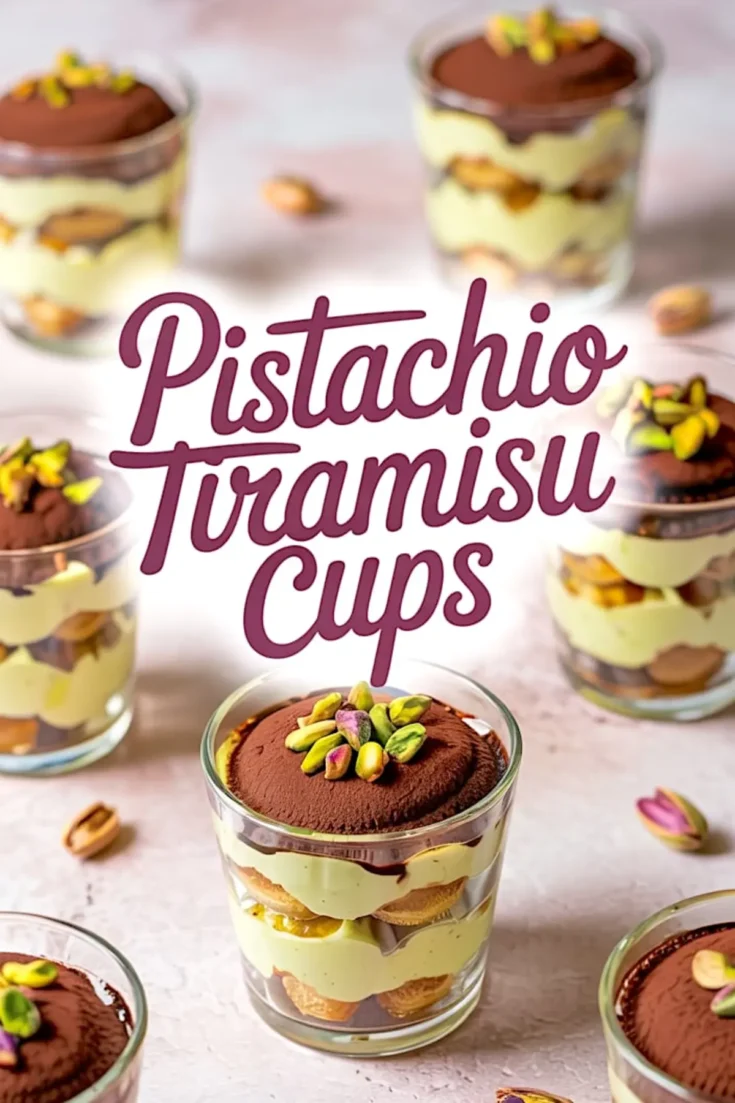
Pistachio tiramisu cups combine the classic creamy texture of tiramisu with the subtle sweetness of pistachios. Mascarpone is folded with pistachio paste and lightly sweetened whipped cream to create a nutty, smooth filling. Espresso-dipped ladyfingers form the base of each layer, finished with cocoa powder and chopped pistachios. A touch of green food coloring is optional for a brighter presentation but not necessary for flavor.
Ingredients
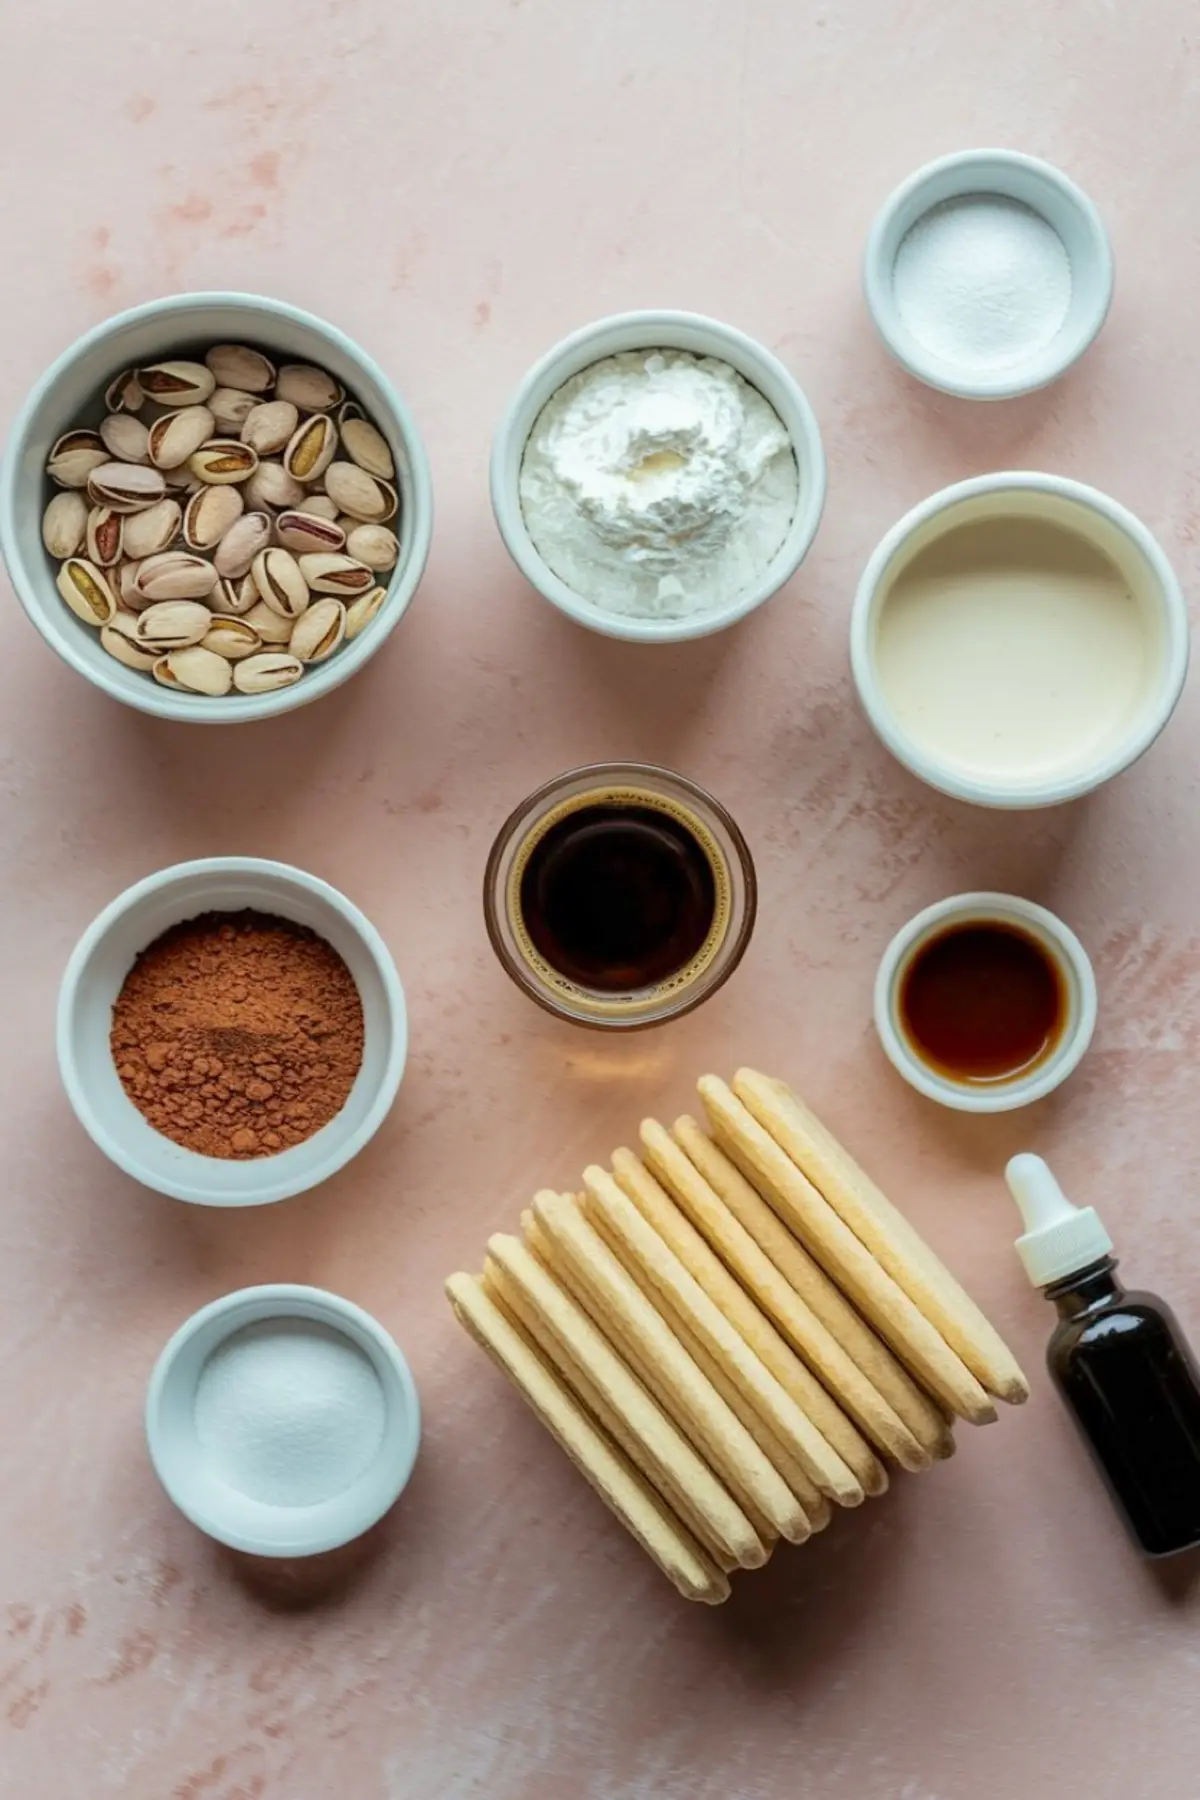
- FOR THE PISTACHIO PASTE
- 1 cup shelled raw pistachios
- 1 tablespoon sugar
- A splash of water
- FOR THE CREAM LAYER
- 1 cup heavy cream, cold
- 1/2 cup powdered sugar
- 1 pound (450g) mascarpone cheese, chilled
- 1 teaspoon vanilla extract
- Prepared pistachio paste (from above)
- 1–2 drops green food coloring (optional
- FOR ASSEMBLY
- 1 1/2 cups brewed espresso or strong coffee, cooled
- 2 tablespoons coffee liqueur (optional)
- 24 ladyfinger biscuits
- Unsweetened cocoa powder, for dusting
- Chopped pistachios, for topping
Instructions
- MAKE THE PISTACHIO PASTE: Add shelled pistachios and sugar to a food processor with a splash of water. Blend until smooth, stopping to scrape down the sides as needed. The paste should be thick and slightly grainy, similar to almond butter.
- WHIP THE CREAM: In a large bowl, beat cold heavy cream with powdered sugar until soft peaks form. Use a hand mixer or stand mixer for best results.
- COMBINE THE CREAM AND MASCARPONE: Add mascarpone cheese to the whipped cream and gently fold until smooth and fully combined. Avoid overmixing to maintain volume.
- ADD THE PISTACHIO PASTE: Stir in the prepared pistachio paste and vanilla extract until evenly distributed. If desired, add one or two drops of green food coloring to brighten the mixture. Mix gently to maintain a smooth texture.
- PREPARE THE COFFEE MIXTURE: In a shallow bowl, combine cooled espresso with coffee liqueur if using. Stir to combine.
- DIP THE LADYFINGERS: Quickly dip each ladyfinger into the espresso mixture for about 1 to 2 seconds. Do not soak; they should retain some structure.
- ASSEMBLE THE CUPS: In individual serving glasses, start with a layer of dipped ladyfingers. Spoon a thick layer of pistachio mascarpone cream on top. Repeat layers, ending with the cream.
- FINISH AND CHILL: Dust the tops with unsweetened cocoa powder and sprinkle with chopped pistachios. Cover the cups and refrigerate for at least 6 hours or overnight for best texture.
Notes
The green food coloring is optional and does not affect the flavor. It helps the pistachio layer stand out visually. Use raw, unsalted pistachios for the paste to control sweetness and texture.
Nutrition Information:
Yield:
8Serving Size:
1Amount Per Serving: Calories: 421Total Fat: 25gSaturated Fat: 11gTrans Fat: 0gUnsaturated Fat: 13gCholesterol: 114mgSodium: 198mgCarbohydrates: 39gFiber: 2gSugar: 12gProtein: 10g
