
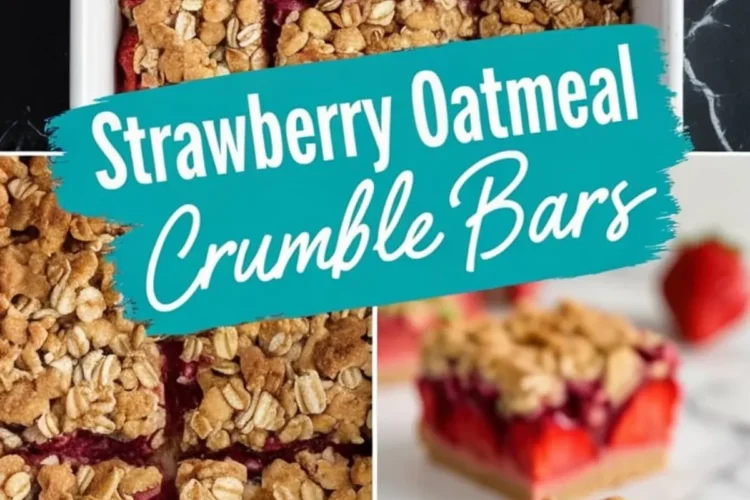
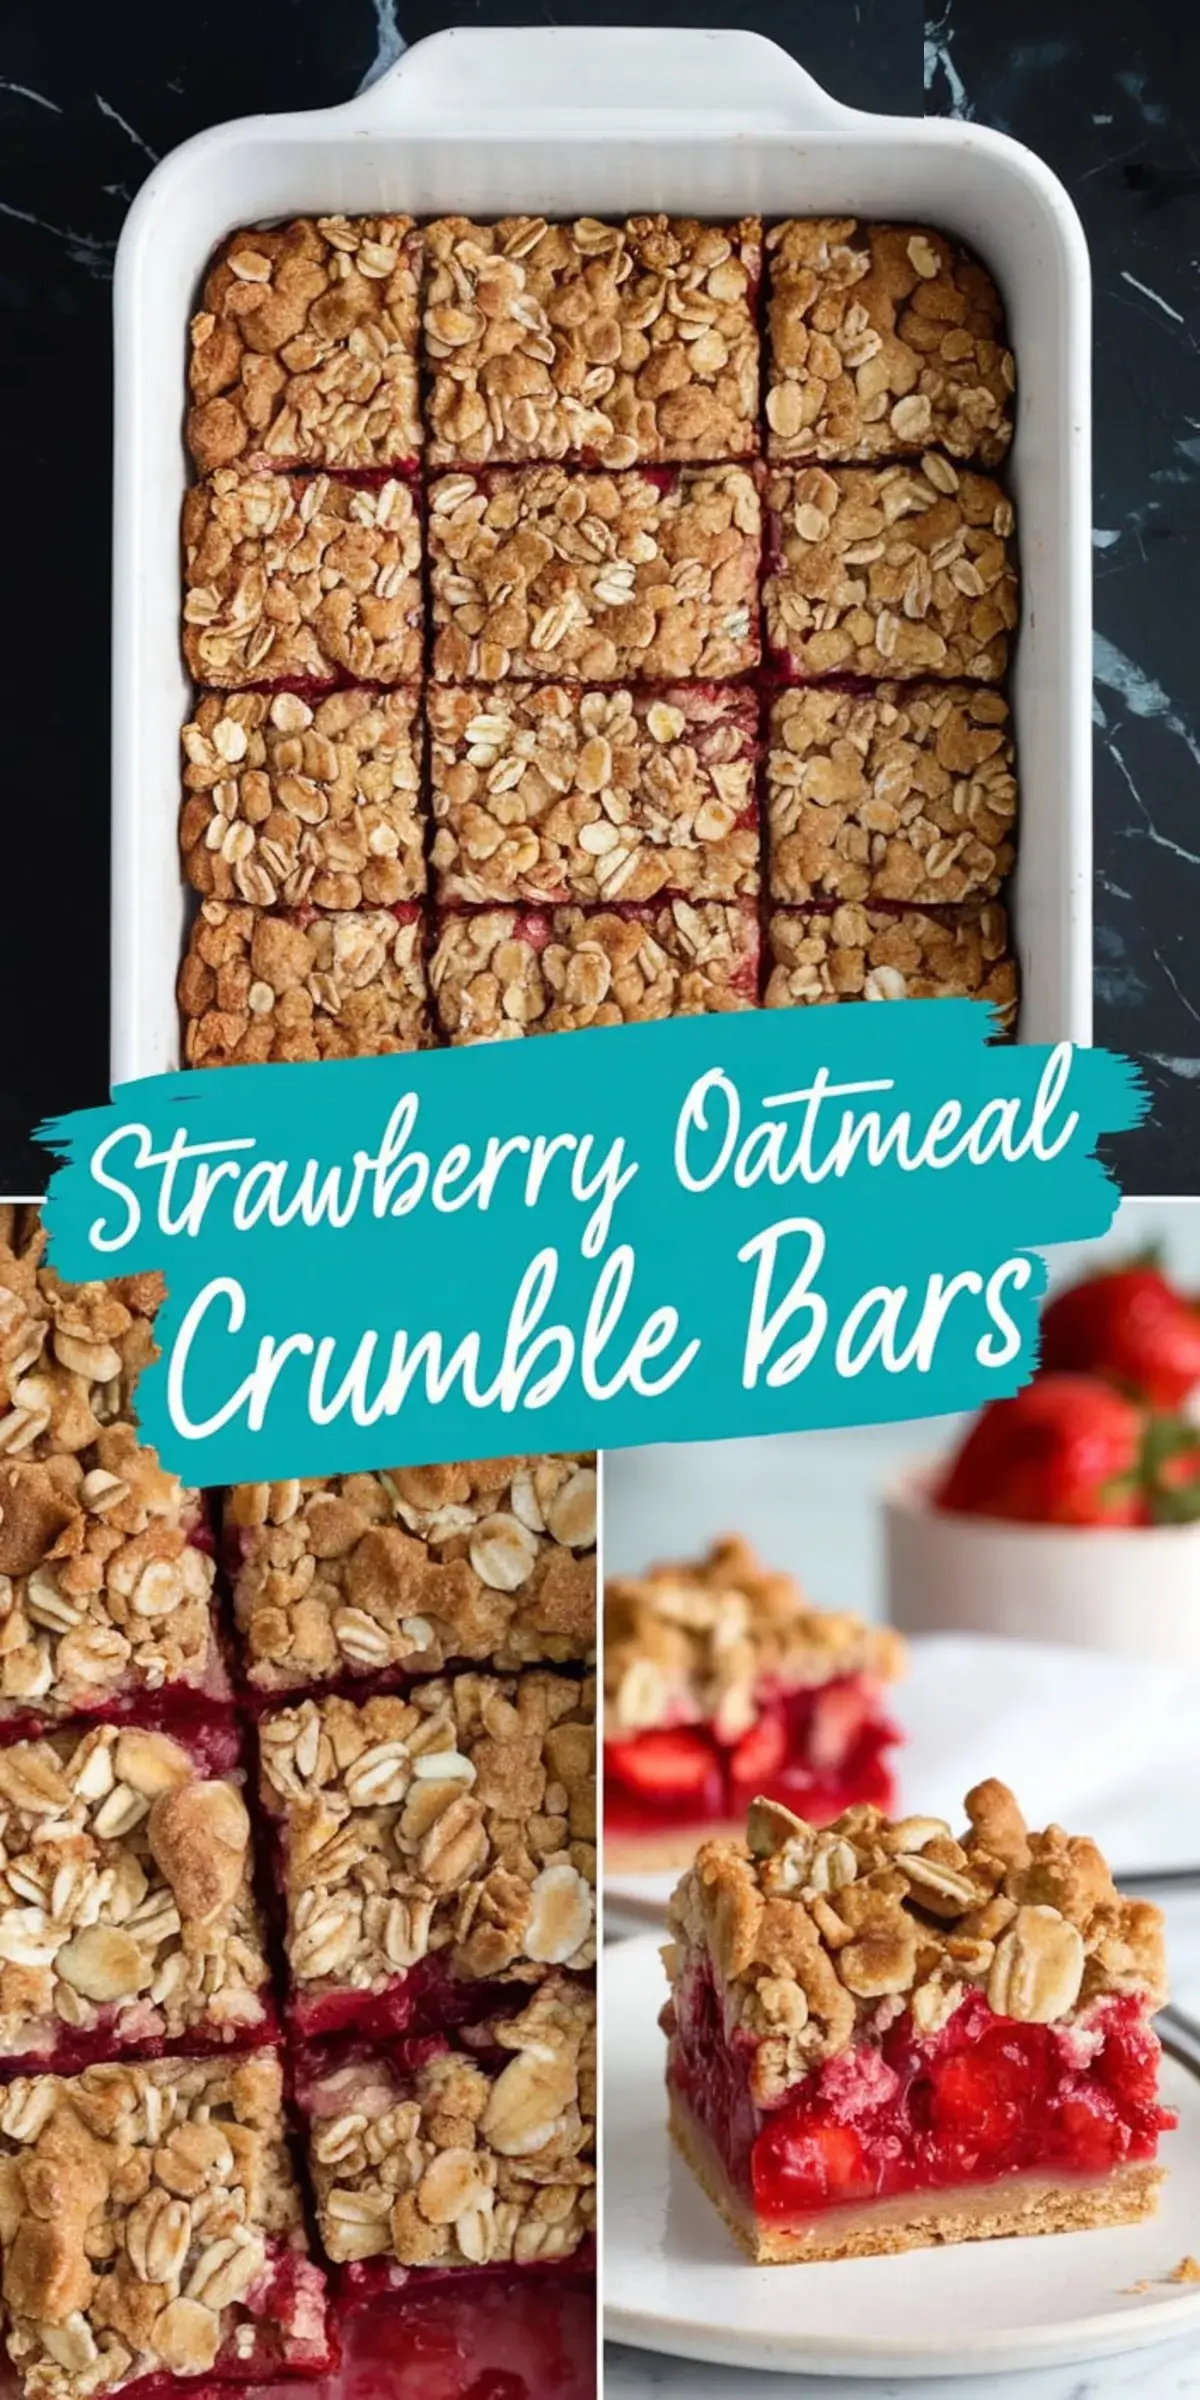
I recall spending summer afternoons tasting sweet creations in my grandmother’s kitchen. She introduced me to fresh strawberries that dripped with fruity sweetness. My first attempt at these crumble bars began as a joyful experiment that turned into an ongoing tradition.
This recipe became my signature dessert after I stumbled upon a curious method of blending buttery oats with fresh berries. I once whispered an extra ingredient into my old diary, hoping to keep it quiet until the right moment. That extra spark still remains a well-guarded piece of magic, waiting until we reach the details beyond the steps.
Have you ever tried picking strawberries at the peak of ripeness? Whiskers often waits by the door whenever I return home with a basket of bright berries. He seems to detect the aroma, and he meows until he sees me unpack the goods on the counter.
Ingredients for Strawberry Oatmeal Crumble
I prefer all-purpose flour and rolled oats, which create a firm crust that still gives a little softness. You want brown sugar to bring that deep sweetness, then a sprinkle of baking soda and salt to keep things balanced. A gentle touch of ground cinnamon adds a mild flavor. Melted unsalted butter goes into the mix to help the oats bind. Vanilla extract rounds out the aroma, lending a soothing quality.
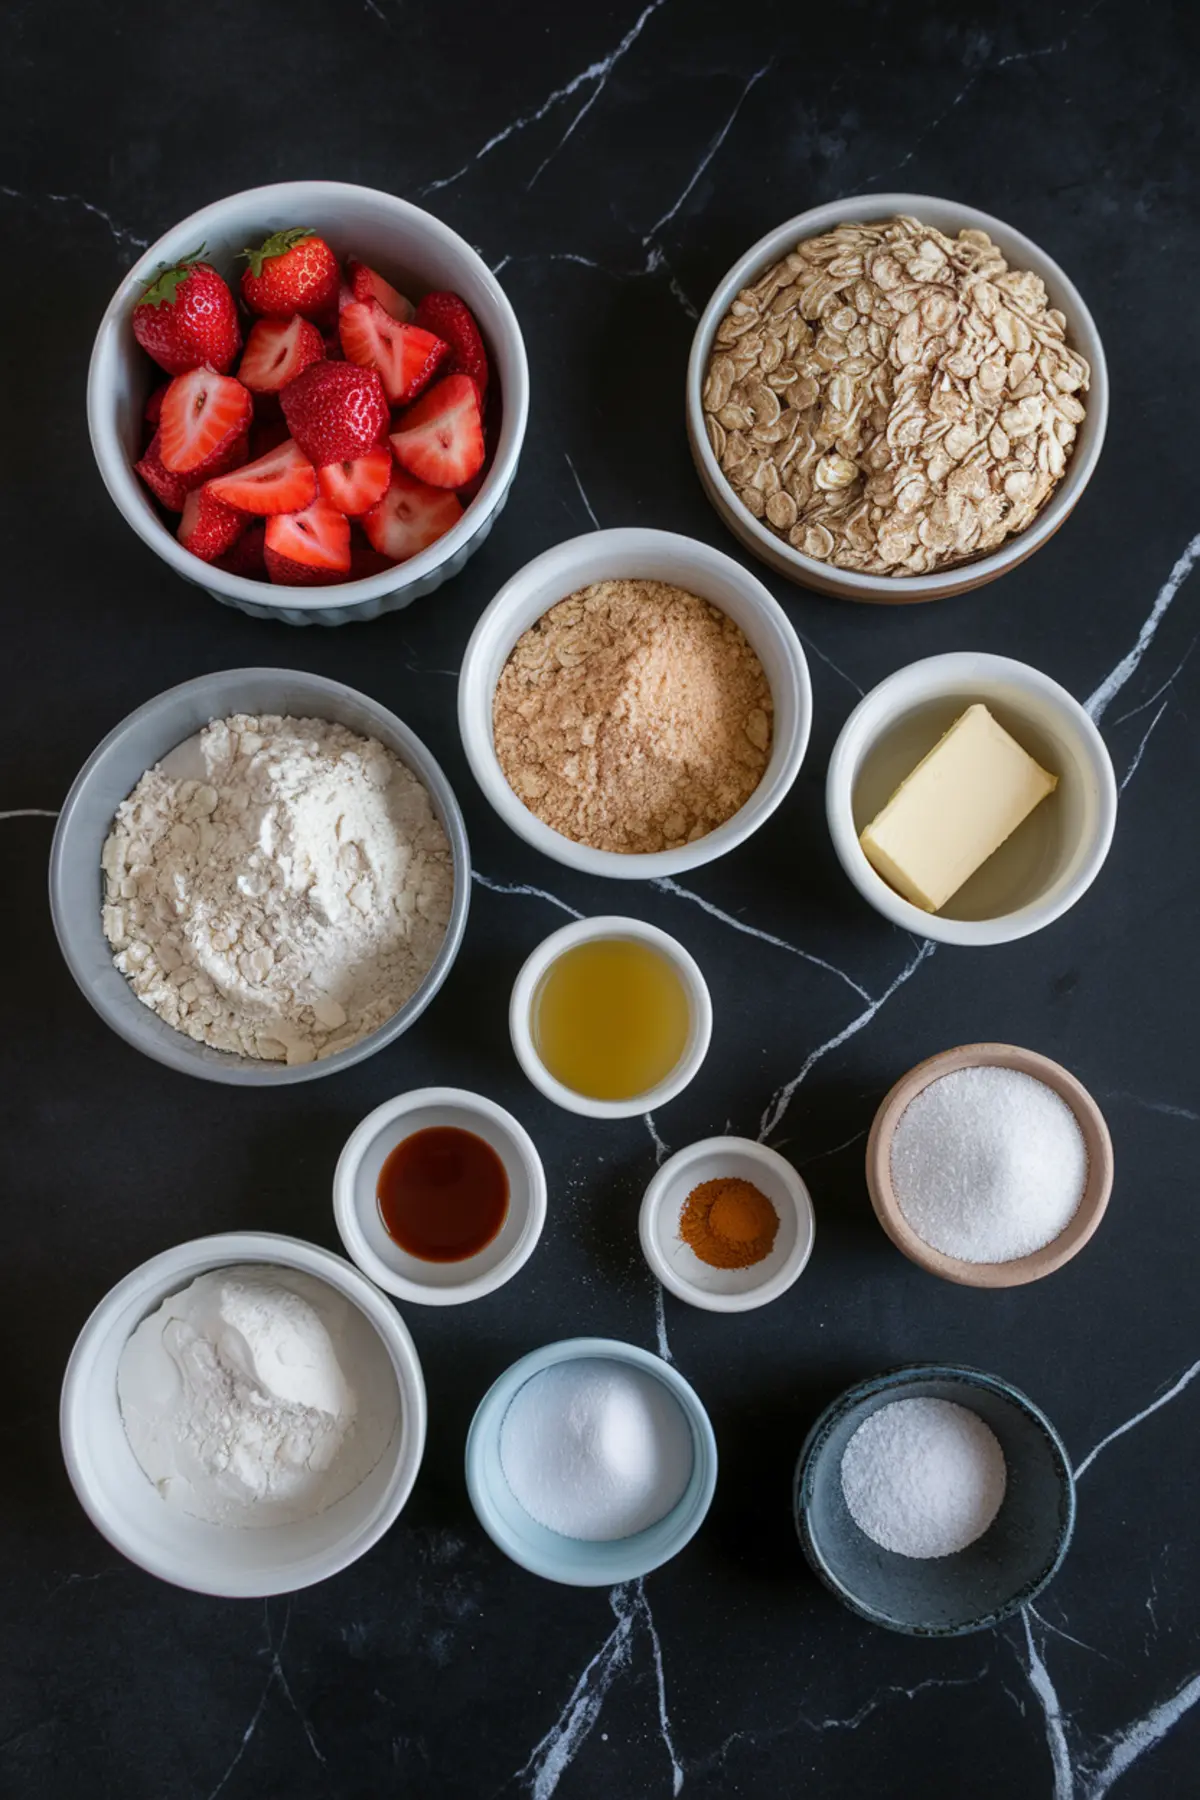
Fresh strawberries, hulled and diced, show their best side in this dish. Lemon juice highlights the fruit flavors. Cornstarch thickens the juices for a glossy texture. Granulated sugar can be adjusted based on the sweetness of your berries. It’s a straightforward lineup that leads to a delicious result.
Have you tasted anything so bright and comforting at the same time? These fresh fruits transform ordinary bars into something that can work as a morning bite or an afternoon treat. My mind starts filling with possibilities each time I gather these ingredients.
Steps to Prepare the Crumble Base and Filling
I warm the oven to about 350°F. This temperature sets the stage for a tender but slightly crisp crust. A square baking pan, about eight inches across, does well if greased or lined with parchment paper.
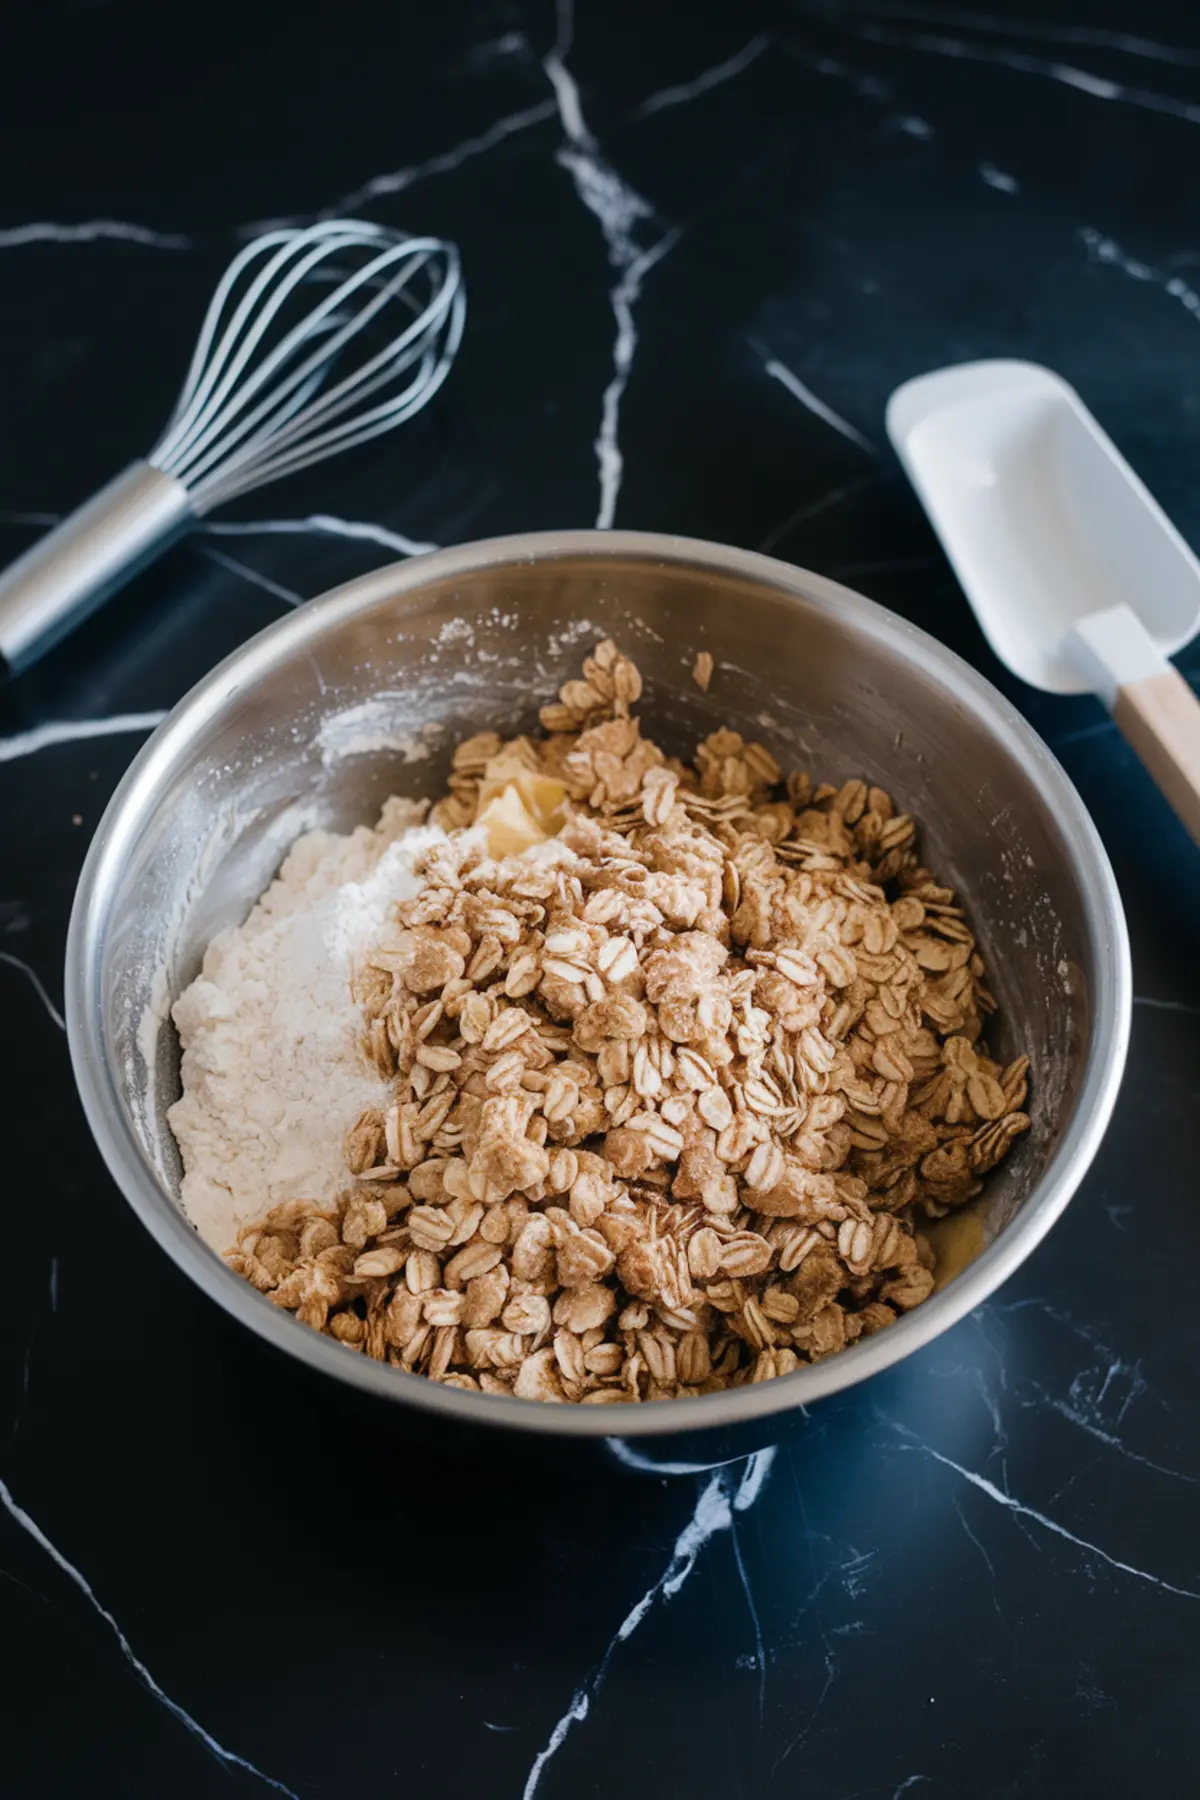
I stir flour, oats, brown sugar, baking soda, salt, and cinnamon in a bowl. My melted butter glides into this dry blend, carrying the vanilla extract. I keep mixing until I see those crumbly clusters that hold their shape when I press them.
The strawberry filling takes shape in a separate bowl. I coat the diced strawberries with lemon juice, cornstarch, and granulated sugar. A quick toss ensures each piece gets an even covering that will bake into a softly thick layer. The bars go into the pan with a layer of pressed crumbs, then I scatter the strawberry mixture on top. That extra bit of crumb topping rests at the surface, ready to bake into a golden finish.
Baking and Cooling for the Best Texture
I slip the pan into the oven and let the mixture bake for up to 40 minutes, although I keep an eye on it around the 35-minute mark. The top gains a warm hue. The strawberries release their juices, and the edges bubble slightly. A cooling period in the pan allows the flavors to settle, and I usually wait until the bars are fully firm before cutting. A patient approach ensures clean slices.
My Pin Notebook, where I jot down every kitchen tweak, holds reminders about adjusting sweetness based on the berries at hand. I once tried less sugar when I found extra-sugary fruit, and the result turned out just right. A thorough record helps me recall those small improvements.
My golden spoon, inherited from Aunt Marian, always plays a part. I use it during the final stirring of the crumble topping. Its worn shape reminds me of countless desserts shared across generations. That spoon even appeared in some photos that I pinned for reference, capturing a piece of my family’s cooking history.
The Secret Dash That Changes Everything
A slight pinch of cinnamon made this dessert stand out. That gentle spice is my silent weapon, though it might look ordinary in the ingredient list. I learned that the perfect moment to mention this special dash is once the bars have cooled, so you realize how a small measure can add an unexpected depth to the buttery oat blend. This subtle hint is the extra layer people notice but can’t always pinpoint.
I remember the day I scribbled “cinnamon dash = magic” in the margin of an old recipe card. My aunt nodded her approval and hinted that some tricks deserve a bit of secrecy. Do you have a hidden addition you keep to yourself?
Helpful Tips and Variations
I sometimes swap the fruit, especially when I have raspberries or blueberries on hand. The method remains almost identical, but I adjust the sugar. My friend once combined strawberries and peaches. That fusion brought a burst of summer flavors to every bite. A similar approach could work for leftover fruit near the end of the week, and I always jot these experiments in my Pin Notebook.
Storage becomes important if leftovers remain by the second day. An airtight container at room temperature can keep them safe for about 48 hours. Refrigeration extends their life up to five days, though a quick reheat in the oven brings back a fresh-baked feeling.
Linking More Strawberry Inspiration
I once considered adding a layer of pretzel crunch to these bars, which reminded me of a popular dish called Strawberry Pretzel Salad. It has a tangy-sweet vibe that pairs well with whipped toppings. Another idea popped up when I tried Deviled Strawberries for a no-bake solution on busy days. These ideas might broaden your dessert menu if you adore strawberries as much as I do.
These Strawberry Crumble Impress Friends and Family
I appreciate the satisfying crumb that balances with a juicy filling. The texture stays solid enough for a neat cut, but it doesn’t lose that softness. Each square can easily become a midday snack or a slice of morning joy with coffee.
The combination of oats and strawberries creates a welcoming bite that never feels heavy. A hint of butter merges with tangy fruit, inviting you to savor each moment. It’s a simple approach that brings out the best of both worlds. My guests often ask me how these bars can be so straightforward yet so appealing.
Serving and Sharing
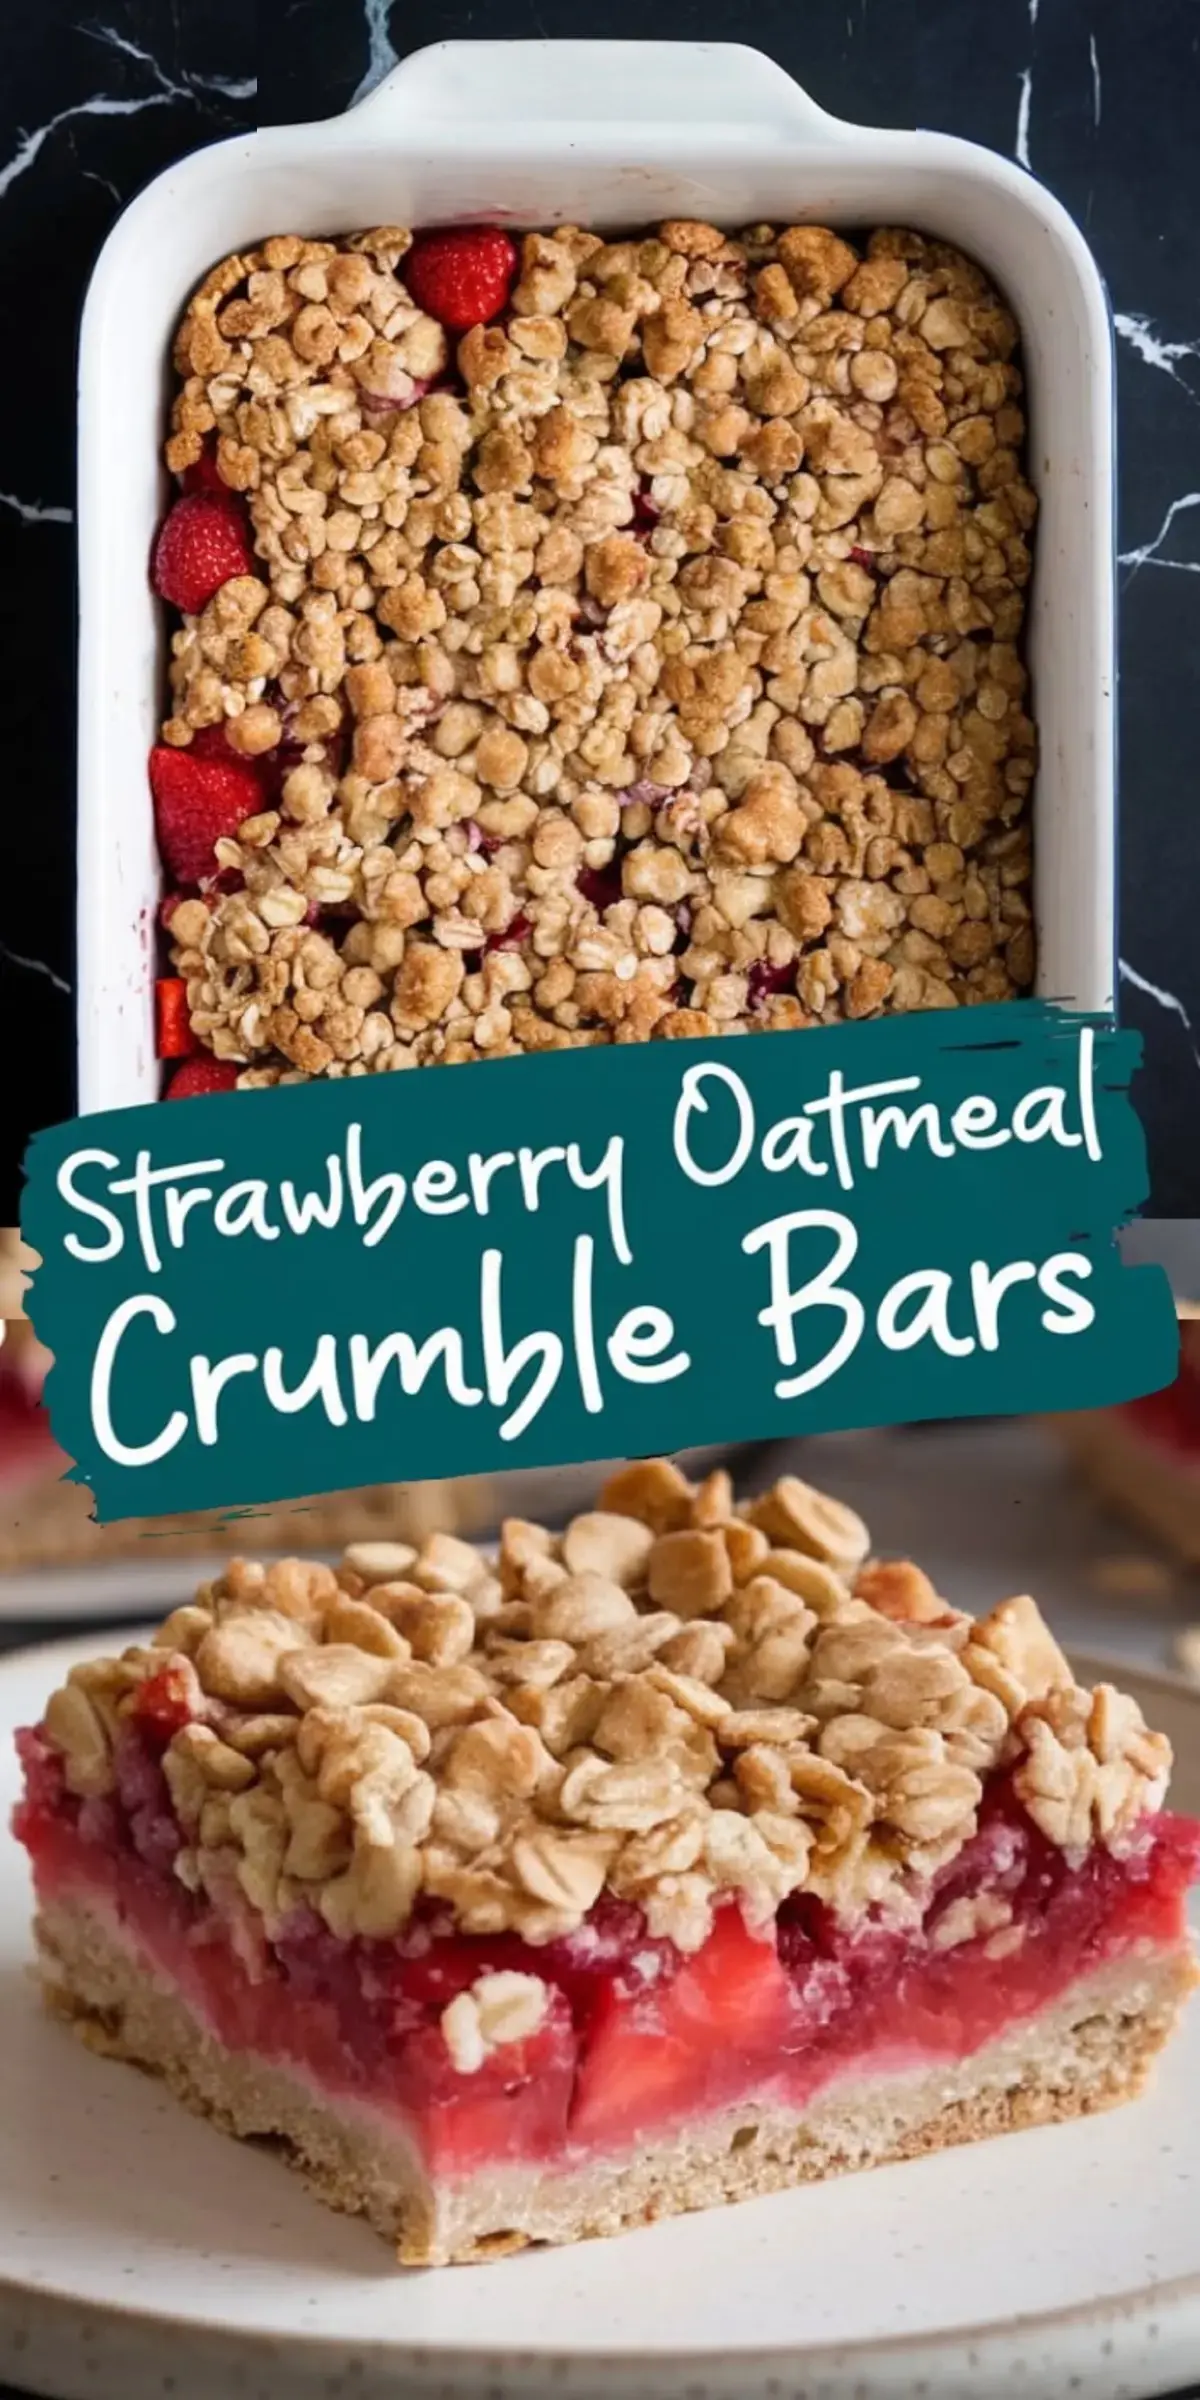
I suggest slicing these bars into squares or rectangles, depending on the occasion. Serving them slightly warm with a scoop of ice cream becomes a delightful treat. Friends sometimes drizzle melted chocolate on top, though I keep them plain. Both ways maintain their pleasant charm.
Feel free to adapt your portions as you see fit. Some prefer petite bars for an afternoon sweet, others want a generous rectangle that doubles as a quick breakfast. Each approach leads to a memorable bite.
Strawberry Oatmeal Crumble Bars Recipe
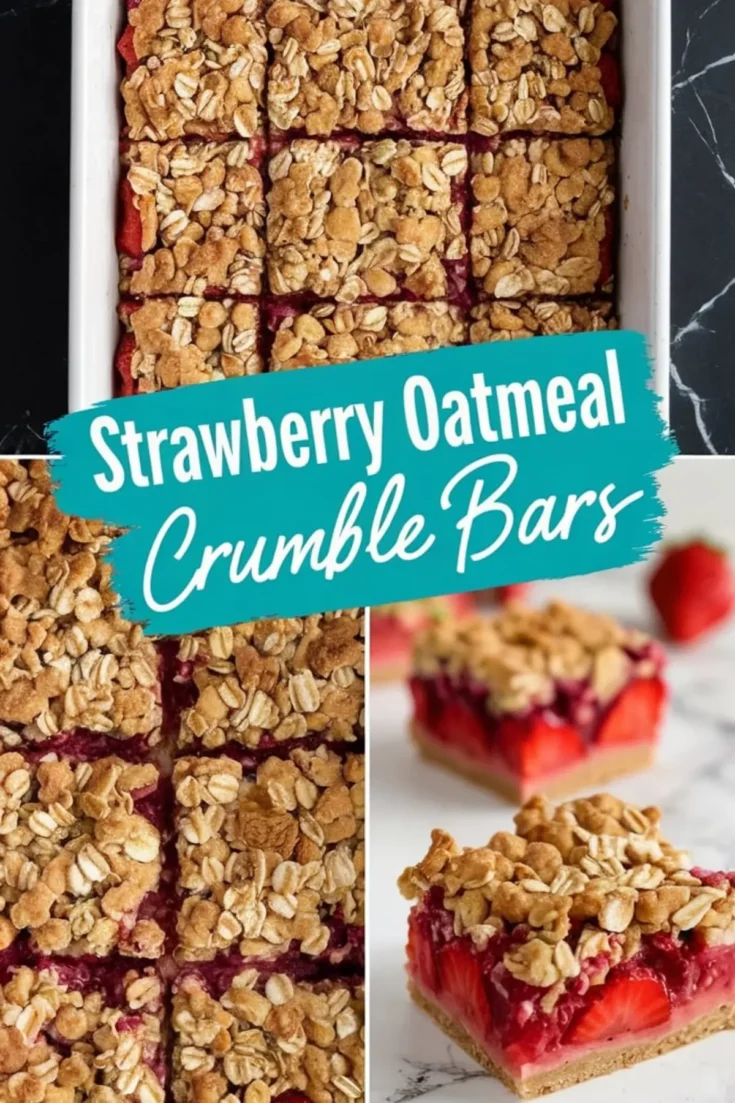
These strawberry oatmeal crumble bars combine sweet, juicy strawberries with a buttery oat crumble that bakes into a soft, chewy bar with a crisp topping. They are simple to prepare and make a great dessert, snack, or breakfast treat.
Ingredients
- 1 cup (130g) all-purpose flour
- 1 cup (100g) old-fashioned rolled oats
- 2/3 cup (135g) packed brown sugar
- 1/4 teaspoon baking soda
- 1/4 teaspoon salt
- 1/2 teaspoon ground cinnamon
- 1/2 cup (113g) unsalted butter, melted
- 1 teaspoon vanilla extract
- FOR THE STRAWBERRY FILLING:
- 2 cups (300g) fresh strawberries, hulled and diced
- 1 tablespoon lemon juice
- 2 teaspoons cornstarch
- 2 tablespoons granulated sugar (adjust to taste depending on sweetness of berries)
Instructions
- PREHEAT THE OVEN: Preheat the oven to 350°F (175°C). Lightly grease an 8x8-inch baking pan or line it with parchment paper, leaving some overhang to lift the bars out easily after baking.
- MAKE THE OATMEAL CRUMBLE: In a large bowl, combine the flour, rolled oats, brown sugar, baking soda, salt, and cinnamon. Stir until well mixed. Add the melted butter and vanilla extract, stirring until the mixture forms a crumbly texture that holds together when pinched. Set aside about one-third of the mixture for the topping, and press the remaining two-thirds firmly and evenly into the bottom of the prepared pan to form the crust.
- PREPARE THE STRAWBERRY FILLING: In a medium bowl, combine the diced strawberries, lemon juice, cornstarch, and granulated sugar. Stir until the strawberries are evenly coated and glossy.
- ASSEMBLE THE BARS: Evenly spread the strawberry mixture over the crust in the pan. Sprinkle the reserved crumble mixture over the strawberries, breaking it into small and larger pieces for texture.
- BAKE: Bake for 35 to 40 minutes, or until the top is golden brown and the strawberry filling is bubbling around the edges.
- COOL AND CUT: Let the bars cool completely in the pan before lifting them out using the parchment overhang. Once cooled, cut into 9 to 12 squares, depending on preferred size.
Notes
For best results, use fresh, ripe strawberries that are naturally sweet and flavorful. If using very sweet strawberries, you can reduce the amount of granulated sugar in the filling to 1 tablespoon to avoid making the bars overly sweet. If using frozen strawberries, thaw them completely and drain any excess liquid before mixing with the lemon juice, cornstarch, and sugar to prevent the filling from becoming too watery.
Make sure to press the crumble mixture firmly into the bottom of the pan to create a solid crust that will hold together when sliced. If the mixture feels too dry to hold its shape when pressed, you can add an additional tablespoon of melted butter to help bind it. The reserved crumble mixture for the topping should remain loose and crumbly to create a crisp texture after baking.
Letting the bars cool completely before cutting is important to ensure clean slices that hold their shape. If you cut them while still warm, they may crumble and fall apart, although the warm crumbs can be enjoyed as a topping for ice cream or yogurt. For easier slicing, you can refrigerate the bars for about 30 minutes once they reach room temperature, which will help firm them up.
Store any leftover bars in an airtight container at room temperature for up to 2 days. If you prefer a firmer texture or live in a warmer climate, store them in the refrigerator for up to 5 days. The bars can also be frozen for longer storage—wrap them tightly in plastic wrap and place in a freezer-safe container for up to 2 months. Thaw overnight in the refrigerator or at room temperature before serving.
These bars make a great make-ahead treat for picnics, gatherings, or as a sweet addition to a brunch table. You can also experiment with other fruits, such as raspberries, blueberries, or a mix of berries, using the same filling base and adjusting sugar to taste depending on the fruit's sweetness.
Nutrition Information:
Yield:
12Serving Size:
1Amount Per Serving: Calories: 70Total Fat: 1gSaturated Fat: 0gTrans Fat: 0gUnsaturated Fat: 0gCholesterol: 1mgSodium: 75mgCarbohydrates: 14gFiber: 1gSugar: 3gProtein: 2g
