

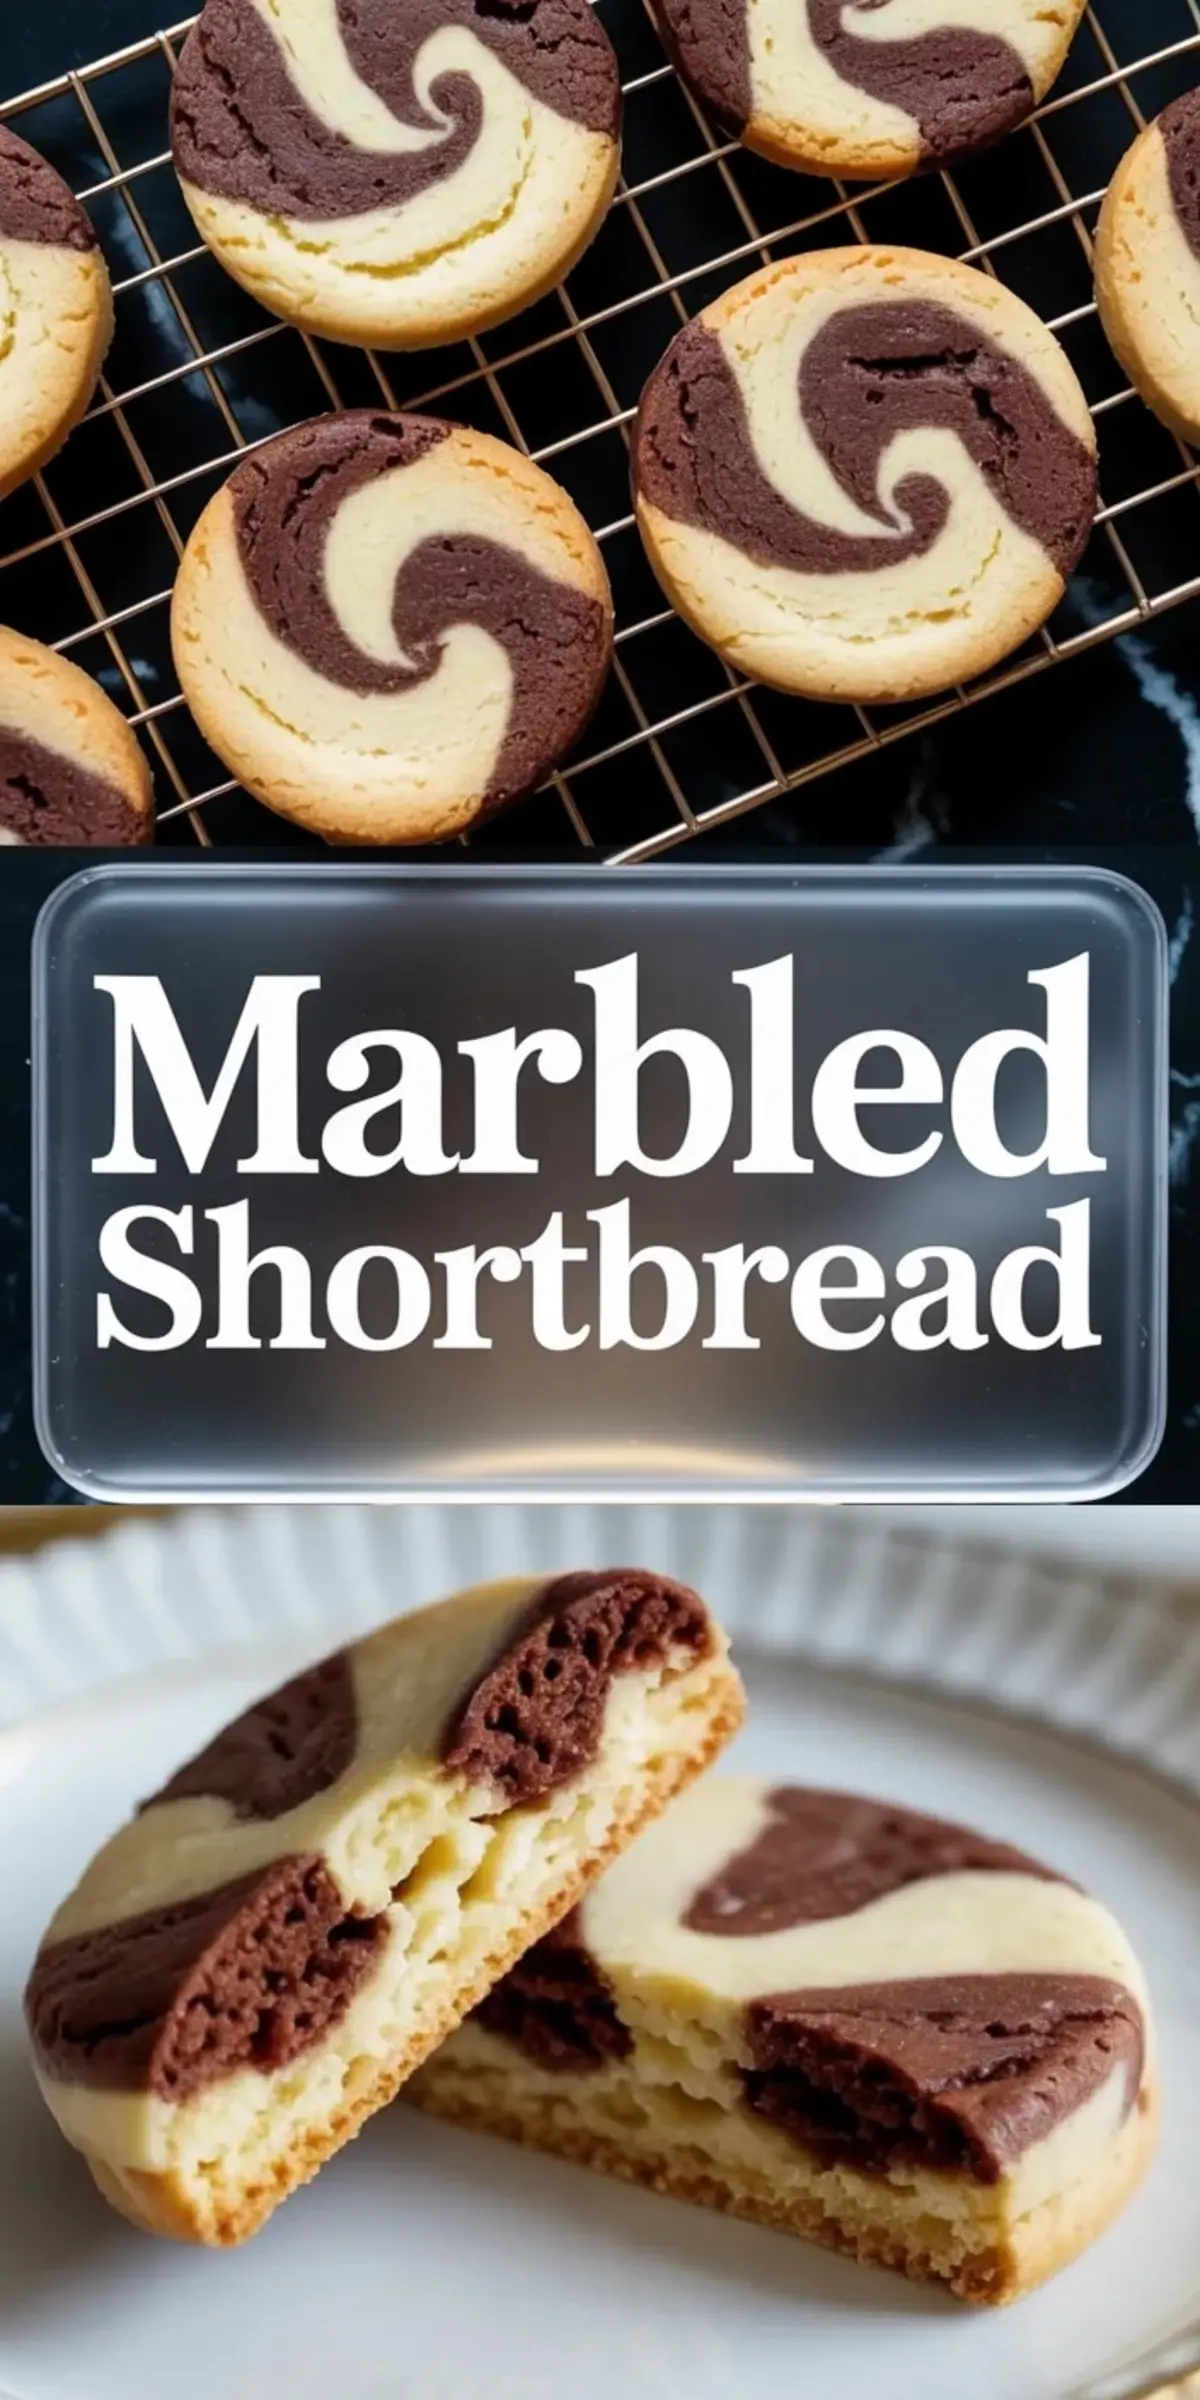
A beautiful cookie often begins with a simple dough and a curious baker. These marbled shortbread cookies prove that point every time I bake them.
You will learn how buttery dough and a small ribbon of cocoa create marble shortbread cookies with striking patterns. The method stays simple, yet the final cookies look as if a pastry artist spent hours shaping them.
I baked my first batch on a quiet Sunday afternoon. The swirl pattern appeared in the slices almost by accident, and I remember staring at the tray thinking, well, that looks far fancier than the effort I gave it.
If you enjoy creative cookies like these, you might also like the gentle colors and playful filling in Pastel Sugar Cookie Sandwiches. A different style of cookie. The same sense of joy when the tray comes out of the oven.
Searches for marbled sugar cookies recipe, patterned sugar cookies, chocolate swirl butter cookies, and mosaic cookies often lead bakers to techniques that feel complicated. This approach stays calm and clear. Shortbread handles the artistry for you.
You mix a classic butter cookies recipe. Then you swirl chocolate through part of the dough. The oven takes care of the rest.
Why Marbled Shortbread Cookies Create Beauty With Very Simple Dough
Shortbread offers a quiet advantage. The dough stays firm and forgiving, which makes it ideal for marbled sugar cookies.
Butter carries the flavor and gives structure at the same time. Sugar softens the crumb. Flour anchors everything so the pattern holds once baked.
I learned this after many trays of patterned sugar cookies collapsed into flat circles. Shortbread behaves differently. The dough stays loyal to its shape.
Readers who enjoy creative cookie designs often explore options like Springtime Crinkle Cookies. Those cookies crack open during baking. Marble shortbread slices reveal their design before they even reach the oven.
The swirl pattern comes from pressing two dough colors together. A gentle twist forms the natural chocolate swirl.
Each slice shows a new design. Some look like marble stone. Others resemble tiny mosaic cookies.
The Ingredients That Shape Marble Shortbread Cookies
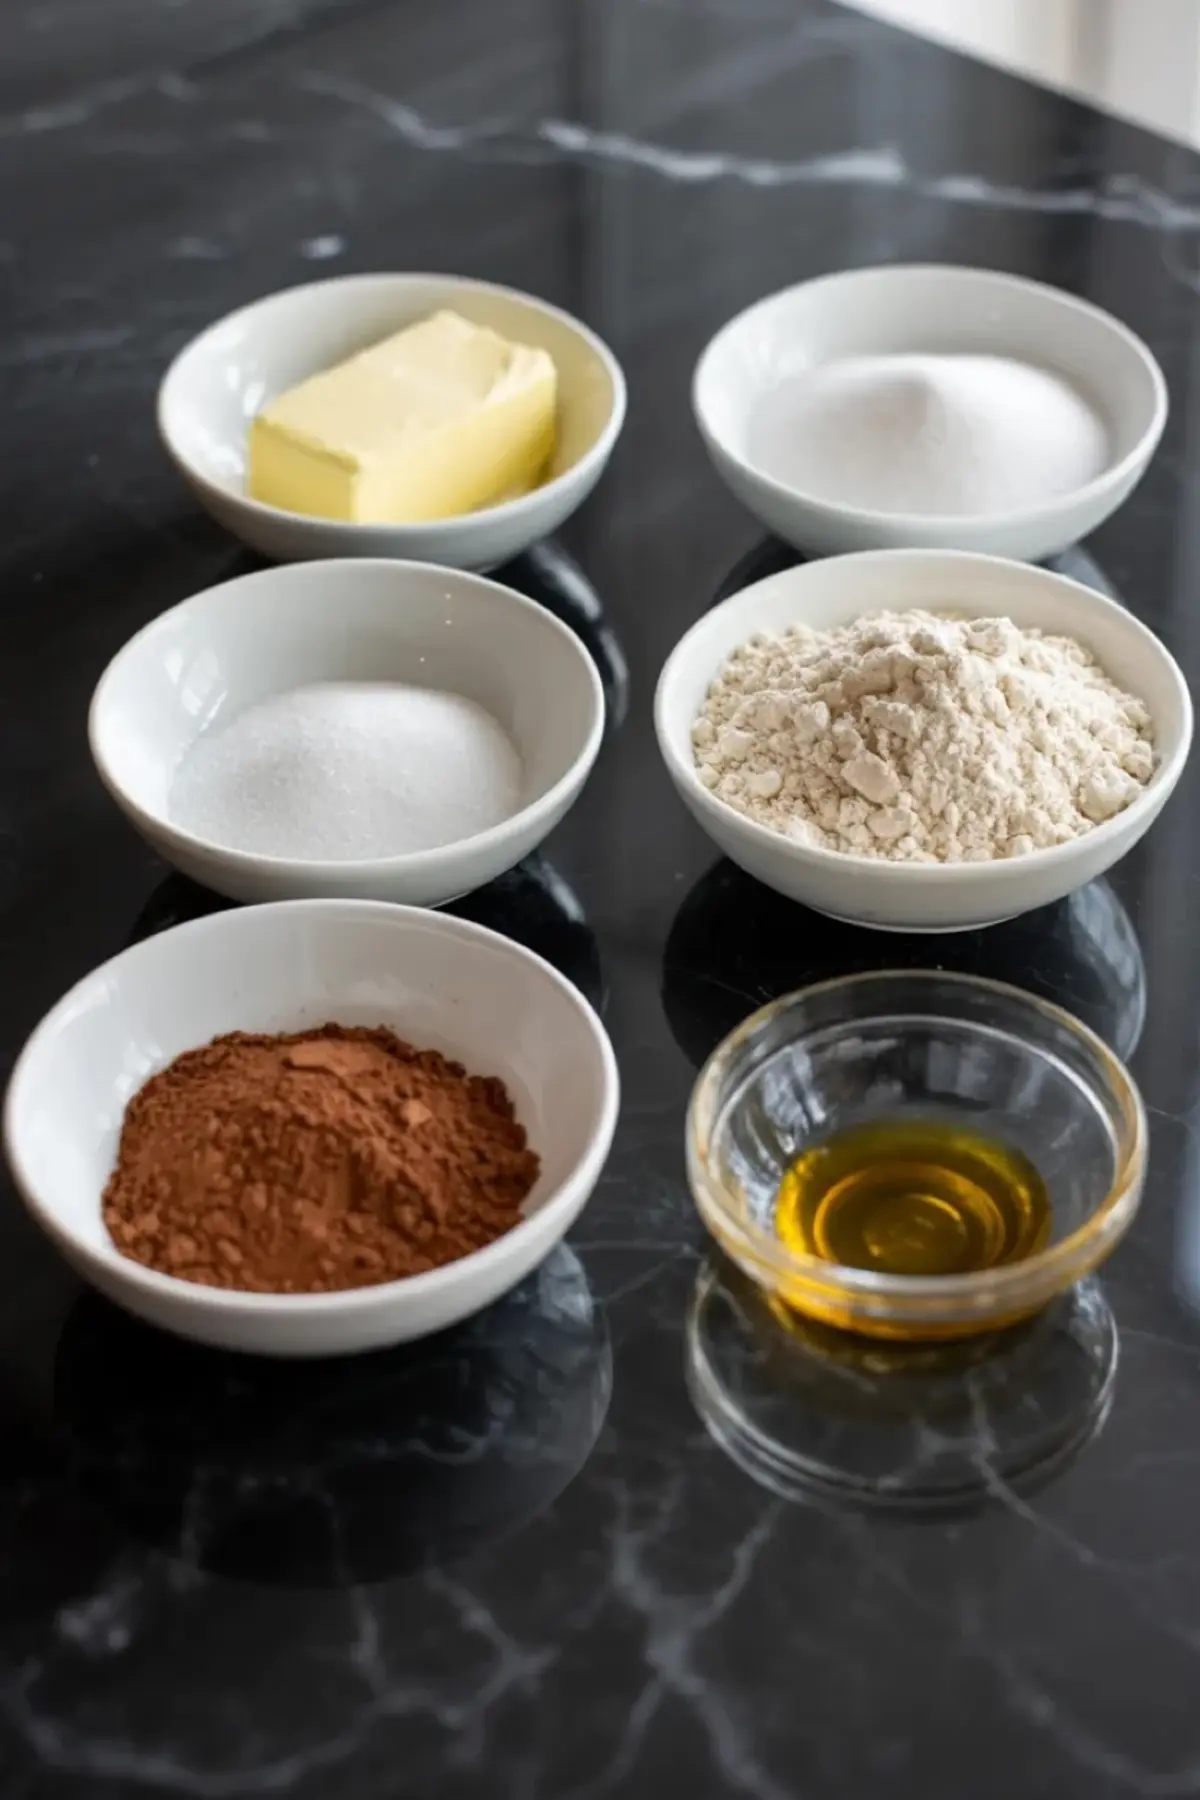
Unsalted butter leads the entire recipe. Butter gives shortbread its tender snap and deep flavor.
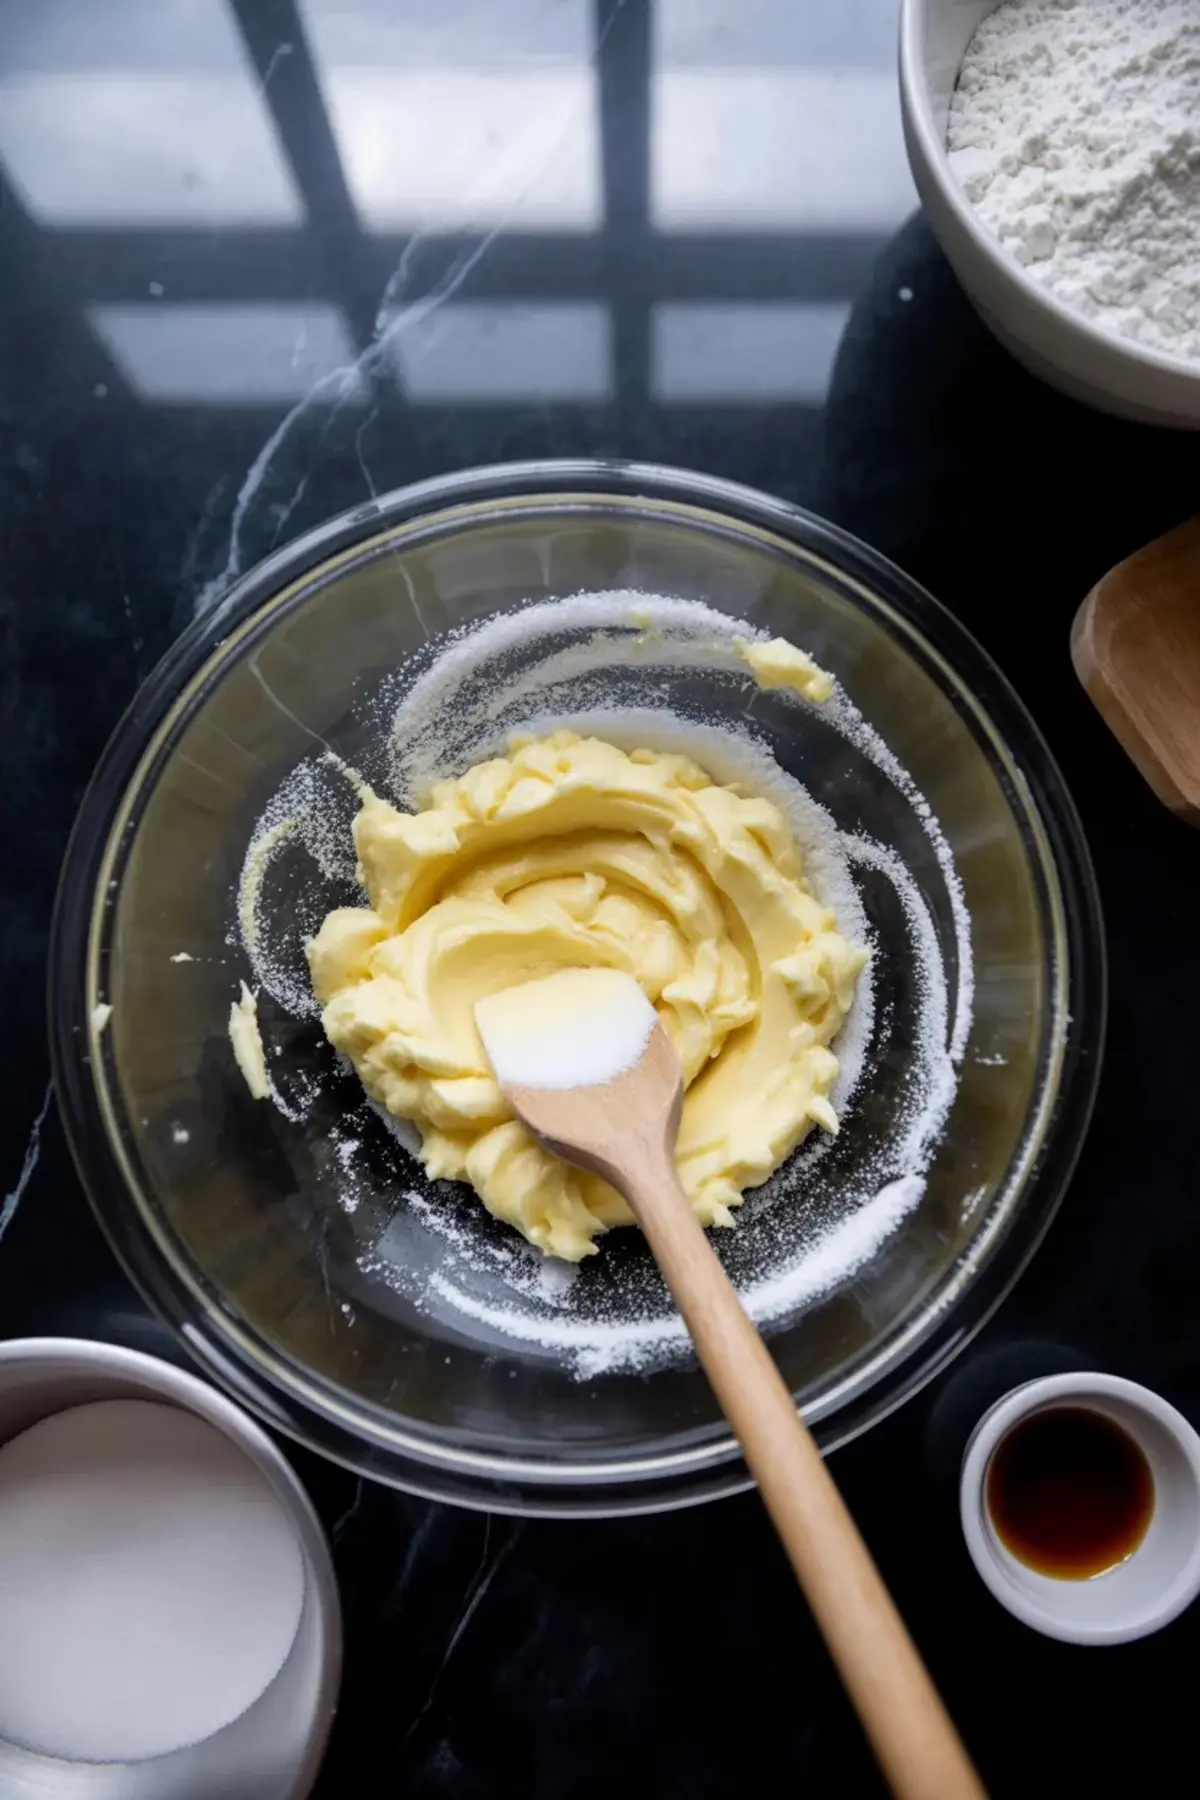
Soft butter blends smoothly with powdered sugar. I always pause here. Creamed butter should look pale and airy before the flour appears.
Powdered sugar creates a softer texture than granulated sugar. The cookies bake with a delicate crumb that almost melts as you bite.
If chocolate sweets appeal to you, a rich treat like Pistachio Brigadeiro shows another way cocoa can transform a simple base.
Vanilla adds warmth. A small spoon makes the butter taste fuller.
Salt deserves more credit than it receives. Even a quarter teaspoon sharpens the sweetness and highlights the butter flavor.
Flour brings structure. The dough should feel soft yet slightly crumbly.
Cocoa powder forms the chocolate swirl. I often pause here too. The smell of cocoa in butter dough signals that the pattern stage is about to begin.
Butter Temperature Changes Everything In Shortbread
I tested this recipe with cold butter and softened butter many times. The difference shows immediately in the mixing bowl.
Softened butter creams smoothly with sugar. Cold butter fights the mixer and leaves lumps that later disrupt the swirl pattern.
In my baking notes, softened butter wins every time. The dough blends evenly and the chocolate swirl spreads with gentle pressure.
A smooth base dough produces the cleanest marble shortbread cookies. I learned that after one batch looked more like muddy stone than marble.
The Swirl Technique That Creates Patterned Sugar Cookies
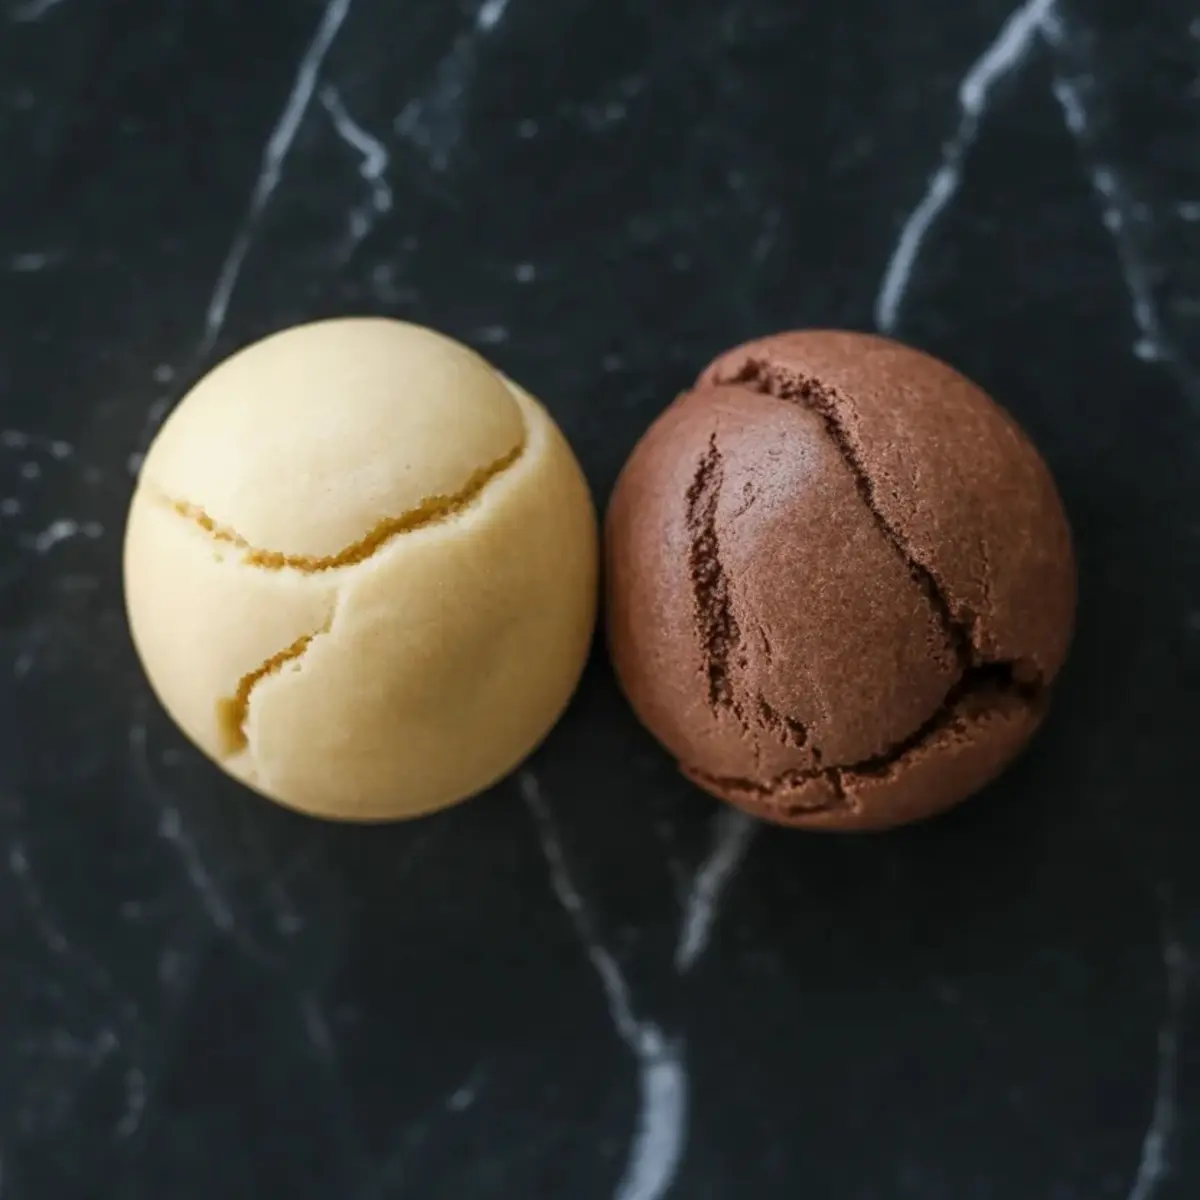
The swirl begins when you divide the dough. One portion stays pale vanilla. The second portion absorbs cocoa.
Small pieces of each dough press together in loose clusters. The log forms slowly in your hands.
I often twist the dough just once as I roll it. Too much twisting blends the colors and hides the pattern.
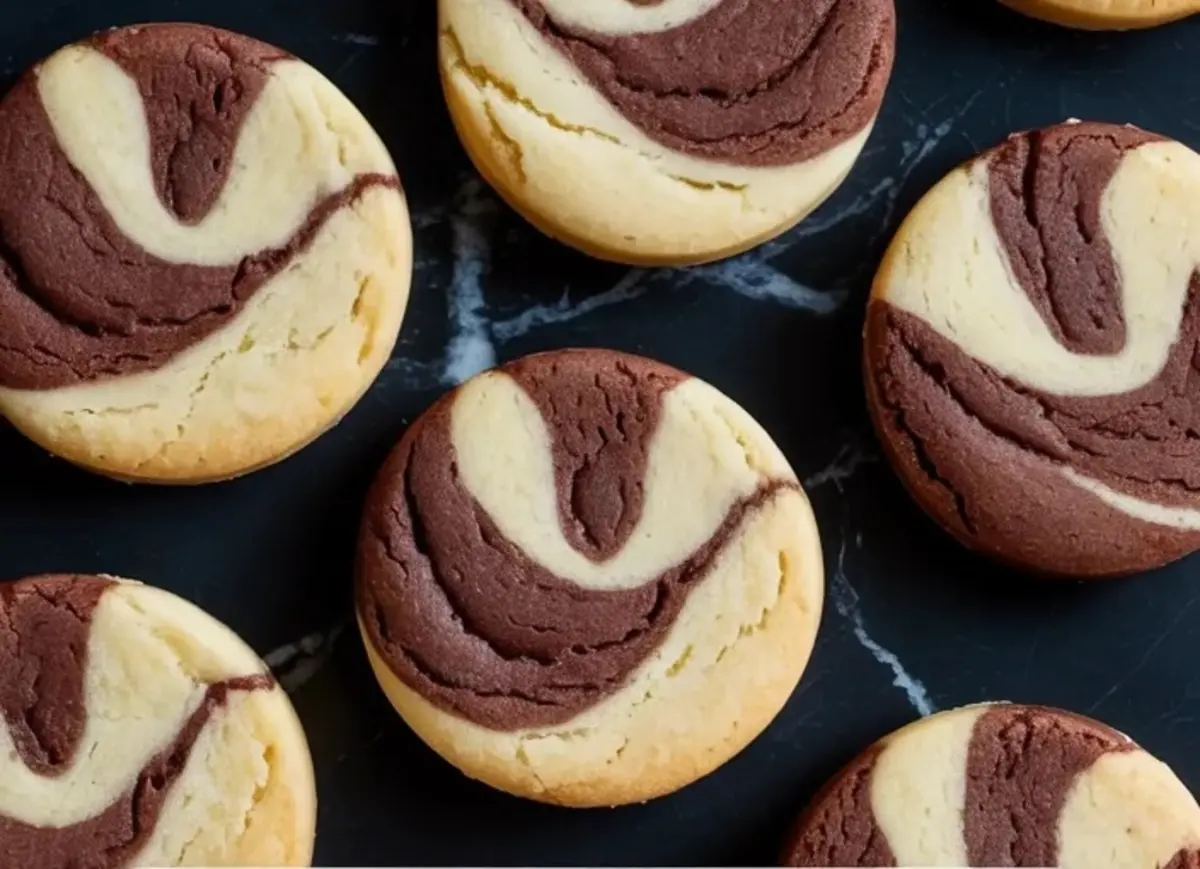
A light touch keeps the marble lines clear. You want contrast, not chocolate streaks that disappear.
The chilled dough feels firm after an hour in the refrigerator. That moment matters more than many people expect.
Cold dough slices cleanly. Warm dough smears the chocolate swirl.
Baking Marbled Sugar Cookies With Clean Edges And Crisp Texture
The oven temperature stays steady at 350°F. Shortbread prefers calm heat.
The slices bake quickly. Edges set first while the centers remain pale.
Many bakers worry that pale cookies mean underbaked dough. Shortbread works differently. The cookies firm as they cool.
I always watch the edges instead of the color. Light golden edges signal that the butter cookies recipe has reached the right stage.
The tray rests for five minutes before transferring the cookies. Those minutes help the structure settle.
The result feels crisp at the edge and tender in the center. That texture defines good marble shortbread cookies.
Save These Marbled Shortbread Cookies For Your Pinterest Cookie Board
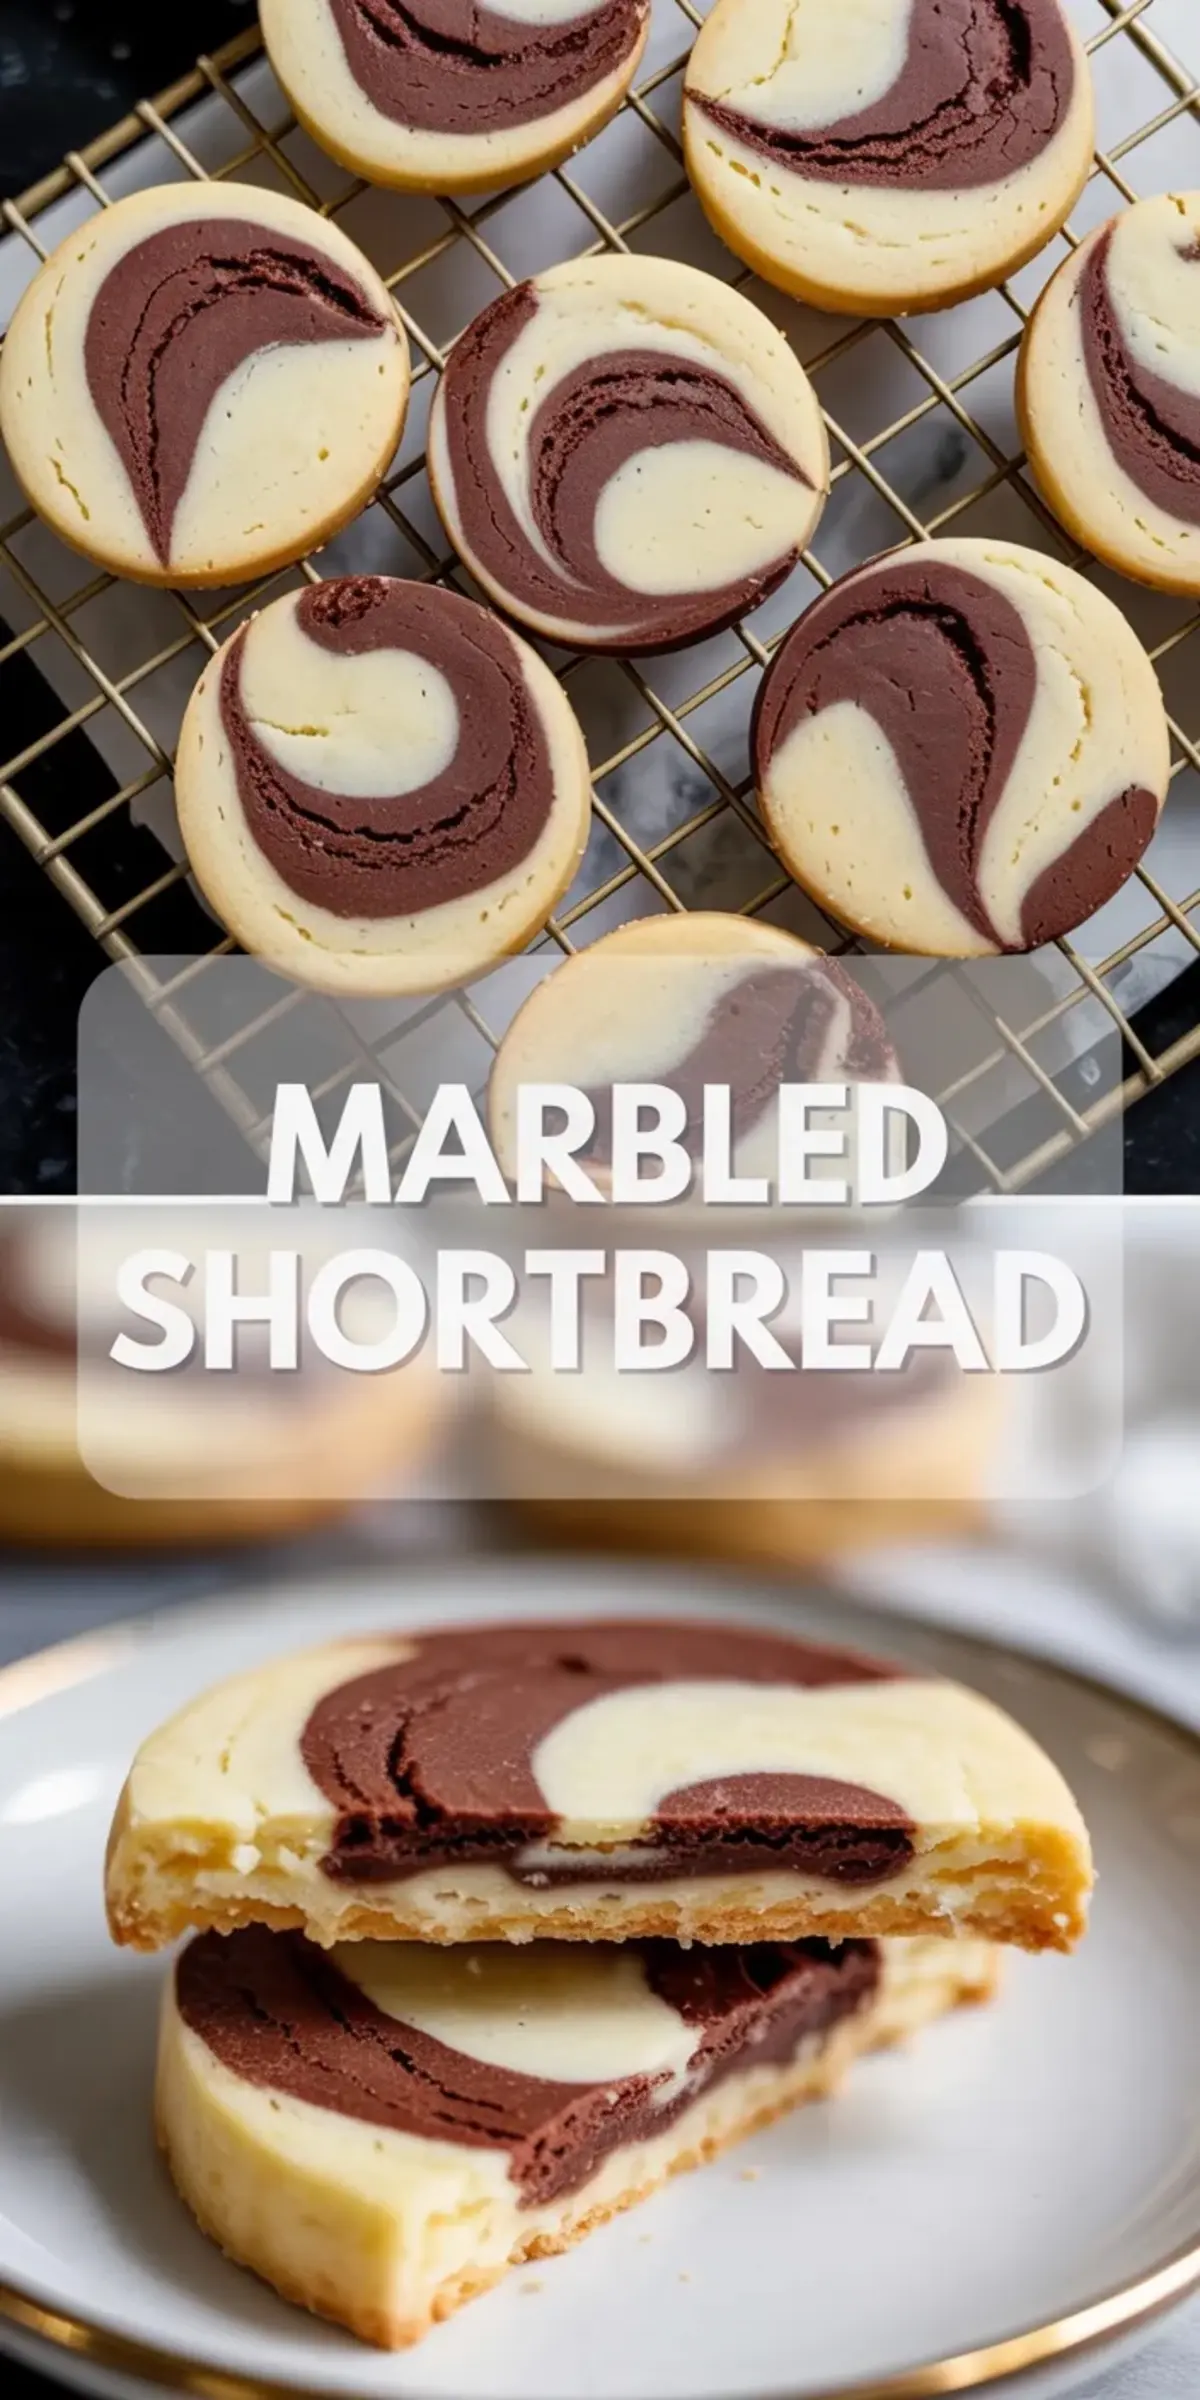
A tray of marbled shortbread cookies often stops conversations. People lean closer and study the swirl before taking a bite.
You can slice the dough log ahead of time and bake fresh cookies whenever the craving appears. I keep one wrapped in my freezer for quiet evenings.
If this recipe joins your baking list, consider saving it to your Pinterest cookie board so you can find it later. A saved pin often becomes a weekend baking plan.
I would love to hear how your batch turns out. Did your swirl form delicate marble lines or bold mosaic cookies?
Share your experience in the comments and ask questions if anything feels unclear. Baking improves when people trade small lessons with each other.
And sometimes the best discoveries appear during those conversations. Mine certainly did.
Marbled Shortbread Recipe

These elegant marbled shortbread cookies feature buttery dough swirled with chocolate to create beautiful patterns in every slice. The recipe produces delicate marble shortbread cookies with a crisp, tender texture and a rich buttery flavor that makes them a standout among classic butter cookies recipe favorites.
The swirling technique forms stunning chocolate swirl designs that give each cookie a unique look. These cookies are also inspired by decorative patterned sugar cookies and artistic mosaic cookies, making them perfect for cookie trays or special occasions. If you enjoy creative baking, these marbled sugar cookies offer a beautiful twist on traditional cookies while keeping the simple elegance of a classic marbled sugar cookies recipe.
Ingredients
- FOR THE SHORTBREAD DOUGH
- 1 cup unsalted butter, softened
- 2/3 cup powdered sugar
- 1 teaspoon pure vanilla extract
- 1/4 teaspoon salt
- 2 cups all-purpose flour
- FOR THE CHOCOLATE SWIRL
- 2 tablespoons unsweetened cocoa powder
- 1 teaspoon milk, if needed
Instructions
CREAM THE BUTTER: Place the softened butter in a large mixing bowl. Beat on medium speed for about 2 minutes until smooth and creamy. Scrape down the sides of the bowl to ensure even mixing.
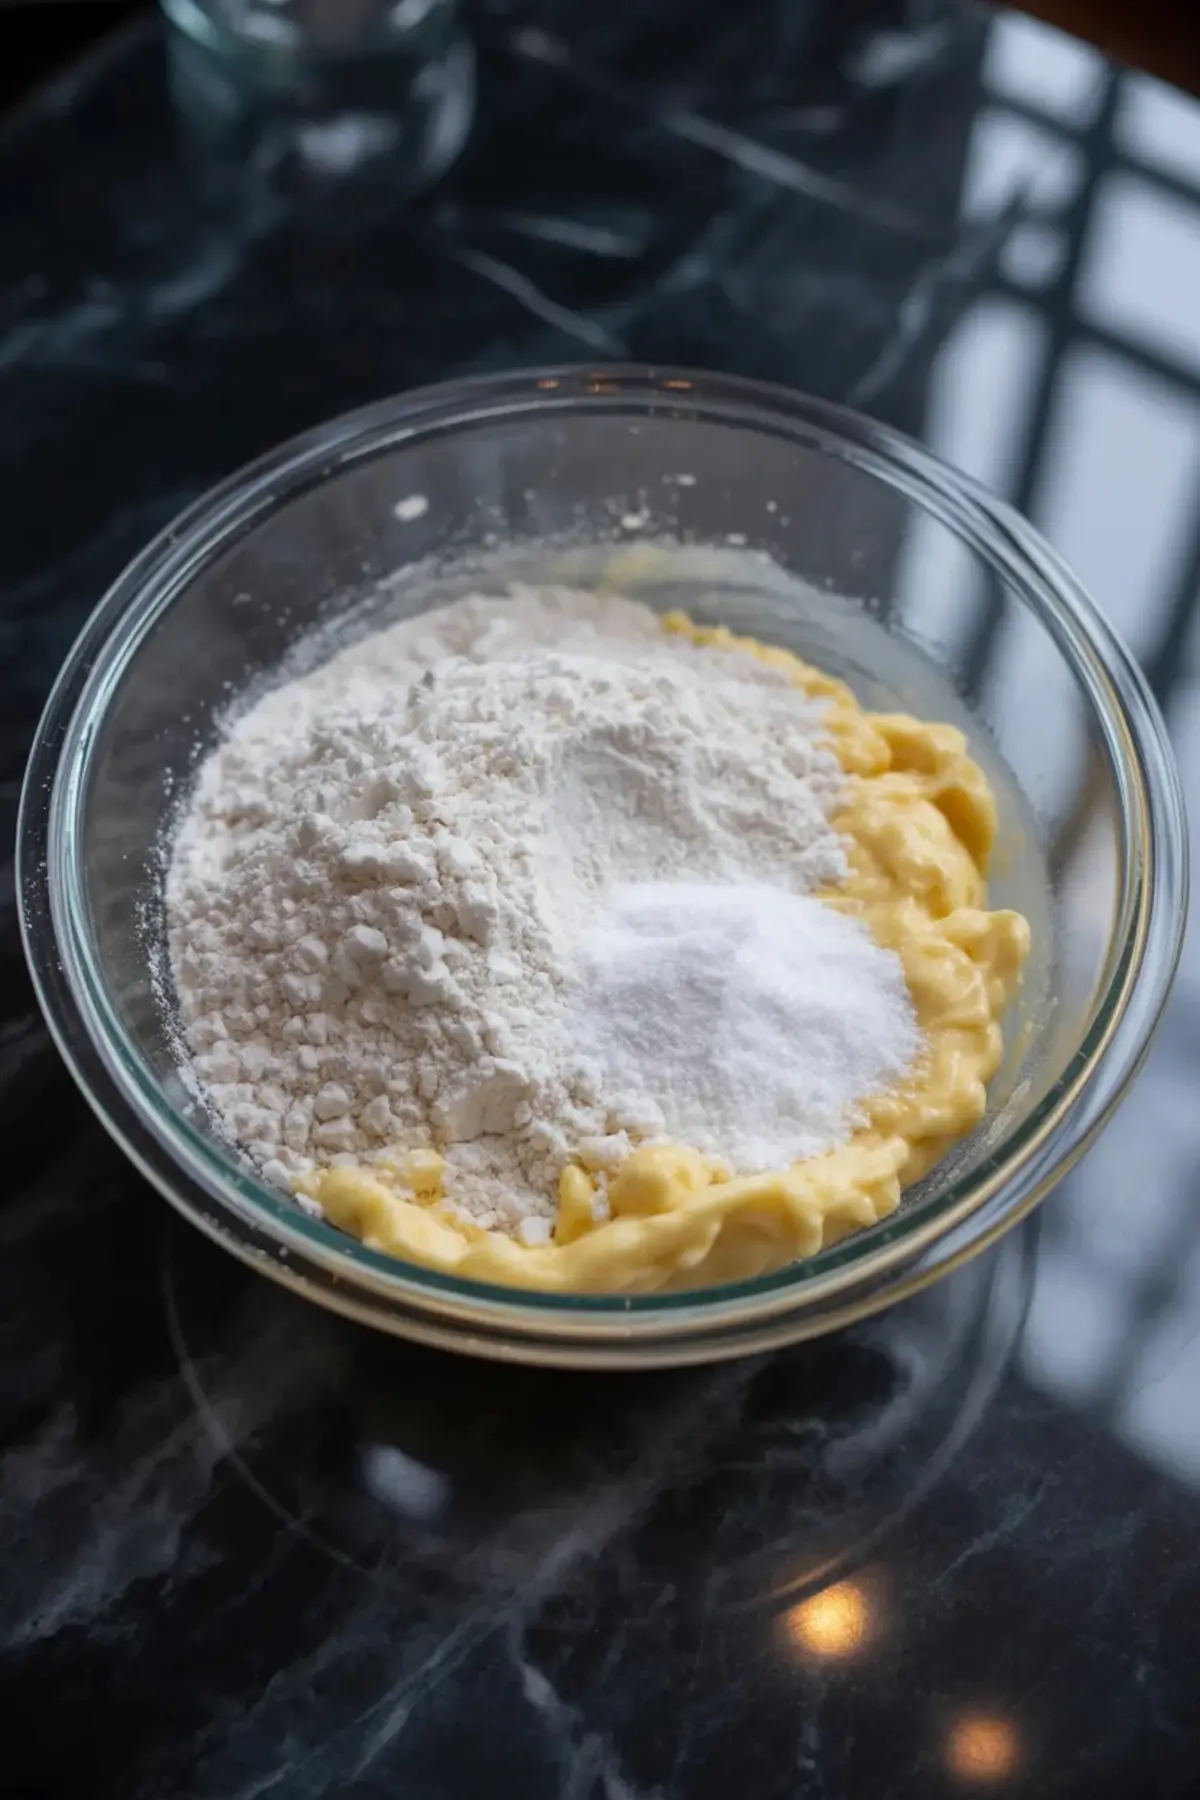
ADD SUGAR AND FLAVORING: Add the powdered sugar and beat until light and fluffy. Mix in the vanilla extract and salt until fully combined.
INCORPORATE THE FLOUR: Add the flour in two portions. Mix on low speed just until the flour disappears. The dough should look soft and slightly crumbly but hold together when pressed. Avoid overmixing to keep the texture tender.
DIVIDE THE DOUGH: Split the dough evenly into two portions. Leave one portion plain in the bowl.
MIX THE COCOA: Add the cocoa powder to the second portion of dough. Mix gently until the color is uniform. If the dough feels dry, mix in 1 teaspoon of milk to help it come together.
FORM THE MARBLE LOG: Take small portions of vanilla and chocolate dough and press them together. Arrange them side by side and roll into a log about 2 inches in diameter. Gently twist the log as you roll to create a natural marbled pattern. Do not overwork the dough.
CHILL THE DOUGH: Wrap the log tightly in plastic wrap. Refrigerate for at least 1 hour until firm. Chilling helps the cookies hold their shape while baking.
PREHEAT AND SLICE: Preheat the oven to 350°F. Line a baking sheet with parchment paper. Slice the chilled log into rounds about 1/4 inch thick. Arrange the slices on the prepared baking sheet with slight spacing between them.
BAKE THE COOKIES: Bake for 10 to 12 minutes. The edges should look set and lightly golden while the centers remain pale. Avoid overbaking, as shortbread firms up while cooling.
COOL AND SET: Let the cookies rest on the baking sheet for 5 minutes. Transfer them to a wire rack to cool completely before serving or storing.
Notes
Store cooled cookies in an airtight container at room temperature for up to 1 week. Keep them in a cool, dry place away from heat.
Refrigerate in a sealed container for up to 2 weeks. Bring to room temperature before serving for best texture and flavor.
Freeze baked cookies in layers separated by parchment paper for up to 2 months. Thaw at room temperature for about 1 hour.
Freeze the unbaked dough log for up to 2 months. Slice and bake directly from frozen, adding 1 to 2 extra minutes to the baking time.
