

I fell for these vibrant rolls on a chilly December afternoon when I first noticed their scarlet dough in a bakery window. I remember the warmth on my hands as I carried them back to my little studio, eager to share them with my best friend. My excitement grew with each step, and the sweet aroma filled my space long before I took that first blissful bite.
That moment happened many years ago, yet the memory lives on through every homemade batch I create. My kitchen counter looks bright and lively whenever I whip up these ruby-hued spirals. I love how cocoa and cinnamon blend in each roll, giving a flavor that seems both classic and bold.
My taste buds connect me to memories of laughter, happy tears, and the comfort of homemade goodness. I want to share that feeling with you today. I hope you experience the same sense of joy when you sink your teeth into these Red Velvet Cinnamon Rolls with Cream Cheese Glaze.
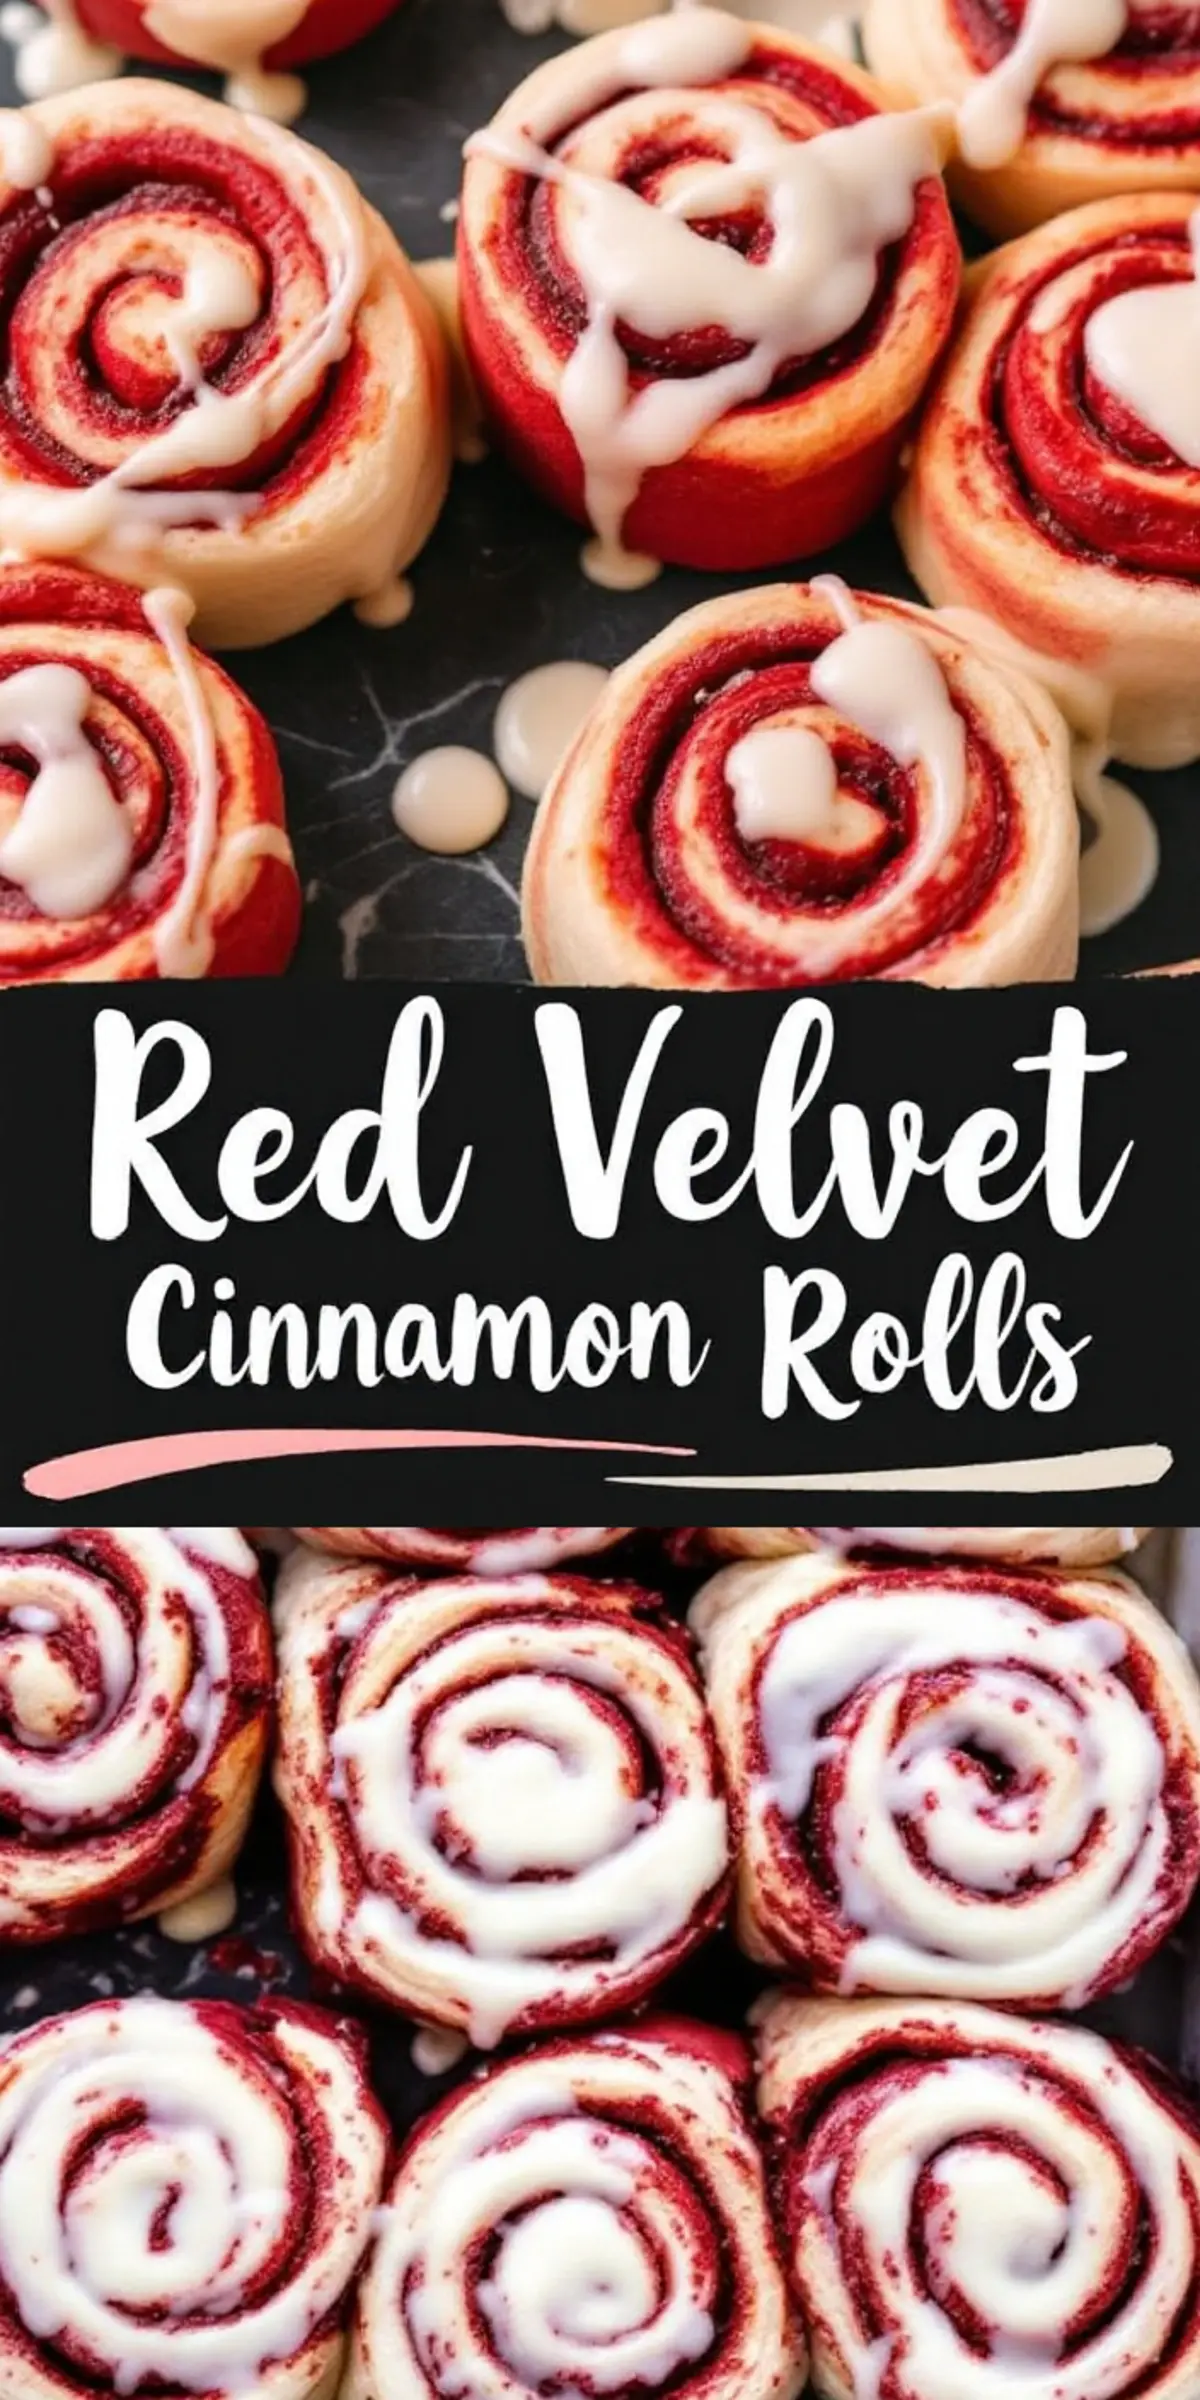
A Look at the Basic Dough and Its Charm
I begin with flour, sugar, salt, and instant yeast. This combination sets the stage for a soft and fluffy texture. I stir them together in a large mixing bowl, which ensures even distribution of dry ingredients.
Warm milk, melted butter, a single egg, and a dash of vanilla transform the mixture into a cohesive dough. I stir it gently until it gathers into a ball, then I knead it. My aim is an elastic surface that feels smooth under my palms.
This step brings me back to childhood afternoons spent kneading dough with my aunt. My shoulders relax, and my mind drifts to simpler days. I shape the dough into a round, then place it in a greased bowl, covering it with a cloth for about an hour.
Developing the Red Velvet Twist
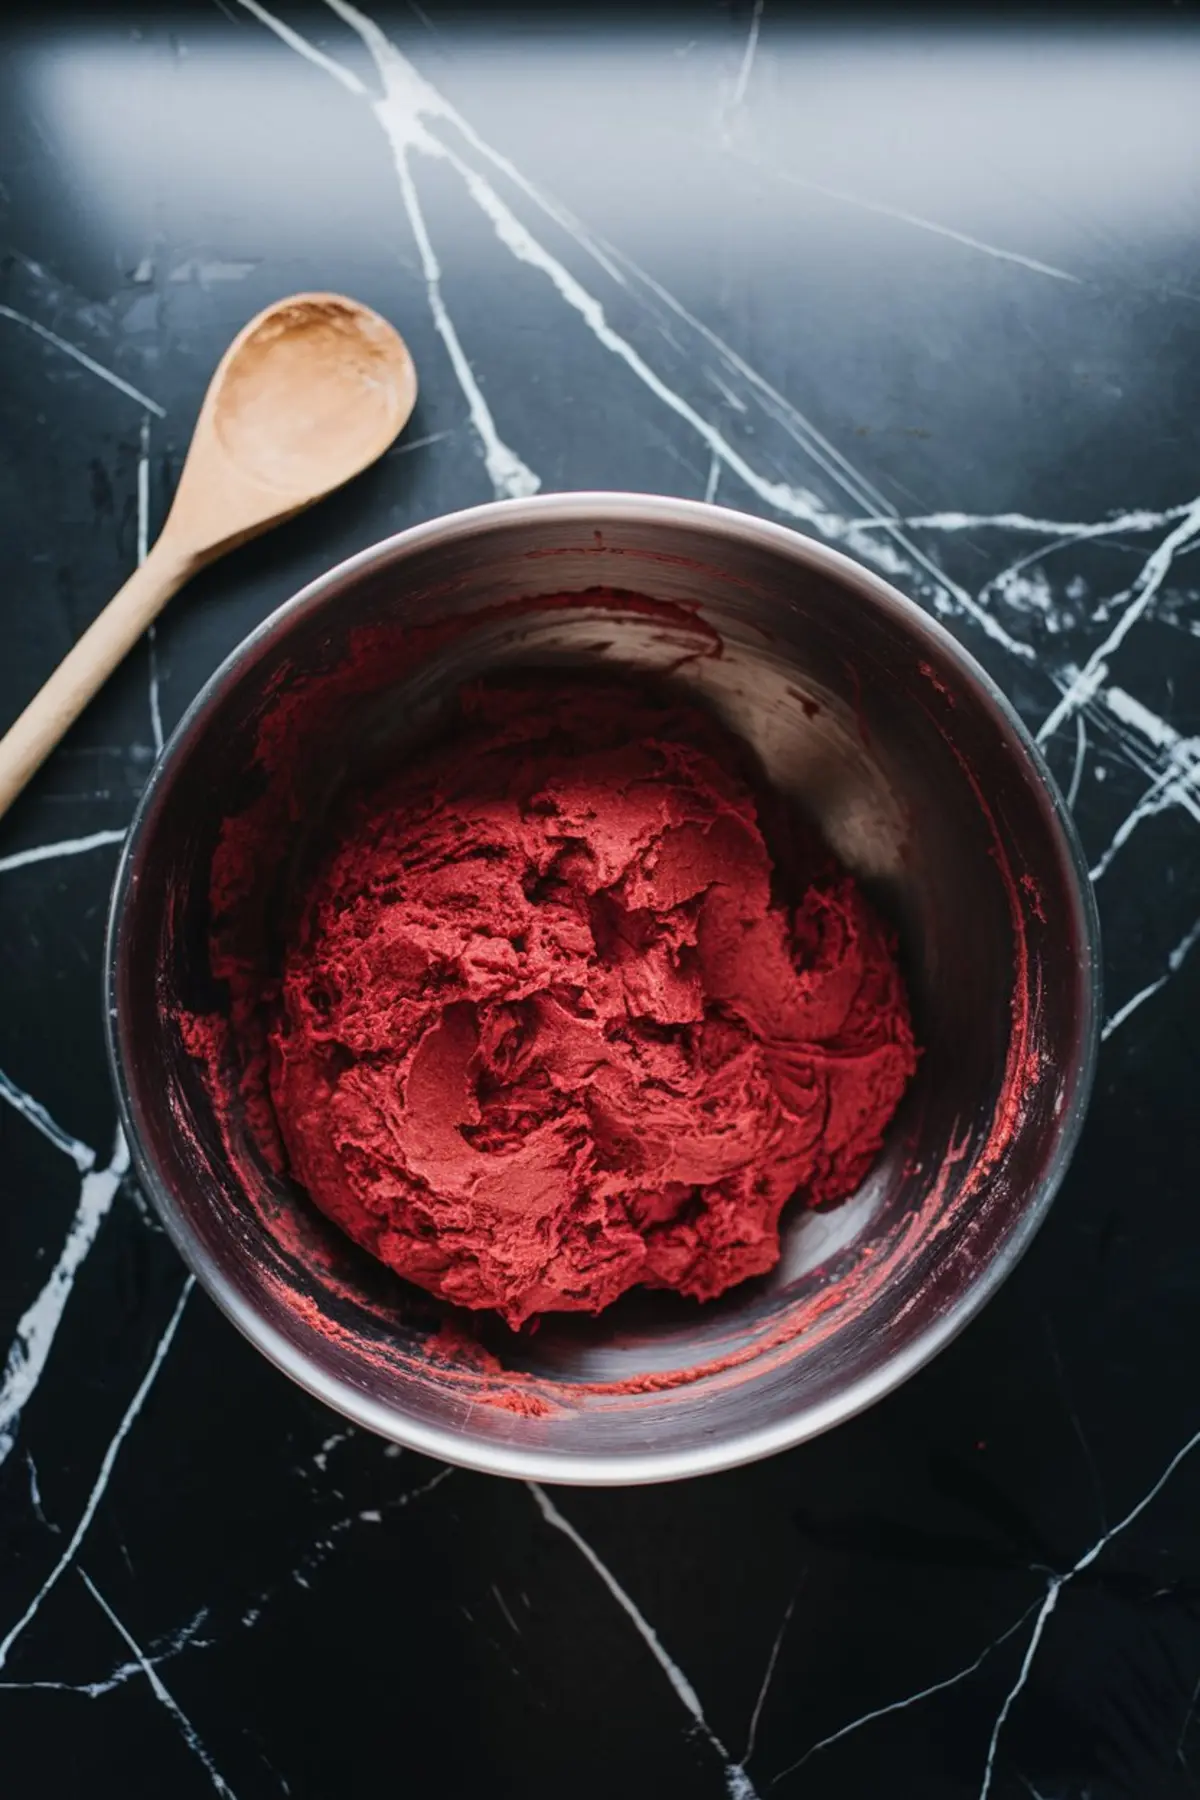
I set aside the dough to rise, then I shift my focus to the filling. My softened butter, brown sugar, cinnamon, and cocoa powder melt into a sweet, earthy blend. I stir in red food coloring until it radiates a rosy glow.
The color can vary based on how much coloring you prefer. I like a vivid tone, so I often use a gel coloring that keeps my dough texture just right. This mixture brings a bittersweet note that makes these rolls stand out.
I first stumbled upon the red velvet idea after tasting a chocolate-and-cinnamon treat at a friend’s party. My mind kept returning to that flavor until I crafted this recipe. It now gives me a fun twist on classic cinnamon rolls.
Rolling and Shaping the Swirls
I return to the risen dough, pressing my fingertips into its pillowy surface. My rolling pin flattens it into a broad rectangle, keeping the thickness around a quarter of an inch. The goal is an even sheet so each slice looks similar in size.
I spread that striking red filling across every corner of the dough, making sure the entire surface glistens. The smell of cocoa and sugar seems to wrap around the kitchen. I start at one long edge and roll tightly, forming a log that captures the swirl inside.
A sharp knife, or even a piece of unflavored dental floss, divides this log into individual rolls. I then arrange the rolls in a greased baking dish, giving them space to grow. A short rest of about 30 minutes lets them puff up, hinting at the tenderness that lies ahead.
Baking the Rolls to Sweet Perfection
I preheat my oven to 350°F (175°C). My unbaked rolls wait until they look slightly fuller before I slide them into the hot oven. The house soon smells like a chocolate-cinnamon hug that extends down the hallway.
A golden hue on the edges tells me the rolls are close to done. I keep an eye on them, usually giving them 20 to 25 minutes to bake. My aim is to avoid undercooking the center, but I still want a soft crumb that peels apart with each bite.
Cream Cheese Glaze: The Finishing Touch
I pull a small bowl to the countertop and drop in softened cream cheese, a couple of tablespoons of butter, and some powdered sugar. I add vanilla extract and a bit of milk. My whisk merges these elements into a velvety topping that drips off the spoon.
This glaze spreads with a mild tang. I drizzle it over the warm rolls about five minutes after they leave the oven. I see the icing slowly settle into every crease, creating ribbons of sweetness on top.
Friends marvel at the color contrast, and the first taste usually sparks a big grin. My heart warms every time I watch someone slice into the doughy center, their fork carrying that swirl of cocoa and cream cheese.
Serving These Red Beauties with a Personal Spin
I often serve these rolls fresh from the oven at weekend brunch. My cousin sometimes pops by on a Saturday morning, smelling them from the front yard. He arrives before I even manage to finish brewing coffee.
My mother loves them as a post-dinner treat, especially when we have guests. A fresh batch becomes the centerpiece of the table, with conversation flowing around its presence. I notice the difference in people’s faces once they get that first taste of this sweet creation.
I keep extras in an airtight container for a day or two, though they rarely last that long. A quick nudge in the microwave keeps them soft. I appreciate how that swirl of filling remains vibrant and pleasing.
Make These Rolls Yours and Share the Joy

I hope you enjoy making these Red Velvet Cinnamon Rolls with Cream Cheese Glaze as much as I do. My kitchen always feels brighter when their sweet scent fills the air. My only caution is that you might end up making them more often than you plan.
I love swapping tips and hearing your stories in the comments. I also encourage you to save this recipe pin and share it on your board, so you can keep the idea at your fingertips. I find that building a community around sweet treats keeps life fun, and your feedback fuels my baking adventures.
Please share your experience if you give them a go. Feel free to ask questions, share successes, or even let me know about any flavor tweaks you prefer. My heart warms each time I see how a simple recipe can bring people together.
Red Velvet Cinnamon Rolls Recipe

Soft, fluffy cinnamon rolls with a red velvet twist, filled with a rich cocoa-cinnamon filling and topped with a smooth cream cheese glaze.
Ingredients
- FOR THE DOUGH:
- 3 ½ cups all-purpose flour
- 2 ¼ teaspoons (1 packet) instant yeast
- ¼ cup granulated sugar
- 1 teaspoon salt
- ½ cup whole milk, warmed
- ¼ cup unsalted butter, melted
- 1 large egg
- 1 teaspoon vanilla extract
- FOR THE RED VELVET FILLING:
- ½ cup unsalted butter, softened
- ¾ cup brown sugar
- 2 teaspoons cinnamon
- 2 tablespoons unsweetened cocoa powder
- 1 tablespoon red food coloring
- FOR THE CREAM CHEESE GLAZE:
- 4 ounces cream cheese, softened
- 2 tablespoons unsalted butter, softened
- 1 cup powdered sugar
- 1 teaspoon vanilla extract
- 2 tablespoons whole milk
Instructions
- MAKE THE DOUGH: In a large mixing bowl, whisk together the flour, sugar, salt, and yeast. In a separate bowl, combine the warm milk, melted butter, egg, and vanilla extract. Slowly add the wet ingredients to the dry ingredients, mixing until a soft dough forms.
- KNEAD THE DOUGH: Transfer the dough to a floured surface and knead for about 8 minutes, until smooth and elastic. If it is too sticky, add a little more flour, one tablespoon at a time. Place the dough in a greased bowl, cover with a clean towel, and let it rise in a warm place for about an hour, or until it doubles in size.
- PREPARE THE RED VELVET FILLING: While the dough is rising, mix the softened butter, brown sugar, cinnamon, cocoa powder, and red food coloring in a small bowl. Stir until smooth and well combined.
- ROLL AND FILL THE DOUGH: Once the dough has risen, roll it out into a large rectangle, about ¼ inch thick. Spread the red velvet cinnamon filling evenly over the dough, covering the entire surface.
- SHAPE THE ROLLS: Starting from the long side, roll the dough into a tight log. Slice the log into 12 equal rolls using a sharp knife. Arrange the rolls in a greased baking dish, leaving a little space between each one. Cover with a towel and let them rise again for about 30 minutes.
- BAKE: Preheat the oven to 350°F (175°C). Once the rolls have risen, bake for 20–25 minutes, or until golden brown and fully cooked in the center.
- MAKE THE CREAM CHEESE GLAZE: While the rolls are baking, whisk together the softened cream cheese, butter, powdered sugar, vanilla extract, and milk until smooth and creamy.
- GLAZE AND SERVE: Let the rolls cool for about 5 minutes before drizzling the cream cheese glaze over the top. Serve warm.
Notes
Let the dough rise in a warm, draft-free environment for the best texture. If your kitchen is cold, place the dough in an oven with the light on or near a warm spot.
For evenly sliced rolls, use unflavored dental floss instead of a knife. Slide the floss under the rolled dough, cross the ends over the top, and pull to cut cleanly.
Adjust the red food coloring as needed to achieve the desired color. Gel food coloring provides a more vibrant hue without affecting the dough’s texture.
Store leftovers in an airtight container at room temperature for up to 2 days or in the refrigerator for up to 5 days. Warm them in the microwave for a few seconds before serving.
For a stronger cinnamon flavor, increase the cinnamon in the filling to 1 tablespoon.
Nutrition Information:
Yield:
12Serving Size:
1Amount Per Serving: Calories: 411Total Fat: 19gSaturated Fat: 11gTrans Fat: 0gUnsaturated Fat: 6gCholesterol: 64mgSodium: 231mgCarbohydrates: 55gFiber: 2gSugar: 26gProtein: 6g
